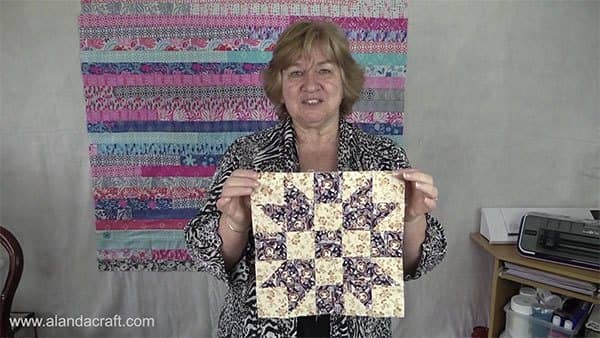
Quilt Block: Sister’s Choice Quilt Block Tutorial
The Sister’s Choice quilt block is such a lovely and versatile quilt block and its a lot easier to make than it first looks.
Watch the video below or scroll down for the step-by-step written instructions
The Sisters Choice Quilt Block measures:
- 10½” square – unfinished
- 10″ square – finished.
What You Need
Fabric 1 (light color):
- 1 x 2½” strip cut across the width of the fabric.
- 4 x 2½” squares
- 1 x 6″ square
Fabric 2 (dark color):
- 1 x 2½” strip cut across the width of the fabric.
- 5 x 2½” squares
- 1 x 6″ square
Tools used in this Project
- Olfa 24″ x 36″ double-sided healing mat
- Olfa 60mm rotary cutter
- Creative Grids Ruler 8½” x 24½” This is the ruler we use now. In this video, we used the SewEasy ruler which is in centimeters.
- Olfa Non-slip Ruler 6 1/2″ x 61/2″
- Gutermann Sew-All thread
Method:
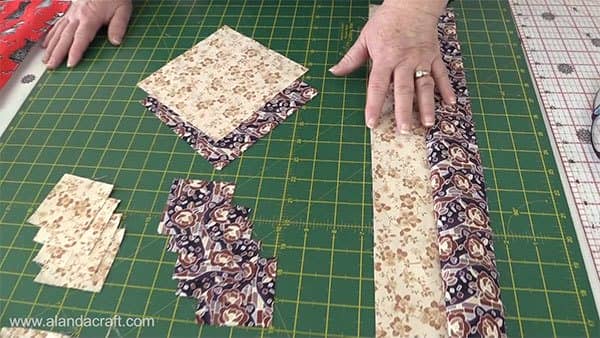
- Place the 2 long strips one on top of the other, with right sides facing and sew them together with a ¼” seam.
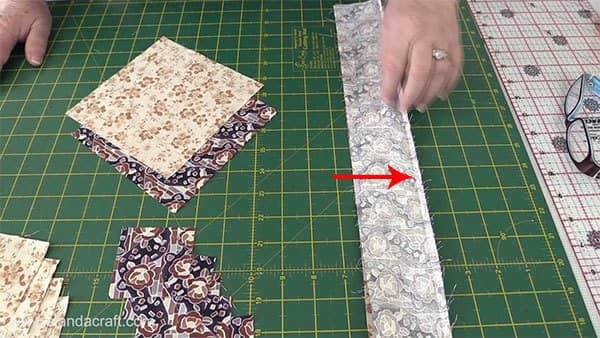
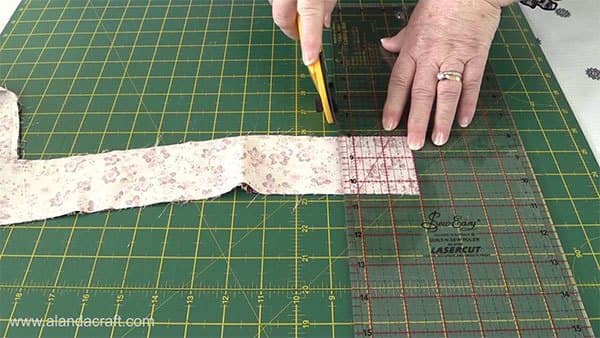
- Cut the strip into 2½” pieces. You need 4 of these pieces for one block.
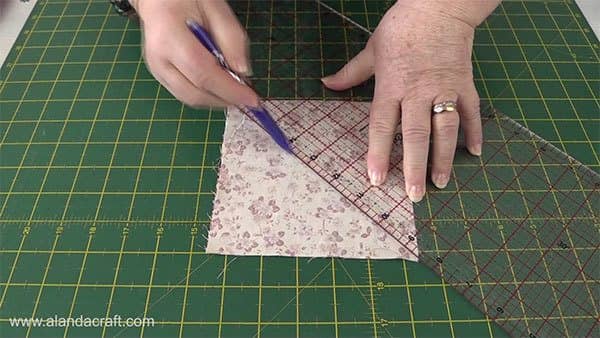
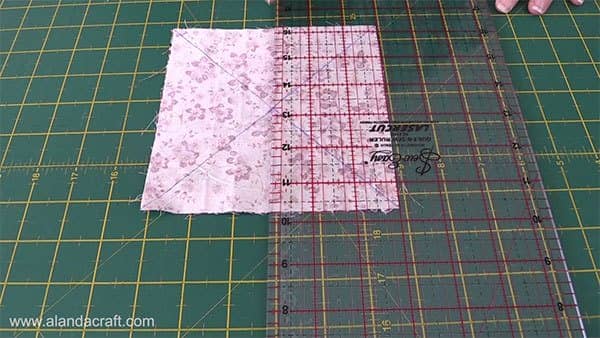
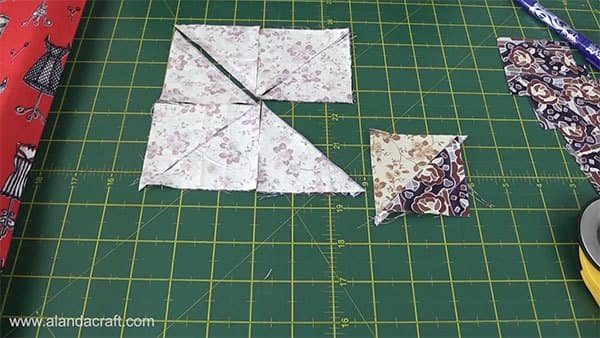
- Place the two 6″ squares, one on top of the other with right sides facing.
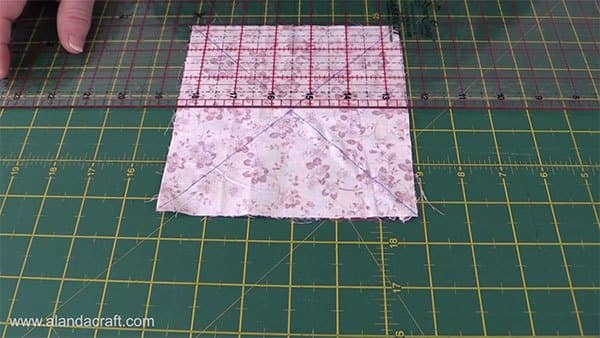
- Draw a line diagonally across one square.
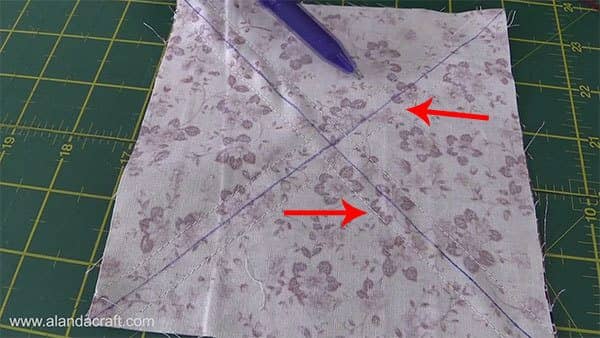
- Now draw a line diagonally across the square,
- Sew a ¼” seam on either side of the drawn lines.
- Line up your ruler along the halfway point on your block.
- Our block is 6″ so the midway point will be 3″.
- Cut.
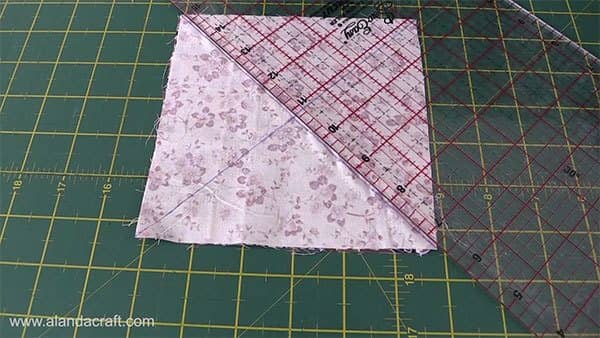
Do Not move your fabric
- Line up the ruler and on the center point across the square.
- Cut.
Do Not Move the fabric.
- Line up the ruler along one of the drawn lines.
- Cut across the diagonal.
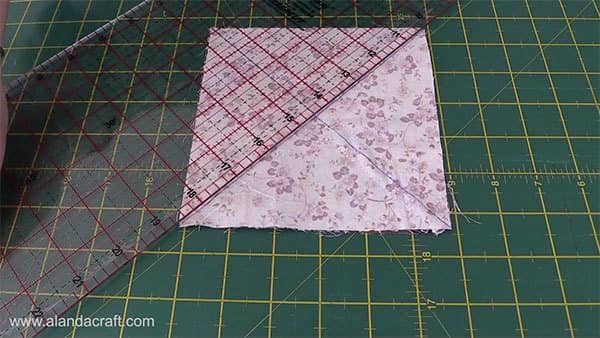
Do Not Move the fabric.
- Line the ruler up on the other drawn line.
- Cut across the diagonal.
- You now have 8 half square triangles.
- Press the seam of each of the triangles to the dark side.
- Trim the half square triangles to 2½” – Check out our video here on how to do that if you are unsure.
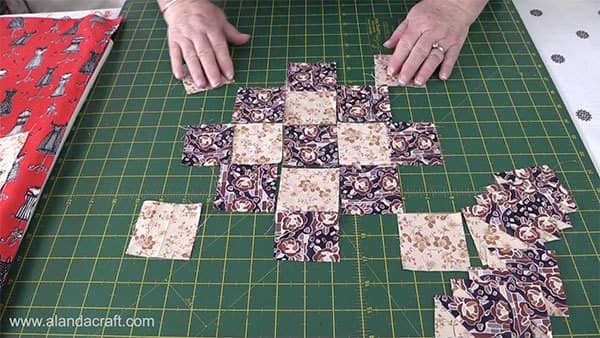
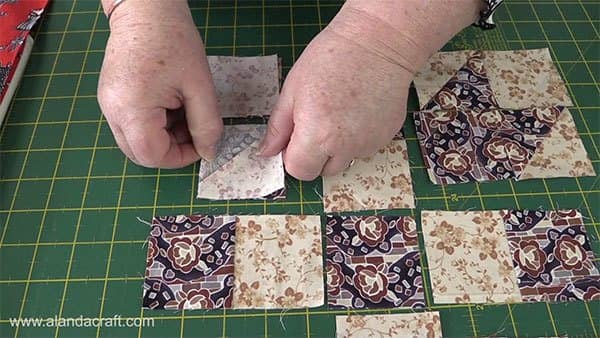
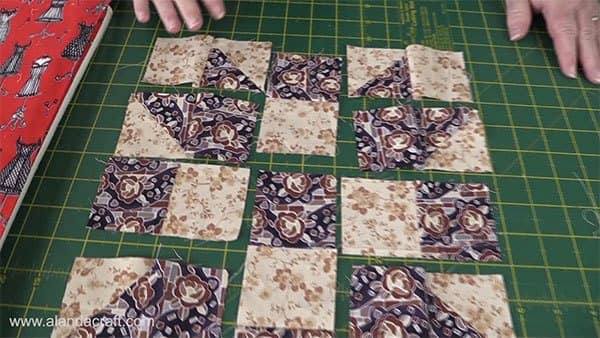
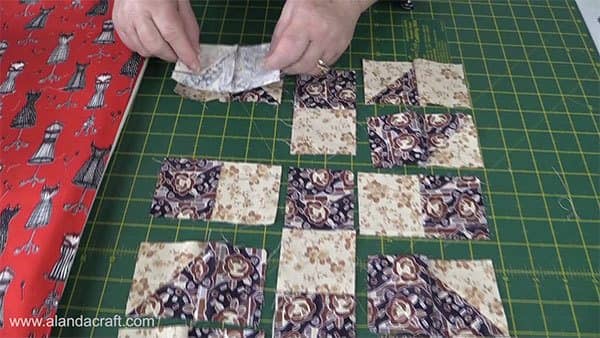
- Now its time to lay out our block.
- Start with one of the dark 2½” squares.
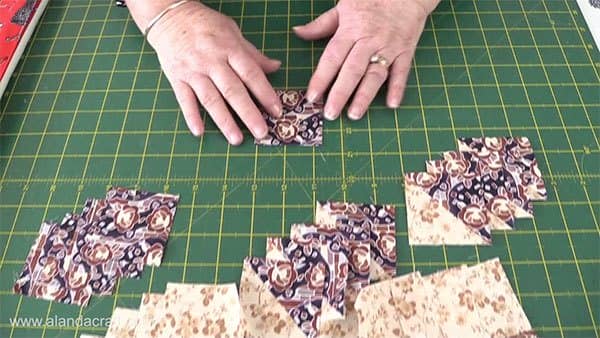
- Lay the 2 patch squares around the center square as shown below.
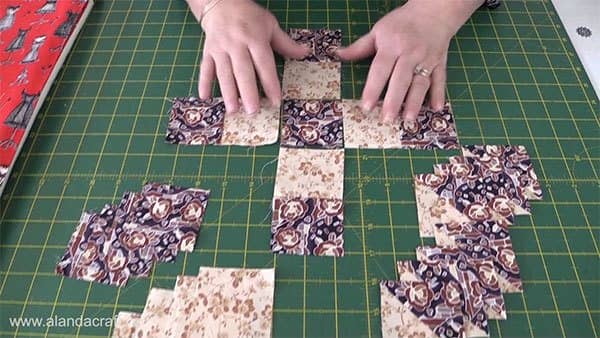
- Layout the 4 corner squares.
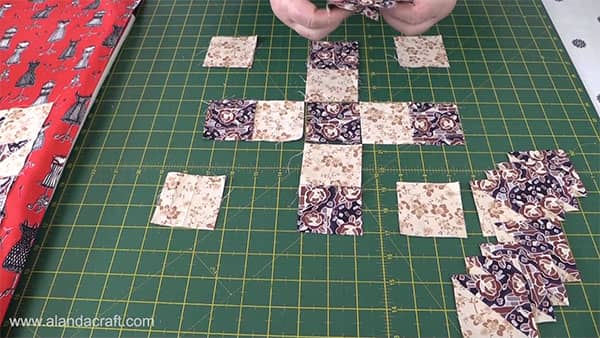
- Place the four dark squares as shown below.
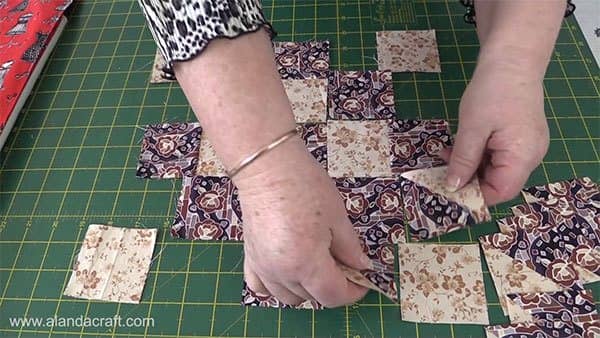
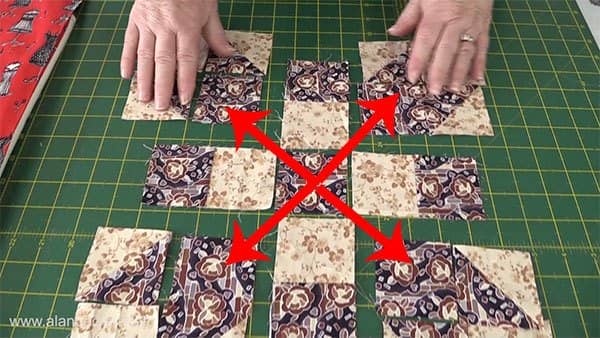
- The easiest way to remember how to place the half square triangles is to place the dark triangles point to point and place them on opposite sides of the dark square.
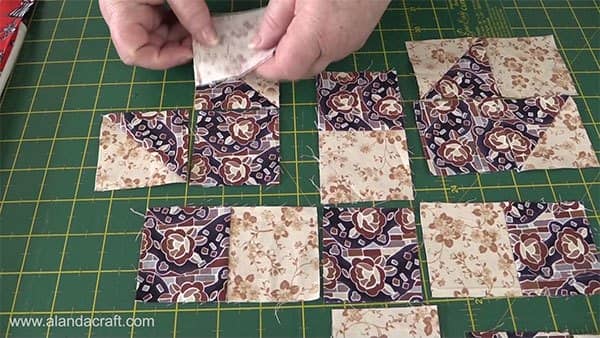
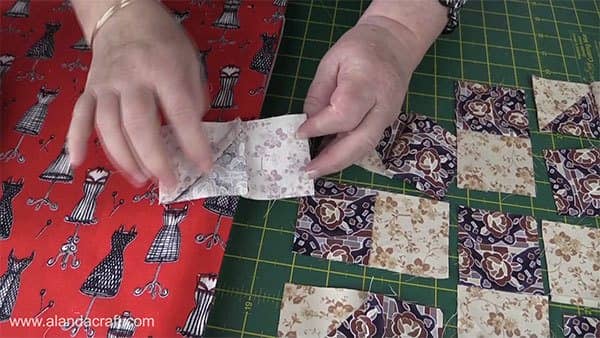
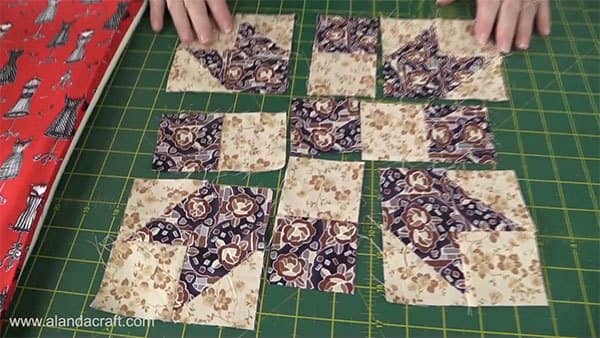
We will work on each of the corner blocks first.
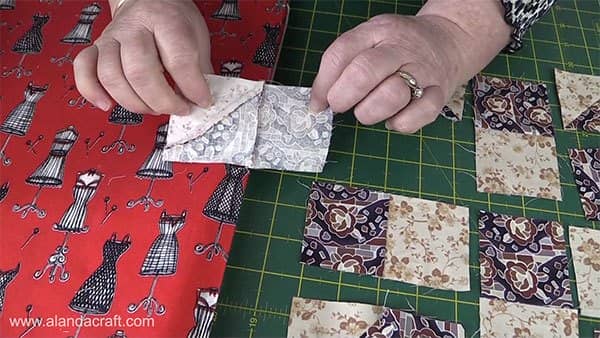
- Take the first square and lay it face down on the second square.
- Sew the pieces together with a ¼” seam.
- Do the same with the other two squares in each of the corner sections.
- As you can see I have sewn the pieces in lots of two.
- Press the seam on the top pieces towards the light side of the fabric.
- Press the seam on the next squares down, towards the dark side of the fabric.
- Do this for all four corner blocks.
- Lay one set of squares on top of the other, right sides together and sew with a ¼” seam.
- Do this with all four corner blocks.
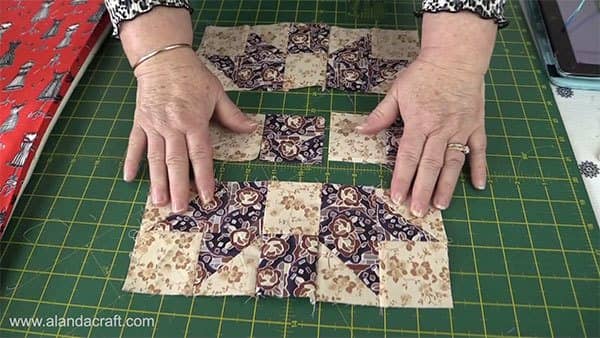
- Place the first block on top of the middle block and sew the two pieces together with a ¼” seam.
- Then attach the last block in the row to those two pieces.
- Repeat this process with the bottom row.
- So now each of the top and bottom rows are joined into strips.
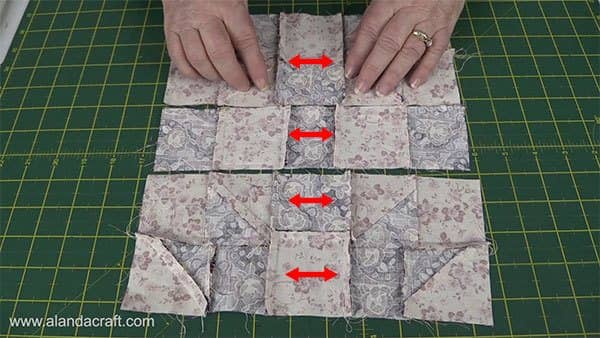
- Join the middle pieces together with a ¼” seam.sisters-choice-quilt-block

- Press the seams as shown below.
- This will allow you to nest the seams together so that you get nicely matched seams on the front.
Now sew the rows together.
- Lay the top row, right sides facing, on top of the middle row and sew together.
- Then lay those two rows on top of the last row and sew together.
- See how the seams nest together nicely.
And here it is all finished.