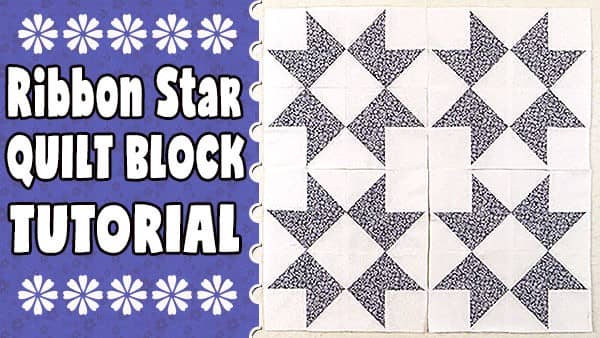
Quilt Block: Ribbon Star Quilt Block Tutorial
This block is just so easy to make. You can make a quilt by simply sewing a number of the blocks together or you could add sashing between the blocks. It looks great either way. Add some borders and you have a truly lovely quilt.
I have only used two contrasting colours but you could change it up by making each block a different colour or even each of star points in a different colour. There are just so many ways you can colourise this versatile block.
The instructions below are for a 12′ x12″ finished block.
Watch the video below or scroll down for the step-by-step written instructions
What You Need:
Background Fabric:
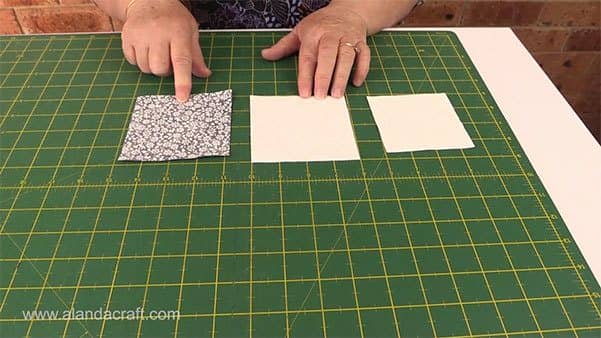
- 4 squares (@ 3½” x 3½”) these are the corner squares.
- 6 squares (@ 4″ x 4″)
Contrasting Fabric
- 6 squares (@ 4″ x 4″)
TOOLS USED IN THIS TUTORIAL
You can check the latest prices at Amazon by clicking on the links below:
- Olfa 24″ x 36″ double sided healing mat
- Olfa 60mm rotary cutter
- Oliso Iron
- Gutermann Sew All thread
- FriXion Pens
- Add a Quarter Plus
- Olfa Non-slip Ruler 6 1/2″ x 61/2″
Method:
To make the half-square triangle (HST):-
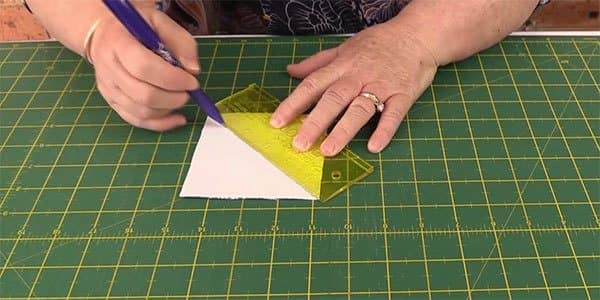
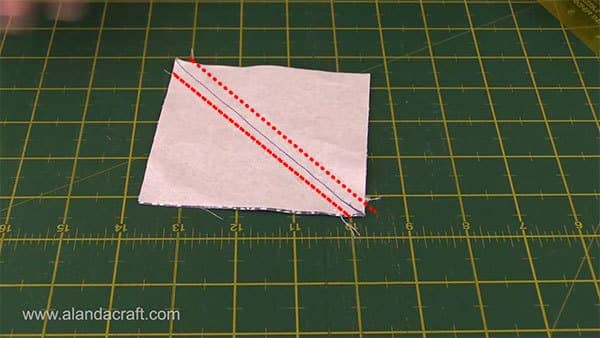
- Take one piece of 4″ background fabric and draw a line diagonally across the reverse side of the square.
- Place the piece on top of a piece of contrasting fabric (right sides together) making sure the edges match up.
- Sew a seam line ¼” on either side of the drawn line.
- Cut along the drawn line.
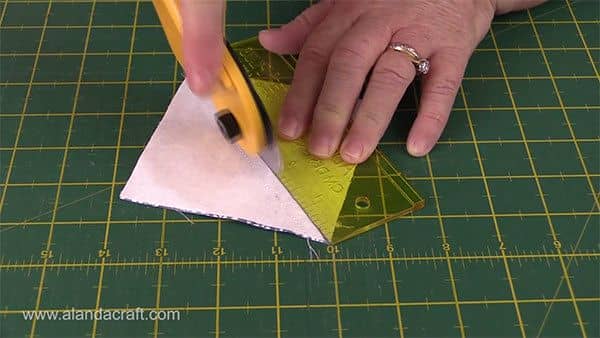
- You now have 2 HST’s.
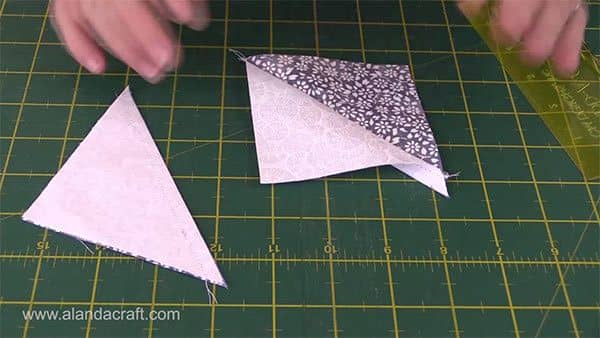
- Press the seams open.
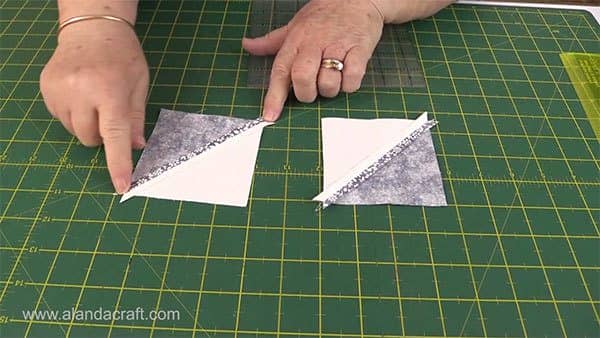
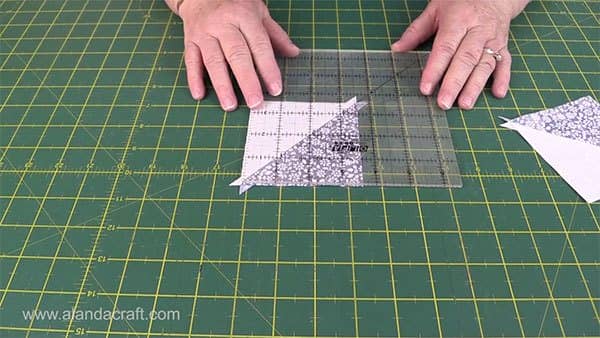
- Trim the HST’s to 3½”. If you are unsure how to do this, here is a link to our tutorial on How to Square Up Half-Square Triangles.
- Repeat for all 6 squares and you will end up with 12 HST’s.
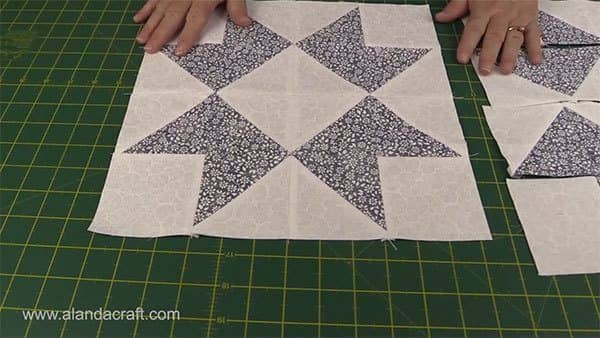
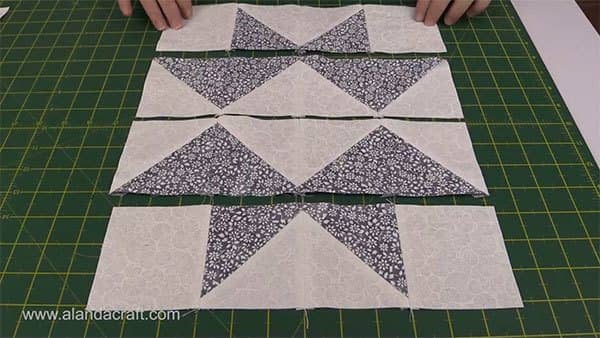
- Lay the pieces out on the mat as shown below.
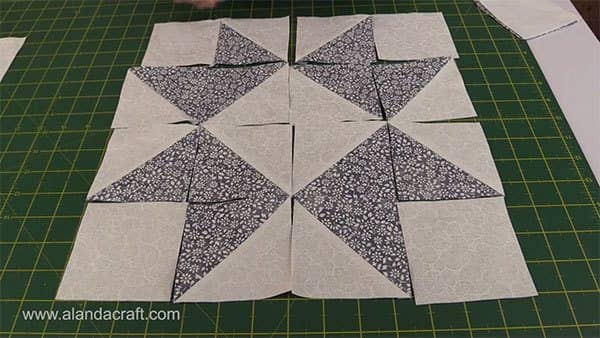
Assemble the Block:
- Place the right sides together and sew the first two squares in the row, together with a ¼” seam.
- Place the right sides together and sew the last two squares in the row, together with a ¼” seam.
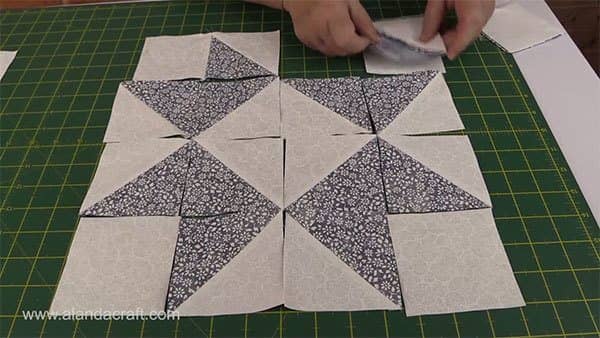
- Join the two sets of squares together.
- Repeat this process with all of the rows.
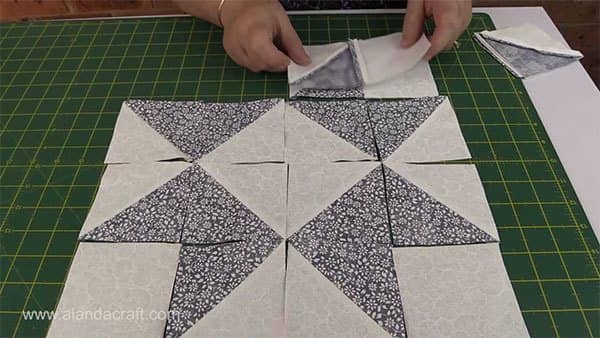
- Press all the seams open.
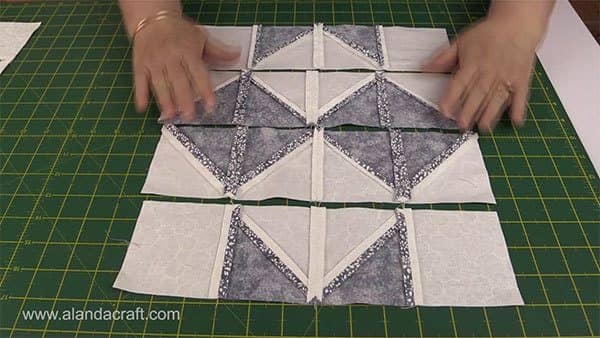
- Join the rows together by placing the top row over the second row. Match up the seam lines and the edges and pin.
- Sew together with a ¼” seam.
- Repeat with the bottom two rows.
- Join the rows together, again matching up the seams and pinning along the edges.
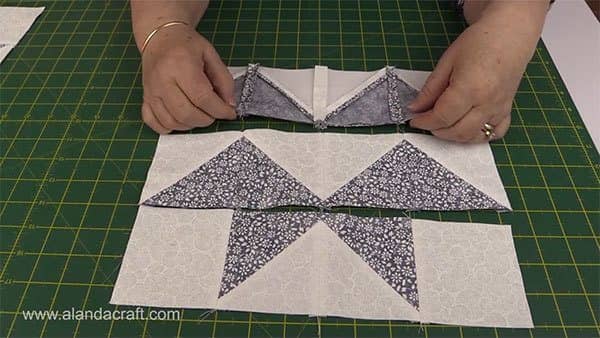
- Your gorgeous block is now finished. Have fun playing with this one. Happy blocking.