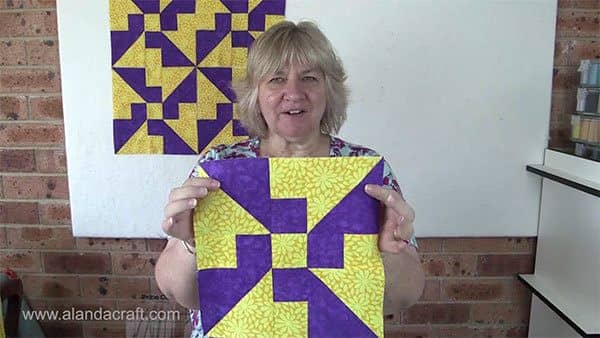
Quilt Block: Propeller Quilt Block Tutorial
Note: We have a baby crib quilt pattern available in our store, using this lovely block. (see photos at the end of this post).
This is a really quick and easy block to put together and it looks great. All it takes are two contrasting colours, 1 light and 1 dark to create the propeller effect.
Watch the video tutorial below or scroll down for the written instructions
These instructions are for a 10″ finished block.
What You Need:
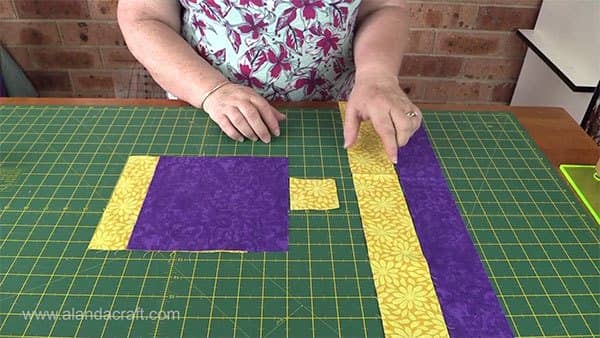
Colour 1
- 1 @ 7¼” square in color 1
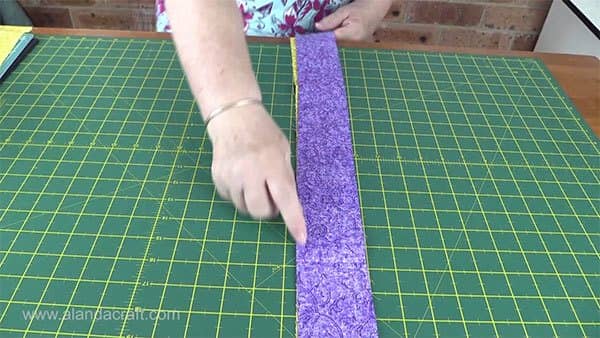
- 1 strip 2½” by 11″ – color 1
- 1 @ 2½” square
Colour 2
- 1 @ 7¼” square in color 2
- 1 strip 2½” by 11″ – color 1
If you are making more than one block then just cut the strips 2½” across the width of the fabric instead of into 11″ lengths. This applies to both colors.
TOOLS USED IN THIS TUTORIAL
You can check the latest prices at Amazon by clicking on the links below:
- Olfa 24″ x 36″ double-sided healing mat
- Quilters Slidelock
- Olfa 60mm rotary cutter
- Oliso Iron
- Gutermann Sew-All thread
- Olfa Rotating Cutting Mat
Method:
- Lay the strips one on top of the other, right sides together.
- Sew down the full length of the strip with a ¼” seam.
- Press the seam to the dark side. (towards the darker fabric)
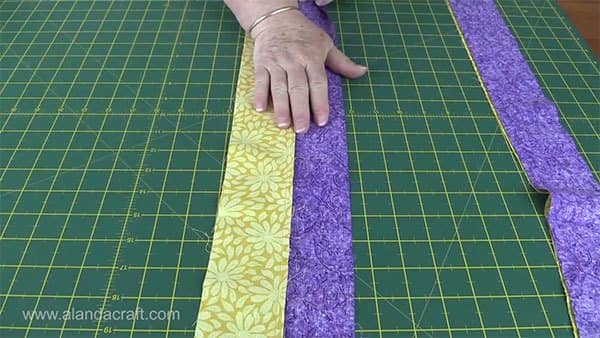
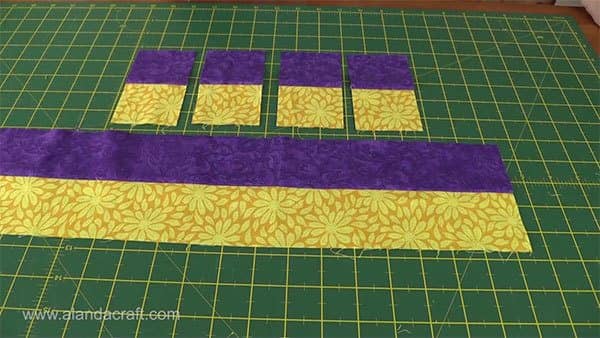
- Cut the strips into 2½” pieces.

- You need 4 for each block.
- Put these aside for the moment.
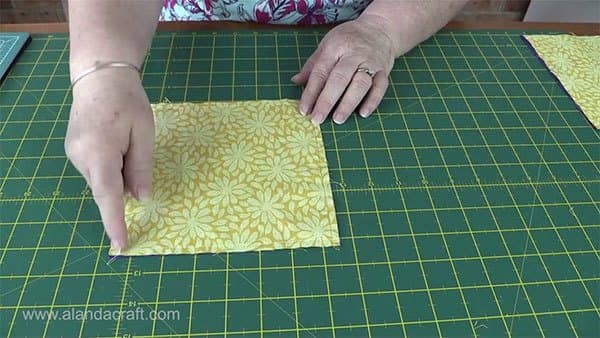
- Take the two 7¼” pieces, lay them one on top of the other, right sides together.
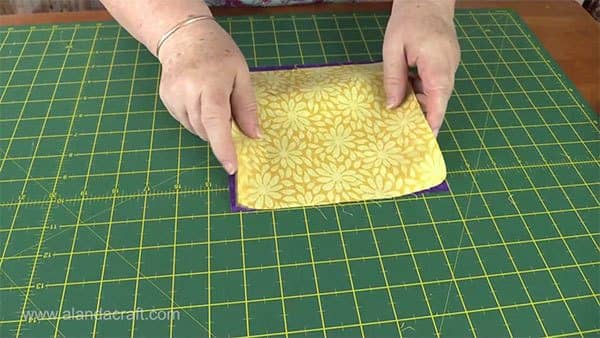
- Sew right around the outside edge with a ¼” seam.
- Slice across the square in a diagonal direction from corner to corner.
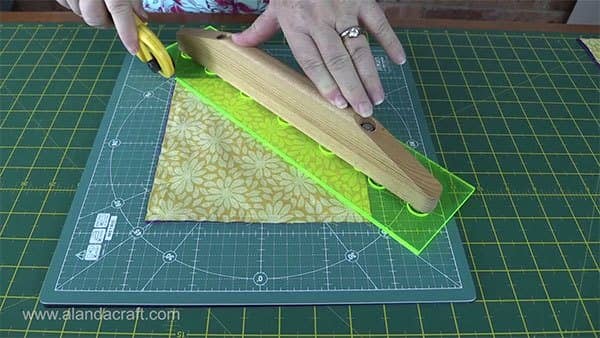
- Now slice the square in the other direction from corner to corner. Try not to move the block but rather move around to make the second cut if you don’t have a Lazy Susan cutting mat.
- You now have 4 half square triangles.
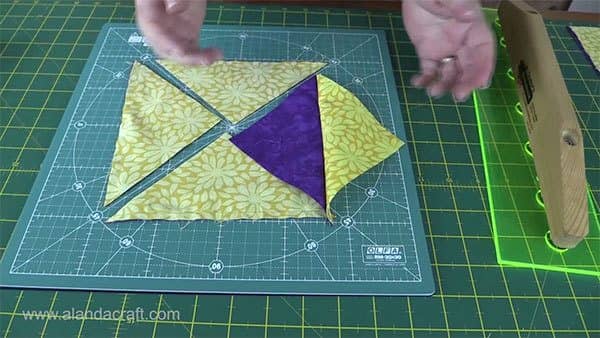
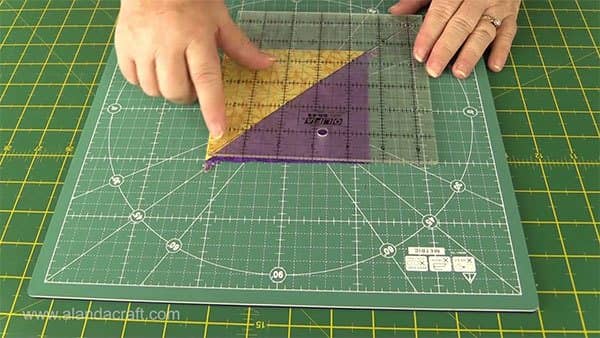
- Trim the Half Square Triangles to 4½”.
- If you are not sure how to trim HST’s you can watch our video on how to do it here.
- Lay the 2½” square piece of fabric on the mat.
- Arrange the other pieces around the centre square as shown.
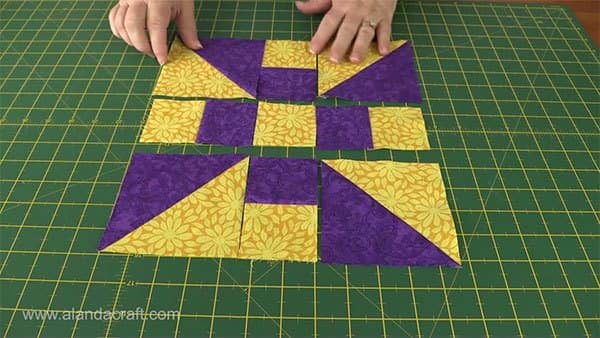
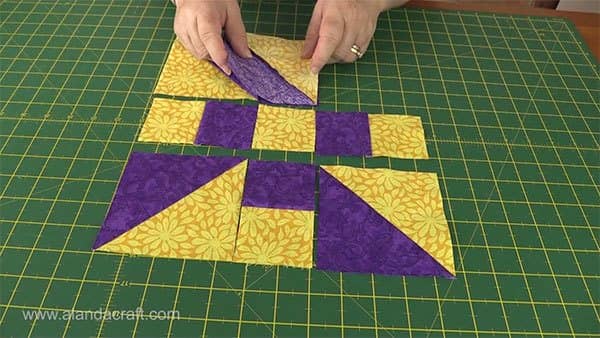
- Sew the first row by placing the first piece face down on top of the next piece.
- Sew with a ¼” seam.
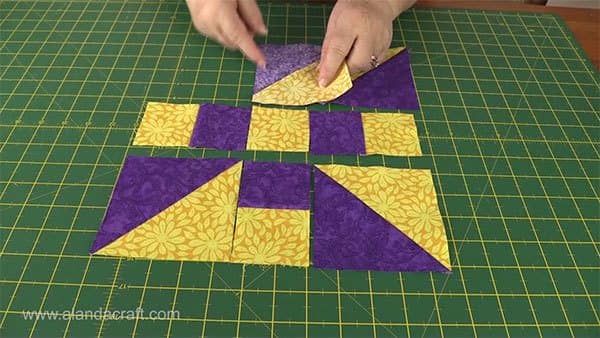
- Add the next piece to the two pieces you have just sewn.
- Do the same with the next two rows.
- Sew the first two pieces together and sew on the third piece.
- Press the seams as shown in the photo below.
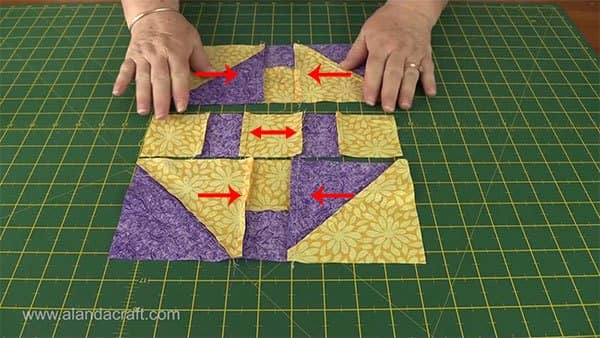
Now its time time the rows together.
- Sew the top row to the middle row.
- The seams should nest together nicely because of how we have pressed the seams. So you will have seams on the front that will be perfectly aligned.
- Sew the bottom row to the top two rows.
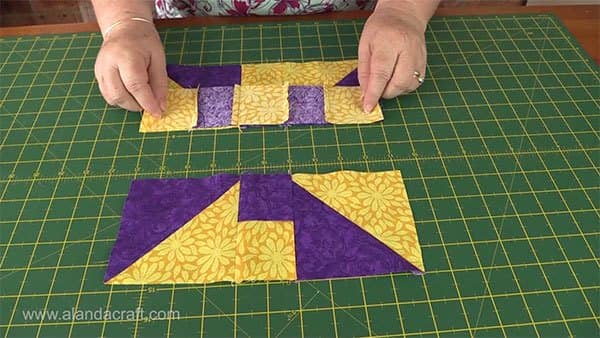
- And there you have it, a quick and easy quilt block that will make a great looking quilt.
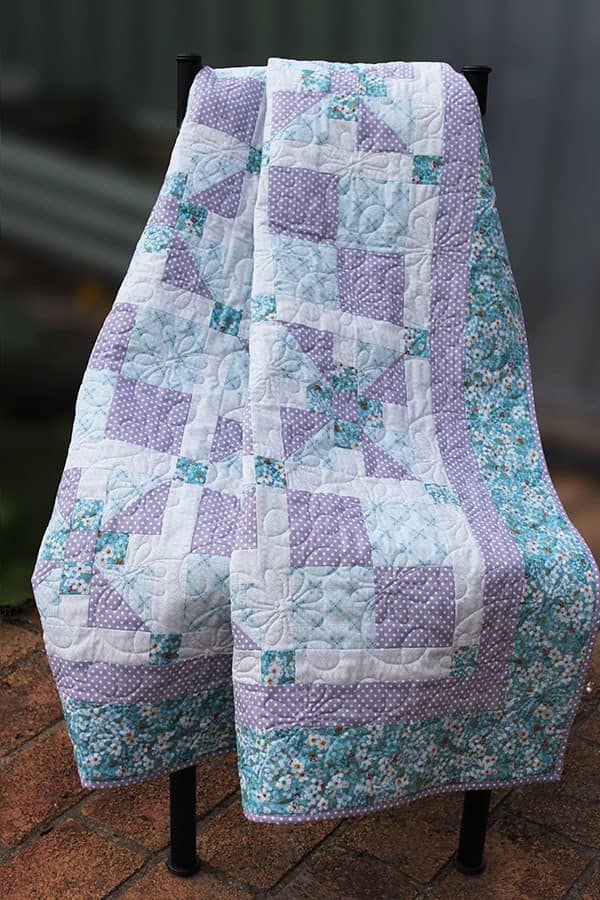
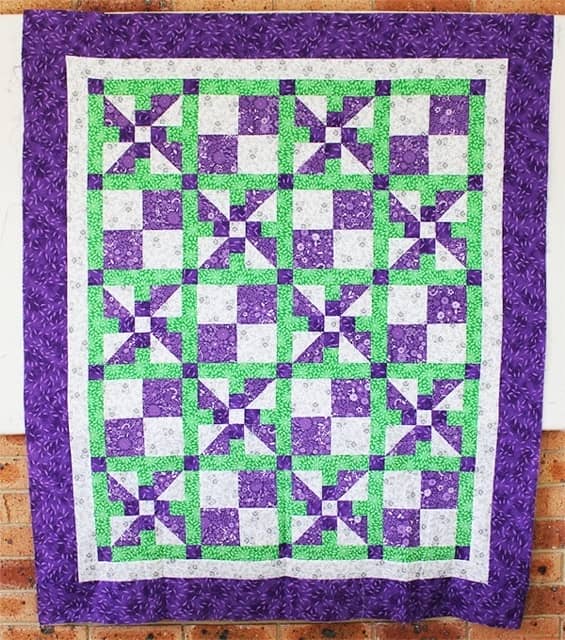
Snuggle Blossom Crib Quilt Pattern
- This Snuggle Blossom quilt pattern using the Propeller quilt block is available in our store.
- Here is a modern, vibrant version of the Snuggle Blossom Quilt Pattern in purple, green and white.
- This is a more subtle version of the Snuggle Blossom Quilt Pattern in greys and blues.