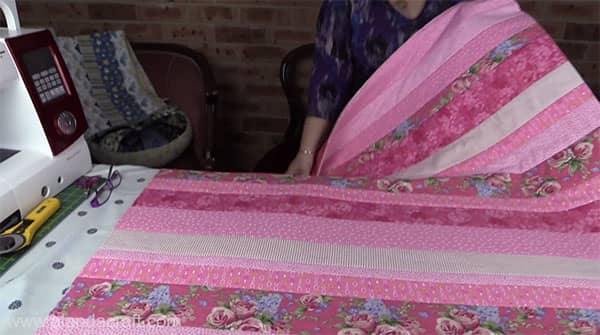
Quilting Tutorial: Quilt as You Go Baby Quilt
This is such a quick and easy project that you will be able to whip up in no time at all. And these quilts look amazing when they are finished.
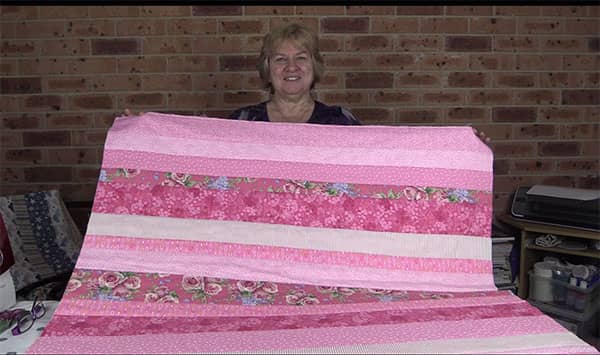
The beauty of the quilt-as-you-go method is that you quilt all three layers of fabric – the top, batting, and the backing, all at the same time. So when you get to the end of your sewing, everything is quilted together.
How cool is that?! The only thing left to do after you trim your quilt to the size you want is to bind it and you can see our tutorial on how to machine bind your quilt here.
Watch the video tutorial below or scroll down for the written instructions
NOTE:Please note that the information below is just a basic outline. Please refer to the video tutorial for step by step instructions.
So what do you need:
- 7 different pieces of fabric. We bought 25cm or approx ¼ yard of each fabric
- Batting cut to an inch or two bigger than the finished size of your quilt. We use Warm and Natural cotton batting
- Backing fabric that is an inch or two bigger than the finished size of your quilt
TOOLS USED IN THIS TUTORIAL
You can check the latest prices at Amazon by clicking on the links below:
- Creative Grids Ruler 8½” x 24½”
- Olfa 24″ x 36″ double-sided healing mat
- Olfa 60mm rotary cutter
- Warm & Natural Cotton Batting
- Oliso Iron
- Gutermann Sew-All thread
Method:
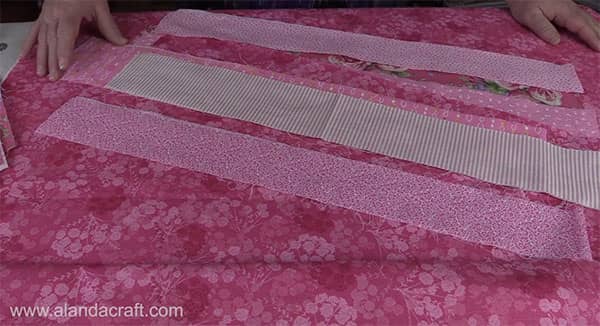
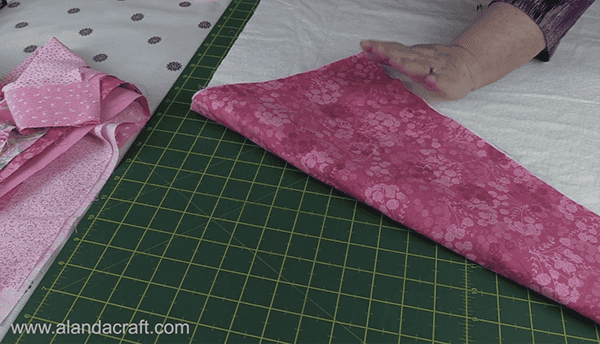
- Cut each piece of fabric into strips, across the width of the fabric, ranging in sizes ranging from 1½” to about 4″ in width. You can make the strips bigger if you have a piece of fabric that you want to fussy cut to show a particular pattern, but 4″ is a good size for a baby quilt.
- Cut the selvages from each end of the strips.
- Cut your batting 1″ to 2″ bigger than the size of your finished quilt size.
- We wanted a finished quilt size of 40 x 50 so we cut our batting 42″ x52″.
- Cut your backing fabric 1″ to 2″ bigger than the size of your finished quilt size.
- Again we cut our piece to 42″ x 52″.
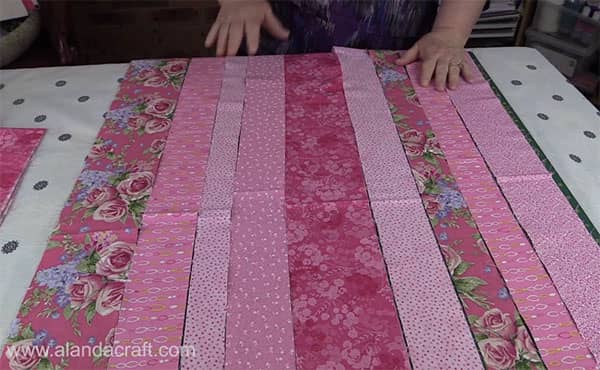
- Sort your strips into the order you like them.
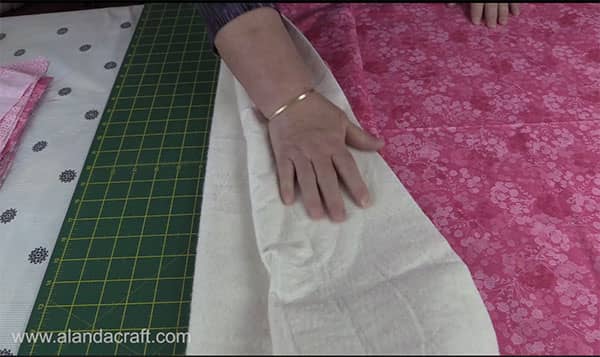
- Lay your backing fabric right side down on your surface.
- Place the batting on top of the backing, you can use spray adhesive or quilting pins to keep the pieces together.
- Take your first strip and lay it right side up with one edge along the top edge of the batting and backing making sure that the top is straight. This is important as this step will ensure that the rest of the strips are straight. We also like to keep the strip edge flush with one side edge the batting and backing. The strips will always be out on the other side because they are generally different lengths, but we will be trimming the sides up once we have added all the strips.
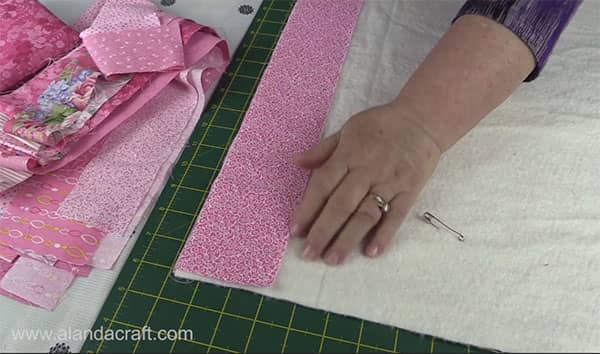
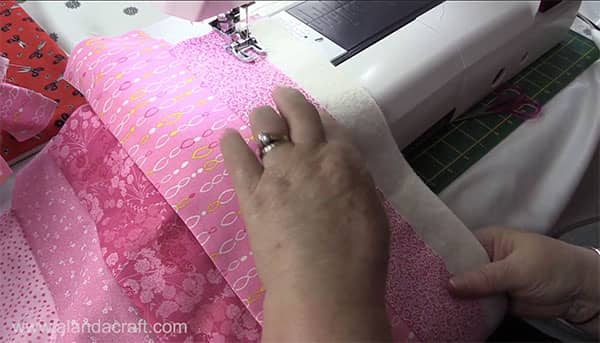
- Lay the next strip right side down on top of the first strip and sew along the edge with a ¼” seam.
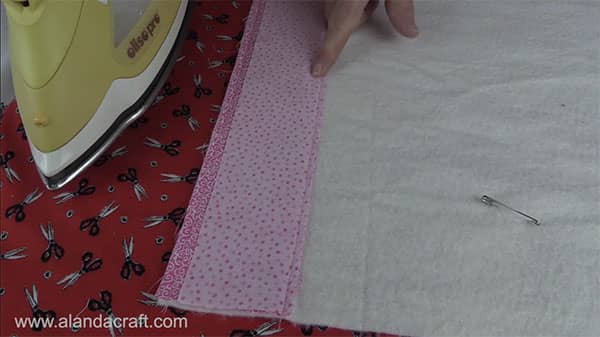
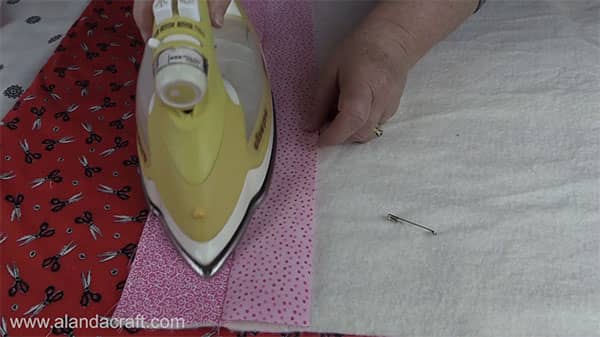
- Press along the seam and then open out the strips and press the second strip down onto the batting.
- Check the backing as you sew each strip to make sure it is not bunching up. You will be able to feel that the backing is smooth as you are sewing so this is just a precautionary measure to make sure everything is nice and smooth.

- Continue in this manner until you have used all your strips or you have reached the desired length of your quilt.
- Trim the quilt to the size you want. (Watch the video to see how we do this.)

- You are now ready to bind your quilt. If you need a little help with adding a binding and getting nicely mitred corners, here is a link to our How to Machine Bind a Quilt tutorial to help you.