The Squares Strip Quilt With Fabric From Cotton Cuts
This quilt was an interesting exercise for us. Why? Well we did it on the fly. Normally we create one or two prototypes to make sure everything works and then create the video tutorial. This time however, we just went for it. We still designed the quilt in EQ8, but it was telling us to cut a heap of squares and rectangles but we didn’t want to do that.

So with fingers crossed, we went with a different method using strips. This meant, we couldn’t rely on EQ8 for cutting instructions but instead had to use our own calculations. So it was a bit concerning as we couldn’t test it first but fortunately it all came good in the end. And the method we went with resulted in the quilt being made so much faster than sewing all those squares and rectangles together. PLUS, everything lines up perfectly when using this method…or pretty close to perfect. You will love it!
About Cotton Cuts
Now, the main reason we created this quilt was to use the lovely fabric we received from Cotton Cuts and we do want to thank them for their generosity. There was no expectation of what we would make and we wanted to make it into something practical and pretty. Our idea was to make a quilt that is easy to put together while looking impressive AND we wanted to use all the fabric that came in the pack.
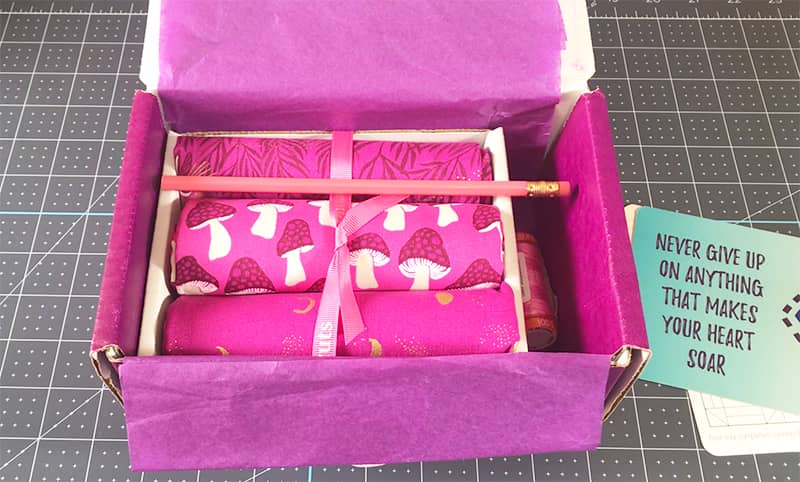
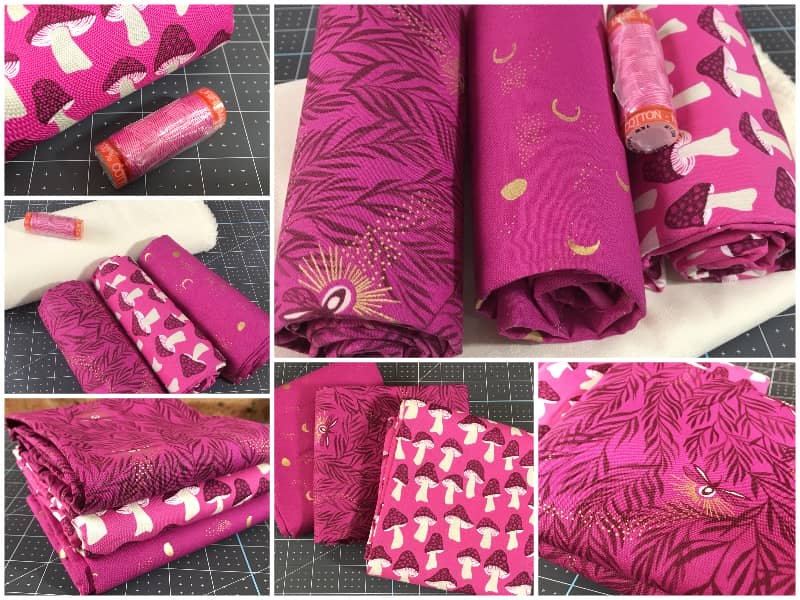
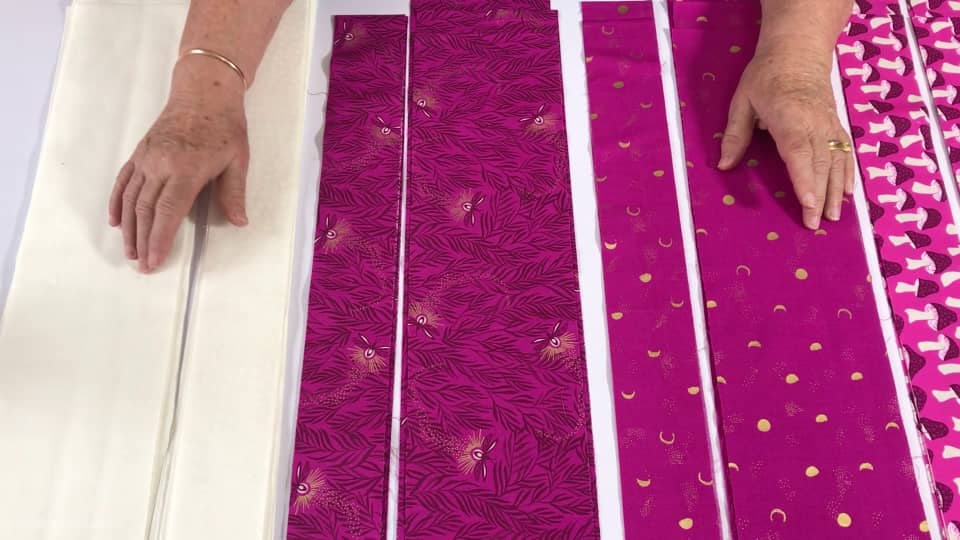
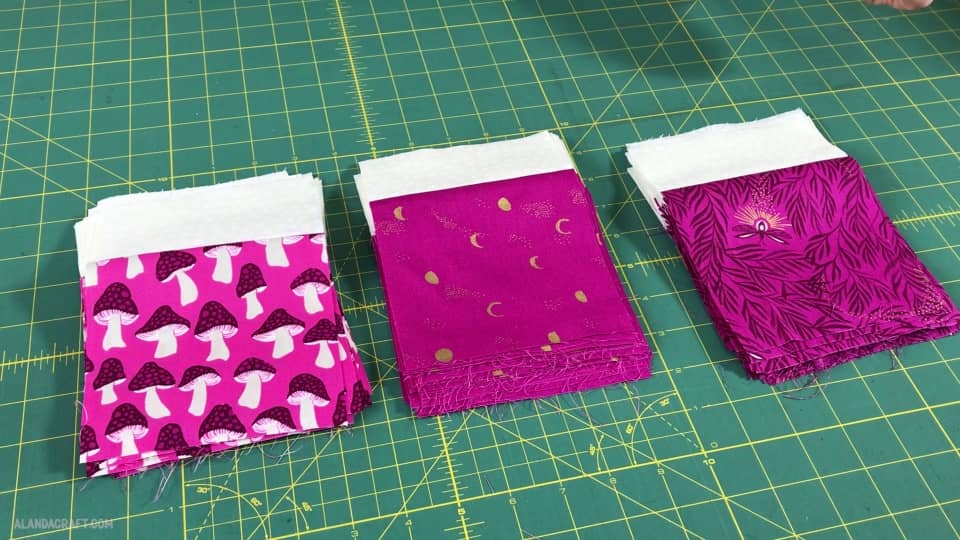
In the box were 3 yards of beautiful fabric from the Firefly collection by Sarah Watts for Ruby Star Society along with a few other goodies, like a pencil, a ‘How to make a quilt block’ card and some thread to match the material. The fabric is 100% cotton and it’s made in Japan.
Our fabric was packaged in a cute little box and the contents were wrapped in tissue paper. I really like the presentation. Now you can purchase fabric, pre-cuts, scissors, thread and other items from Cotton Cuts. You can also join one of their membership programs that allow you to choose to have fabric delivered to your door, monthly, 3 monthly, 6 monthly and even yearly. You can choose the colorways and the fabric cuts that you prefer and you can opt out of receiving fabric colors that you personally wouldn’t use. Quite frankly I’m very impressed with the quality of the fabric we received.
Making the Squares Strip Quilt
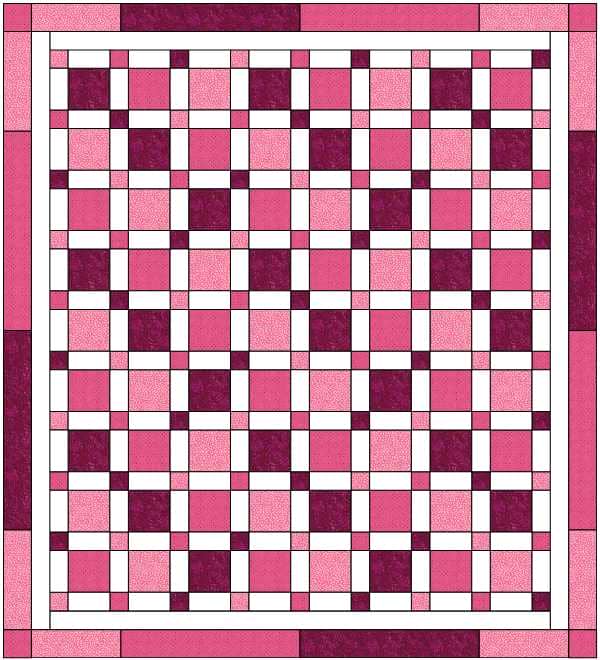
To turn these fabrics into a quilt we needed a solid contrasting fabric and so we chose white. So with all that in mind here is what we came up with.
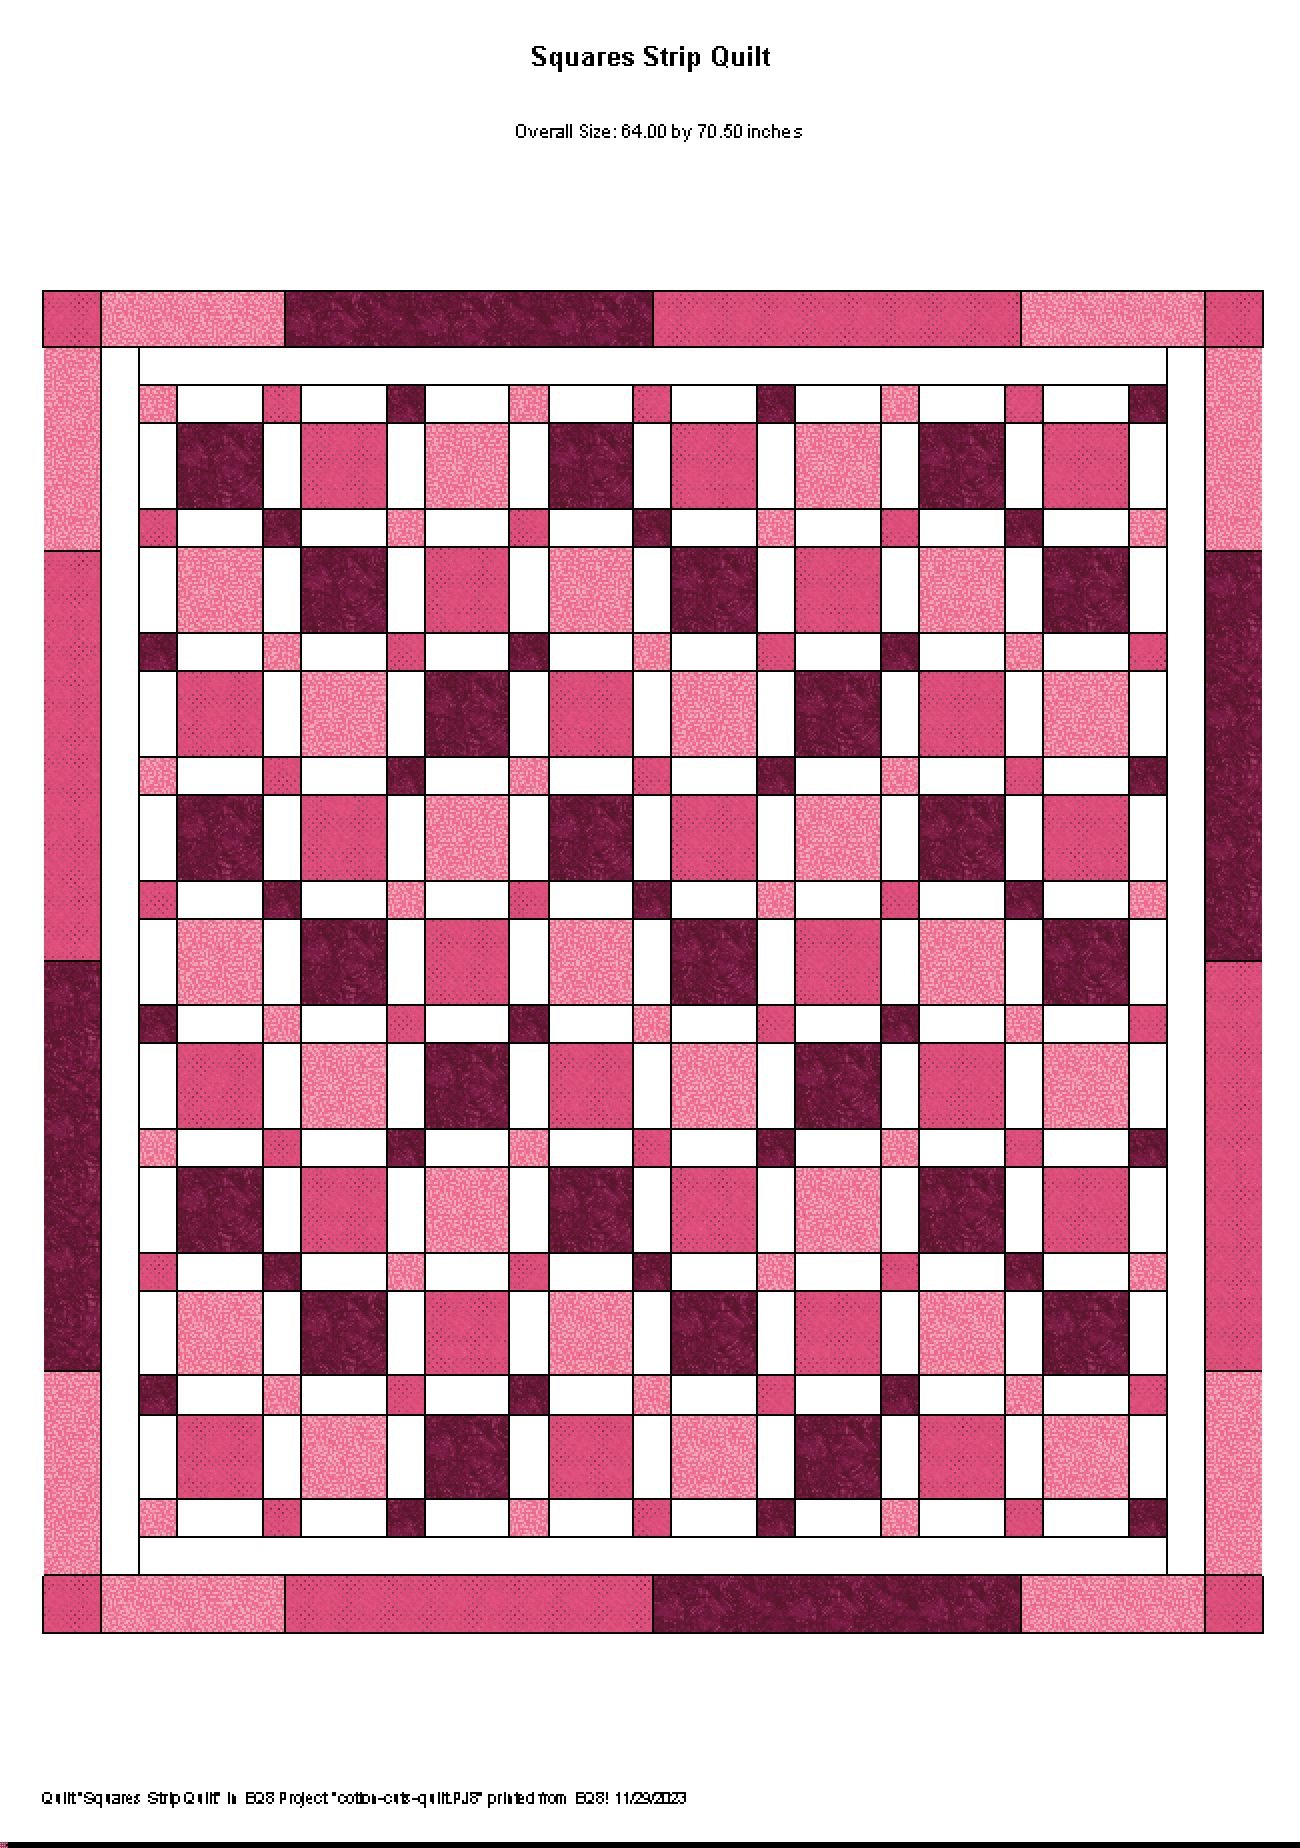
Finished Quilt Size: Approx: 64″ x 70.5″
- Fabric 1 – 1 yard
- Fabric 2 – 1 yard
- Fabric 3 – 1 yard
- Contrasting fabric for sashing and first border (white) – 2 yards
- Creative Grids Ruler – 8.5″ x 24.5″
- Olfa – Rotary Cutter 60mm
Download the quilt image
Watch the video tutorial below or scroll down for written instructions
(Can’t see the video? You may have an ad blocker installed)
Cutting
This type of quilt is generally made by cutting your fabric into small squares. We’re not going to be doing that. Instead, we are going to cut our fabric into strips. This means less trying to match up small blocks.
Cutting Instructions
Sashing Block Strips
- From your white fabric – cut 6 strips measuring 5″ by width of fabric (WOF)
- From each of the 3 colored fabrics – cut 2 strips measuring 2½” by WOF (6 strips in total)
Main Blocks Strips
- From your white fabric – cut 9 strips measuring 2½” by WOF
- From each of the 3 colored fabrics – cut 3 strips measuring 5″ by WOF (9 strips in total)
Sewing Instructions
Sashing Blocks
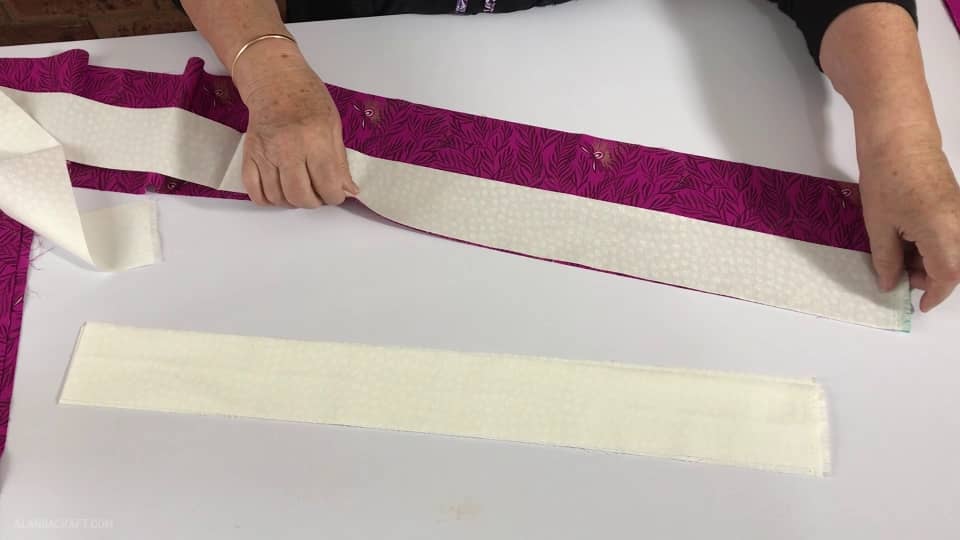
- Take one 2½”colored strip and one 5″ white strip and place them right sides together.
- Sew along the edge with a ¼” seam.
- Repeat with the other 2½” coloured strips and the 5″ white pieces
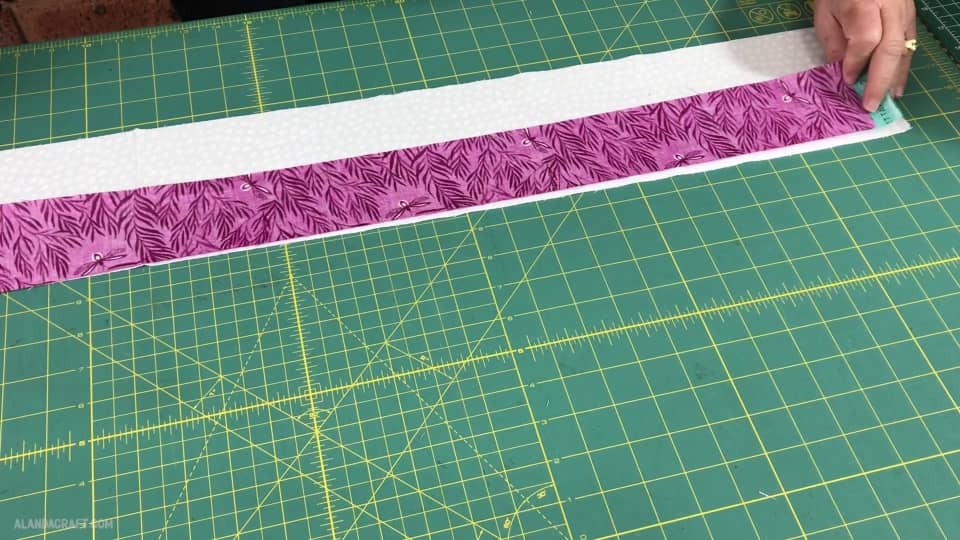
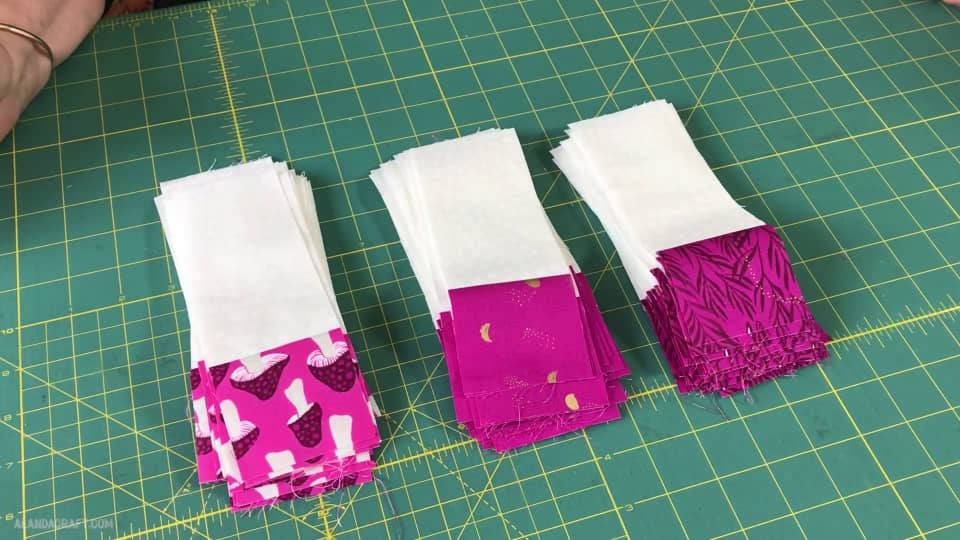
You will now have 3 long strips each with a colored piece of fabric attached to a white piece of fabric. So six strip sets in total.
Take one long strip and cut it into 2½” strips. You will have some extras as we only need a total of 30 strips.
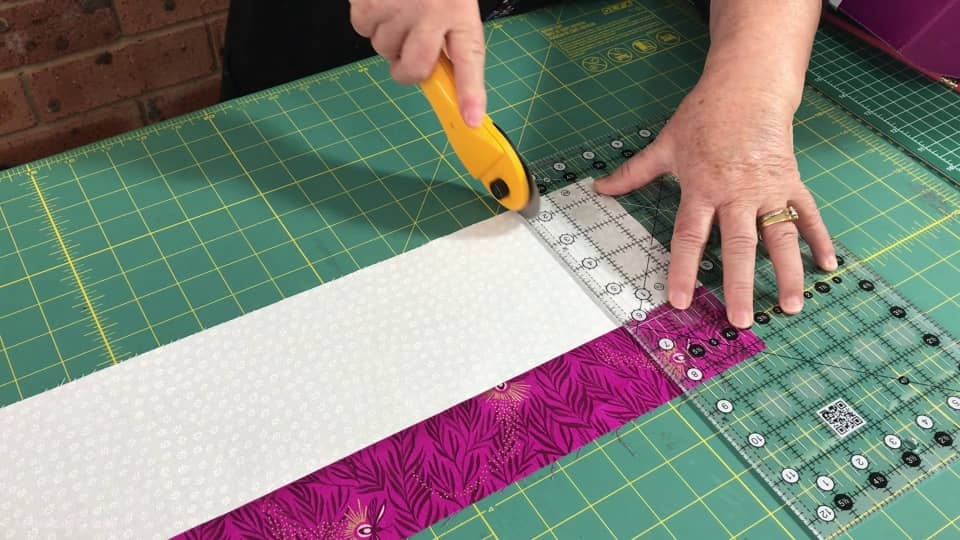
So in total, you will need 30 strips of each color set.
Main Blocks
- Take one 2½”white strip and one 5″ colored strip and place them right sides together.
- Sew along the edge with a ¼” seam.
- Repeat with the other 2½” white strips and the 5″ colored pieces
You should now have 9 strip sets of the 3 coloured fabrics sewn on to the white strips.
Cut each strip into 5″ pieces. We ended up with 8 squares from each strip set.
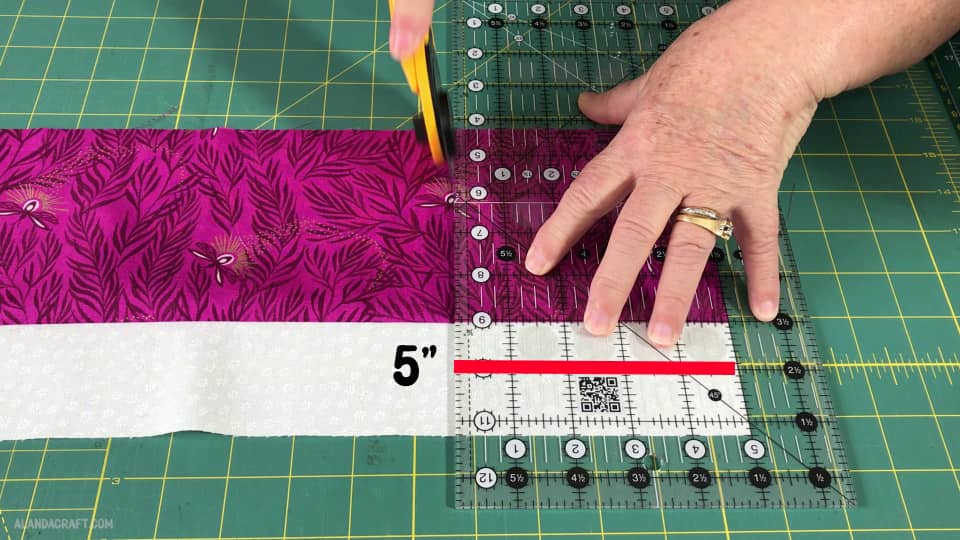
So in total, you should end up with 24 pieces for each of the three fabrics.
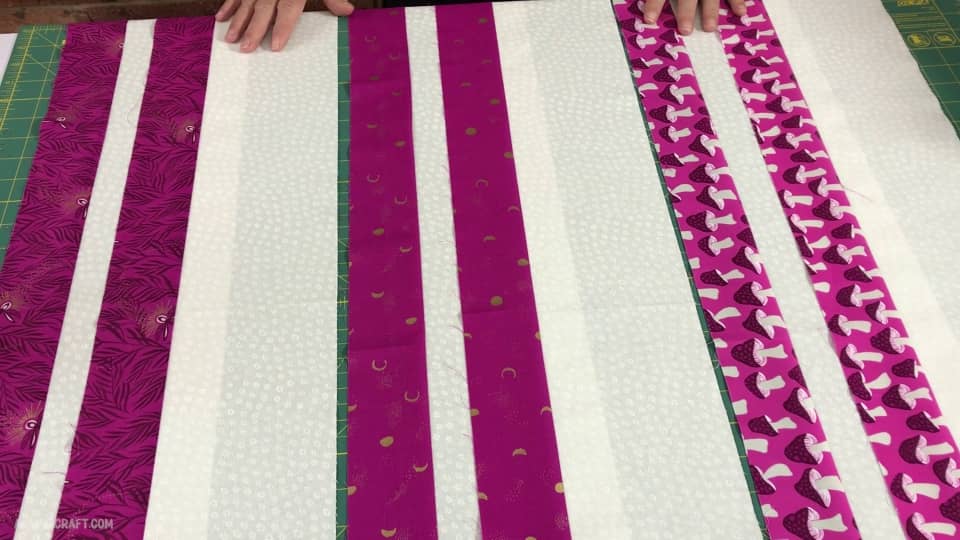
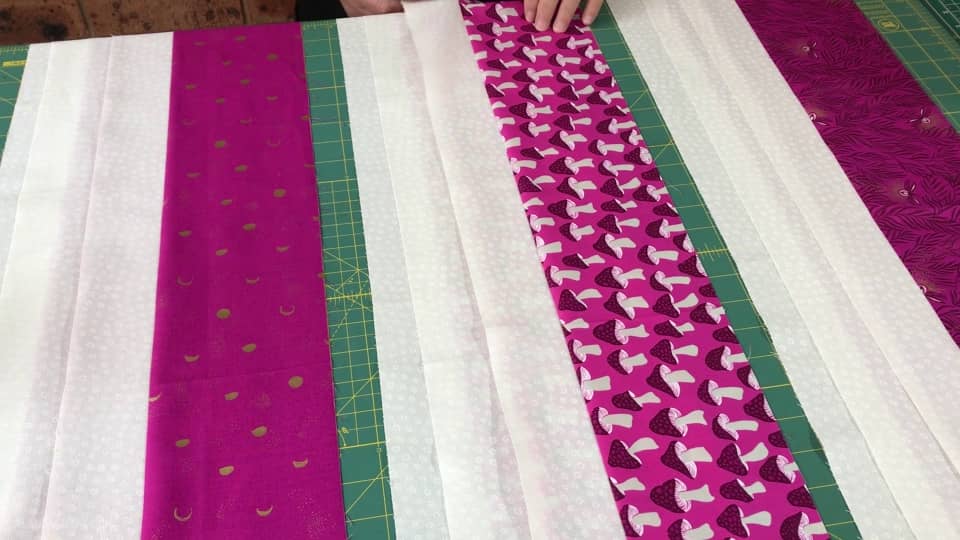
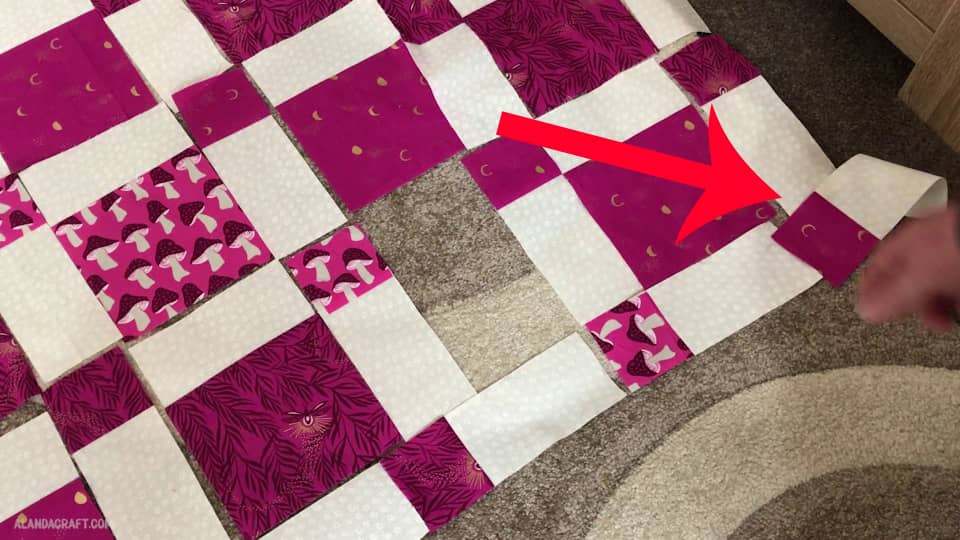
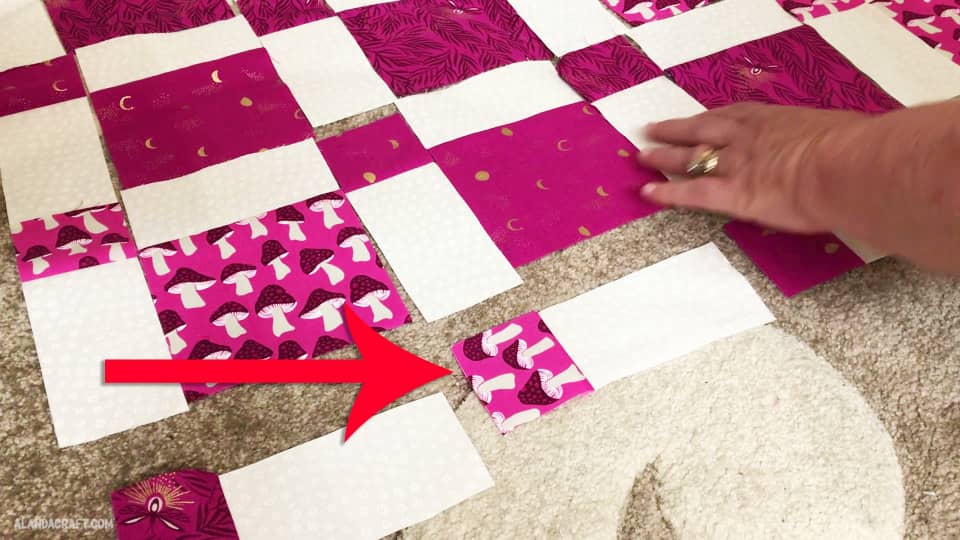
Lay out the pieces on the floor or your worktable. You can use our configuration as shown or create your own.
Now is the time to move things around to how you want the quilt to look.
Things to note…
At the very bottom edge you will notice that you will have one colored square with a white strip attached. We don’t need that white strip so just unpick it from the colored square. I can’t think of an easier way to do this.
Also if you have a directional print like I have, then you may need to unpick those squares and turn them around. I know unpicking is a nuisance but I have saved a ton of time by not having to sew together all those little squares, so I didn’t find this to be a problem.
Border 1 – White
My first border is going to have a finished size of 2″. So I cut 6 strips of white fabric measuring 2½” x WOF.
I am going to attach the long side borders first so I take a measurement down the centre of my quilt, and it is 60. So I cut 2 pieces of white fabric measuring 2½” x 60″
For the top and bottom border, take a measurement across the centre of the quilt – mine measures 58″.
Cut 2 pieces of white fabric measuring 2½” x 58.”
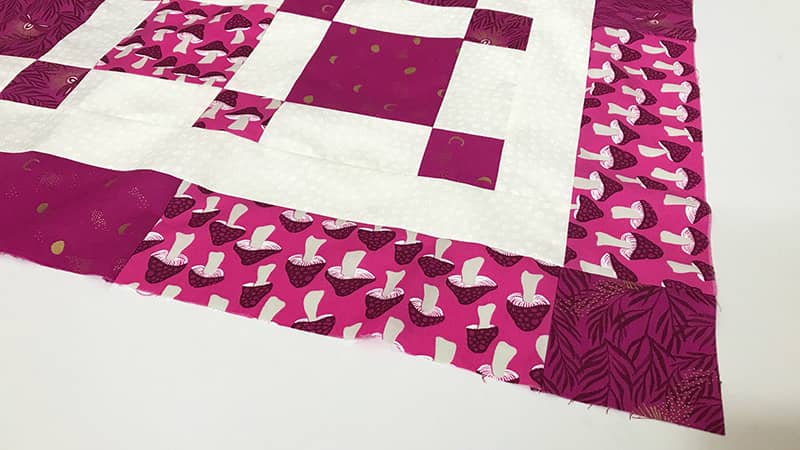
Border 2 – Multi-Coloured
Now this goes through how I did the borders for this quilt, but you can save yourself all the heartache and just use one fabric. We wanted to use up as much of the fabric that Cotton Cuts provided us with hence why we went with a multi-coloured border.
IMPORTANT: Bear in mind, that these cutting instructions may be slightly different depending on the size of your quilt, so measure your quilt first.
Cornerstones
Decide which fabric you want for the cornerstones and cut 4 pieces measuring 3½” x 3½”
Top and Bottom Borders
Medium Fabric (mushroom fabric)
Cut four pieces – each measuring 3½” x 10″.
Light Fabric (moon fabric)
Cut two pieces – each measuring 3½” x 20″
Dark Fabric (dragonfly fabric)
Cut two pieces – each measuring 3½” x 20″
Side Borders
Medium Fabric (mushroom fabric)
Cut four pieces measuring 3½” x 11″
Light Fabric (moon fabric)
Cut two pieces measuring 3½” x 22″
Dark Fabric (dragonfly fabric)
Cut four pieces measuring 3½” x 11″