10 Happy Halloween Projects With the Aufero 2 Laser Machine
So here we are at that time of the year when our thoughts turn to all things spooky and ghoulish. It’s a fun time and maybe you are looking for some projects to make for Halloween.
We have put together some ideas that you can make with your Aufero 2 Laser cutting and engraving machine. You might even want to make some of these projects for your Etsy or market store.
Watch the video below to see how we made these Halloween projects
Products used in these Halloween Projects.
Aufero 2 Laser Cutter and Engraving Machine. To read our review on the Aufero 2 click here
SVG Files
- Halloween Cake Topper Bundle
- Halloween Icons
- Door Corners
- Halloween Earrings
- Halloween Card – Spider Web
- Halloween Card – Witch & Cauldron
- Halloween Coasters – Pumpkin Faces
- Slate Coaster – Saying “Drink Up Witches’ from the 40 Design Halloween bundle
- Halloween Kraft Bag – Trick or Treat Design
- Halloween Ornaments – Witch and the Cat design
- Halloween Ornaments – Mummy and the Witches Hat
- Halloween Containers – 300 Halloween Cut Files Bundle
- Halloween tags
The settings we used for each item were as follows:
| ITEM | MATERIAL | SPEED | POWER | MODE |
|---|---|---|---|---|
| Door Corners | 3mm MDF | 100 | 100 mm/min | Line |
| Pancakes | Food | 4300 | 100 mm/min | Fill |
| Hamburger Buns | Food | 4800 | 100 mm/min | Fill |
| Hot Dog Buns | Food | 4800 | 100 mm/min | Fill |
| Tags | 3mm MDF | 100 | 100 mm/min | Line |
| Slate Coaster | Slate | 3000 | 60 mm/min | Fill |
| Cut Out Coasters | 3mm MDF | 100 | 100 mm/min | Line |
| Halloween Cards | 65lb Cardstock | 800 | 30 mm/min | Line |
| Kraft Box | Kraft Paper Box | 2000 | 45 mm/min | Fill |
| Metal Container | Metal | 600 | 100 mm/min | Fill |
| Ornaments | 3mm MDF | 100 | 100 mm/min | Line |
| Kraft Bags | Kraft Paper | 4800 | 100 mm/min | Fill |
| Earrings | 2mm Balsa | 300 | 100 mm/min | Line |
| Cake Toppers | 3mm MDF | 100 | 100 mm/min | Line |
Project 1 – Halloween Door Corners
These door corners add that extra touch of spookiness to your Halloween decor. Dress up the door corners with cobwebs and spiders and you have a whole new creepy look to your party theme. I especially like the graveyard scene with the hand reaching up eerily from the grave site.
Settings Used
- 3mm MDF
- Speed -100mm/min
- Power -100%
- Mode – Line
Why not paint the door corners in black or orange for a more dramatic effect. Lovely.

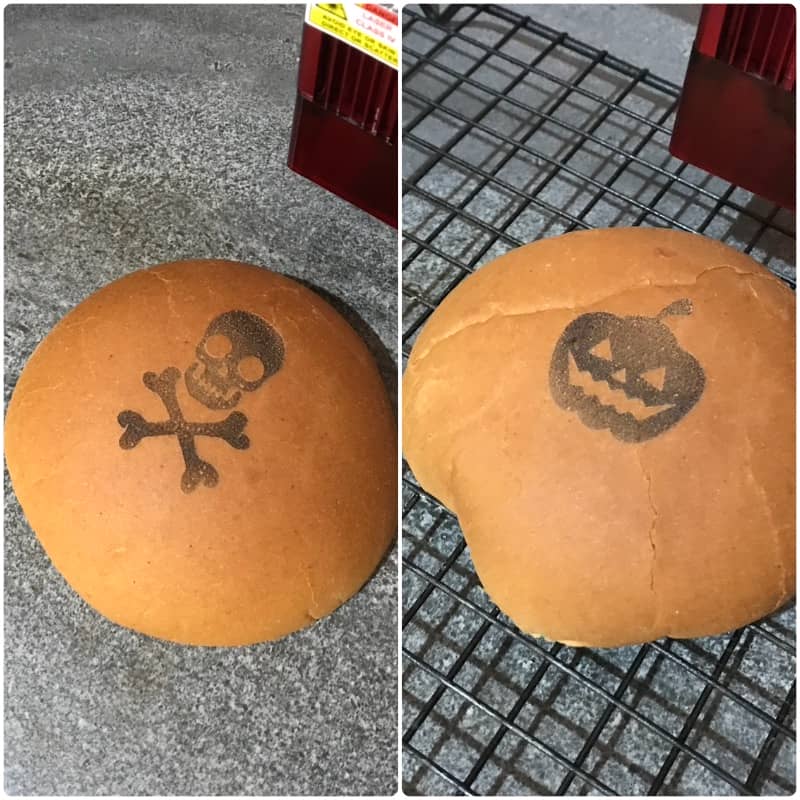
Project 2 – Decorate Your Halloween Party Food
If you are having a Halloween party, why not treat your guests to some fun and dress up the hamburger buns with some Halloween symbols such as a Skull & Cross Bones or a Pumpkin Face.
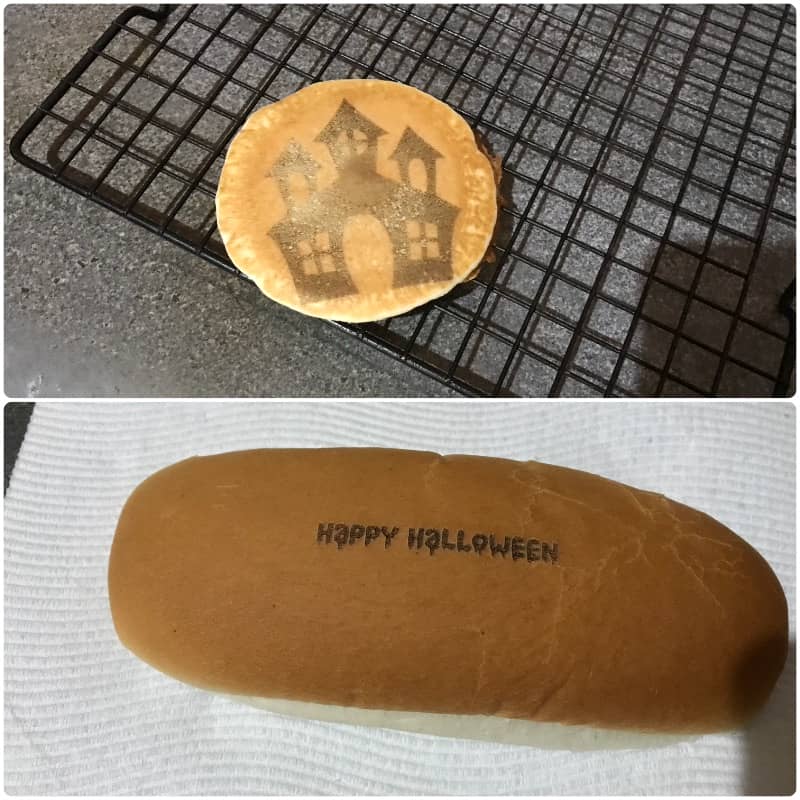
Or the hot dog buns with a ‘Happy Halloween’ message in a font dripping with blood. We used this great looking Halloween font called Night Party from Creative Fabrica.
And for dessert, add some spooky delight to some pancakes. We used a variety of Halloween icons such as pumpkin faces and the haunted house for these.
The Aufero 2 engraves nicely on food, just make sure you have a smooth surface and don’t bring the laser head down too hard on top of food that is springy such as the hamburger and hot dog buns. Being bread they will spring up once you remove the spacer so just make a little adjustment to leave some room between the food and the laser head.
Settings
- Speed – 4800mm/min
- Power – 100%
- Mode – Fill
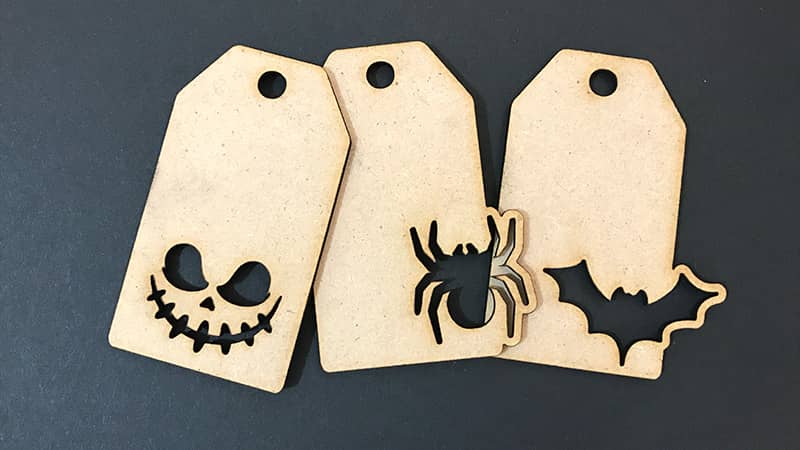
Project 3 – Halloween Tags
I think these tags are just lovely, they turned out really well. You can use them for gifts or even add them to your Halloween themed junk journals. They are made from MDF board so they can be painted or decorated in any way you like. This assortment of tags is part of a Halloween tags bundle. I really like how the spider and the bat have bits that are cut off the edge of the tag.
Settings
- 3mm MDF
- Speed – 100mm/min
- Power – 100%
- Mode – Line
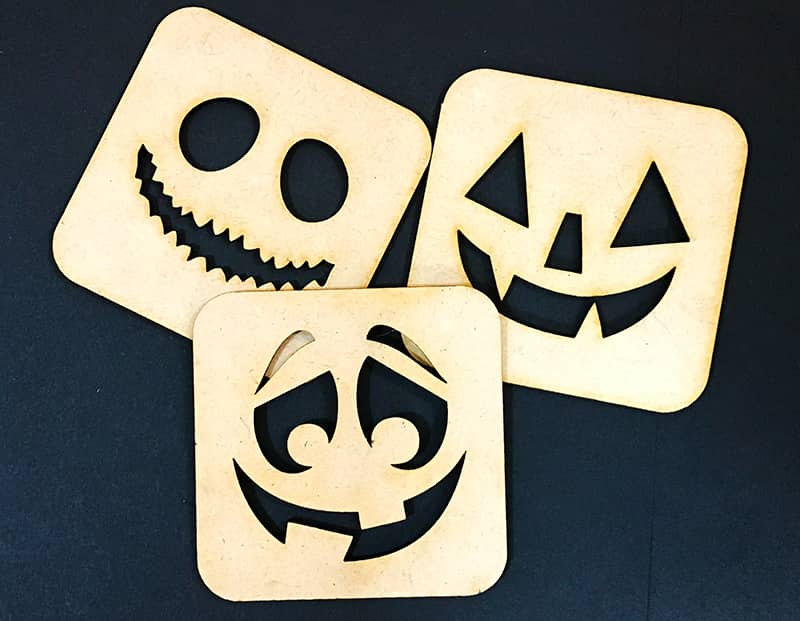
Project 4- Halloween Coasters
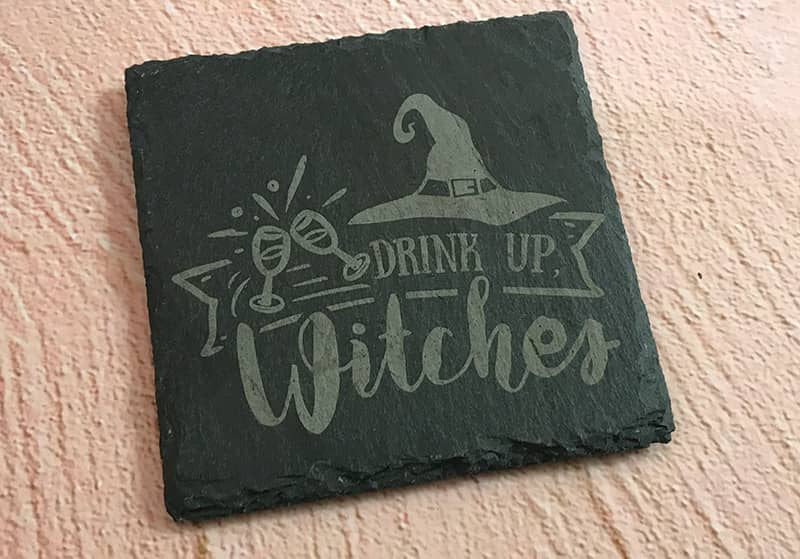
Engraved Slate Coaster
We had previously purchased some lovely slate coasters by Tradelink Innovations from Amazon, so we decide to engrave one of these. They are a really nicely finished slate and we have used them for other projects with great success. The Aufero 2 does a lovely job of engraving on slate.
We engraved these using the fill option.
Settings Used
- Slate
- Speed – 3000mm/min
- Power – 60%
- Mode – Fill
The design we used is the ‘Drink up Witches’ from Creative Fabrica. There are 40 designs in the bundle and it was really hard to make a final choice.
Cut Out Coasters
We also decided to cut out some drink coaster from 3mm MDF board. Don’t you just love these Halloween coaster designs, they are too cute. You receive 30 different designs in this bundle, so it’s a really good deal.
Settings Used
- 3mm MDF
- Speed – 100mm/min
- Power – 100%
- Mode – Line
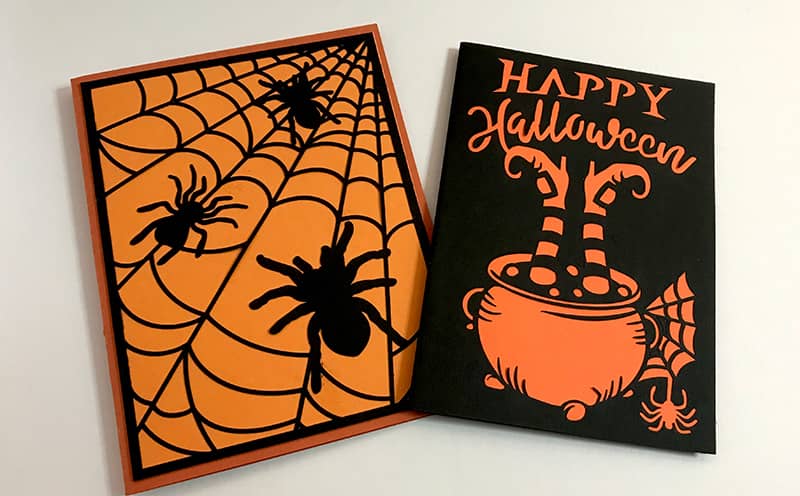
Project 5 – Halloween Cards
I used 65lb card stock to cut out these cards. it took a couple of attempts before we got the right settings. The Aufero2 does a lovely job of cutting cardstock. and it handles really fine cuts extremely well. Some of the lines on the cobweb card are very fine and it cut them beautifully.
I chose two different patterns to cut.
Settings Used
- 65lb Card Stock
- Speed – 800mm/min
- Power – 30%
- Mode – Line
After the cards were cut out I glued them to some Lawn Fawn 100 lb card stock to finish them off.
Project 6 – Halloween Engraved Boxes and Containers
If you are giving a little gift for Halloween then why not dress up the container with an engraved Halloween design. We engraved two types of container, a metal container and a Kraft paper box.
Kraft Paper Box
The ‘Trick or Treat’ design is also from the same bundle.
Note: When we were engraving the Kraft box we had to allow for the raised edge around the box. So we lay the laser spacer across the box which meant that the laser head was higher from the surface than usual. To compensate for this we halved the recommend speed.
Settings Used
- Kraft Paper
- Speed – 2000mm/min
- Power – 45%
- Mode – Fill
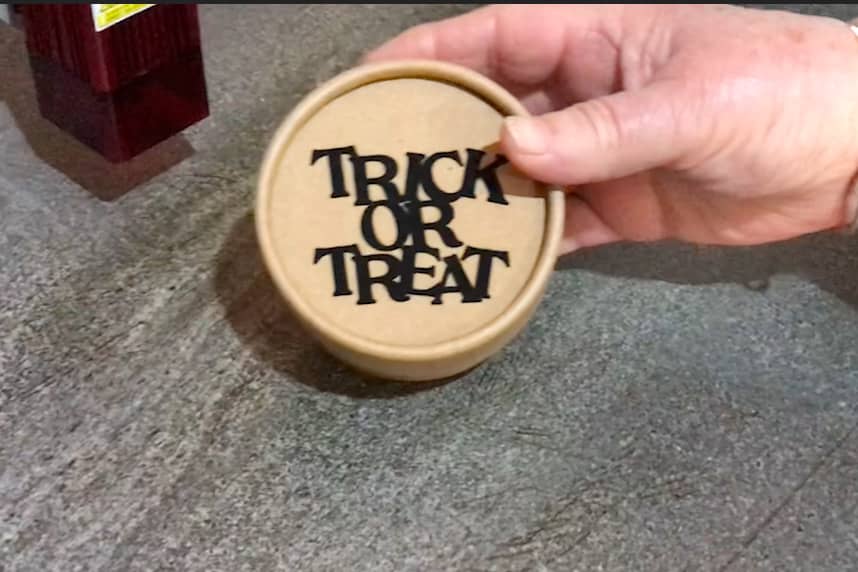
I do think it adds a nice touch to these boxes. And once again the Aufero 2 did a lovely job on both types of medium – Kraft paper and metal.
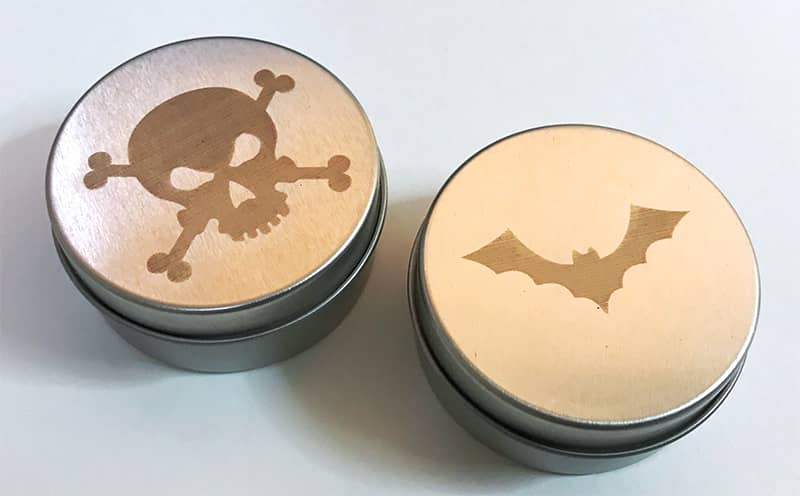
Metal Containers
For the designs on the metal lids we used the skull and x bones and the bat from the 300 Halloween cut files bundle
Settings Used
- Metal
- Speed – 600mm/min
- Power – 100%
- Mode – Fill
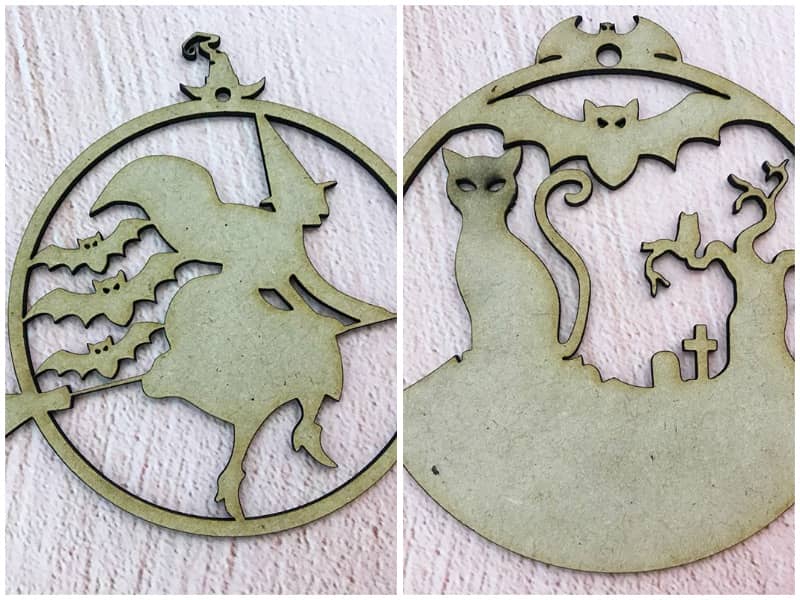
Project 7 – Halloween Ornaments
Looking for a center piece or additional piece of Halloween Decor? Why not tie some bare branches and twigs together with an orange ribbon or twine and hang some cobwebs and some Halloween themed ornaments from them. Or hang them around the room from cobwebs that you have draped along the walls for effect.
We cut them from 3mm MDF board so they are easy to paint to add those finishing touches.
The witches hat, the ghost and the mummy ornaments are from this bundle of Halloween files.
Settings Used
- 3mm MDF
- Speed – 100mm/min
- Power – 100%
- Mode – Line
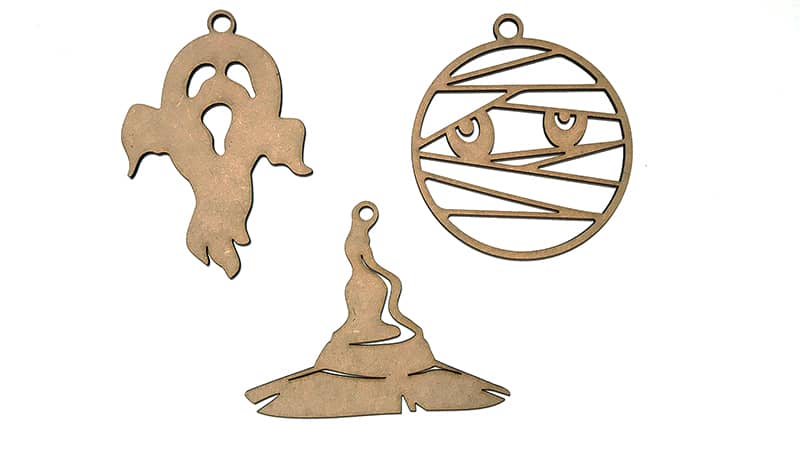
We also cut some ornaments from this bundle of Halloween themed ornaments. However, we did have a few problems with a ghost pattern in the bundle as part of the file was very fine and way too small for the laser to cut and it just burnt. If we had more time we could work on making adjustments to the file, but we ended up just using the witch and the cat from this bundle.
Project 8- Halloween Kraft Trick or Treat Bags
Every kid needs a trick or treat bag on Halloween. We picked up some Kraft bags from the local $2 store and decided to engrave ‘Trick or Treat’ on the bag. A quick and easy way to make some grab bags for the kids when they go out trick or treating.
Settings Used
- Kraft Paper Bags
- Speed 4800mm/min
- Power 45%
- Mode Fill
The design turned out a bit uneven because the base of the bag was folded under making for an uneven surface. But I don’t mind the effect as it gives the feel of mist flowing over the design. With a bit of adjustment you could probably get a better finish. But as I say, I don’t mind it at all and I’m pretty sure the kids won’t even notice, they will be too fixated on the loot contained within.

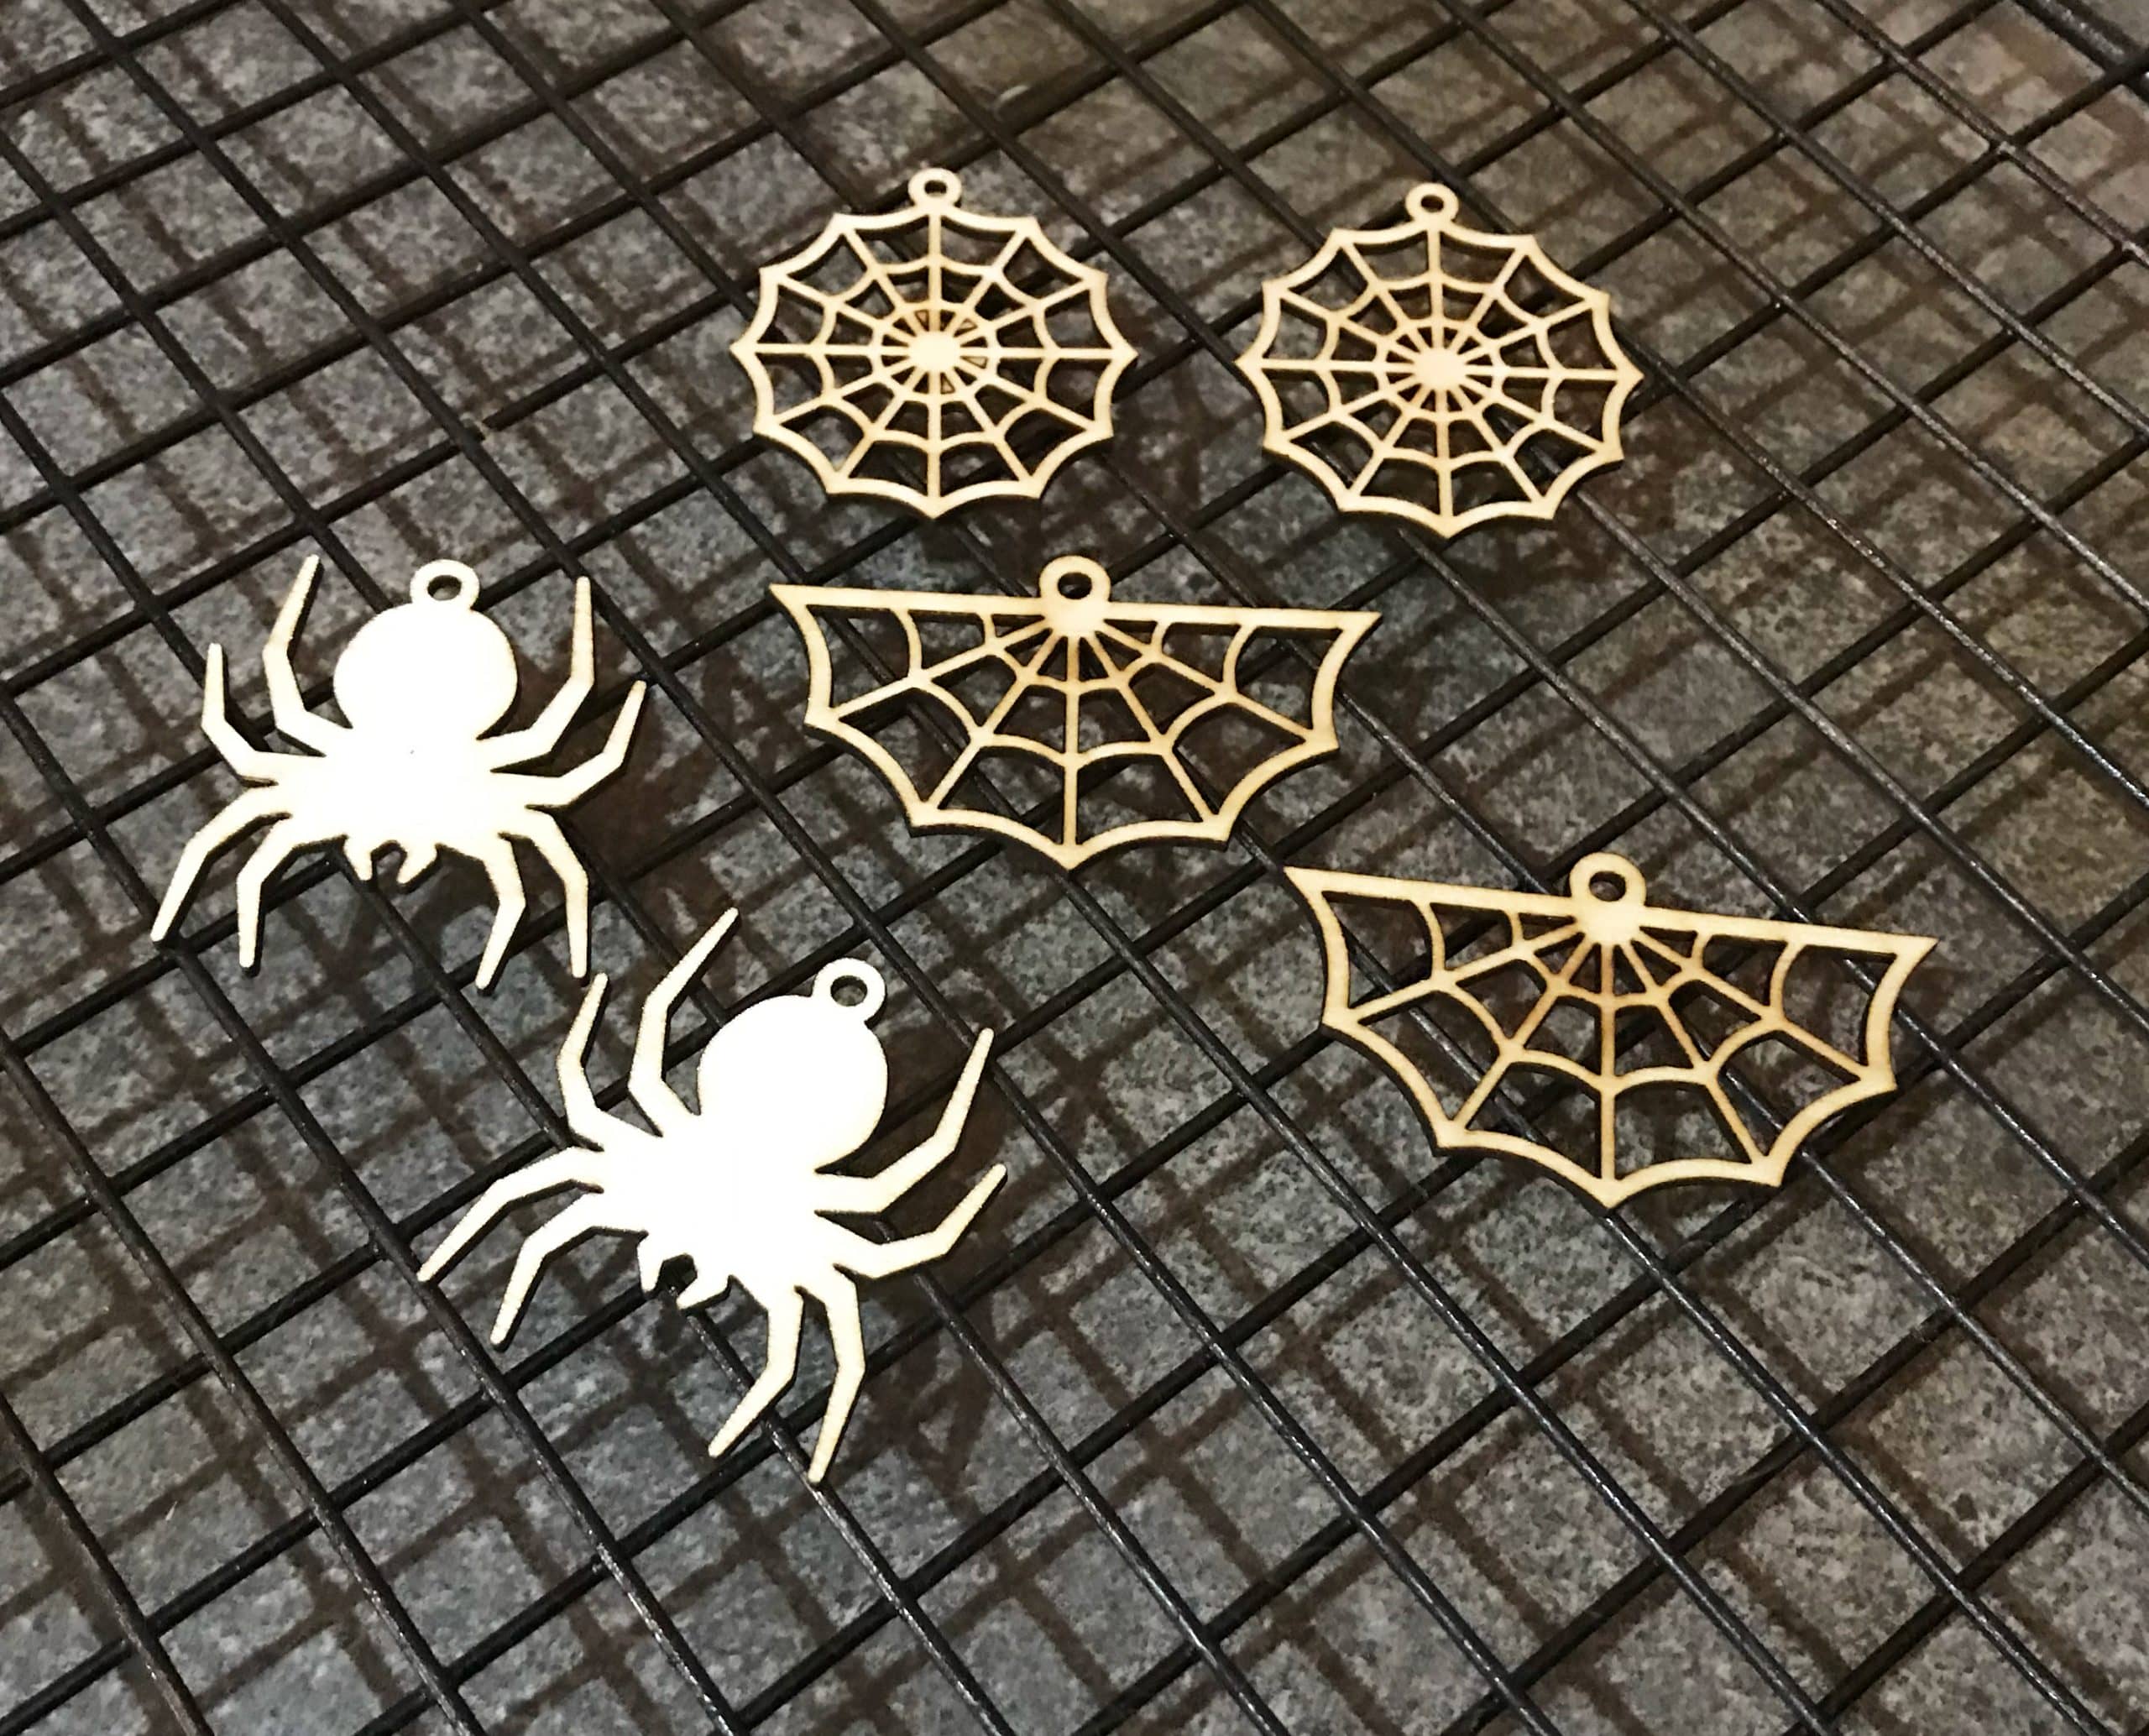
Project 9 – Let’s Make Some Ooky Spooky Earrings
How about these super cute earrings to dress up your Halloween outfit. I think they add just the right amount of eerie finishing touch. I made these from balsa wood which is easy to paint. So you could tizzy them up with some black, red or orange paint to make them stand out.
I cut out a spider as a test run and the Aufero 2 cut it perfectly. So I will add this extra spider to my ephemera stash to add as a side dangle on a junk journal. So you don’t only need to use these patterns for earrings, they have the hole cut out so you can thread them onto rope, ribbons or thread to use in other projects. Bonus.
Settings Used
- 2mm balsa wood
- Speed – 300mm/min
- Power – 100%
- Mode – Line
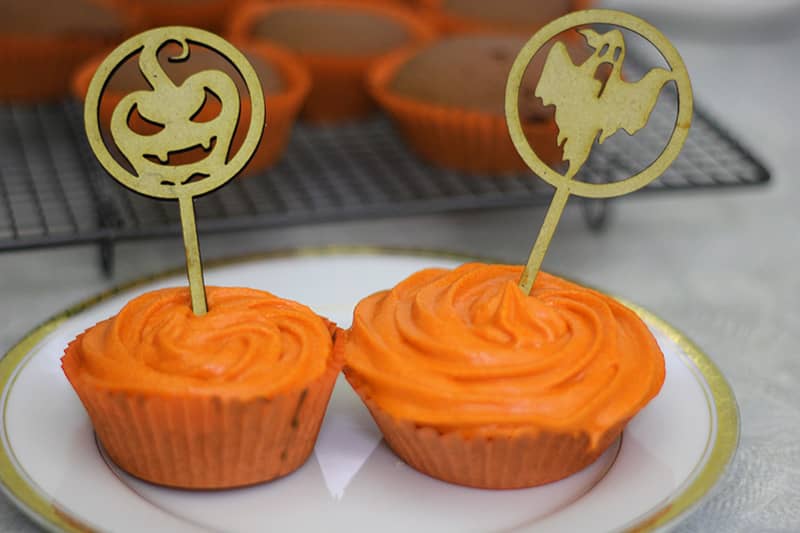
Project 10 – Halloween Cup Cake Toppers
Dress up some cupcakes with these delightfully spooky cake toppers.
We chose these delightfully creepy cup cake toppers to decorate our cup cakes. It was hard to decide which ones to make as they are all so cute. We used 3mm MDF board for the cake toppers.
Settings Used
- 3mm MDF
- Speed – 100mm/min
- Power – 100%
- Mode – Line
These settings cut the MDF board perfectly.
So there you are, 10 great ideas for Halloween projects using your Aufero 2 laser cutting and engraving machine.
If you want to take your crafting to the next level or maybe you are looking to start a small business selling laser engraved items then this machine is ideal. It’s lightweight and compact. Now might be the time to check out our review and demonstration here.