Shabby Chic Quilt – Memory Quilt – Tutorial
I have a number of doilies that were crocheted by my mother and mother in law back in the day when it was fashionable to have doilies set about the house. Doilies were used to stop the surfaces of tables, sideboards from being scratched by the large vases of flowers that always adorned our living room, and to protect dressing tables from being scratched by crystal perfume bottles, hairbrushes, etc. Larger doilies were placed on chair and sofa backs and arms. I remember sitting on the floor at my mother’s feet while she deftly crocheted her masterpieces. One of the most popular patterns was the pineapple stitch pattern.
And even though I no longer use the doilies, I didn’t want to dispose of them as both of these wonderful women have passed on, and the doilies bring back such wonderful memories of their talent and their patience.
So I decided to make a quilt from the doilies I had on hand and Paula and I searched for more of these forgotten treasure in the various op-shops around town, to supplement the supply.
Watch the video tutorial below or scroll down for the written instructions
TOOLS USED IN THIS TUTORIAL
You can check the latest prices at Amazon by clicking on the links below:
- Creative Grids Ruler 8½” x 24½”
- Olfa 24″ x 36″ double-sided healing mat
- Olfa 60mm rotary cutter
- Oliso Iron
- Gutermann Sew-All thread
What You Need
Main Fabric
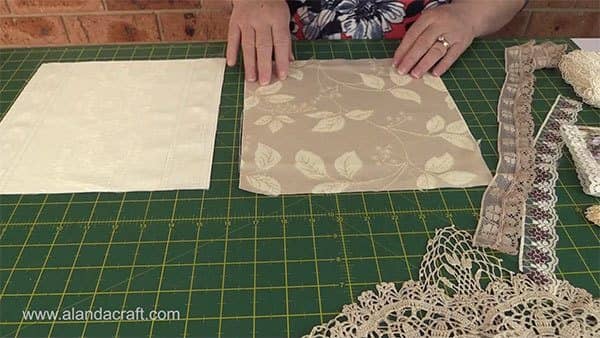
- 10 squares of fabric each measuring 10″ x 10″ – We used damask curtaining fabric as it is heavier than quilting fabric.
Contrasting Fabric
- 10 squares of fabric each measuring 10″ x 10″
Sashing
- Cut 25 strips @ 10″ x 2½”
- Cut 6 strips @ 48″ x 2½”
Backing
- Cut to approx 2″ bigger all round than the quilt top.
Batting
- Cut to approx 2″ bigger all round than the quilt top.
Assortment
- of doilies, laces and other embellishments that you might like to add.
Method
- Take 1 of the 10″ squares and sew on doilies and lace.
- Repeat for 10 more squares.
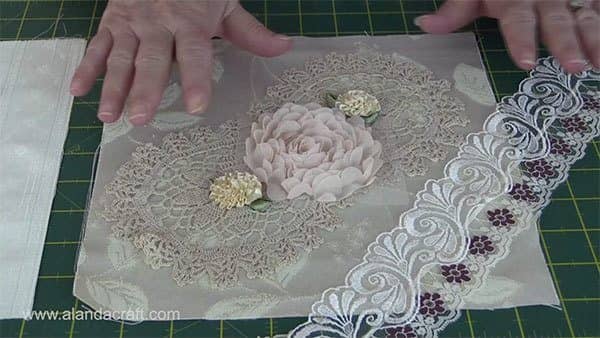
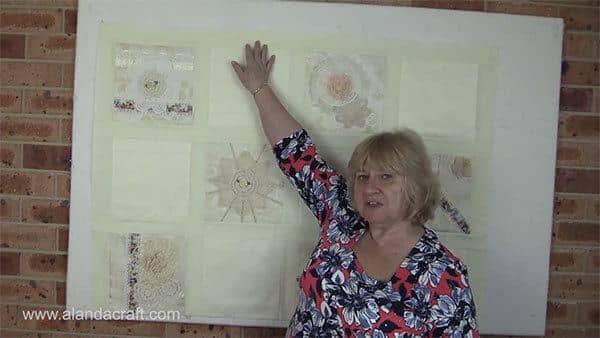
- What I do is lay the embellishments on the block.
- Just keep rearranging things until they are positioned just as you like them.t
- Take a photo with your phone or iPad.
- Sew the pieces onto the square from the bottom up.
- I machine sewed around the doily to hold it in place.
- Machine sew the lace pieces in place.
- For the square below, I machine sewed the large organza flower and hand stitched the smaller ribbon flowers.
- You could also add pearls and buttons to further enhance your block.
- Leave 10 of the 10″ squares plain.
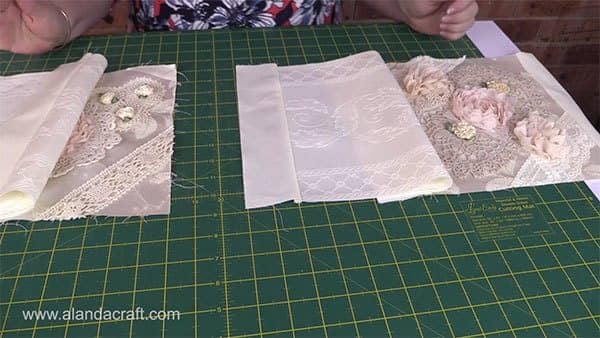
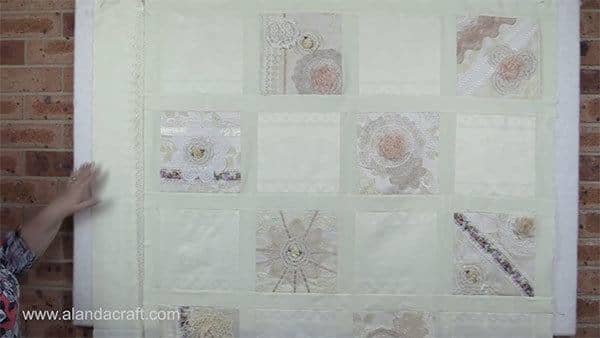
- Place the squares how you want them to look when the quilt is finished.
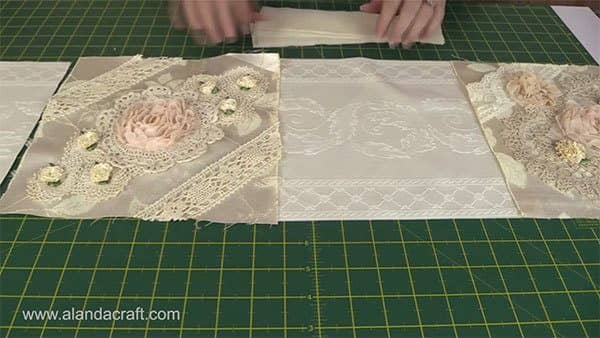
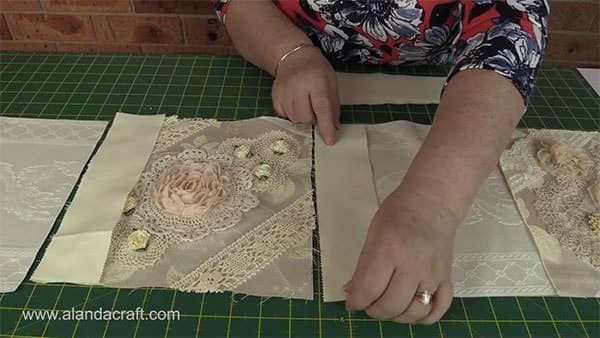
- Sew one of the 10″ x 2½” sashing strips to the side of one of the 10″ squares.
- Place the fabric pieces right sides together.
- Sew with a ¼” seam.
- Sew a 10″ x 2½” strip to the outside of the last square in each row.
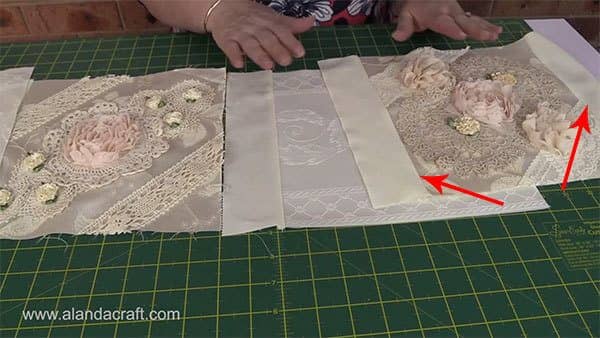
- Sew the squares, with the sashing pieces attached, together to form a row.
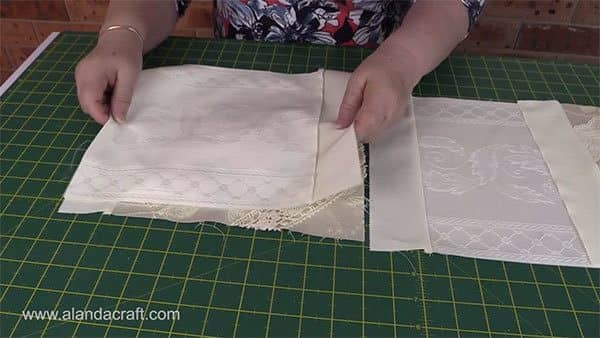
- Lay the squares right sides together.
- Sew with a ¼” seam.
I generally sew the first two squares together and the last two squares together. Then sew both sets together.
- Starting with the top row, sew a 48″ x 2½” sashing strip to the top of each row.
- When you get to the last row, sew a 48″ x 2½” sashing strip onto both the top and the bottom of the last row.

- Join the rows by sewing each row of squares onto the sashing strip of the previous row.
- I added a 6″ border.
- Sew some lace around the border seam. I did try sewing the lace into the seam as I went but this didn’t work out very well. So I opted instead to sew the lace on after I had added the border.

- Cut batting and batting about 2″ larger than the size of your finished quilt top.
- Quilt as desired.
- Bind the quilt.