Easiest Ever Rag Quilt Tutorial- Ideal for Beginners
In this tutorial, we show you how to make the easiest Rag Quilt ever. These rag quilts are quick to make and they look absolutely awesome. We are using flannel so they are also warm and cuddly.
Watch the video below or scroll down for the step-by-step written instructions
Checkerboard Rag Quilt
What you Need:
- 2¼ yards flannel colour 1 – back
- 2¼ yards flannel colour 2 – middle
- 1¼ yards flannel colour 1 – top
- 1¼ yards flannel colour 2 – top
Tools and Equipment Used in this Project:
You can check the latest prices at Amazon by clicking on the links below:
- Janome Horizon Quilting Machine
- Singer Confidence Quilter
- Rag Quilt Scissors – the scissors we own seem to only be available in Australia however we found some Fiskars scissors that have received very good reviews on Amazon
Finished Size
The finished size of the quilt is approximately 44″ x 52½”.
Method:
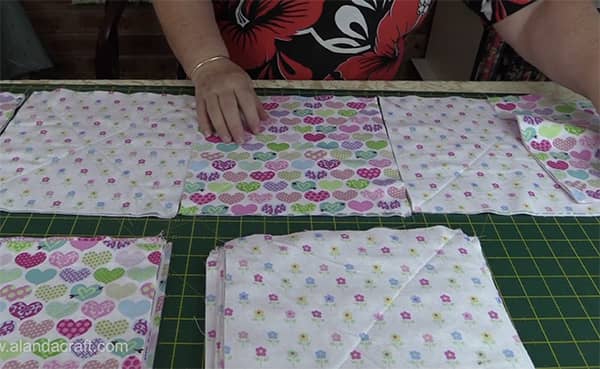
- Cut 30 x 10″ squares for the back
- Cut 30 x 10″ squares for the middle
- Cut 15 x 10″ squares from colour 1 – top
- Cut 15 x 10″ squares from colour 2 – top
If you are using a directional print, make sure you put them in a pile all facing the same way
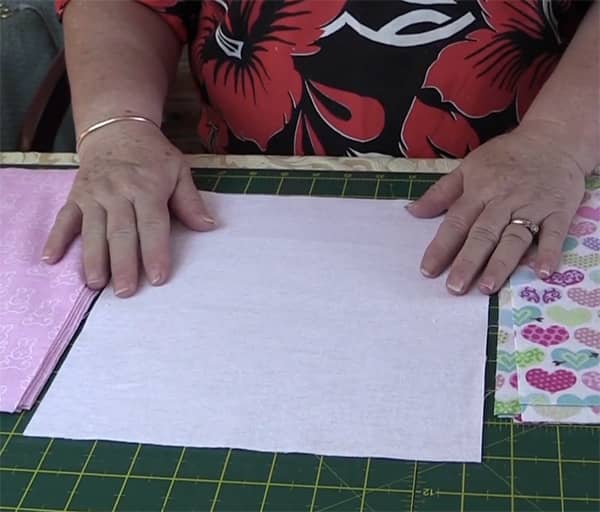
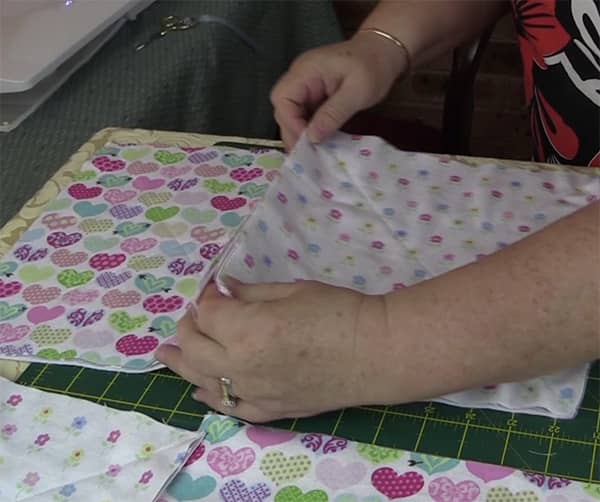
- Take one 10″ back square and lay it face down on the table. – Our backing square is pink so we place it pink side down.
- Take one 10″ middle square and lay it on the top of the backing piece – right side up.
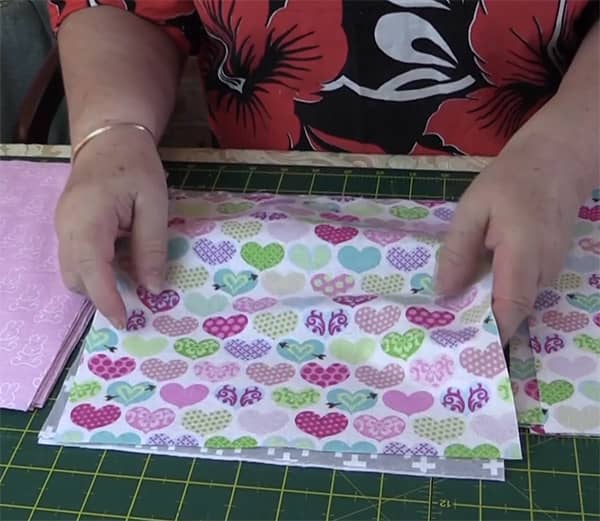
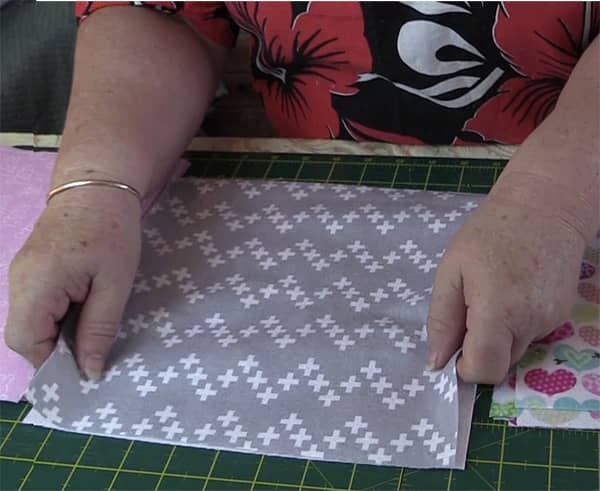
- Take one of the 10″ top squares and lay it right side up on top of the middle square.
You have effectively made a 10″ fleece sandwich.
NOTE: Check that any directional prints are facing the right way
- Pin the squares together leaving the diagonal areas clear as we are going to sew diagonal lines in both directions across each sandwich (the three squares together).
- When you have sewn the diagonal lines across all 30 squares, lay them out on the table in a checkerboard design – 5 squares across and 6 squares down.
NOTE: because we are making 6 rows you will end up with the two bottom quilt corners being different to the top corners. If you want these to be the same you will need to add a row. However, this quilt is big enough for us and we don’t mind having different corners at each end.
- Take 2 squares and pin them with the wrong sides together so that the seam is on the front side of the quilt.
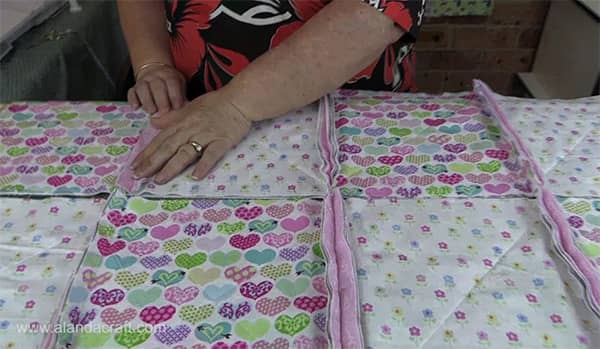
- Sew the squares together with a ¾” seam making sure that the seams are open flat and that the underneath seams do not get caught and twisted.
- Join all the squares in row 1 then sew the squares in row 2 etc until all the squares are sewn into rows.
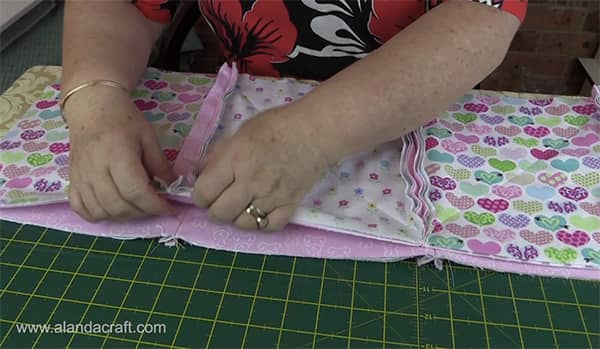
- Now we join the rows together, once again keeping the seams open and making sure we don’t catch the bottom seam when we are sewing. If you do then simply unpick a few stitches, lay the seam flat and sew over it and use a locking or back stitch to make sure the stitching won’t unravel.
- Sew a ¾” seam all the way around the outer edge of the quilt.
.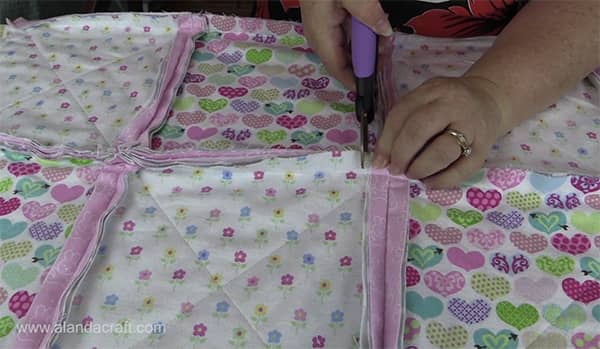
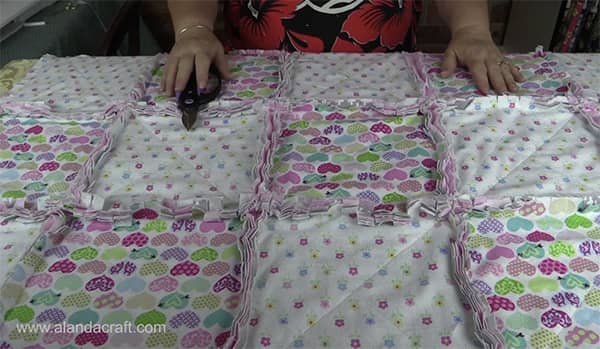
- It’s time now to take a seat and get out your rag cutting scissors.
- Make a cut about every ½”.
- Stop before the seam line – Take care to NOT cut the seam line.
Once you have cut every seam and all the way around the edges of the quilt, it’s time to toss it into the washing machine. You don’t need detergent, just water is fine for this step. Once the quilt has been through the wash and spin cycle, toss it into the dryer. This is going to give us the ragged edge effect that we are looking for.
You will notice that there will be a lot and I do mean a lot of fluff in the lint collector, but that is normal.
Once it’s dry, its finished. So quick and easy.
Rag Quilt With a border
What you Need:
- 2¼ yards flannel colour 1 – back
- 2¼ yards flannel colour 2 – middle
- 1 yards flannel colour 1 – top
- 1½ yards flannel colour 2 – top
Method:
- Cut 30 x 10″ squares for the back
- Cut 30 x 10″ squares for the middle
- Cut 12 x 10″ squares from colour 1 – top – inner square
- Cut 18 x 10″ squares from colour 2 – top – border
Construct using the same method as for the checkerboard pattern. The only difference is in how we lay the front pieces out with colour 2 as the outside border and colour 1 as the square inner top.