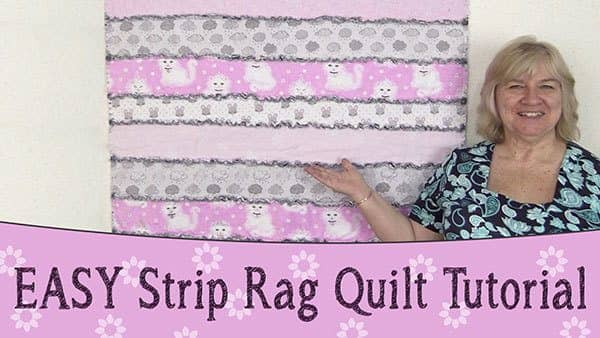
EASY Strip Rag Quilt Tutorial – Step by Step
We use flannel to make our rag quilts, it makes them warm and cozy. You just want to wrap yourself in one on cold winters night (or day). We did a video tutorial on making a rag quilt using 10″ squares a while ago, but this strip rag quilt is even quicker and easier to make.
Watch the video below or scroll down for the step-by-step written instructions
What You Need:
Note: All strips are cut across the width of the fabric.
- Fabric 1 (main) – 12 @ 5″ strips. You can use all one color or a variety of colors.
- Fabric 2 (centre) – 12 @ 5″ strips, all one colour
- Fabric 3 (backing) 12 @ 5″ strips. You can use all one color or a variety of colors.
Your top or main strips can be in just one color or in a variety of colors. I have used 5 strips of one design, 4 in contrasting design and 3 in another contrasting design, just to add interest.
- There is no hard and fast rule with how you cut your strips.
- I wanted to make it quick and easy so I cut my strips in 5″ widths.
- You can cut your strips in a variety of widths if you want to.
Just remember that if you cut your top strips in different widths you will also need to cut the center and backing pieces to match.
TOOLS USED IN THIS TUTORIAL
You can check the latest prices at Amazon by clicking on the links below:
- Olfa 24″ x 36″ double-sided healing mat
- Quilters slidelock
- Olfa 60mm rotary cutter
- Oliso Iron
- Gutermann Sew-All thread
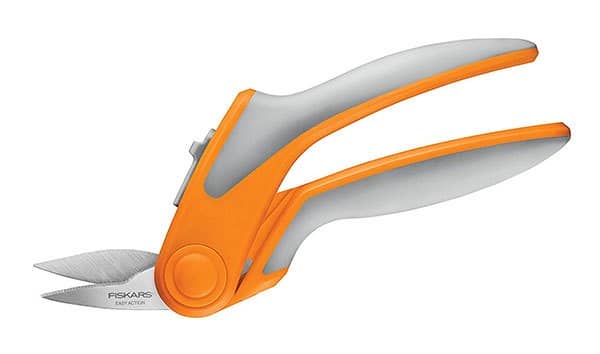
- Scissors or Rag Quilting Snips. We are using an Australian brand but the Fiskars Rag Quilting Scissors have excellent reviews on Amazon.
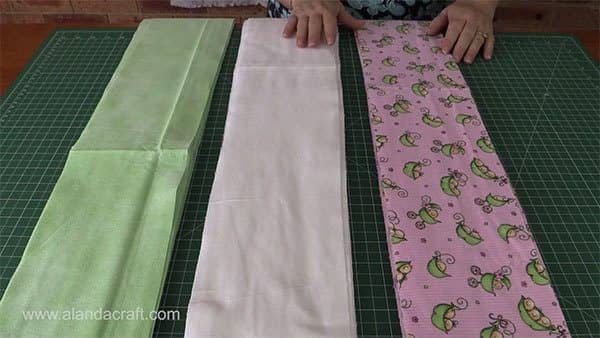
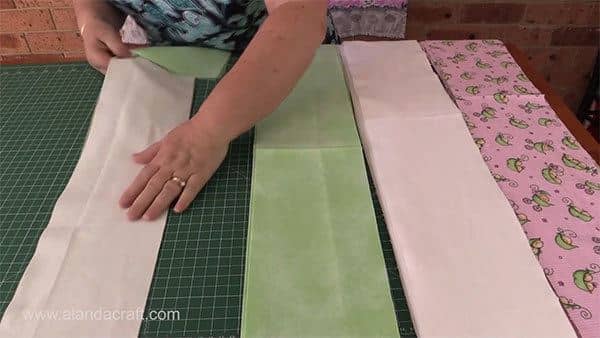
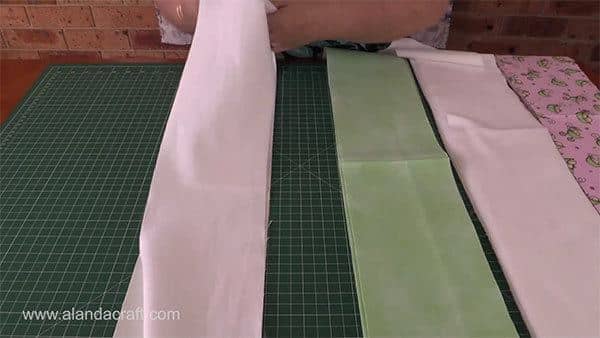
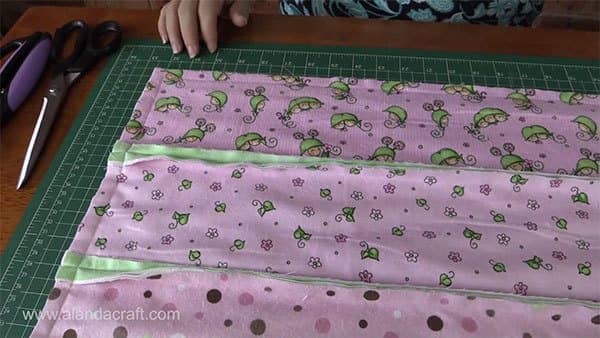
- Put aside the centre and backing strips.
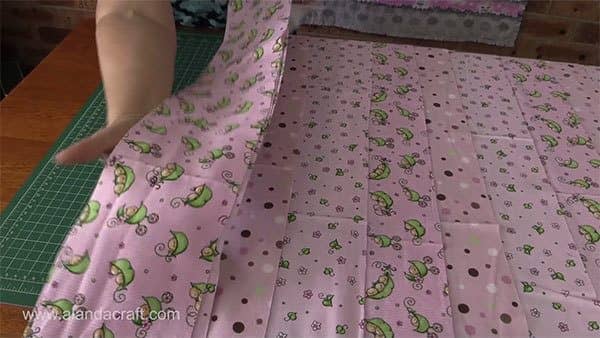
- Take your top strips and lay them out on your workbench. Move them around until you are happy with how they look.
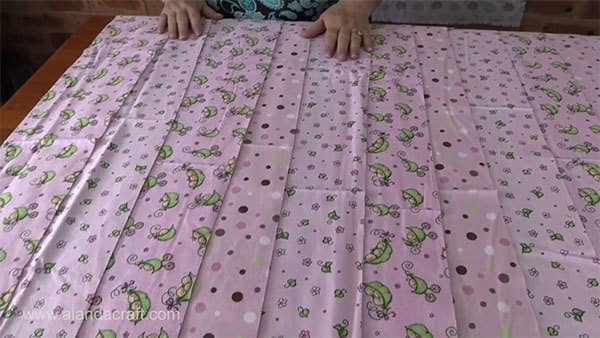
- Pick the strips up in the order in which you have laid them out and stack them one on top of the other.
- You now have the three stacks of strips to work with,
- Backing
- Centre
- Top
- Take one strip from the backing pile and lay it face down on the table.
- Take a strip from the middle pile and place it on top of the backing piece.
- If you have used a contrasting piece for the centre then make sure the coloured side is laying right side up. If you have used white, as I have, then it doesn’t really matter.
- Take your top piece and lay it right side up, on top of the other two pieces (the backing and the centre pieces).
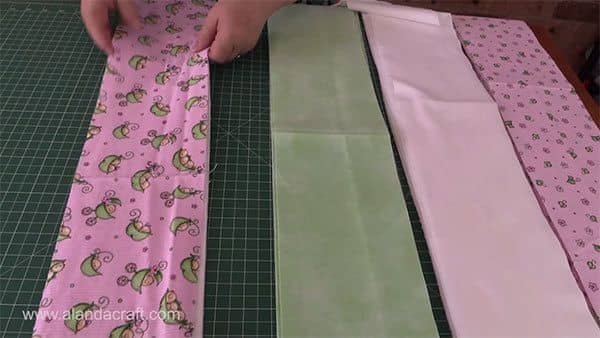
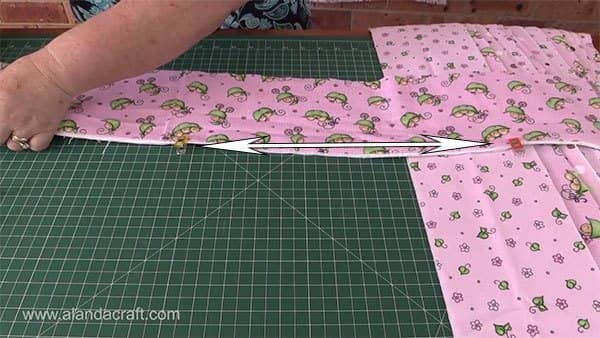
- Make sure to line up the selvedges on one end.
- Don’t cut the selvedges off and don’t worry about the other end which will be all uneven. We will be cutting them off later,
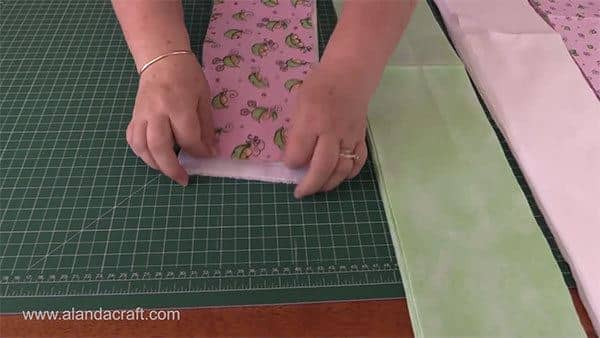
- Layer all the pieces together so that each set of strips has a backing, center and top piece.
- I have them stacked in the order I will be sewing them together. That is the order I had them in when I first arranged them out on the workspace.
- If you have a directional print, such as I have with the Peas in a Pod, make sure the design is stacked in the way it needs to be so that it is ready to sew when you get to it.

- Place some binding clips or pins along the top of the first strip.
- Make sure the edges are nicely lined up.
- You only need a couple to hold it in place until we sew it to the second strip. No need to over pin.
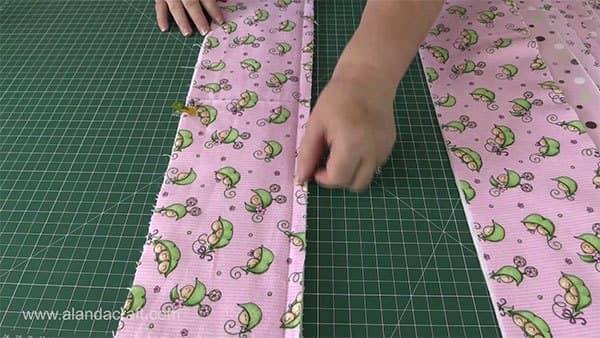
- Pick up the next set of strips and place them WRONG sides together with the first strip.
- Pin the two strips together .

- Sew the strips together with a ½” seam.
- We use a ½” so that we have plenty of fabric to rag once the strips are all sewn together.
- Remove the clips from the top of the first strip. The layers will all stay in place now that it has been sewn to the second strip.
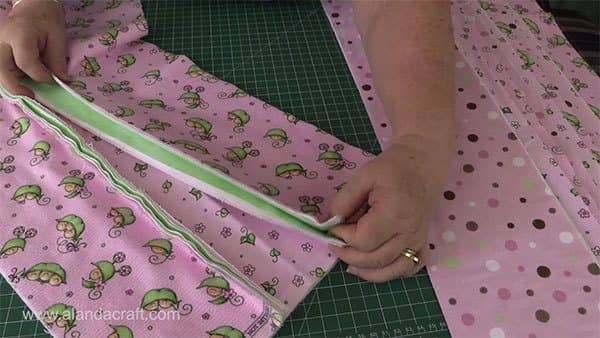
- You can see the seam sitting on the top of the quilt.
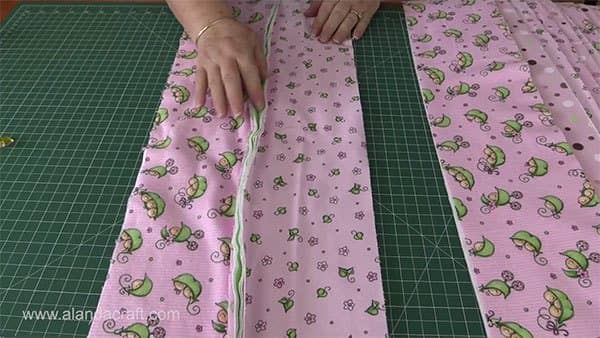
- On the back there is a nice neat seamline.

- Take the next set of strips from the top of the stack and sew it to the previous strip using a ½” seam.
- If you have a directional print, make sure it is facing the right way before sewing it on.
- Continue working through the stack until all the strips are sewn together.
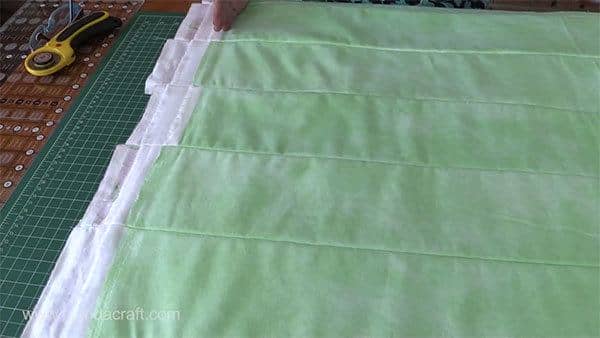
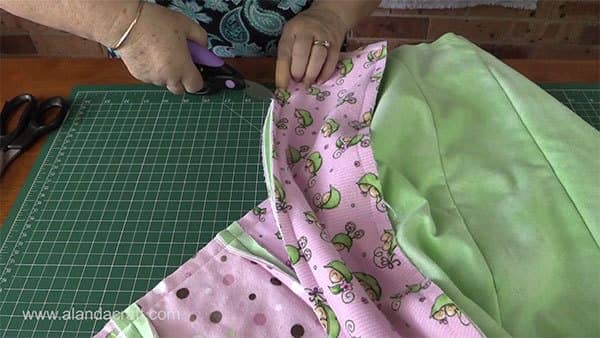
- Once all the strips are sewn together its time to trim the quilt.
- Lay the quilt on the mat so that the reverse side is facing up.
- I work from the back of the quilt so that the ruler sits flat, on the front side you have the sticky up seams and the ruler may wobble about, meaning you may slip and you may not get a nice clean cut.
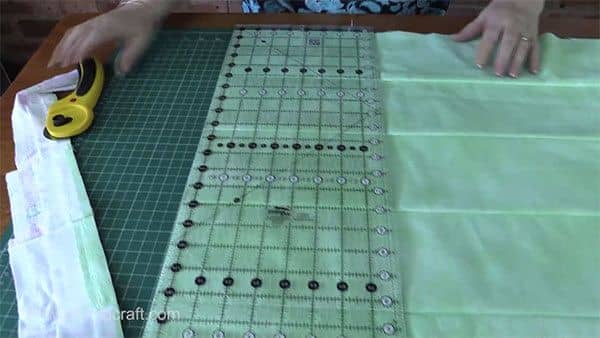
- Find the place where the selvedge is furthest in from the edge.
- Take your time and line up your ruler along one of your seam lines so that it’s nice and straight and make sure you have allowed for all the selvedges to be cut off.
- Apply a bit of pressure as you cut over the seam lines as there is a bit of bulk to cut through.
- Trim.
- Move the ruler up, line it up along a seam line again, make sure all the selvedges are within the cutting line and continue trimming.
- Do the same with the other side. You won’t have as much to cut off because this is the side where we kept the selvedges aligned.
- Now that both sides have been trimmed we need to sew a ½” seam all around the outside edge of the quilt.
- Open the seams as you come to them and sew them open.
- Pivot ½” from the edge when you get to the corners and continue sewing.
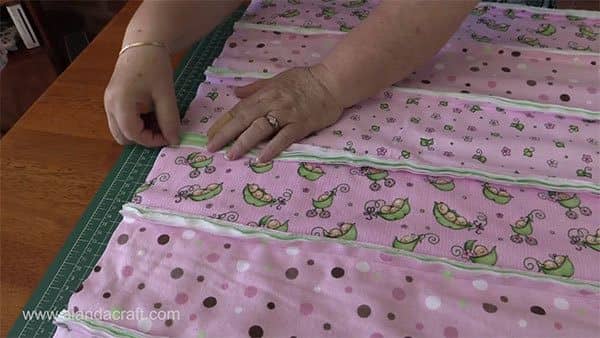
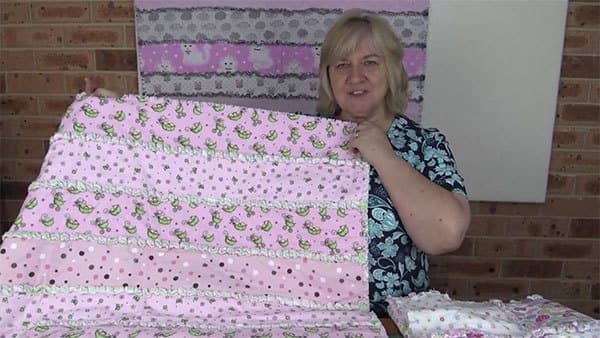
- Here is my quilt with the ½” seam seam around the outside edge.
- Now it’s time to rag the quilt.
- You can use scissors for this. If you do then you may find it easier to cut down along one side of the seam line and then cu along the other side. 6 layers of fleece may be too much for scissors to cut through.
- Make the cuts about ½” apart.
- Be very careful not to cut your stitching lines.

- If you have a pair of ragging cutters you will find the job much quicker and easier to do.
- Ragging cutters will easily cut through the 6 layers of fleece.
- Be careful not to cut your stitching lines.
- Once you have ragged the seams then rag around the outside edge.
- When all the seams and the outside edge have been ragged, it’s time to wash the quilt.
- I generally wash it in cold water, without detergent.
- Put it in the dryer
- Wash it again in cold water and put it in the dryer again making sure to clean out the lint filter between dries.
NOTE: Some people prefer to take their rag quilt to a laundromat because of the amount of lint that these quilts can shed.
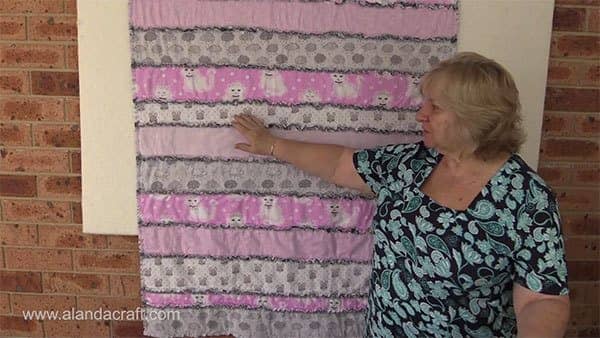
- An example of a quilt made with different sized strips.
For ragging the quilt we used ragging snips that we bought here in Australia. We were unable to find the brand we use on Amazon, but these Fiskars Rag Snip have excellent ratings on Amazon.