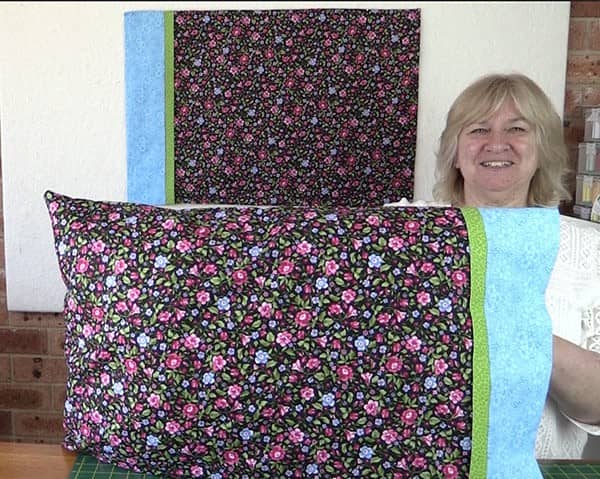
Magic Pillowcase Tutorial (AKA Burrito Pillow/ Roll-Up Pillow)
This is such an easy project with beautiful results. The Magic Pillowcase is made with a unique process that results in a professional looking finish with no seams showing, especially if you follow along with us as we sew it together using a french seam.
What You Will Need
- Main fabric – 1 piece at 27″ by the width of fabric
- Cuff fabric – 1 piece at 9″ by the width of fabric
- Trim fabric – 1 piece at 2 ½” by the width of fabric (you can adjust the trim size to suit you)
Note: This pillowcase measures 29″ when finished so there is an overhang if you are using a standard pillowcase which measures 26″. The amount of overhang will depend on the plumpness of your pillow. A queen-sized pillowcase generally measures 30″ so you would probably want to cut your main fabric a couple of inches bigger by the width of the fabric.
Tools We Used
You can check the latest prices at Amazon by clicking on the links below:
- Start by folding the trim piece in half lengthwise and iron to form a crease.
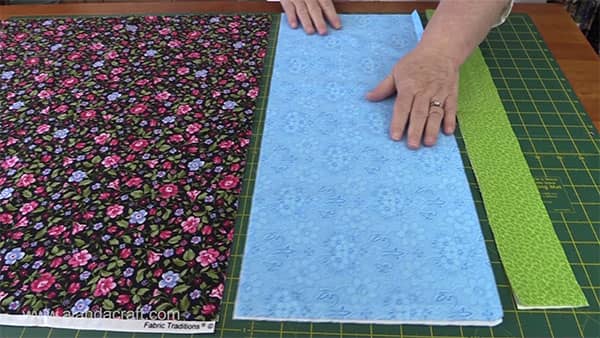
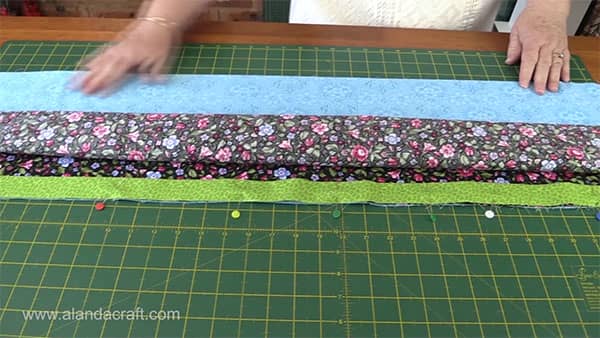
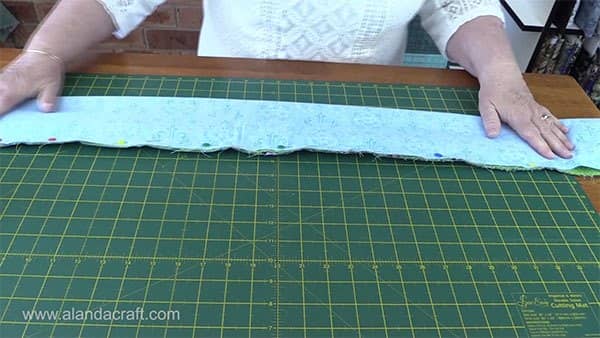
- Open up each fabric to the full length and lay on a table.
- Place the cuff piece on the bottom with the pattern side facing up.
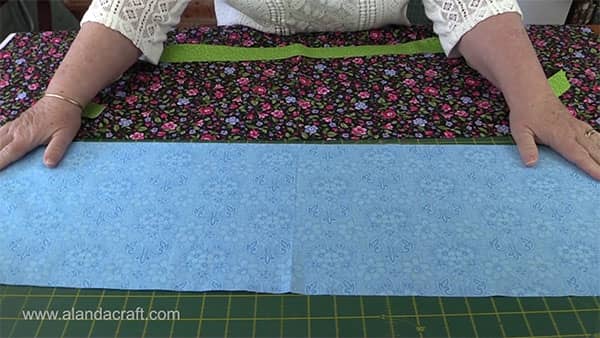
- Place the main piece face up on top of the cuff piece.
- Place the trim piece on top of the main piece.
- Pin all three pieces together. Pin from the top as this will make it easier in the following steps.
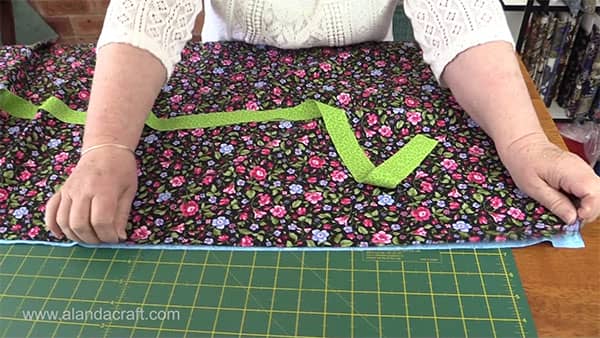
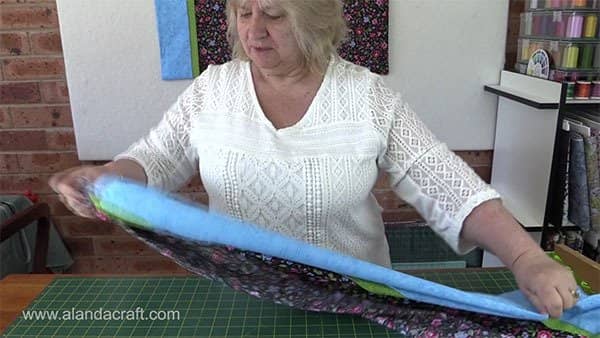
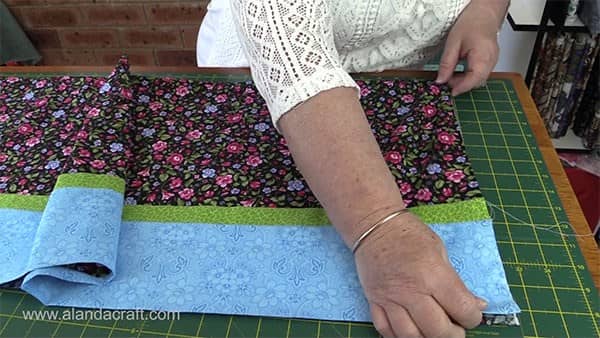
- Now roll up the main fabric from the bottom.
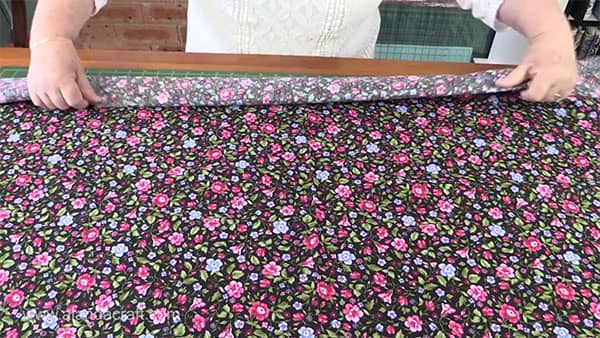
- Keep rolling until you get close to the trim. Don’t go over the trim though, we don’t want the main piece to get caught up in our seam later.
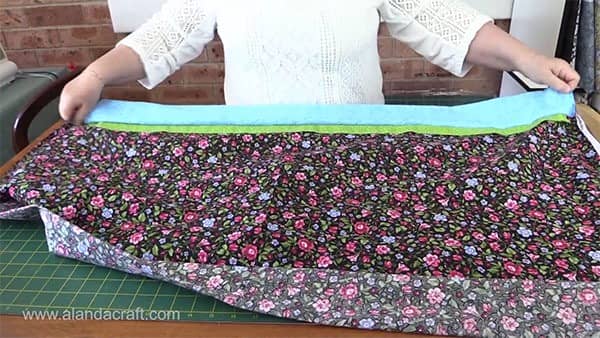
- You should see your cuff piece appear.
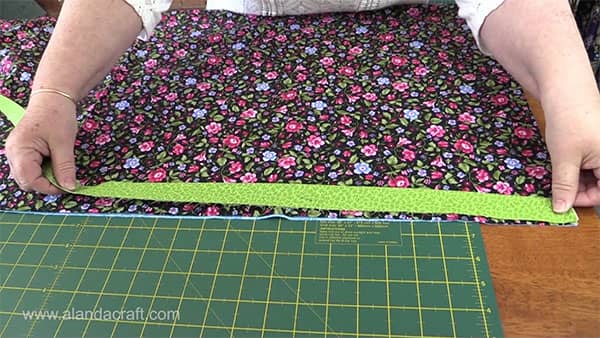
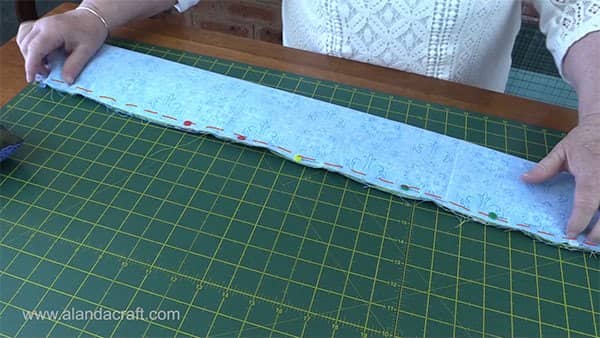
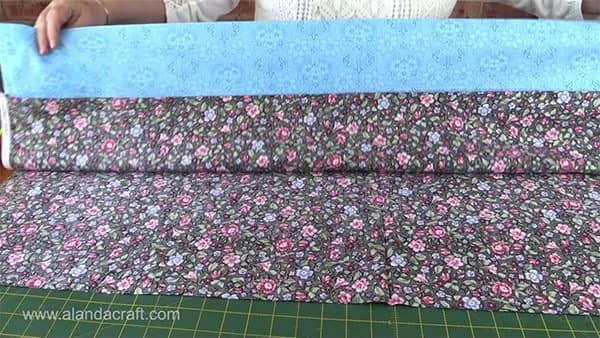
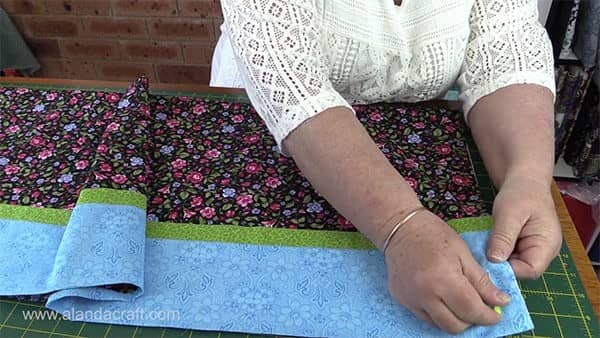
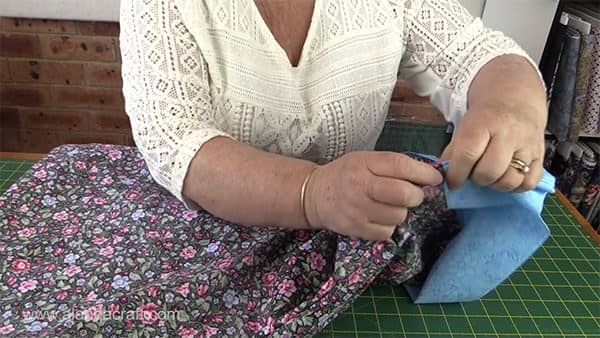
- Lift the cuff piece and bring it up and over the rolled fabric until it meets the top of the trim piece.
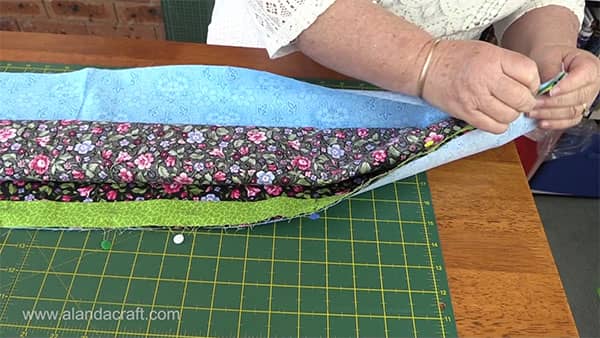
- Remove each pin and repin to take into account the cuff piece.
- All the layers should now be pinned together.
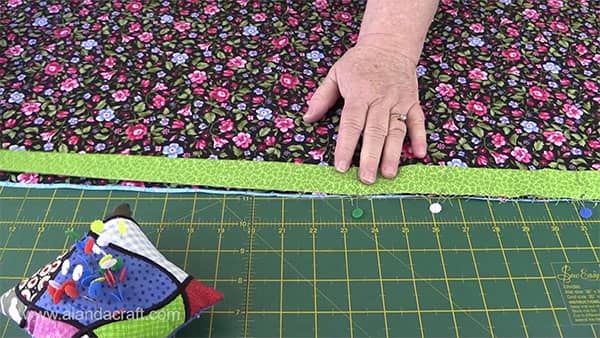
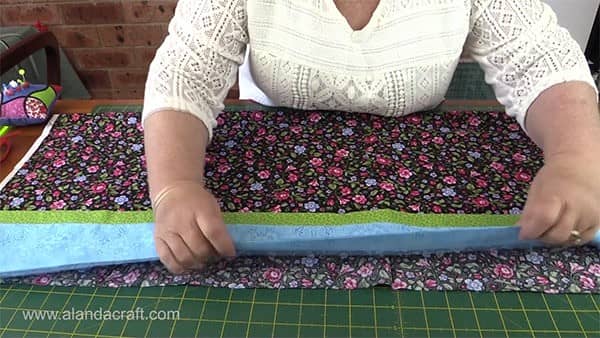
- Now you need to sew down the sandwiched fabrics with a ¼” seam (as per the red marks in the image below)
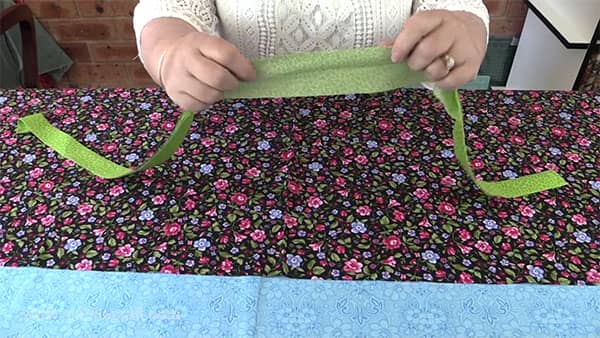
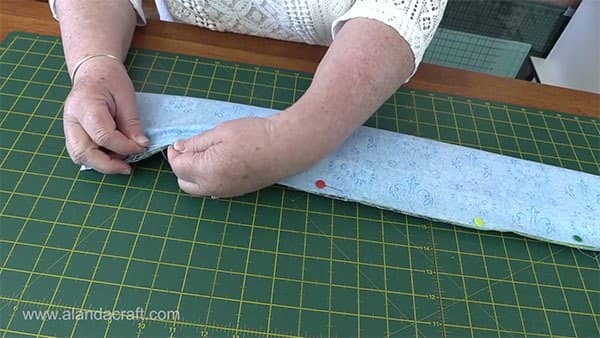
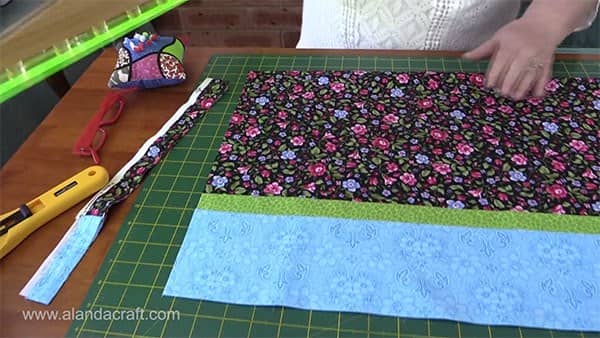
- Once sewn, grab the main fabric from the middle of the tube and start pulling it through.
- It should open out into one single piece with the trim and cuff sewn in.
- Iron this to form a nice crease along the cuff.
- Fold the fabric in half lengthwise.
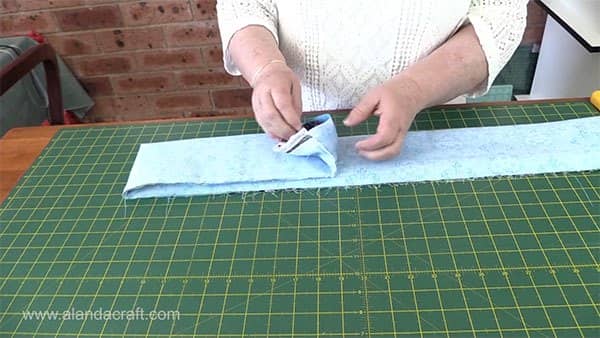
- At one end, line up all of the selvages and pin to keep in place. We will be trimming this side eventually but not just yet. Just pin it for the moment.
- At the other end, trim the excess to ensure that all three fabrics line up.
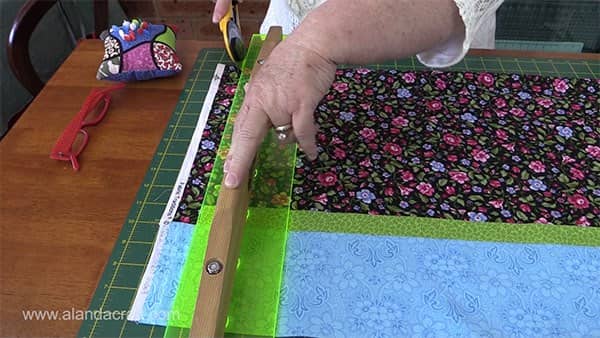
- Return to the other end, and trim that as well. You will only need to trim enough to remove the selvages.
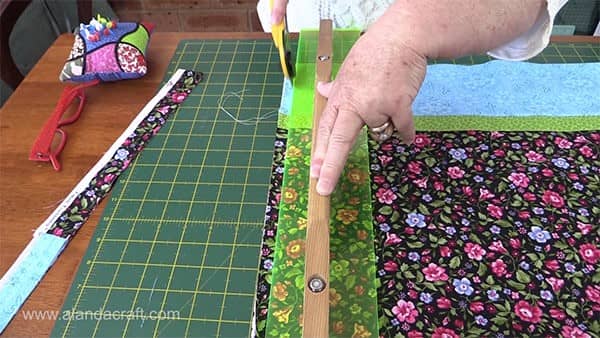
- Now that both sides are trimmed we can sew up the sides.
- You have a number of options here. You can:
- sew with a regular 1/4″ seam and zigzag around the edge to prevent fraying
- use your serger/overlocker to create a serged edge around the pillow
- sew using a french seam – that’s what we will be doing with ours
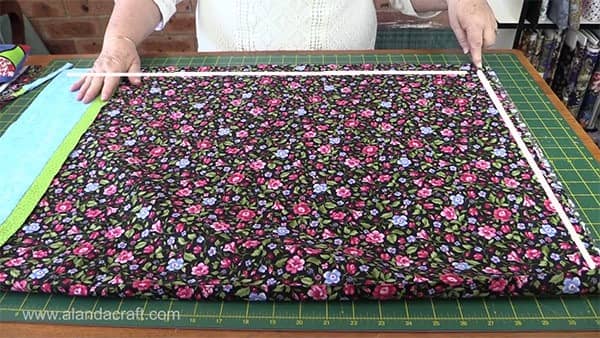
- To create a french seam, fold the pillow over with the pattern side facing outwards.
- Sew along the seam line with a 1/4″ seam as shown by the white lines in the image below. You don’t need to sew all the way around the pillowcase – just the one side and the bottom.
- Once you have sewn the edges, it’s a good idea to trim them a little. This will help with the next step as it will ensure when you sew the next 1/4″ seam, that this seam is encased in the outer seam. Okay, that may not make sense now, but it will when you get to the next step.
- So trim down the seams that you just created using about a 1/16″, or maybe a little more. You need to do that for both the bottom and side seam.

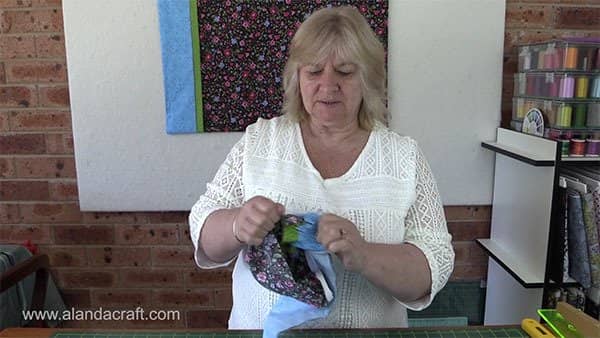
- Turn the pillowcase inside out.
- You should be able to feel the seams on the inside of the pillow case.
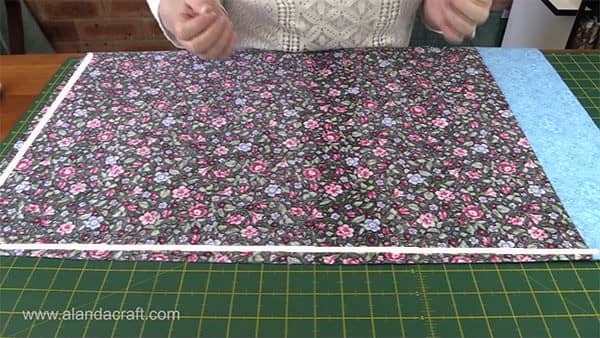
- Roll those seams with your fingers so that they are smooth and iron down around the entire edge of the pillow.
- Now you need to sew around the side and bottom edge of the pillow. This will encase the seam that is still showing on the outside of the pillow case.
- Turn the pillowcase through and you are done!