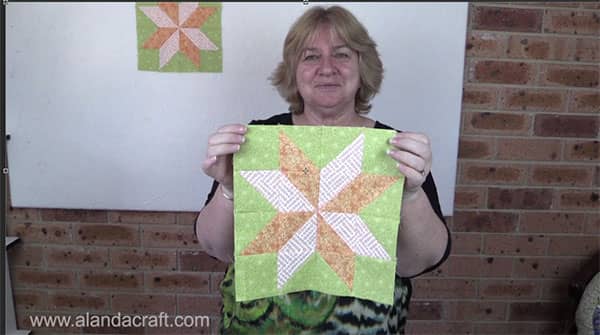
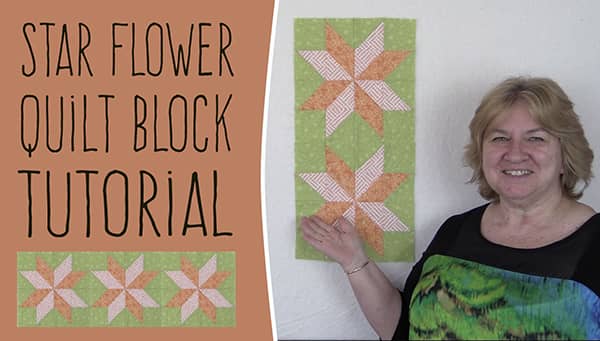
Quilting Blocks: Star Flower Quilt Block
The Star Flower quilt block is a fairly easy block to make using half square triangles.
Some people refer to this as a Lemoyne Star but that’s not really correct as this one is constructed differently and as stated above, is made with HST’s.
The unfinished size of this block is 10½”, finished size 10″.
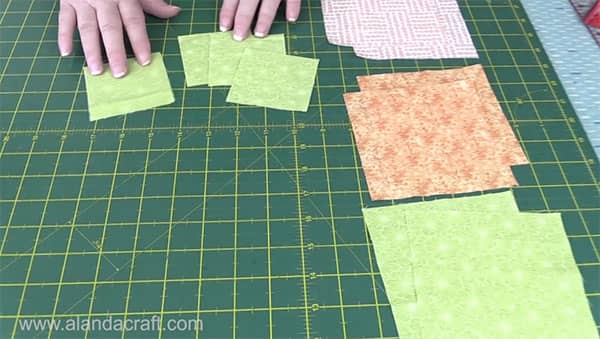
What You Need:
- 4 x 3″ squares of the main fabric
- 2 x 5″ squares of the main fabric
- 2 x 5″ squares of contrasting fabric – no 1
- 2 x 5″ squares of contrasting fabric – no 2
Tools We Used in this Tutorial
You can check the latest prices at Amazon by clicking on the links below:
- Creative Grids Ruler 8½” x 24½”
- Olfa Non-slip Ruler 6 1/2″ x 61/2″
- Add a Quarter Plus
- Olfa 24″ x 36″ double sided healing mat
- Olfa 60mm rotary cutter
- Oliso Iron
- Gutermann Sew All thread
Watch the video tutorial below or scroll down for the written instructions
Method
Construct the half square triangles as follows:
- Lay one piece of main fabric on top of one contrasting piece of fabric – no 1. Right sides facing.
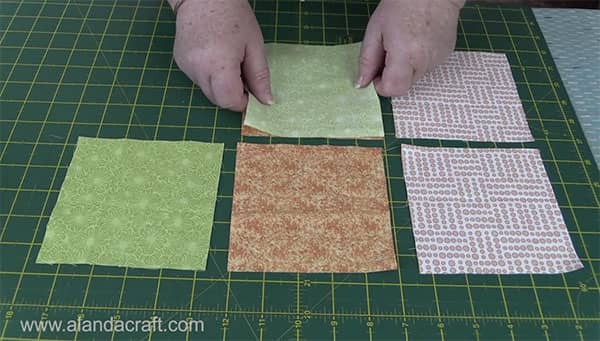
- Lay one piece of main fabric on top of one contrasting piece of fabric – no 2. Right sides facing.
- Lay one piece of contrasting fabric no 1 on top of one contrasting piece of fabric no 2. Right sides facing.
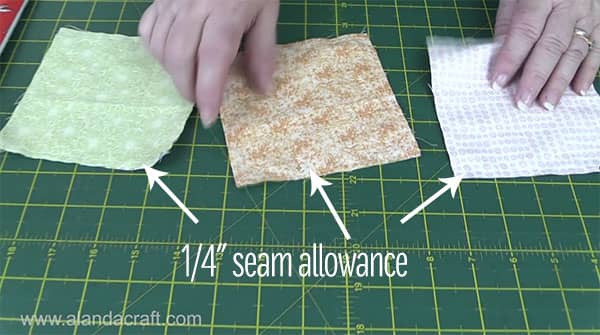
You now have 3 sets of squares
Sew around the edge of each set of squares with a ¼” seam.
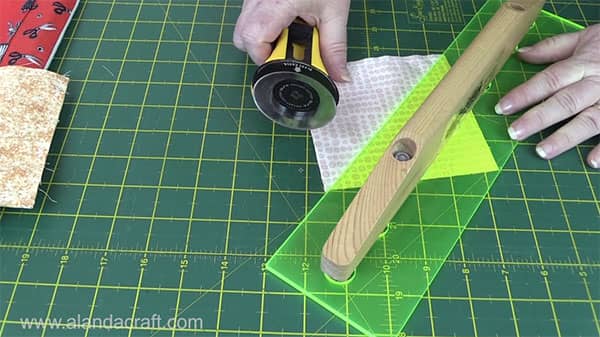
Make the triangles
- Place your ruler from point to point diagonally across one of the 5″ squares and cut. Do not move the fabric. Turn your ruler and again place it diagonally from point to point on the uncut side, and cut.
You can draw a diagonal line across the square, with a Frixion pen.
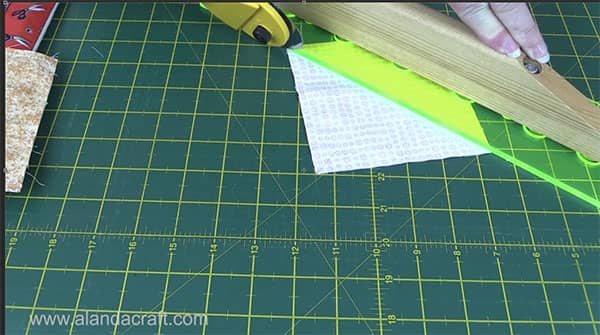
You now have 4 triangles. Do this with each of the sets of 5″ squares.
This gives you a total of 12 triangles.
- Press the seams open. This will help to reduce the bulk when sewing the rows together. Often seams are pressed to the dark side, but for this block, we prefer to press them open, to reduce the bulk in the center, however, the choice is yours.
- Trim the squares into 3″ x 3″ squares. If you are not sure how to do this we have a video tutorial here.
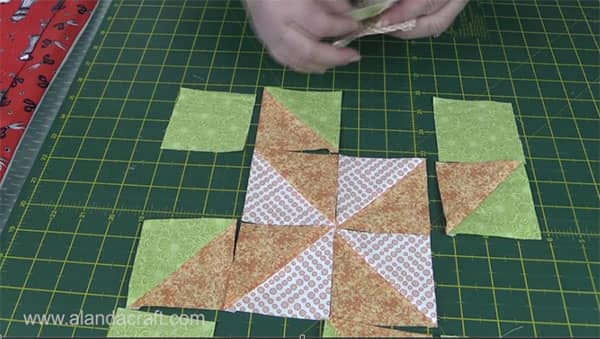
Once your squares are nicely pressed and squared off, lay them out on the workspace so that they form the pattern.
I find that by laying out the 4 corner squares and then adding the middle squares so that they form a pinwheel, and lastly, the outside squares are the best way to tackle this. Take your time with this to get it right.
Sew the squares together to form a row.
- By this I mean sew the first two squares in row 1 together, then sew the last 2 squares in row 1 together. Now sew those two lots of 2 squares together so that you have one row of 4 squares.
- Do the same with each row.
Now sew rows 1 and 2 together and rows 3 and 4 together. Take care to match up the seams as you want them to be nice and straight, and your star won’t look as nice if the seams aren’t matching. Press all seams open.
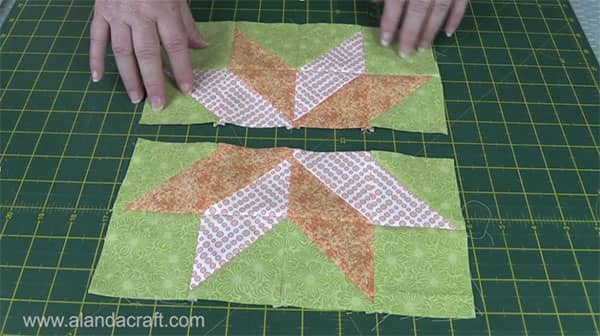
Now sew the top row to the bottom row. Press seams open. And your Star Flower quilt block is finished.
It looks lovely when it’s completed.