Doggy Themed Birthday Card Flip Through
I haven’t had a chance to play around making folio birthday cards for a while, so it was really nice to take time out to make this card for my great grandson, Arlo.
He is an animal lover and especially loves dogs, so I thought I would go with a doggy theme.
The basic card template is from Kathy by Design. I have used a few of her templates for different cards and I really like her styles. Here is a link to the card I made for my great granddaughter Freya using another of Kathy’s templates. I am in the midst of making a boy version of the card for my newest great grandson, who was born in Germany in January. I’m guessing it’s going to be a while before I get to see him.
Watch the Video Below for the Flip Through
or scroll down for more details.
So after deciding on the sort of card I was going to make, it was time to pick papers and embellishments. I am currently in the process of making a junk journal for one of my granddaughters, Demelza, another dog lover, and I have the Graphic 45 card stock from the Well Groomed series, so I decided to pinch a couple of pages from the 8×8 pack and use them for Arlo’s card. I did have to add some more cardstock for other pages but I have quite a stock so that wasn’t a problem.
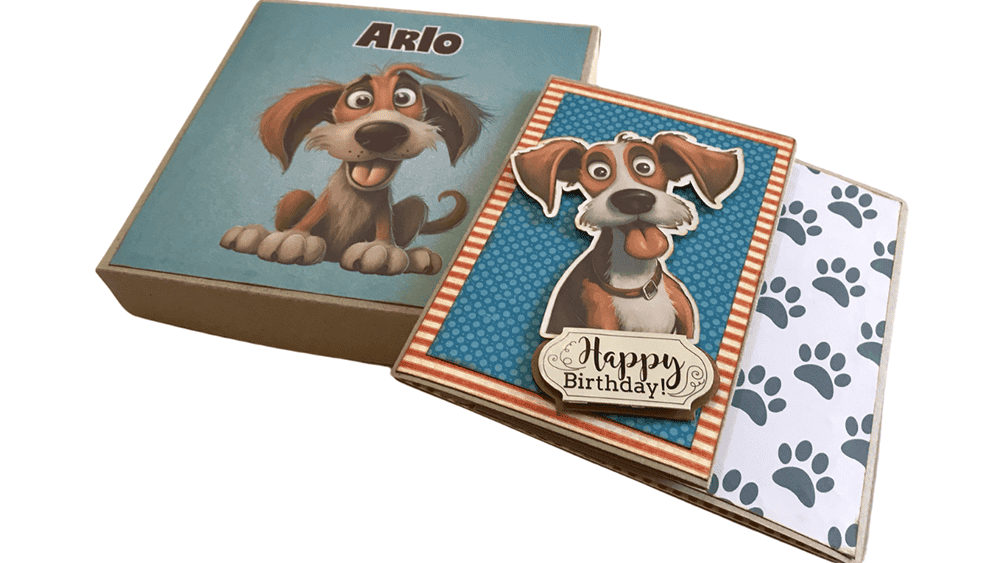
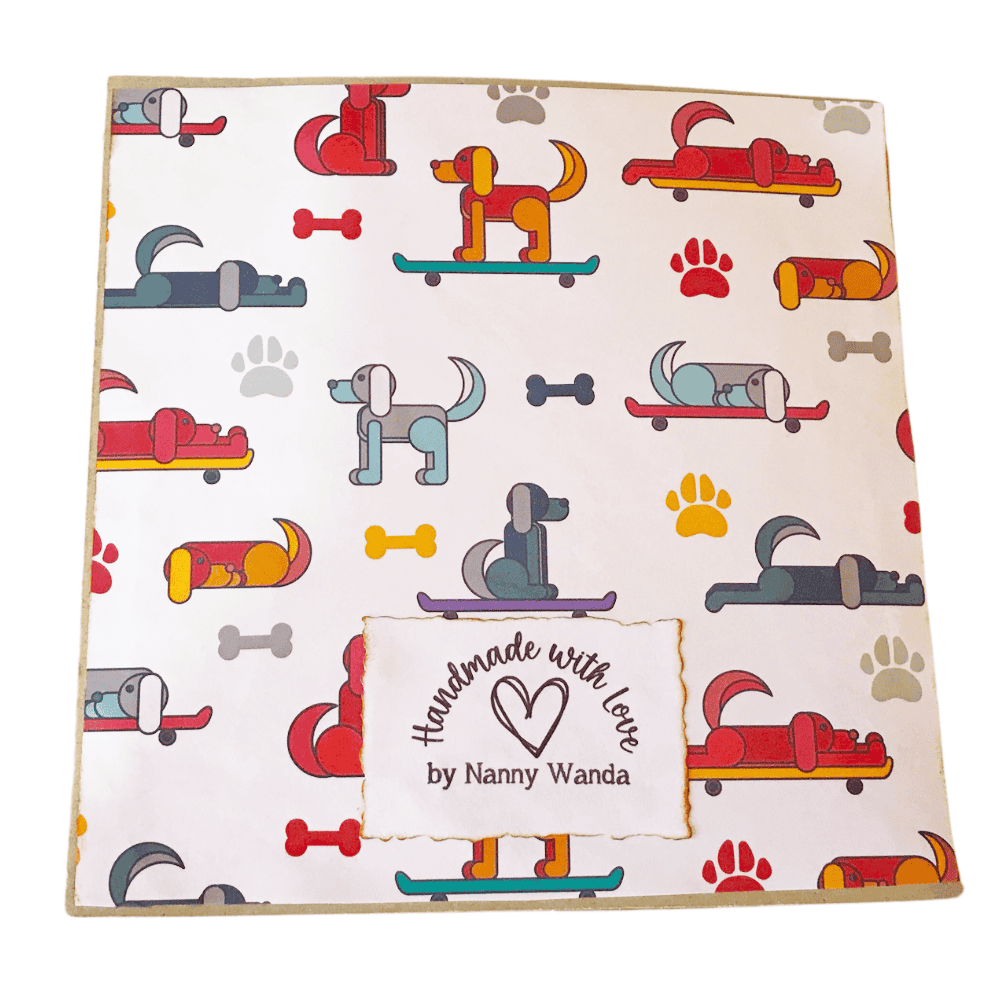
I finished off by making a box to send the card through the mail. After wrapping the card in tissue paper and bubble wrap the card was ready to go. For the top of the box I just added the dog image to Canva and added the blue background and his name. That was all the decoration I added to the box.

Links to Designs and Products used in this Project.
- Kwclement – YouTube channel
- Kathy by Design – Masculine Valentine Tutorial – basic concept
- Creative Fabrica – Funny Dog Clipart
- Creative Fabrica – Background paper – Card Back – Dog Pattern
- Temu – Jig Saw Puzzle Die Cut
- Graphic 45 – Double Sided Paper Pad 8’x8″ – Well Groomed
- EK Tools Scoring Board
- Ranger Distress Ink – Vintage Photo
- Art Glitter Glue
So I started with the standard cardboard base and added scoring lines as instructed. And then began the fun part, choosing the papers and embellishements.
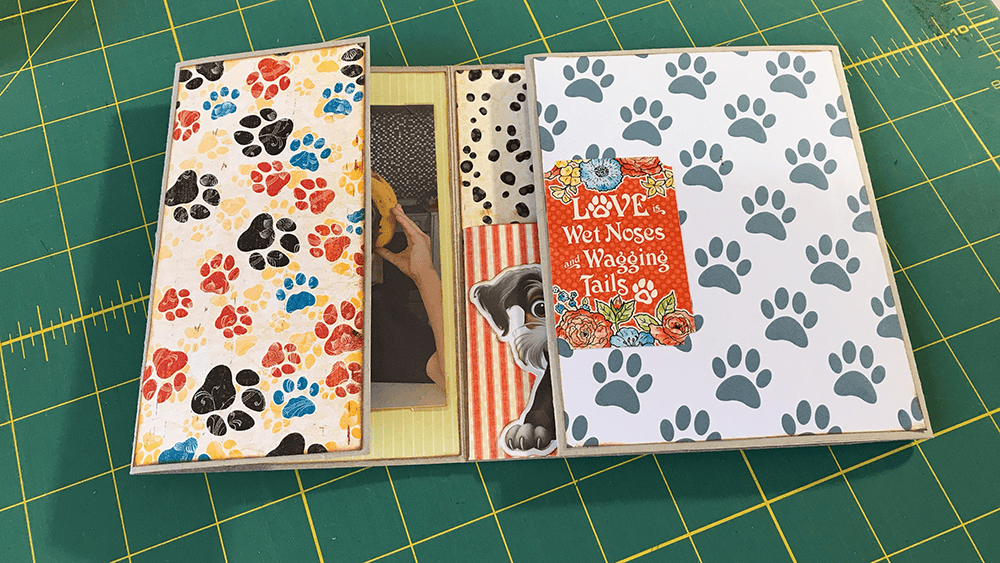
Starting with the back base I used the Dalmatian print from the Graphic 45 Well Groomed pack and made a pocked with the orange stripes. Later I added the cute little dog and my sentiment.
I just love this dog pack, these images just couldn’t be any cuter. We printed the images onto photo quality paper, and used the Print to Cut function which let’s you fussy cut around images. Here is a link to our tutorial on how to do this. It certainly saves money being able to make your own embellishments like this.

After getting the basic papers added, I added paper to the left side of the card. The turn up has a tab gusset so that you can add lots of bits and bobs to it.
The background is Graphic 45 and I just used some scrap paper for the top of the pocket. Later I added the dog and the stamp. I glued the dog down as I think he makes a really cute reveal when the other bits are removed from the pocket.
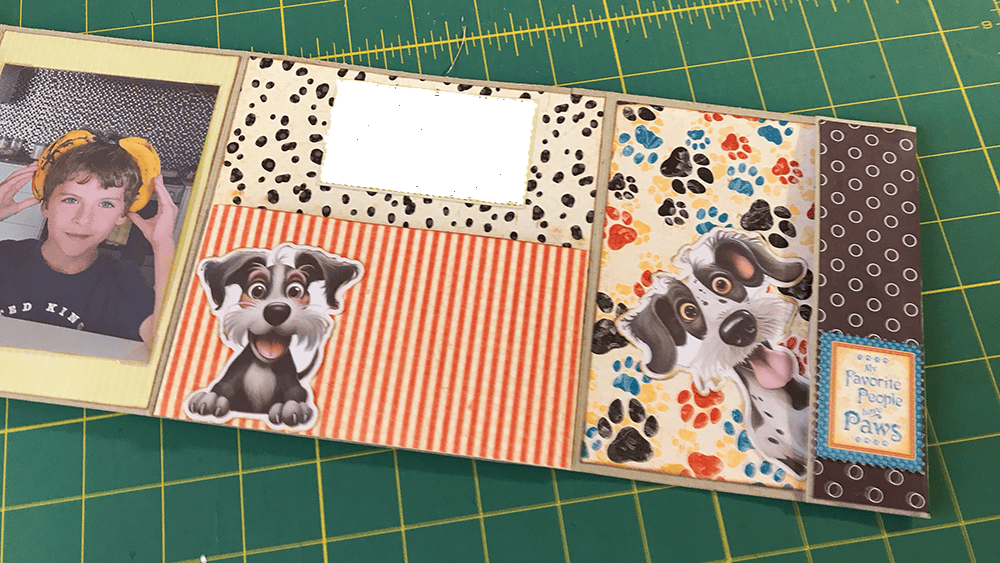
Then over to the left hand flaps.
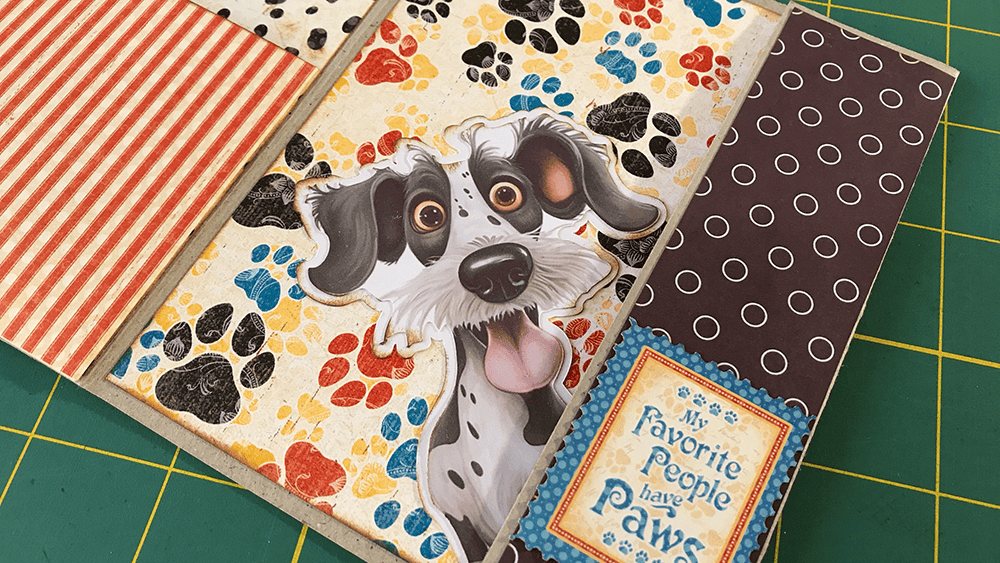
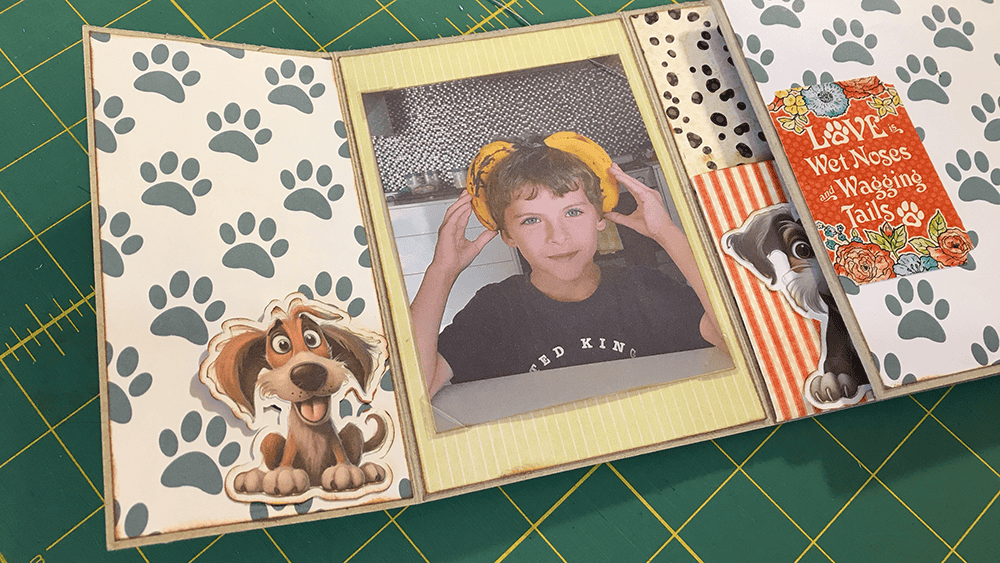
For the first one I added some card stock that I had on hand. This is the green stripe card. On the outermost flap I added some papers from Creative Fabrica, it’s a bundle of paws.
To the green stripe I added the photo using clear photo tabs. This means that his mum will be able to change out the photo if she wishes.
On the outer flap I added one of the dogs as a tuck spot.
I used the same paper on the top right flap and added a sticker from the Well Groomed paper pack.
I did add magnets to both the left and right flaps, but I only had small ones on hand so they don’t work as they should now that the paper and stickers have been added. Kathy did say she used large magnets, and I should have listened but I decided to go with what I had and I will tie a string around the card to keep it together. Lesson learnt.
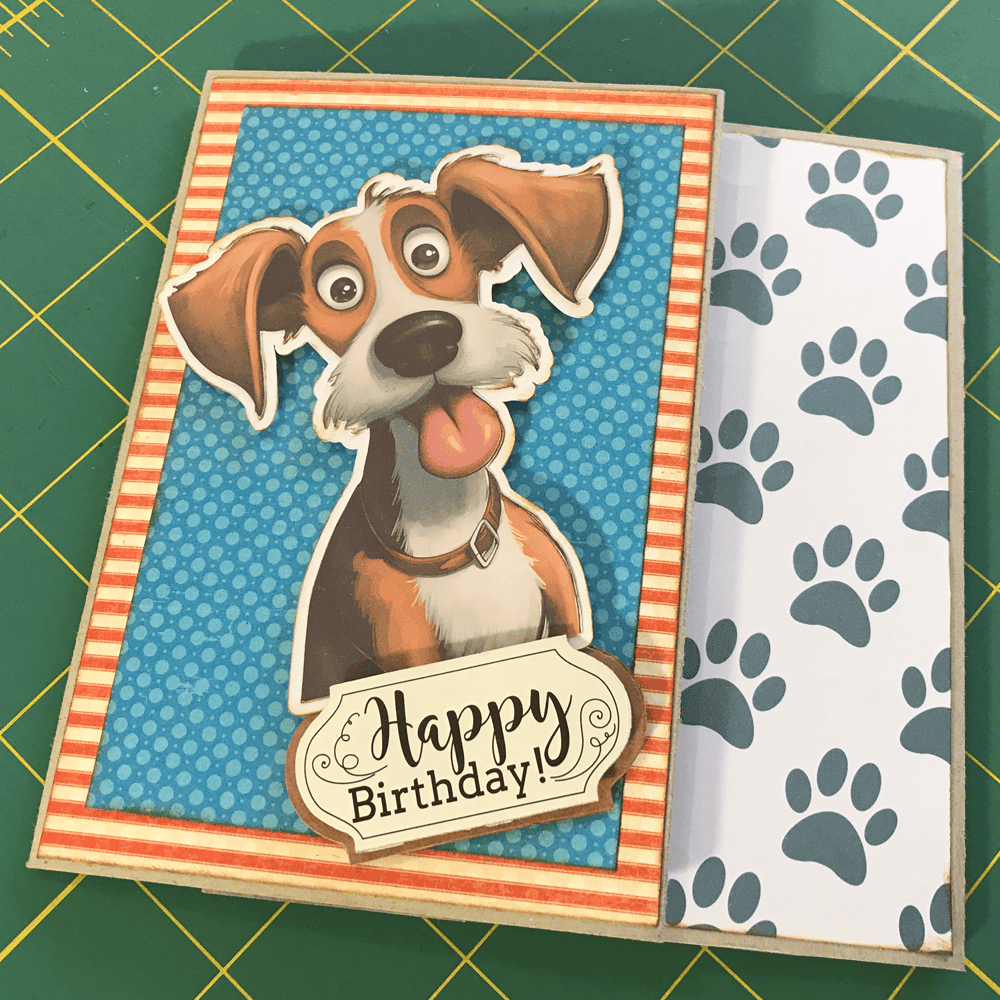
Now it’s time for the front of the card.
Firstly I added some of the orange striped card but this time I ran it horizontally across the card.
Next I added some lovely vibrant blue cardstock and finally the dog image and the happy birthday sentiment which is from a pack of sentiments I had on hand.
I kept thinking it may need more, but really I think less is more and I am really pleased with the look.
For the gift card holder and the back of the card I used this paper from Creative Fabrica.
Additions
I took some of the green striped card and cut it a 6″ x 4″ and folded it in half and added some coffee dyed paper to make a little notebook, which I added some stickers to. It’s just an extra addition that he can doodle in.
I also made a little gift folder to add a gift card to and I attached it to the right hand flap with a dog shaped paper clip. I forgot to take a photo of it. But it was attached to the multi-coloured paw print.
This is one of the dog photos that I made it into a jig saw using the great little puzzle die cut that I got in the Temu haul. It worked brilliantly in the Sizzix. I did run it through a few times to make sure it cut through neatly, and it did, it came apart easily. Then I popped the pieces into an envelope with a cellophane front and tucked it into the flap on the left hand side of the card.

So all in all I’m pretty pleased with how it turned out and I hope you liked this flip through of this birthday card.