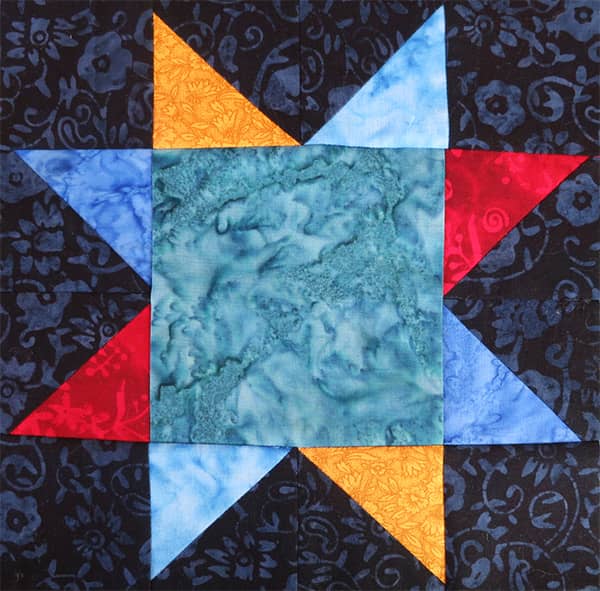
Quilt Block: Variable Star Quilt Block
Another quick and easy quilt block with endless possibilities. This would make a lovely block with the center piece fussy cut to a theme, such as shabby chic roses surrounded by pale apricot and cream colored fabrics, or a jungle theme with a wild animal as the center square. I don’t know, my mind runs wild at the options.
This quilt block measures 10″ finished.
Watch the video tutorial below or scroll down for the written instructions
TOOLS USED IN THIS TUTORIAL
You can check the latest prices at Amazon by clicking on the links below:
- Creative Grids Ruler 8½” x 24½”
- Olfa 24″ x 36″ double-sided healing mat
- Olfa Non-slip Ruler 6½” x 6½”
- Olfa 60mm rotary cutter
- FriXion Pens
- Oliso Iron
- Gutermann Sew-All thread
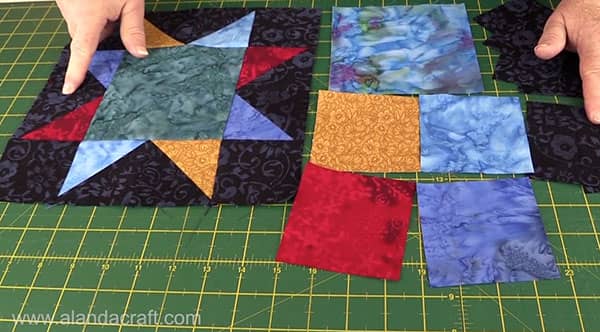
What You Need
- 1 x 5½” square – for the center
- 4 x 3″ squares – for the corners
- 4 x 3½” squares the same color as the corner squares
- 4 x 3½” squares ( make these in 4 contrasting colors)
Method
Put aside the corner squares and the center square for a moment.
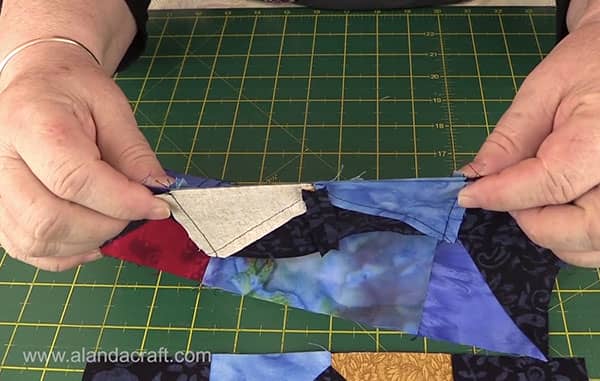
Make 8 half square triangles:
- Place one dark square over each of the 4 contrasting colored squares.
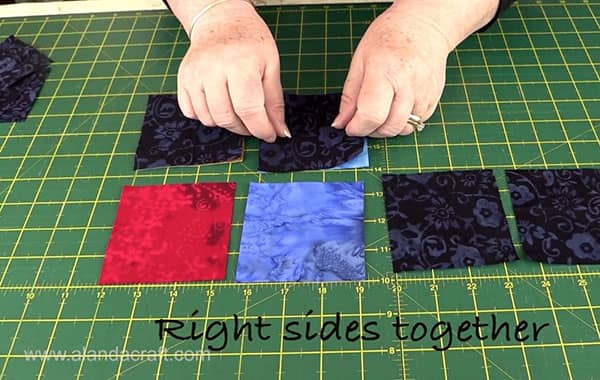
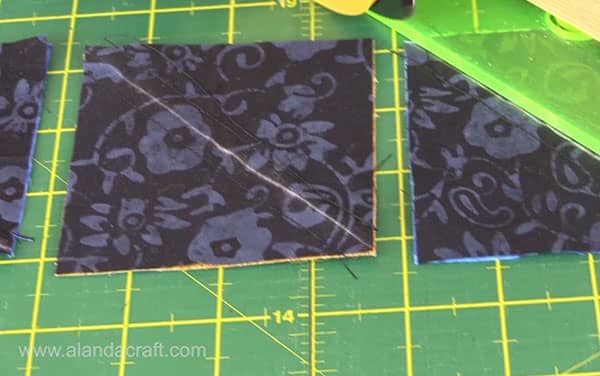
- Draw a diagonal line on each set of squares
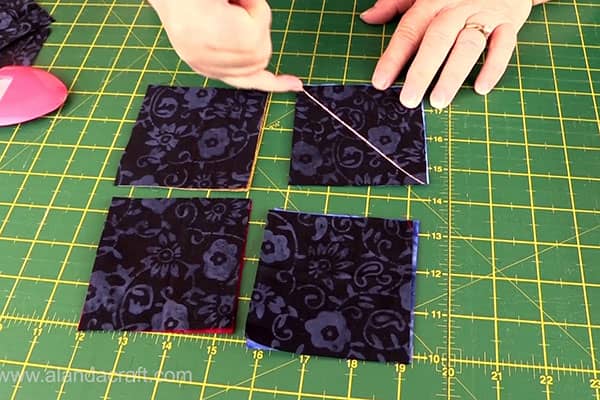
- Sew a seam line ¼” on each side of the drawn line
- Cut diagonally across the square on the line you drew earlier.
- Press the seam to the dark side.
- Open the square and press.
You now have 8 half square triangles.
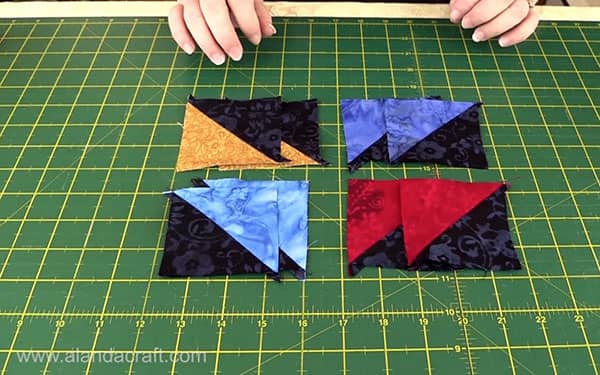
Trim the blocks to 3″. Here is a link to our video tutorial on how to trim a half square triangle
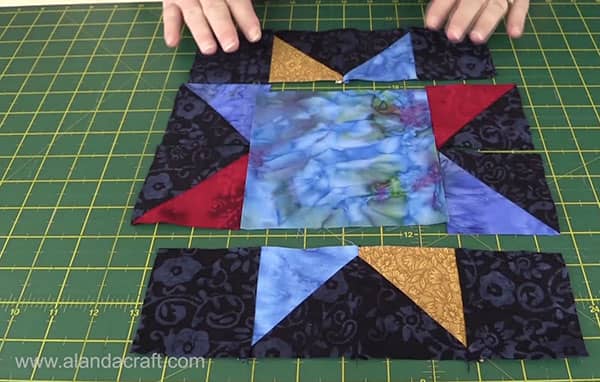
Lay out the block as follows:
- Place the center square on your work surface
- Place the 4 corner squares in the corners
- Place your half square triangles making sure that the dark colour creates a triangle.
Assemble the Block in the following manner:
- Using a ¼” seam sew the top row squares together and then sew the bottom row of squares together.
- Using a ¼” seam sew the two side squares on each side of the block, right sides together.
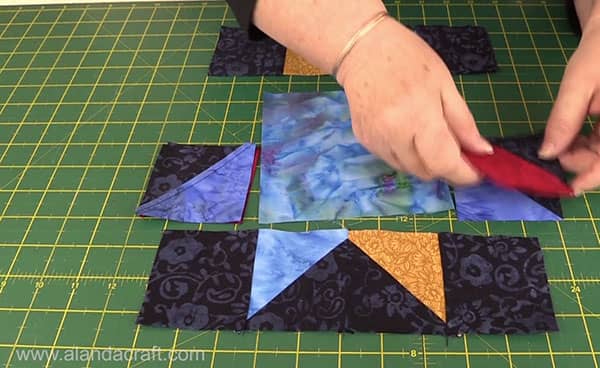
- Using a ¼” seam sew the side blocks to the center block.

- Press the seams on the side blocks open.
- And after you have sewn the side blocks to the center square, press those seams towards the center.
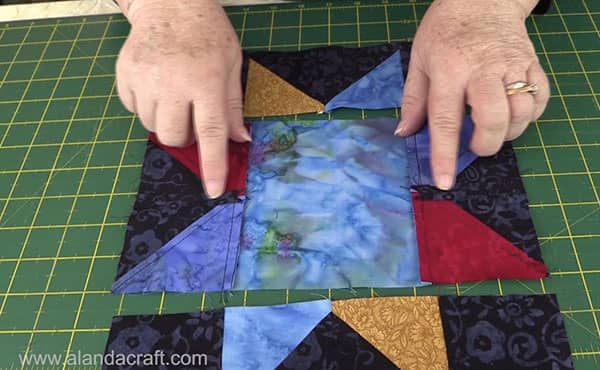
- Now sew the top and bottom rows to the center block.
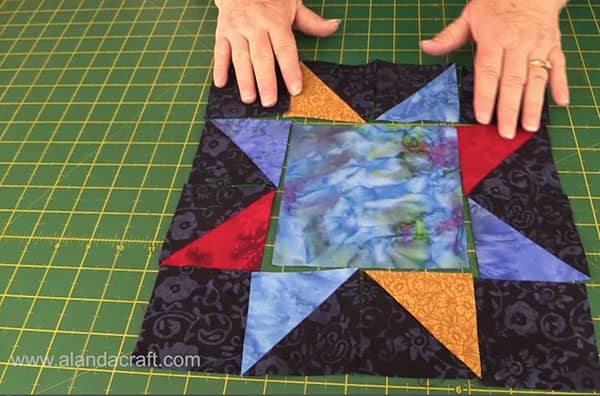
- Because of how the seams were pressed at the start they will nest nicely together. So that you will have nice neat joins on the front.
And here is the finished block.