Quilt Block: Hope of Hartford Quilt Block Tutorial
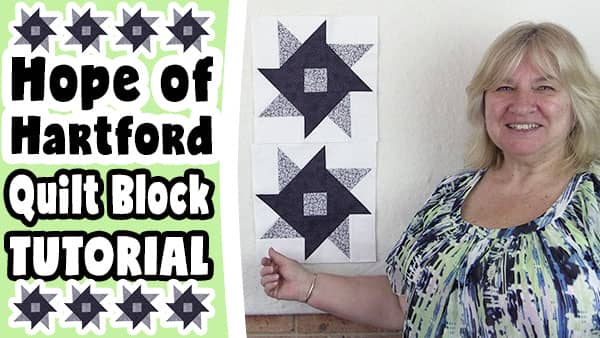
The Hope of Hartford quilt block is a lovely block that looks nice when it is done with three different fabrics, but of course, you can use more if you wish. We have used a light, medium and dark fabric.
Watch the video tutorial below or scroll down for the written instructions
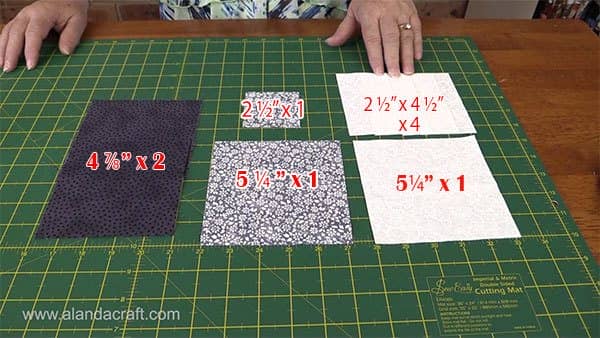
What You Need for a 10″x 10″ finished block (10½” unfinished):
Light fabric
- 1 piece 5 ¼” square.
- 4 strips 2½” by 4½”
Medium fabric
- 1 piece 5 ¼” square.
- 1 piece 2½” square.
Dark fabric
- 2 pieces 4 7/8″
Measurements for a 12″ Finished Block
To make the Hope of Hartford quilt block as a 12″ finished block (12.5″ unfinished) use the following measurements:
Light fabric
- 1 piece 6″ square.
- 4 strips 5 ¼” by 2 7/8″
Medium fabric
- 1 piece 6″ square.
- 1 piece 2 7/8″ square.
Dark fabric
- 2 pieces 5 5/8″
TOOLS USED IN THIS TUTORIAL
You can check the latest prices at Amazon by clicking on the links below:
- Creative Grids Ruler 8½” x 24½”
- Olfa 24″ x 36″ double-sided healing mat
- Olfa 60mm rotary cutter
- Oliso Iron
- Gutermann Sew-All thread
- Quilters Slidelock
Method:
- Slice the dark square on the diagonal from corner to corner.
- Do this with both the 4 7/8″ pieces.
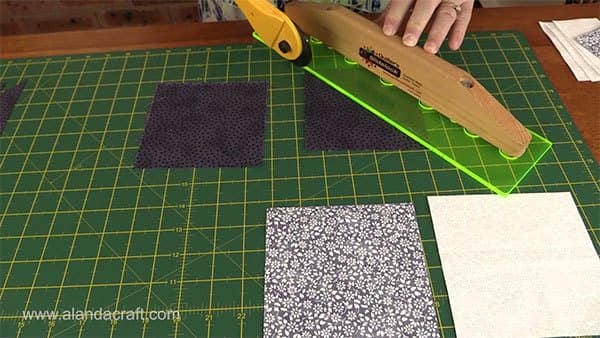
- You now have 4 triangles.
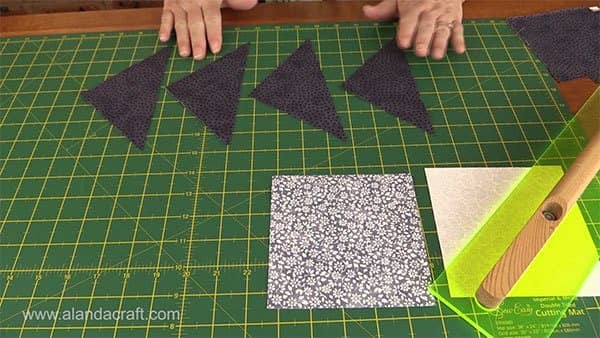
- Slice the light and the medium squares diagonal from corner to corner.
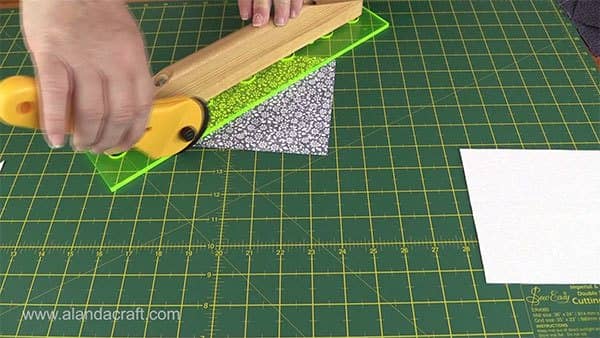
- Now slice from corner to corner, diagonally, on the other side.
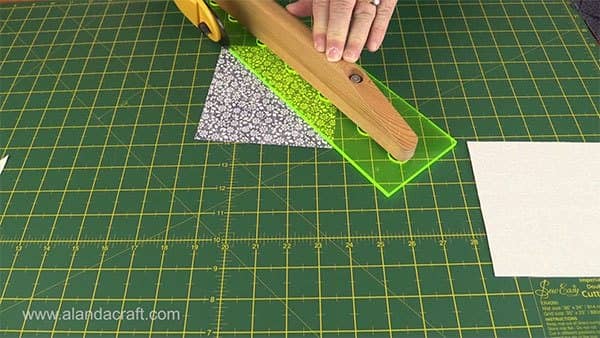
- You now have 4 triangles in both the medium and the light colours.
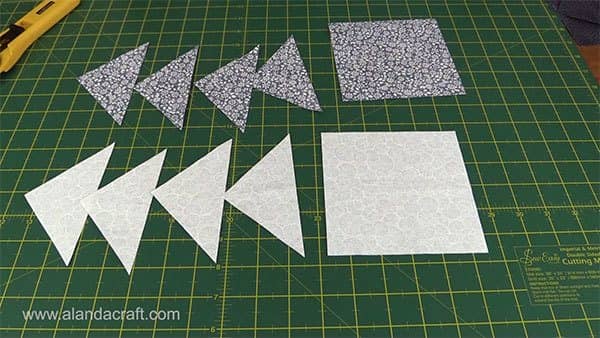
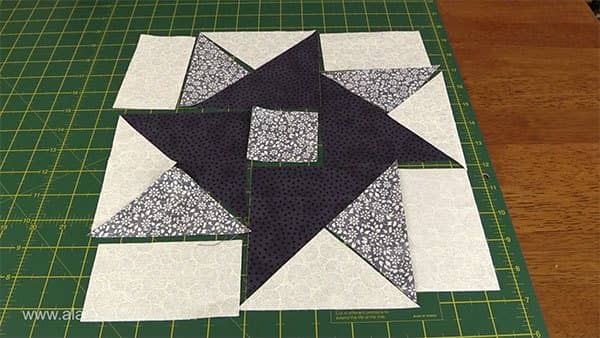
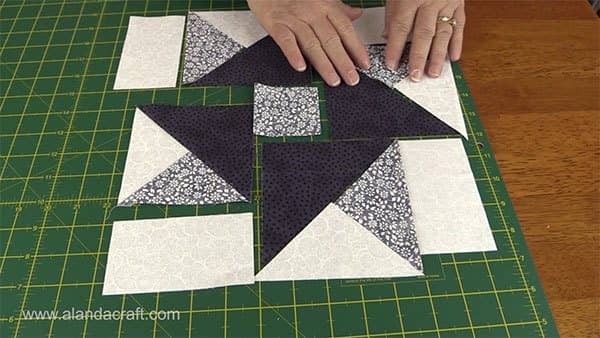
- Lay the pieces out on the mat as shown in the picture.
- We are going to sew the small triangles together first.
- Take one light triangle and one medium triangle and place them one on top of the other with right sides facing.
- Sew them together with a ¼” seam.
- Press the seam towards the darker fabric.
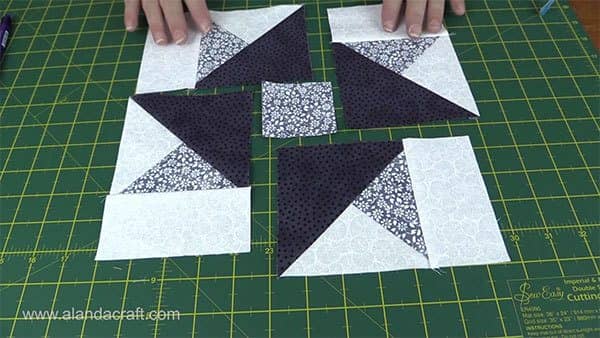
- Do this for all four sets of small triangles.
- Place them back into their position in the block.
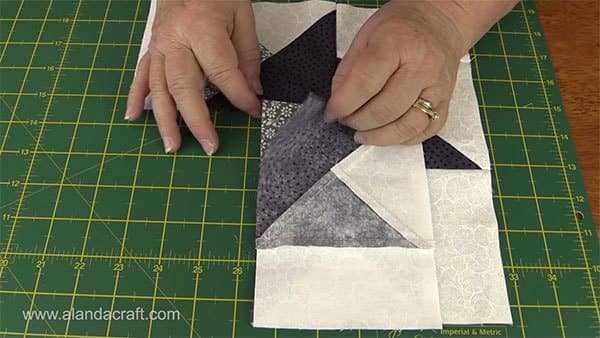
- Take the large triangle and place it, right sides together on top of the two triangles you have just sewn together.
- Sew the two pieces together with a ¼” seam.
- Press the seam to the dark side.

- Do this to create all four triangle sets.
- Take one of the 2½” by 4½” strips and place it right sides together over the square you have just created.
- Sew along the edges with a ¼” seam.
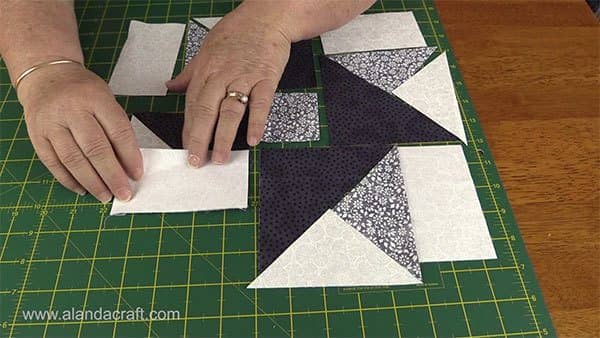
- Press the seam towards the rectangle side.
- Add the strips as shown to each of the remaining squares.
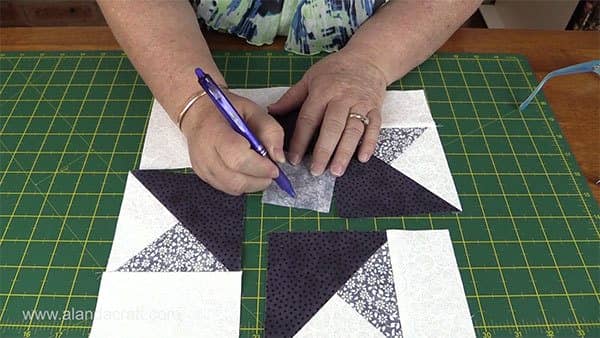
- Take the 2½” square of fabric and fold it in half.
- Finger press a crease.
- Take a Frixion pen or other fabric pen and draw a line at the half way point.
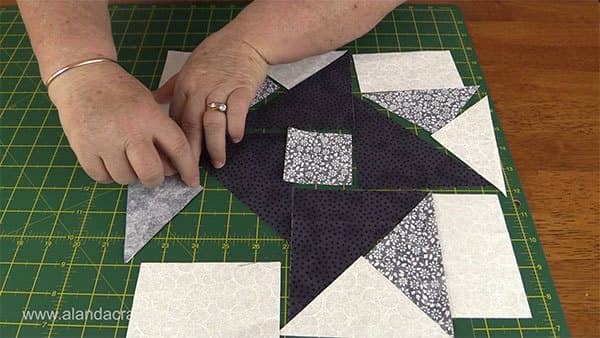
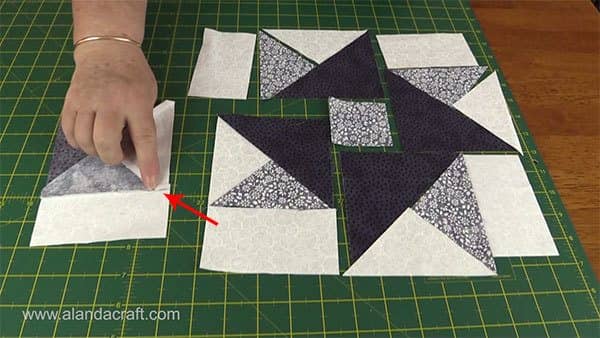
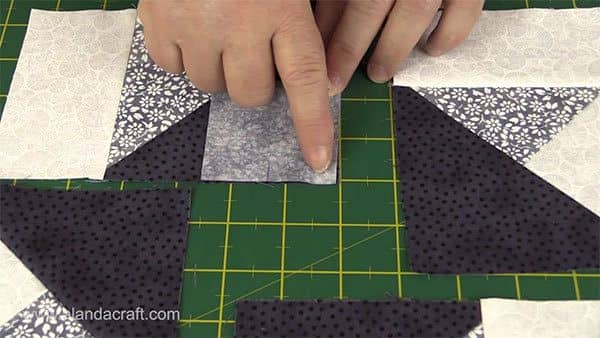
- Now its time to attach the rectangles to the middle square.
- Place the square in the corner of one of the triangles. Right sides together.
- Backstitch at the start.
- Sew along the edge until you reach the pen line. Backstitch.
- Press the seam towards the square.
- Take the next rectangle piece and line it up with the rectangle that has the square attached. Right sides together.
- Sew the two pieces together with a ¼” seam.
- Press the seam towards the square.
- Take the next rectangle piece and place it right sides together over the piece you have just sewn.
- Sew together with a ¼” seam.
- Press the seam towards the square.
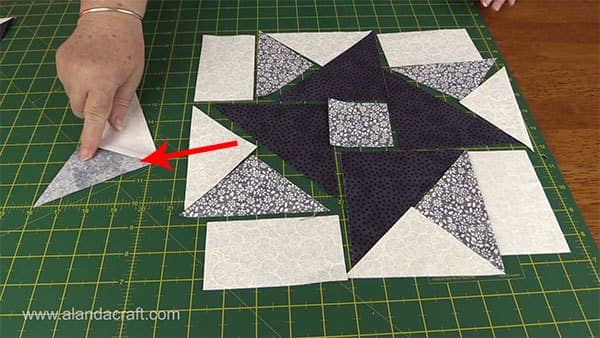
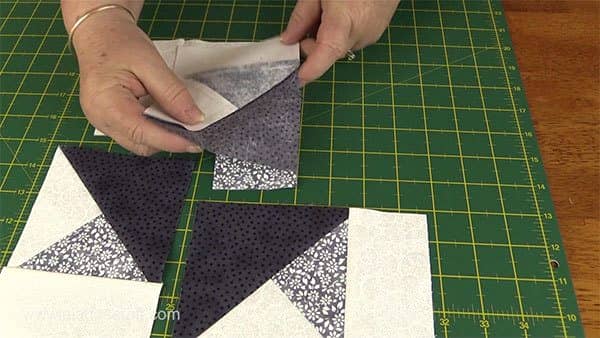
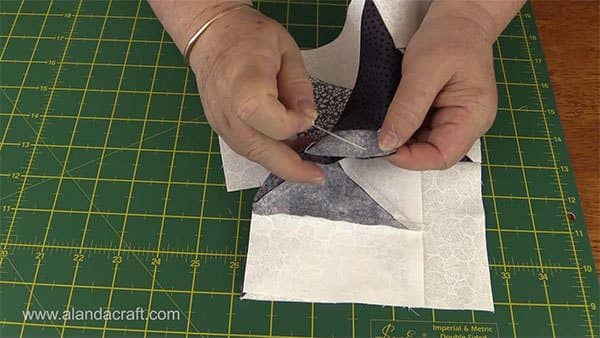
- Now we come to adding the last rectangle and this one is a little different.
- Remember how we only sewed half the square to the first block, well that was because now we need to be able to attach the last block.
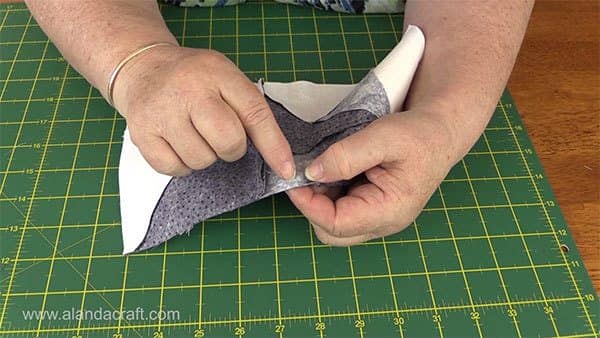
- Lift the loose end of the square and flatten it out.
- Place the two edges, right sides together, and pin.
- Take your time to make sure the edges are flat.
- Sew together with a ¼” seam.
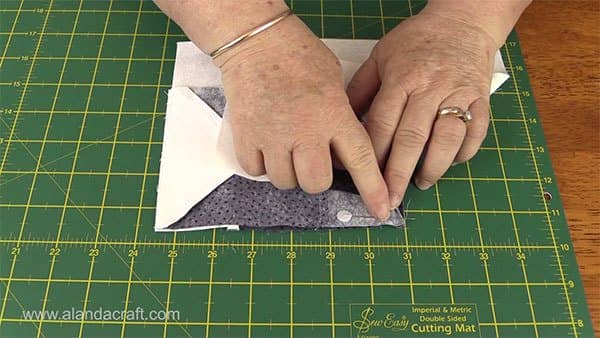
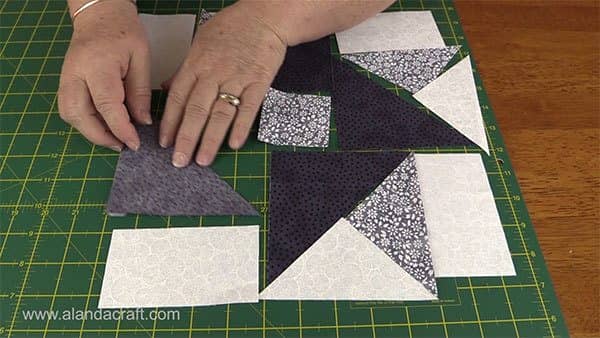
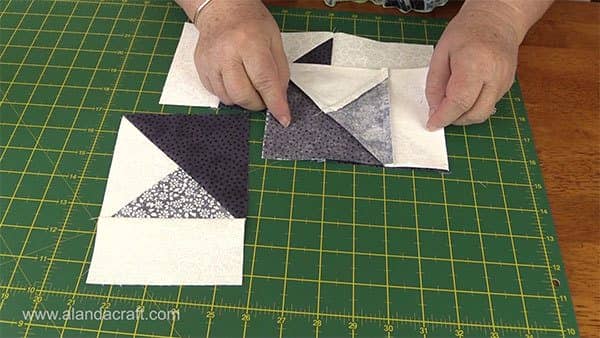
- We are now going to sew the last seam.
- Fold the bottom rectangle up.
- Line up the edges.
- We are going to start stitching from where we left off at the beginning.
- So line your needle up with the backstitching at the middle of the square.
- Backstitch – we do this because this seam won’t be sewn onto any other seam and we don’t want it to unravel.
- Sew from the centre of the square out to the edge.
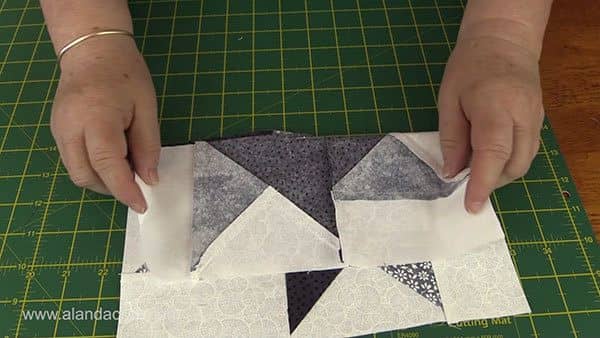
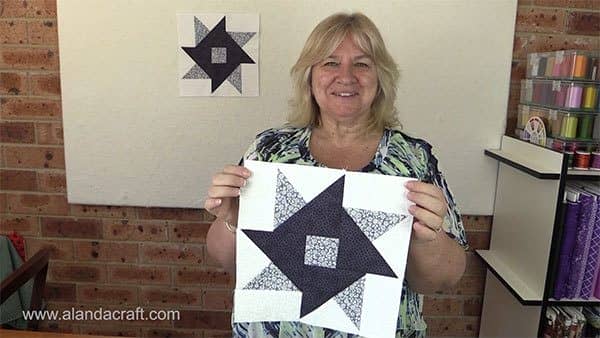
And there you have it. This is a lovely block that is well worth making and once you have tried it you will find it really easy to do.
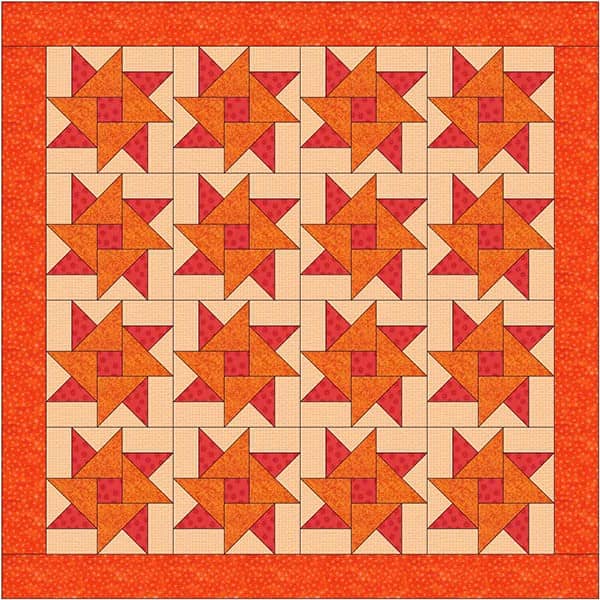
- You can put this block together using sashing between the blocks.
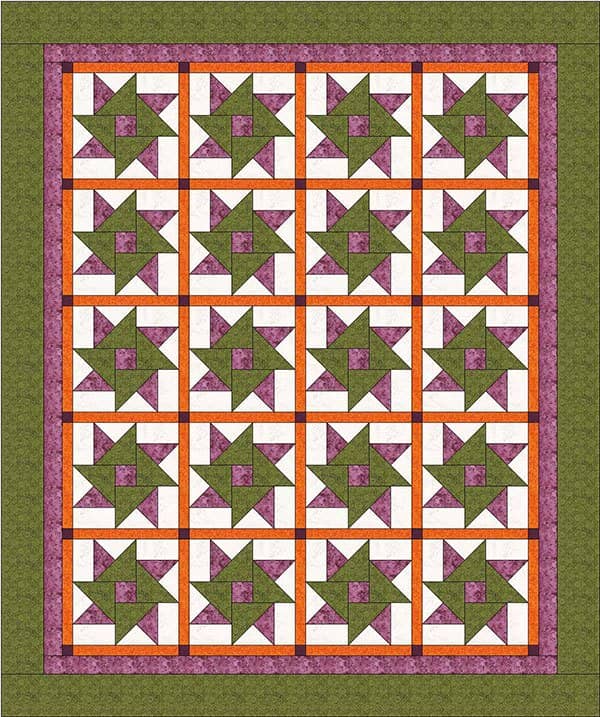
- Or you can simply sew the blocks together.