Our New Laser Engraver and Cutter – xTool D1 – 10w Machine
This is our review and demonstration of the xTool D1 10w Laser Engraver and Cutter. We were so lucky to be approached by the company to take a look at their laser and cutting machine. This has become our newest hobby and it’s so much fun.
The machine was beautifully packaged with lots of medium denisty foam to make sure everything stayed in place during shipping. So we unpacked it and set about putting it together. We had a couple of hitches, firstly I have chubby fingers so getting the cables attached prove a bit challenging. Fortunately, Paula has slender fingers and was able to slot the cables into where they needed to be without too much trouble.
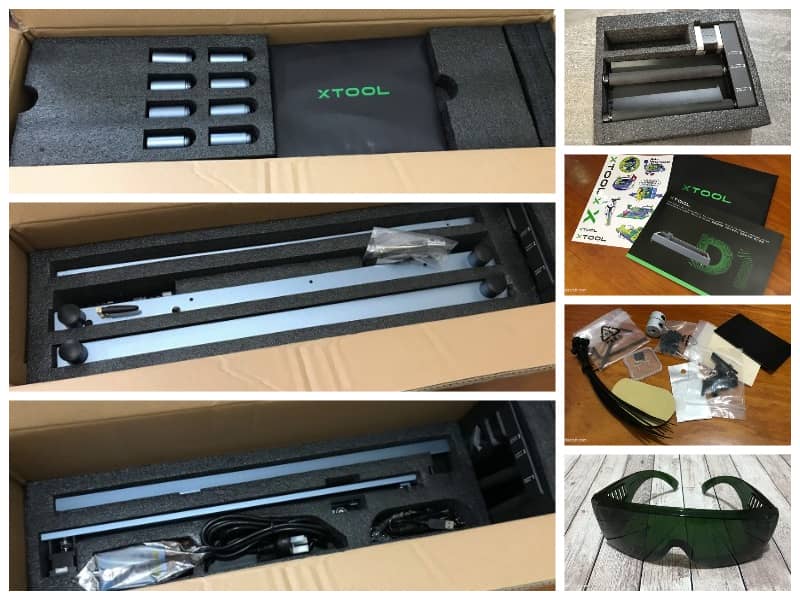
Once we had it together we couldn’t get it to run but we found that we had the main crossbar out of alignment. So once we sorted that out we were good to go. The company has a good video to help you with set up and there are plenty of others on YouTube.
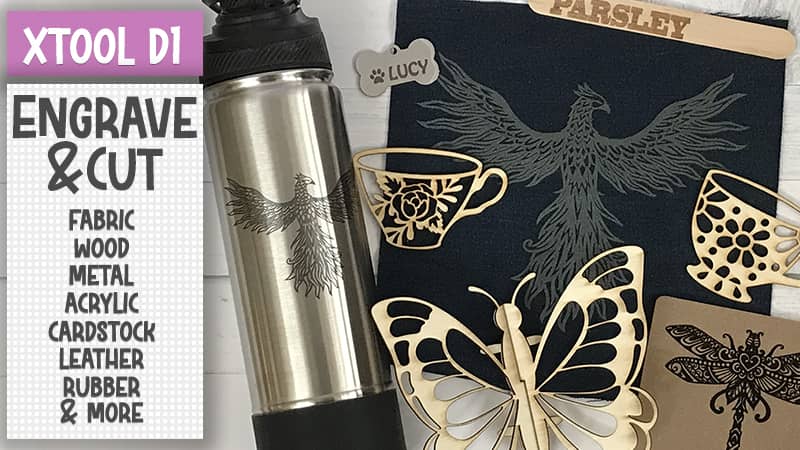
Setting up is not difficult, it’s just a different medium to what we are used to working with but I can see all sorts of money saving projects. For example, cutting your own die cuts for card making and journals, and you can engrave on fabric, stainless steel, leather, cardstock, acrylic and many other types of material. You could even start a business engraving items and selling them at markets and on Etsy.
Where Can I Buy the xTool D1?
You can purchase the xTool D1 laser engraver and cutting machine directly from xTool where they often have great deals. We have the 10w version of the machine.
Watch the video demo below or scroll down for more info
(Can’t see the video? You may have an ad blocker installed)
So Lets Talk About the Features of the xTool D1
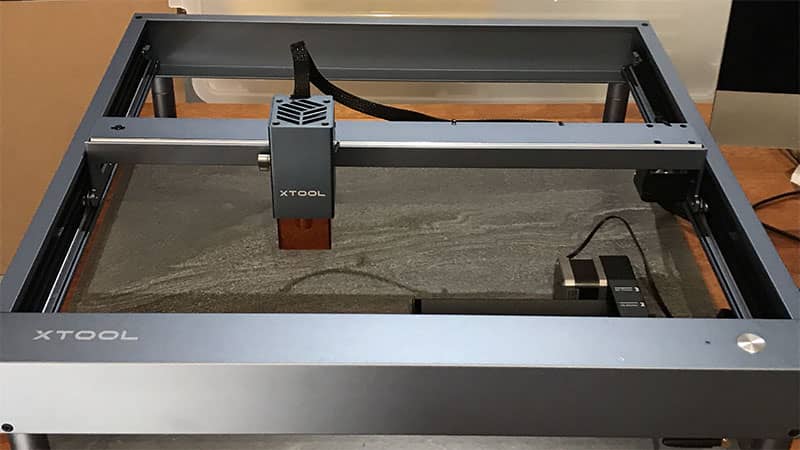
- We found the xTool D1 to be lightweight, so easy to move around but it’s stable enough to stay put once you have it in the position where you want it. It’s really well built and feels solid.
- This is a 10W machine and will cut a 10mm piece of wood with one pass of the laser.
- The machine has dual lasers which combine to give a focus cutting spot of 0.08mm.
- You can engrave fine lines down to 0.06mm.
- The working area is 17″x16″, so there’s plenty of room to engrave a decent sized project.
- It comes with 2 sets of risers which allow you to lift the machine up to 2 levels, giving you a 5.51″ working height. You need to lift the machine to use the rotary attachment which you use to engrave round containers.
- You can engrave directly onto stainless steel without adding a coating. And it does a beautiful job as you can see in our engraved stainless steel flask below.
- It’s easy to adjust the laser module to fit various thicknesses of material. Simply position the laser head over your material, pull down the laser focus lever, loosen the lever on the other side of the head and move the laser housing down so that the focus laser lever rests on the material, now tighten the other lever to hold the housing in place and make sure to move the focus lever up out of the way. Here is a video that shows you how to do it. A picture is worth thousand words in this case.
- The infrared cross highlights the starting point and helps to make it easier to line up your project.
- There are multiple ways to transfer your data to the machine, Wi-Fi, USB cable or a TF card (for offline use)
- You can use the xTool Laserbox Basic software and the machine is compatible with LightBurn software.
- Works with both Windows and Mac
So lets see what the xTool D1 can do!
SVG Files Used in this Video Purchased from Etsy
- Line Art Lover – Dragonfly design
- Fox Sister – Leaves, Phoenix design, Teacup
- GemXXDesigns – 3D Butterfly
Wood
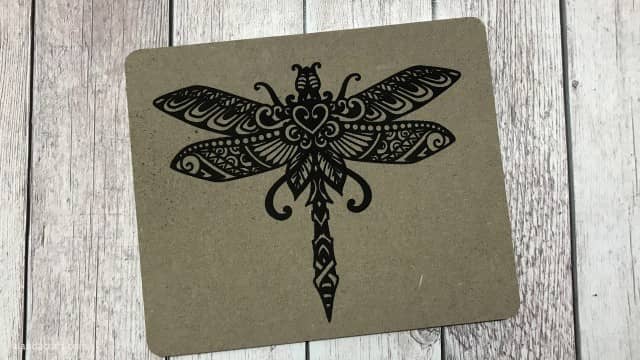
The first item we engraved was a coaster with a lovely dragonfly design that we found by Lineartlover on Etsy. She has some absolutely lovely designs including the Ostrich design that we used in our previous engraving video.
We used the xTool Laserbox Basic software to do this design. This software is free, it’s is easy to learn and its a good program to use when you are starting out with your xTool. (For other designs in this review, we used Lightburn. It has many more options, however, this is a paid option although you do get a 30 day free trial.)
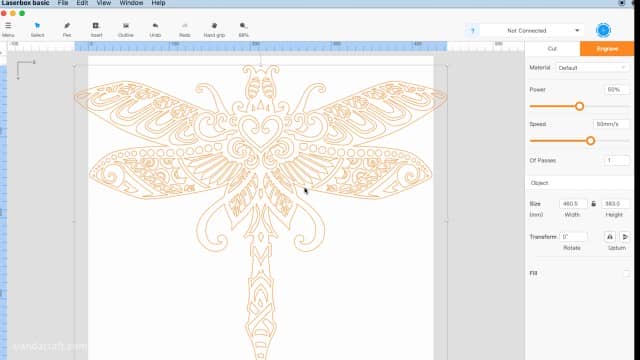
We chose the Basswood setting which gave us a speed of 35mm/s and a power of 50%.
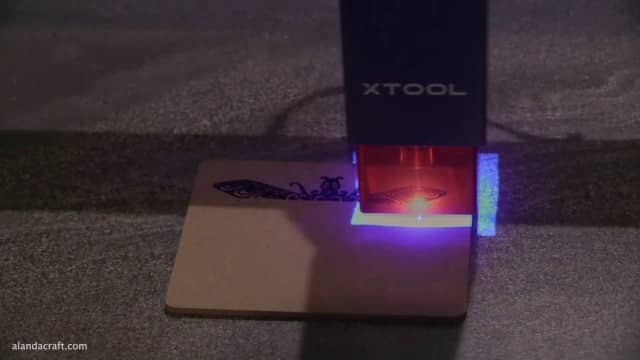
The design came out perfectly on this coaster!
Balsa Wood
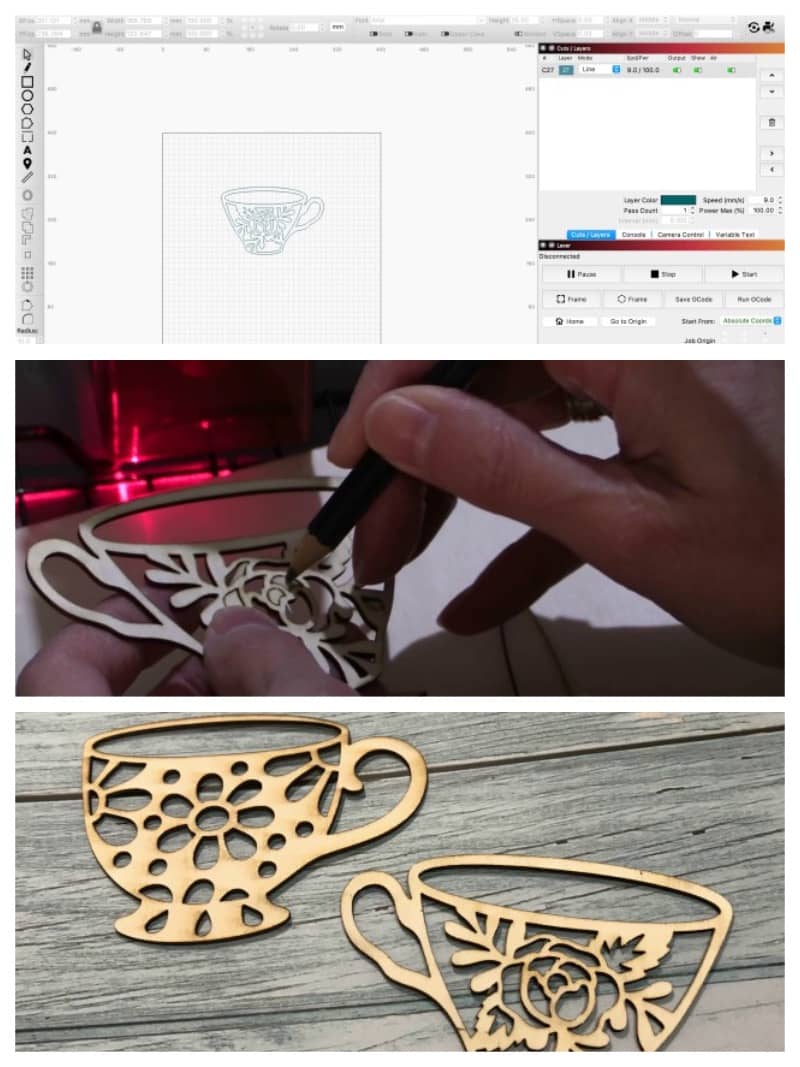
One of the ideas we have for using the xTool D1, is cutting out wood die cuts. We bought some 2mm balsa wood, although I would have liked to have gotten some 1mm balsa but the store didn’t have any in stock. I like the idea of making my own die cuts for my card making and journaling projects. So for this project I chose two Teacup svg files from FoxSister.
These cut out beautifully. Some of the smaller bits needed a pokey tool (in this case a pencil) just to pop them out.
The settings we used were 7mm/sec speed and 100% power.
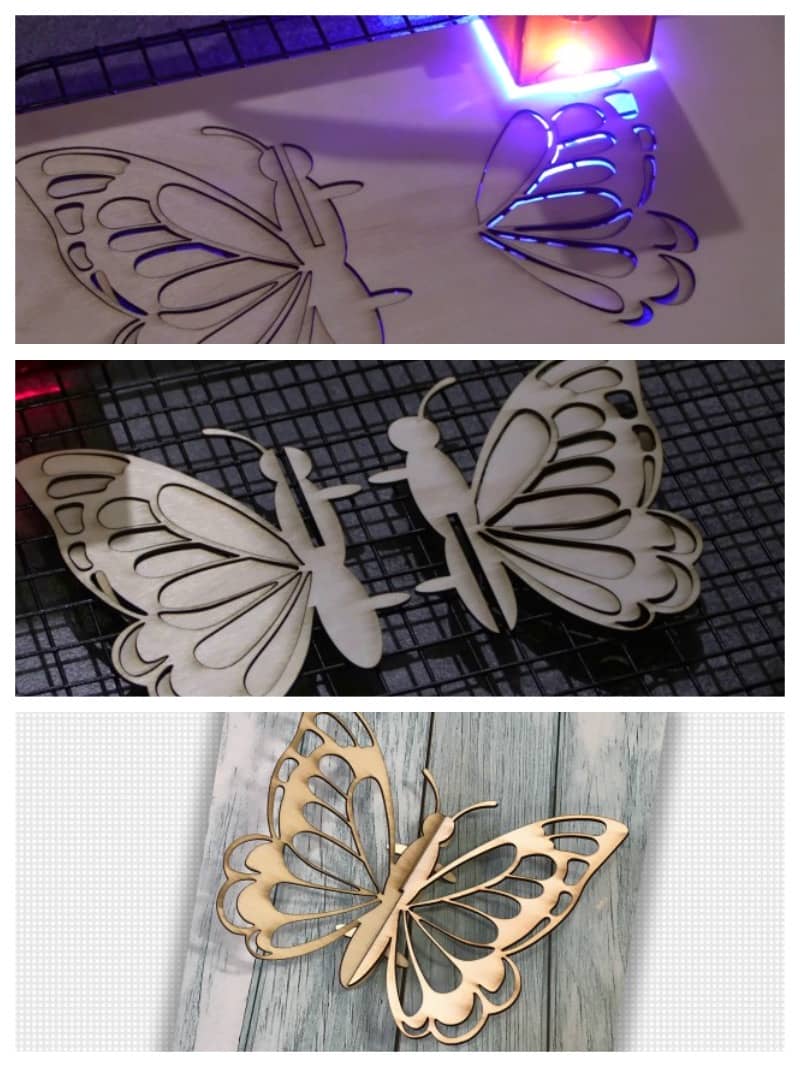
Paula found a lovely 3D butterfly from GemXXDesigns on Etsy which is ideal as a piece of wall art. The intricate design was no problem for the xTool to cut and we are really happy with the result.
Denim
Next we engraved some leaves on a pair of denim jeans.The design looked great when we removed it from the machine but as we wiped off the soot, the fabric fell apart.
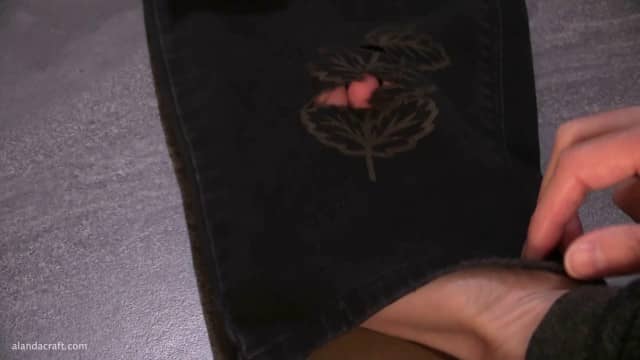
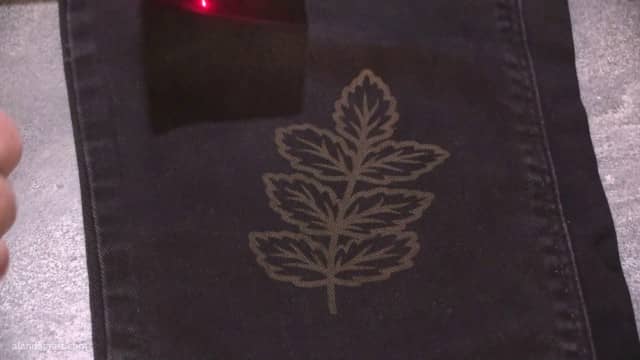
So we made adjustments to the settings and ran the design again. This time it was just right. The leaf design was purchased from FoxSister on Etsy.
The settings we used were 100mm/sec and 30% power.
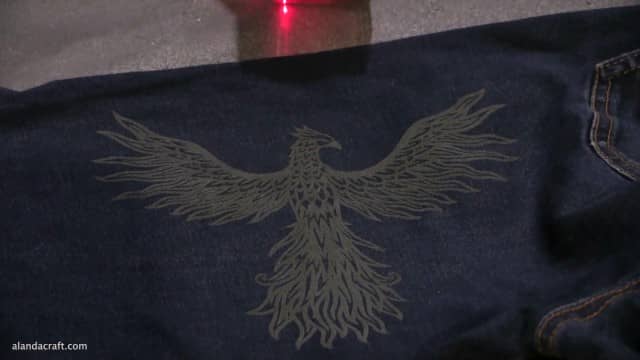
We decided to engrave another piece of denim (using the same setting) with this lovely Phoenix design, also from FoxSister. The phoenix turned out really well. So this is a great way to engrave on jeans or other denim projects, such as bags, cushion covers etc.
Paddle Pop Sticks
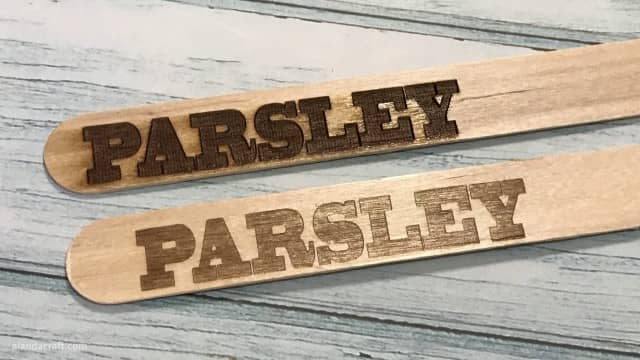
For our next project, we decided to add some text to some paddle pop sticks. This one says ‘Parsley’ as I thought they would be a good idea to use in my garden to mark my herbs. The first one wasn’t centered quite right and the settings weren’t quite right either, as it scorched a little. The second attempt is much better.
You can see the difference between the two attempts in the image below.
Stainless Steel
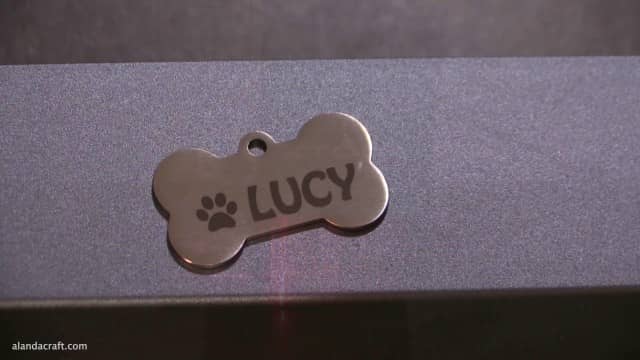
xTool provided some bits and pieces for engraving and one of those was a bone dog tag. So we engraved the tag with a paw print and Lucy onto the tag. (Lucy was a gorgeous Cocker Spaniel that belonged to Paula. She had a beautiful nature and was a most loving companion.) So we thought apt to engrave her name on the tag.
It came out great but as you can see we are still haven’t perfected centering yet.
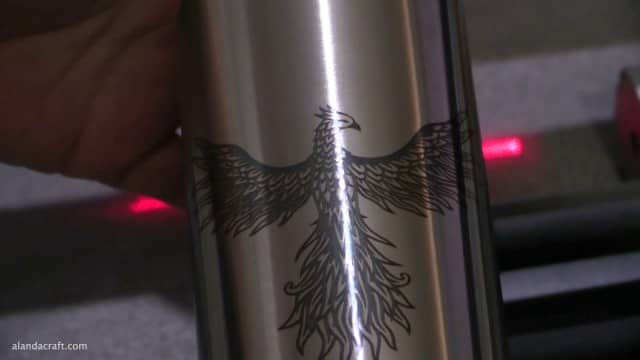
Stainless Steel Round Flask
Our xTool came with a rotary attachment to engrave cylinders and we tried to engrave a piece of dowel, but it was too long and wouldn’t sit in the cradle. So we tried a stainless steel flask and it worked beautifully.
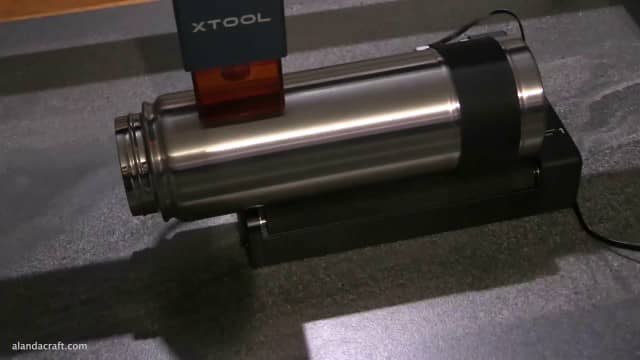
The design is crisp and clean. One of the many things that I like about the xTool laser is that we didn’t have to use any coating on the flask for the laser to give a well defined image.
For longer materials (like a rolling pin for example), we have two options to make this work and that is to either make up a jig, or purchase the RA2 Pro. (We may just do that in the future.)
What do we Think of the xTool D1
What’s not to love. We had a ball playing with this. In our opinion the machine is everything a hobby crafter could want. It’s lightweight, easy to set up and although we had a bit if a hiccup when trying to put it together, once we got through that, the machine worked perfectly. It engraves and cuts a wide range of materials and we are looking forward to doing many more projects such as jigsaw puzzles, small die cuts for cards, trellis patterns also for cards. Just imagine engraving a lovely design on a set of champagne glasses an engagement or wedding gift. There are so many lovely svg files available so the possibilities are endless.
Would we recommend the xTool D1 for hobby crafters?…absolutely.