How to Make an Easy Jelly Roll Scarf
This has to be one of the easiest scarves to make, in fact, it’s so easy that you will want to make a few for yourself for winter to dress up those dark winter outfits, and they make great gifts. Something to keep in mind with Xmas coming up soon.
Watch the video tutorial below for step by step instructions on how to make these gorgeous scarves.
What you Need
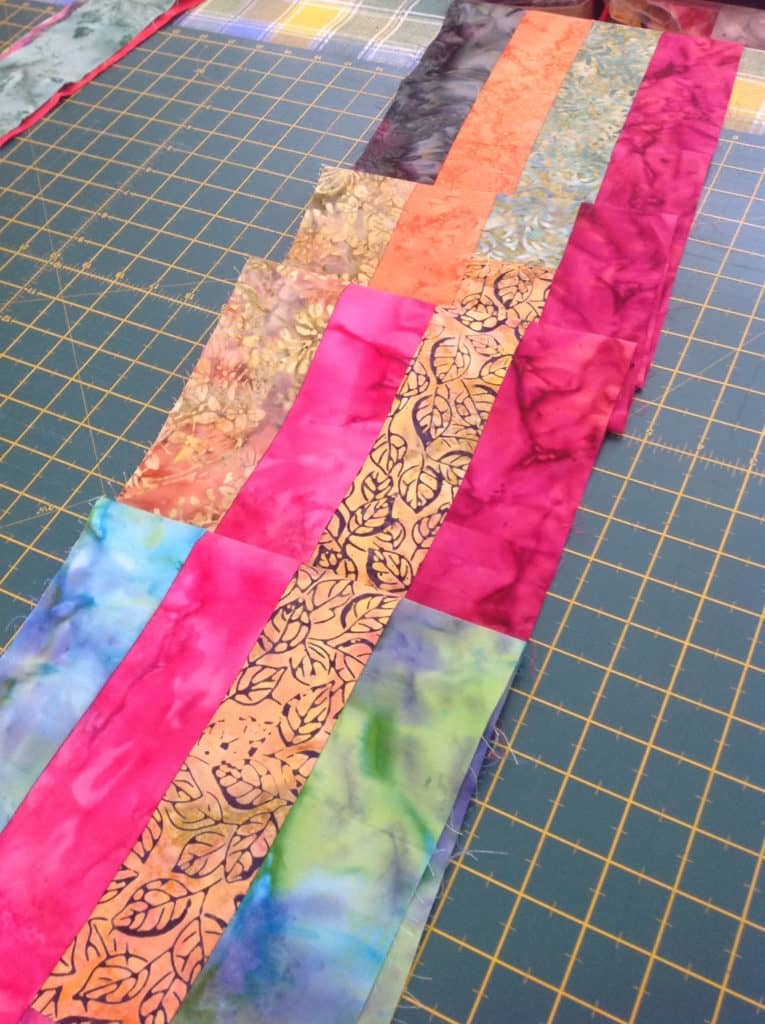
- 8 Jelly Roll Strips
NOTE:
We used Batik for two of the scarves and we cut up 2½” strips of fabric from our stash for the other..
- Some warm backing
NOTE:
We used a good quality Polar Fleece
Now you can leave your strips in the length they come off the jelly roll or you can cut the strips in half. It is entirely up to you and how you want the finished scarf to look. We have done both versions to show you the difference.
Method
Please Note:
the information below is just a basic outline. Please refer to the video tutorial for step by step instructions.
- Cut the selvages from each end of each strip
- Stack your strips into two piles one on top of the other. We started having the two piles in matching order then we took one stack and shuffled the strips around so that they were random in order.
- Now sew each of the strips together at the short ends using a ¼” seam. Keep going until you have one long strip.
- Lay this strip out making sure it’s not twisted.
- Cut 9″ from the end of ONE STRIP only.
- Bring the two ends up to meet and lay one strip on top of the other.
- Hold onto the two ends and just run the strip through your fingers into a pile. now working from the loop that has formed at one end begin laying the strips back onto the workbench making sure there are no tangles.
- Now sew the two strips together all the way down the long sides, using a ¼” seam.
- Lay the strip out and open it out. Make sure it’s not twisted and bring the two ends together.
- Lay one strip on top of the other and sew the two strips together all the way down the long sides, using a ¼” seam.
- Press the strips with the seams in one direction.
Our scarf measured 8″ by 80″
- Cut your backing fabric to match the width and length of your scarf.
NOTE:
if you cut across the fabric as we did, you will need to join the pieces together to get the length you need.
- Lay the main piece and the backing right sides together and sew around the edge using a ¼” seam. Leave an opening on one side to turn the scarf through.
- Trim your corners taking care not to cut your stitching.
- Press your scarf and especially the opening pieces and I find pinning the opening together makes it easier to sew over.
- Topstitch around the scarf to finish.