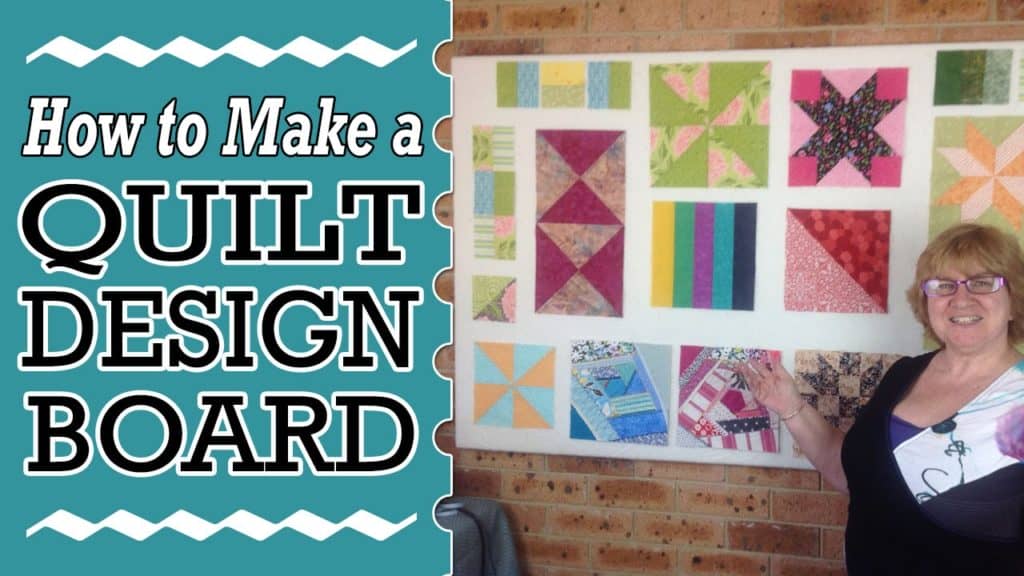
How to Make a Quilt Design Wall Tutorial
Those of you who have been following our YouTube channel for a while will have noticed a number of changes in what we have in the background. It’s all about being able to keep things neat and tidy while showcasing what we are working on in the video at the time.
We found that having a piece of batting on the wall worked quite well, but it wasn’t terribly attractive so we came up with the idea of putting the batting onto a canvas board.
Now we tried a few techniques and kept ending up with pokey out bits on the corners, which weren’t at all attractive. But we persevered and finally came up with a workable solution. So the finished board is not only practical for us but it has tidy corners.
Watch the video tutorial below or scroll down for the written instructions
So What Do You Need?
- 1 canvas artists board – the one in the video is 18″ x 18″ but you can use any size canvas board.
- Enough batting to cover the front of the board and reach around the back to cover the struts. We cut our batting at 22″
- Staple gun

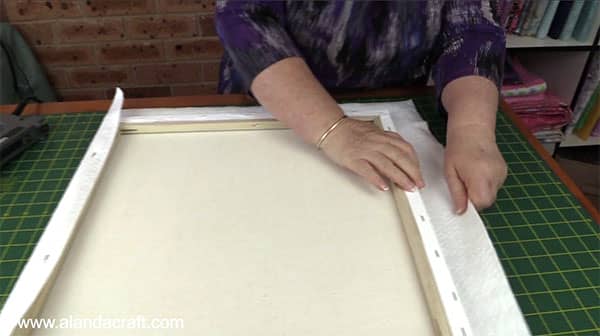
- Cut the batting 4″ wider than the size of your canvas.
- Lay the canvas in the middle of the batting.
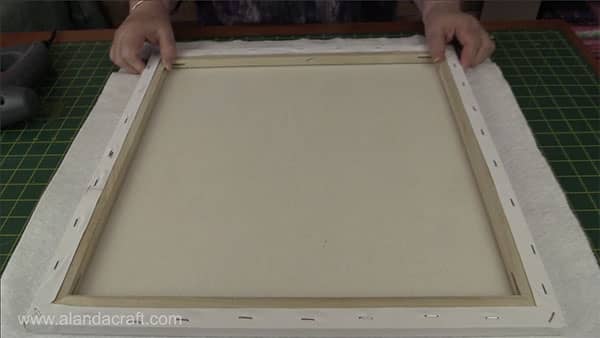
- Fold the batting to the back, covering the edge of the canvas.
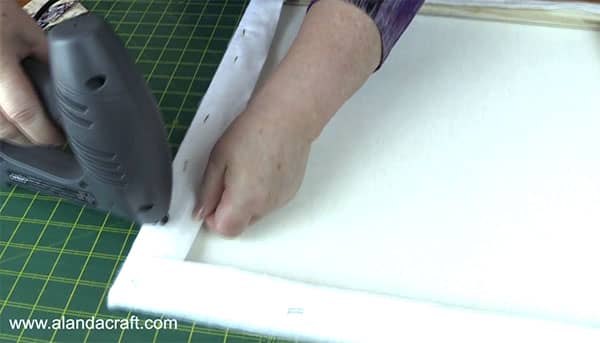
- Staple in one or two places on each side just to hold the batting in place. You could also use a hammer and nails.
- Don’t staple near the corner as we have to neaten those up before stapling them and you will want a bit of wiggle room to play with.
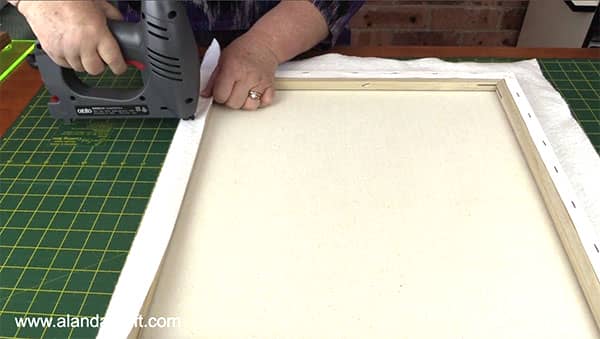
- Once you have put the staples into the first side move to the other side and just give the batting a little tug so that it is taut on the front.
- Now put a couple of staples in that side.
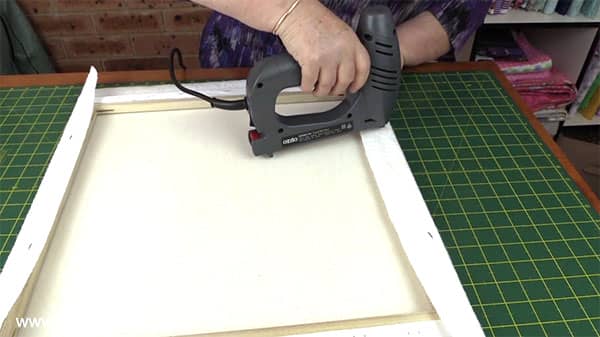
- Repeat for the top and bottom so that all four sides have the batting stapled in place.
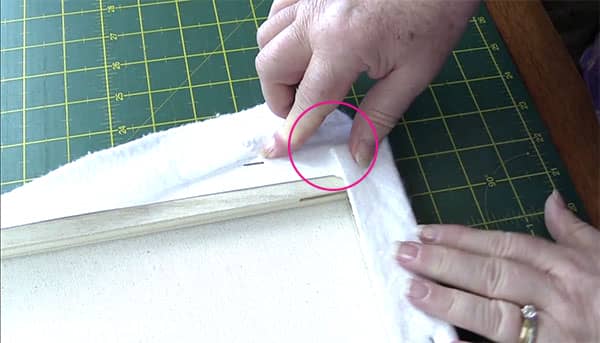
Now for the corners
- Bring the excess corner piece so that the point lines up with the side of the canvas (see picture or better still – check out the video above)
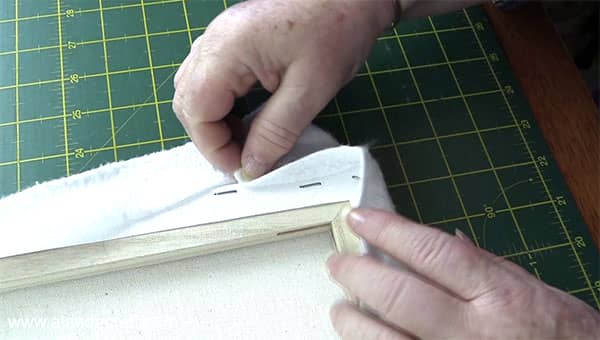
- Fold in the excess fabric so that it lines up, as near as possible to the outside edge of the canvas
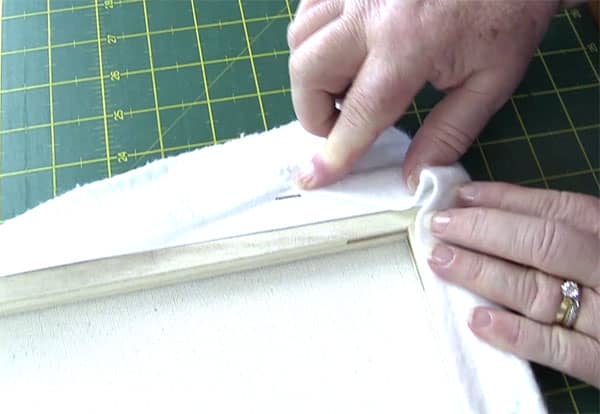
- Now fold over the batting piece to neatly cover the corner and staple in place.
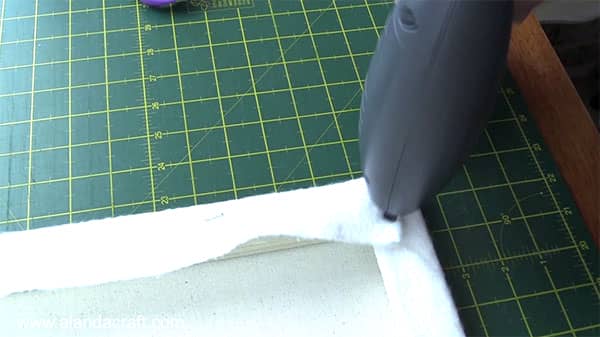
- Add some more staples around the edges to keep the batting stable giving a little tug on the batting as you go.
- And there you have it, a quick and simple Quilt Block Board.

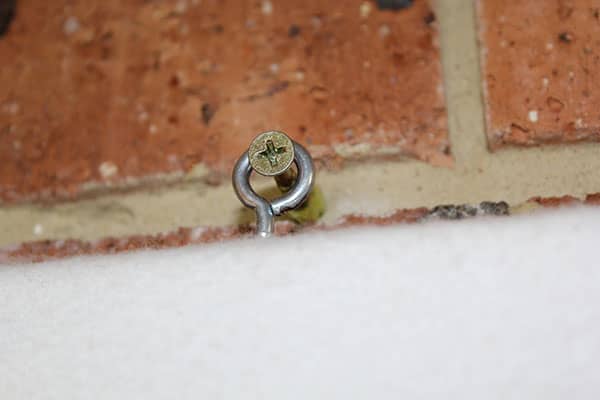
How We Attached the Quilt Design Board to the Wall
We measured the board and then about 10 inches from each end we drilled masonry screws into the wall at that measurement. You could also put one in the middle if you like.
We then added screw hooks to the top of the board. We just hand screwed them in and they hooked over the nails in the wall.