Easy Die Cut & Embossed Flower Greeting Cards
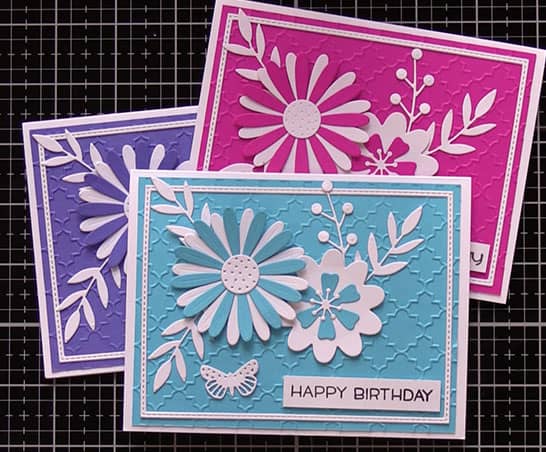
Today we have an easy die cut and embossed flower card. for you These cards are really simple to make and only require two colors of card stock – white and a color of your choice. I went with bold colors but you can just as easily use more pastel colors if you prefer or you can even use multiple colors.
Watch the video tutorial below or scroll down for more pics
(Can’t see the video? You may have an ad blocker installed.)
PRODUCTS USED
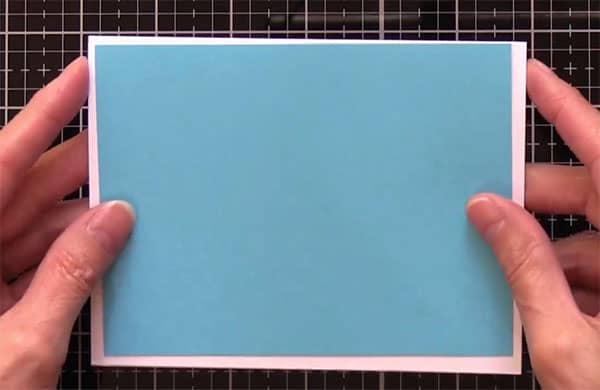
- 110lb card stock for the card base (A2 size card which measures 4¼” x 5½” – Cut a piece at 5½” x 8½” and score down the middle to make it.)
- 65lb card stock for the overlay (Cut at 4″ x 5¼”)
- Kaisercraft Embossing Folder – Lattice
- Stitched Rectangle Trimmings Die
- Sizzix Sophie Guilar Flower Die
- Lawn Fawn Happy Happy Happy Stamp Set
- Lawn Fawn Happy Happy Happy Die Set
- Gina K Designs Amalgam Ink – Obisidian
- Art Glitter Glue
- Tim Holtz Glass Media Mat
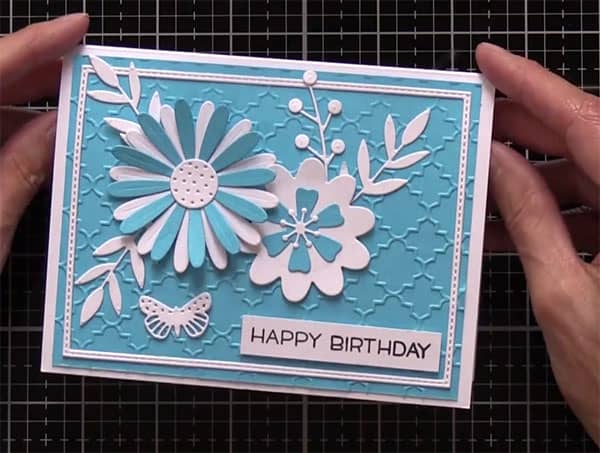
This was a fun card to make and the Sophie Guilar die set made it super easy to put together and makes it look awesome with very little effort.
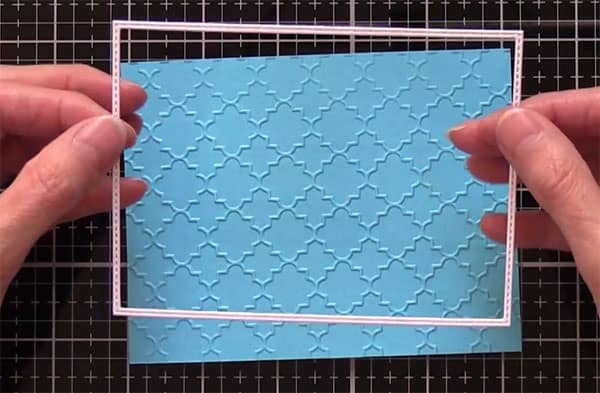
I started with an A2 sized card and cut an overly measuring 4″ x 5¼”.
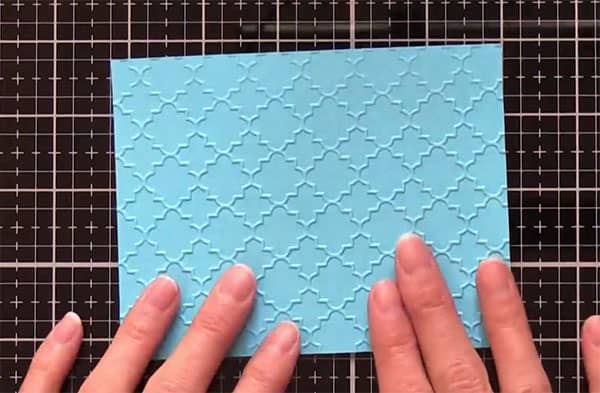
Then I embossed the overlay piece using a Kaisercraft Lattice Embossing Folder. You could use an embossing folder of your choice here. Just something that would make a suitable background for the flowers.
I added a frame using the Stitched Rectangle Trimmings die.
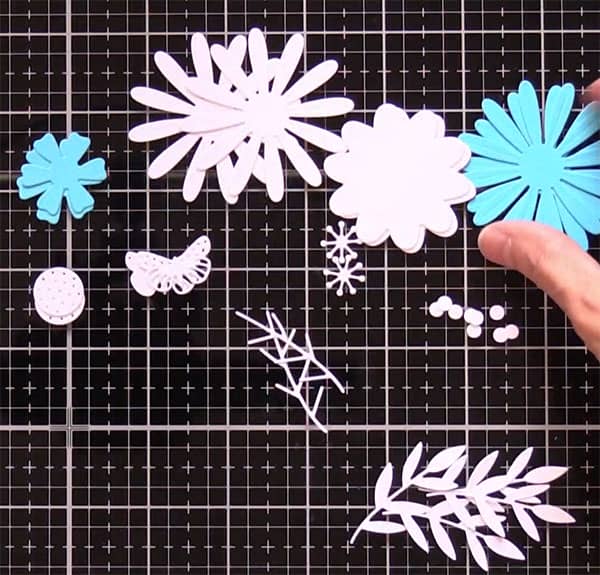
I cut my flower pieces from the Sophie Guilar Flower Die. This is a favorite die of mine as it includes a number of flowers and leaves that you can mix and match and make all sorts of different flower combinations.
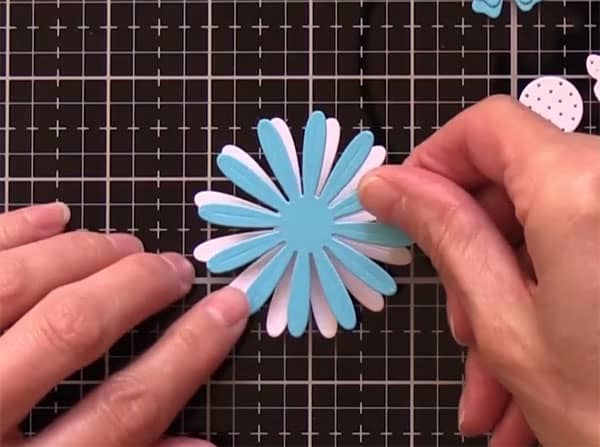
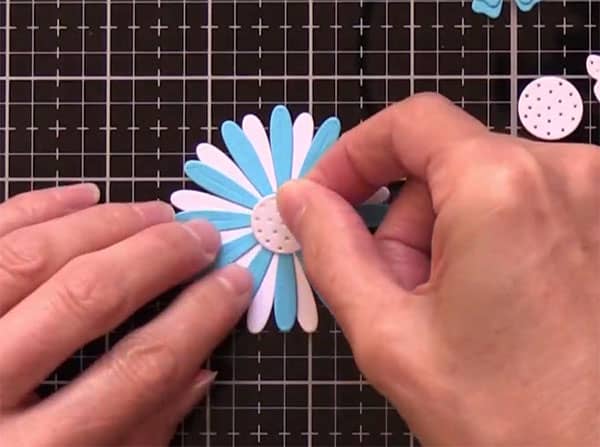
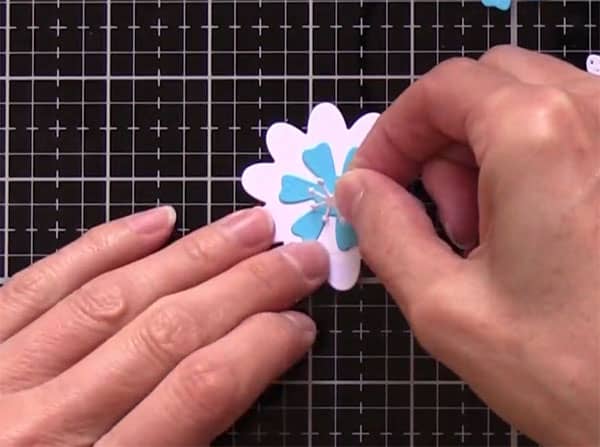
The large flower is made up of two of the flower pieces shown below. Just cut one in white and one in your colour of choice. I only glued the centre of the flower as I wanted the flower petals to lift up in order to add dimension.
Then I placed the centre piece to complete the flower.
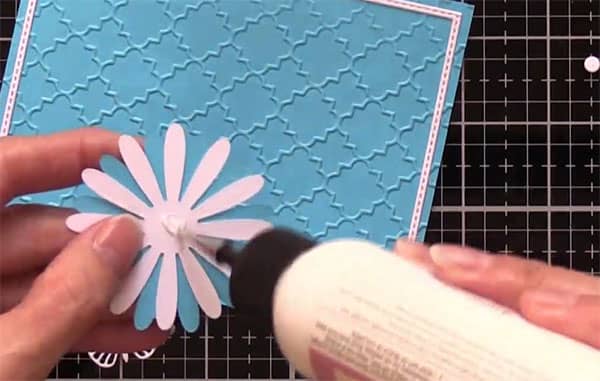
The second flower is made the same way. I just layered the three pieces shown below.
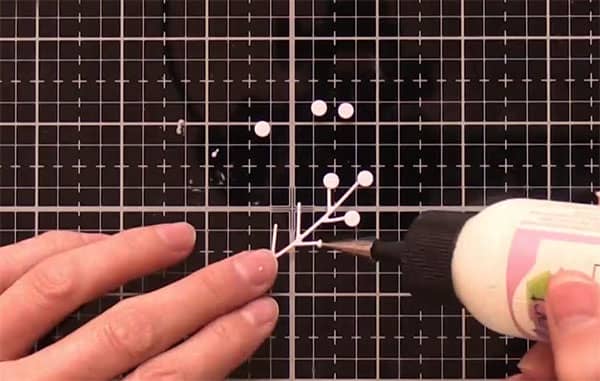
The flower die also includes the twig shown below, and unfortunately it comes in bits so you have to glue the circles on to it. A little bit fiddly but I got it done in the end.
I then glued all the flowers onto my overlay piece. Again, I only used glue on the centre of the flowers.
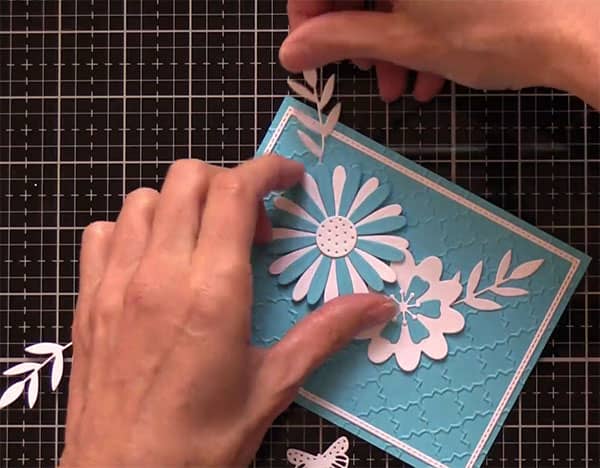
I then added the leaves.
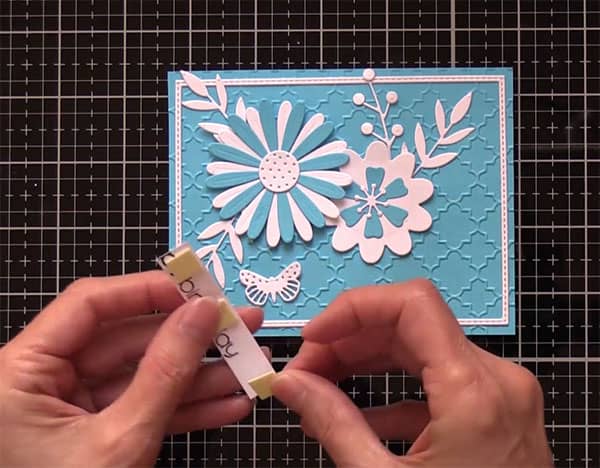
For my sentiment, I used Gina K Obsidian ink. I love this ink! I then added 3d dimensional tape to the back of the sentiment to give it a bit of dimension.
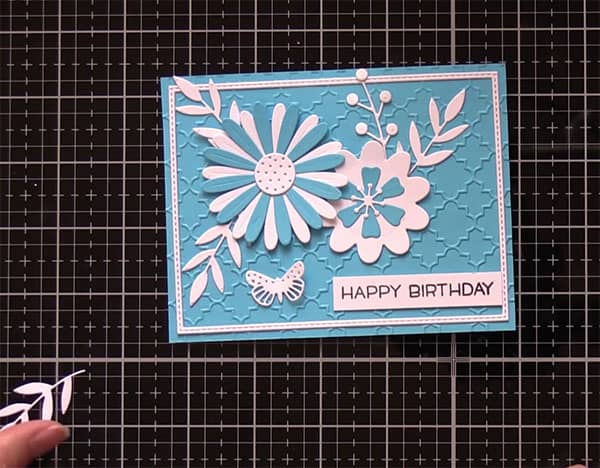
This is how it looks with everything glued on.
The final step was to just glue the overlay piece onto the A2 card. 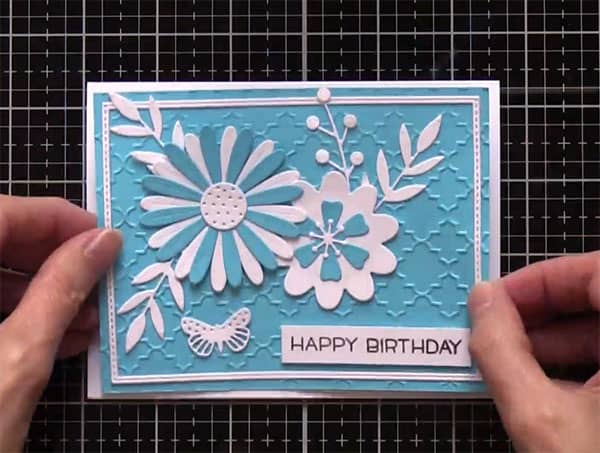
The final result!