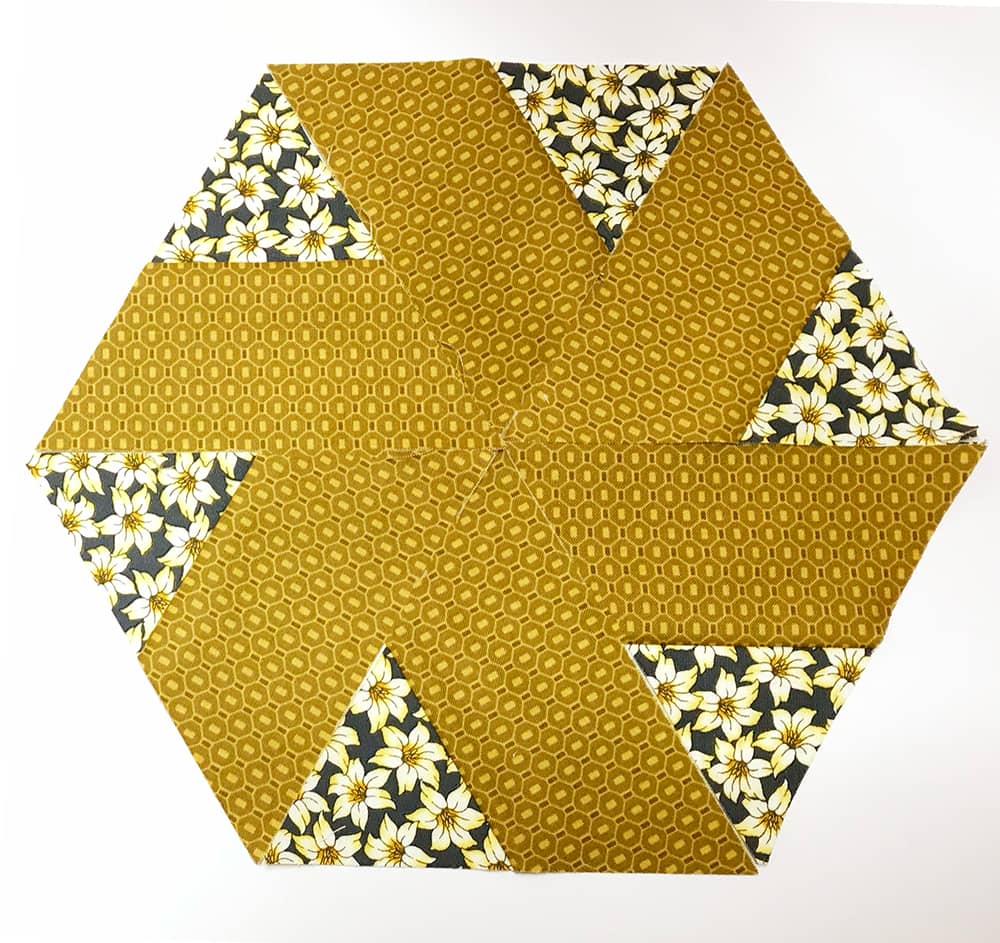
How to Make a Pinwheel Hexagon Quilt Block
This is a lovely quilt block and really easy to make. You will be cutting triangles with this method but don’t run off as this is simple using a quilting ruler that has a 60° line. If you don’t have a quilting ruler with a 60° line then you can use your cutting mat and we have a tutorial for that if you need it.
This block is made using strips of fabric and we use 2½” strips so if you have a fabric jelly roll then this would be ideal. However, bear in mind that this block looks its best with contrasting fabrics as the pinwheel will be more prominently displayed.
We haven’t yet made a quilt using this technique but would love to give it a try to see how it comes out. I’ve thought about using an entire jelly roll which has 42 strips but I feel that it might end up being too fussy. I won’t know unless I try of course but it might make a good video for our YouTube channel.
Tools Used in this Tutorial
(These are affiliate links so if you purchase using these links, we receive a small commission, at no extra cost to you. Thank you for your support.)
- Olfa Cutting Mat – We have a number of different brands of cutting mats that we have purchased over the years but the one we use the most is the Olfa brand. It is a large 24″ x 36″ so make sure you have the space for it if you are going to get one of these. They do have smaller versions so just measure up your table and buy accordingly.
- Rotary Cutter – We use the Olfa brand of rotary cutters and I personally like the 60mm size but you can also purchase the smaller 45mm rotary cutter which is quite popular.
- Juki Sewing Machine – We’ve been wanting to get a Juki sewing machine for years now but since we had the Brother Dream Machine for the business we felt it wasn’t warranted. That’s when we thought about trading in a couple of machines we weren’t using, that were still in ‘as new’ condition. We are so glad we did. This machine only has one stitch but it does it extremely well. So glad we got it!
- Quilting Ruler – Any quilting ruler with a 60° line will work for this. (Scroll down if you want to see what the ruler looks like in action.) You could also use one of those 60° triangle rulers. We like Creative Grids rulers so the one we are using has a nice 60° line that is easy to see. If you don’t have any rulers with a 60° line then you can also use your cutting mat. You can view our tutorial for how to cut triangles with your cutting mat here.
What You Need
- Fabric Strip 1 – 2½” by width of fabric ( WOF = the width from selvedge to selvedge. Usually you cut with the fabric folded in half and measure from the folded edge to the selvedge.
- Fabric Strip 2 – 2½” by width of fabric – contrasting fabric.
Watch the video tutorial below or scroll down for written instructions
(Can’t see the video? You may have an ad blocker installed.)
Method:
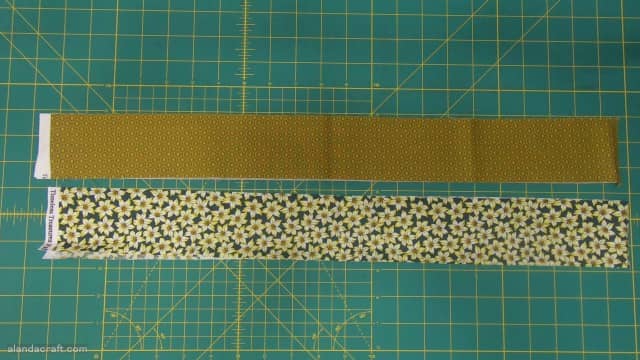
Place the two strips together with right sides facing.
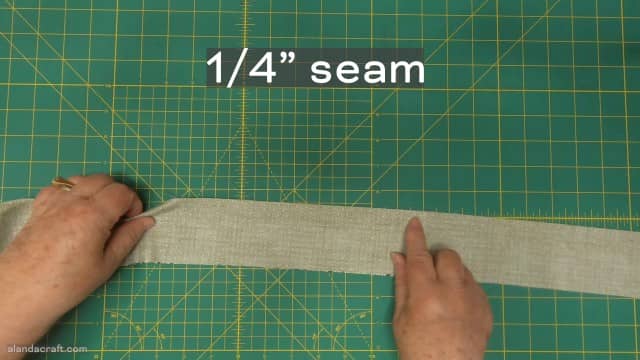
Sew the two strips of fabric together with a 1/4″ seam
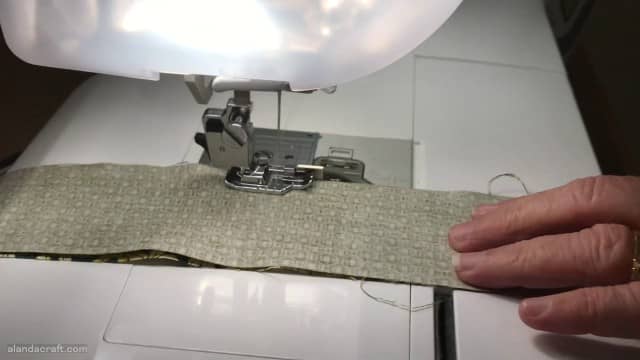
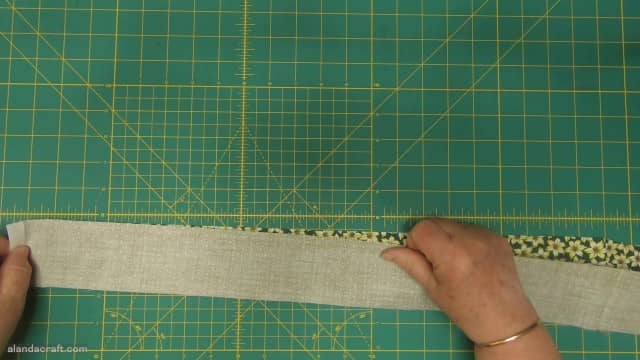
Press the seam towards the darker fabric.
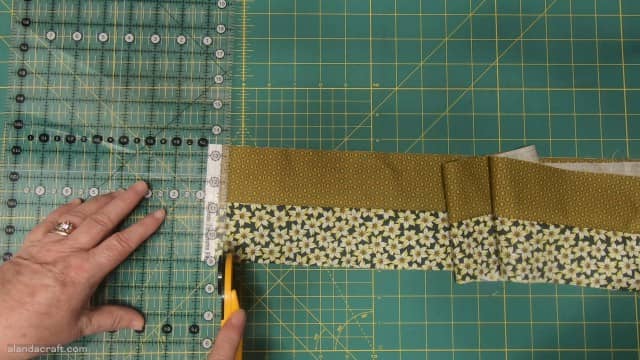
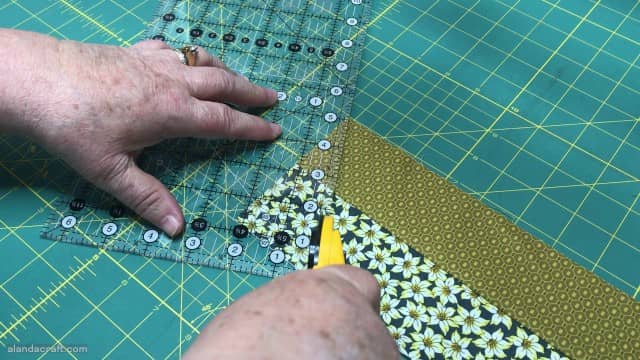
Trim the selvedges from one end of the strip.
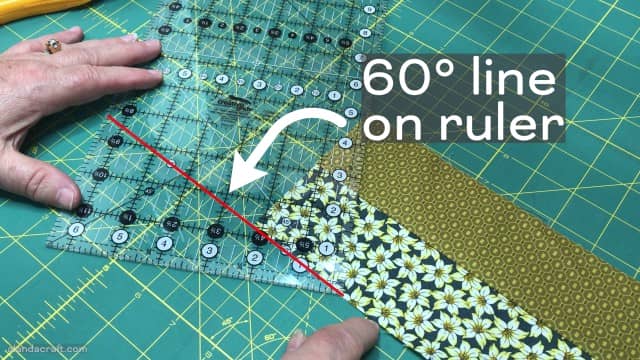
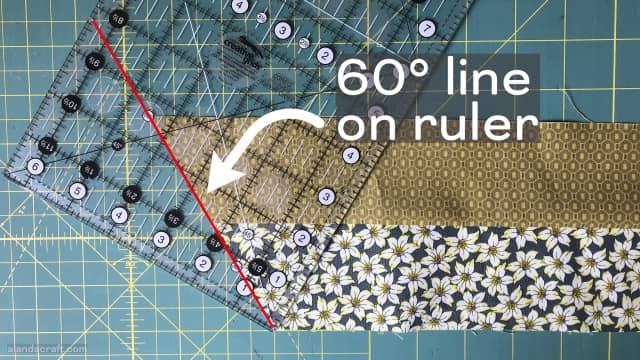
Find the 60º line on your ruler. You can see in the image how the line runs from the bottom right hand corner upwards to the left. It is also marked with 60º at one end of the line and 30° at the other end of the line. It’s the same line so just ignore the 30°.
Once you have found it, it might be worth your while to add a piece of masking tape along that line so it is easy for you to find again and you don’t confuse it with any of the other lines that on your ruler.
Turn your ruler so that the 60º line sits along the bottom edge of your fabric as shown in the image below.
And place the edge of the ruler so that it lines up with the top corner of your fabric.
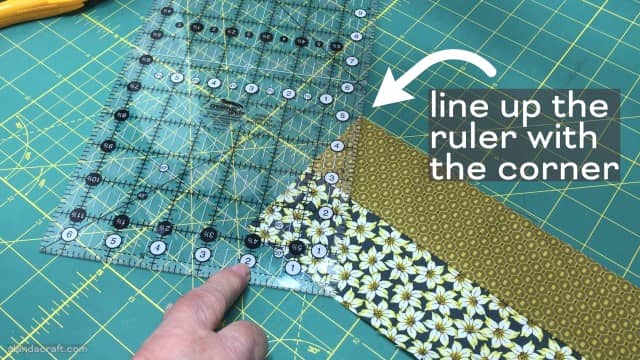
You are ready to make your first cut.
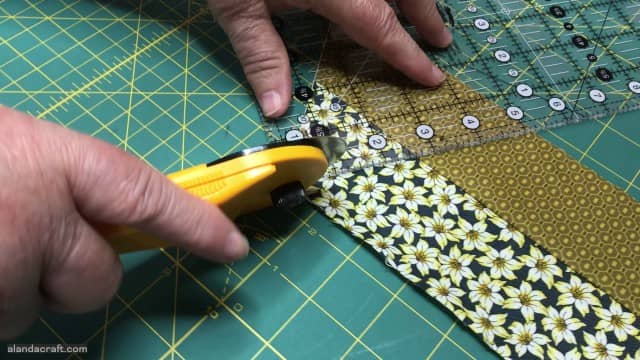
Now turn your ruler so that the 60º line lays along the edge that you just cut and the point of the ruler sits at the bottom edge of the fabric.
And cut.
Turn the ruler again so that the 60º line is running along the bottom edge of the fabric and the edge of the ruler lines up along the top edge.
Make your cut.
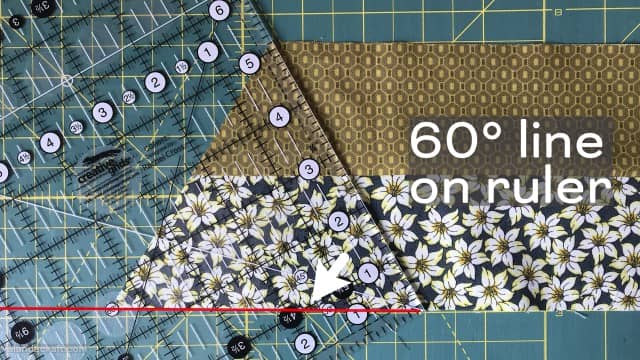
Continue like this along the strip until you have cut the required number of triangles for your project. We got 15 triangles from the strip.
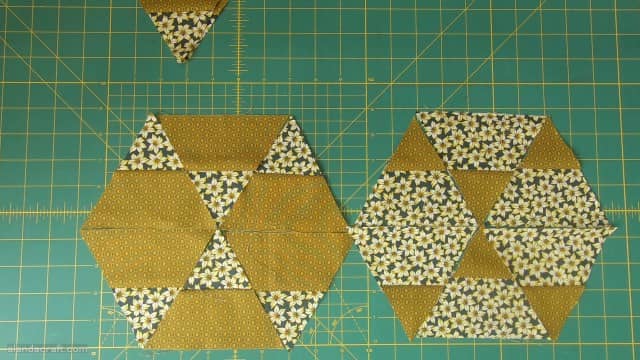
You will now have two blocks with alternating colors that compliment each other nicely. Turn the triangles around until you find the design that you decide is just right for your project. So many possibilities.
Pinwheel Hexagon Pattern #1
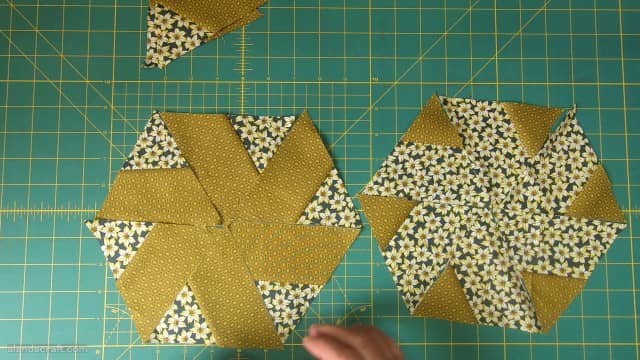
Pinwheel Hexagon Pattern #2
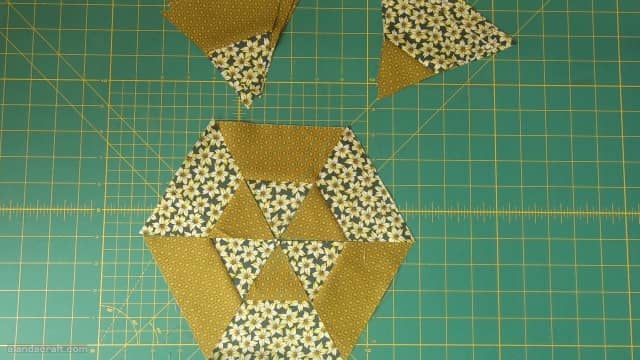
Pinwheel Hexagon Pattern #3
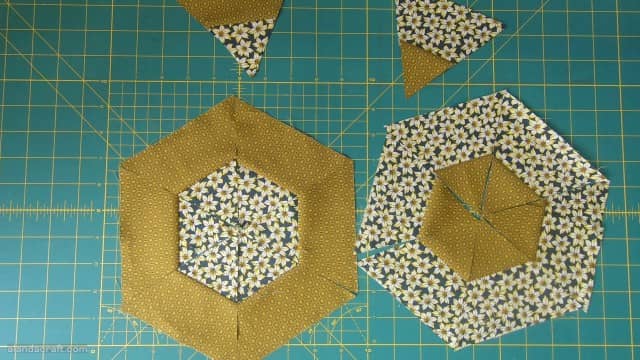
Pinwheel Hexagon Pattern #4
Once you have arranged the triangles how you want them to look, join them with a 1/4″ seam. Here is a link to a tutorial on how to sew triangles together.
How to Sew the Pinwheel Hexagon Blocks together
Click to see our tutorial on how to sew these hexagon pinwheel blocks together.