How to Organise Your Quilting Fabrics: Make Your Own Mini-Bolts
Between the two of us, we have a lot of fabric and in the past, it could get quite difficult trying to find the space to store those fabrics in the studio. But what was even worse, was trying to find a fabric for a particular project for our YouTube channel without having to pull everything out (yet again) and spread it all over the floor.
This is why we started to create our own bolts to hold our quilting fabrics. In the past, we had seen others use Corflute (aka Signboard) to make these bolts and we did the same, but we weren’t entirely happy with them.
- For one thing, they were extremely difficult to cut and we ended up using a band saw to cut them (until we found a better way…watch the video to see).
- The other problem with Corflute is that the edges can be extremely sharp when they have been cut, and this can lead to you getting a cut similar to a paper cut. You know the ones that are only small but hurt lots and bleed like anything.
Watch the video tutorial below
So we suddenly had a brilliant idea…you know, one of those ideas that no one has thought of before…that is, until you go searching for it and find that it has been done before…many, many, many times.
Oh well! It’s still a great idea, regardless of who thought of it first.
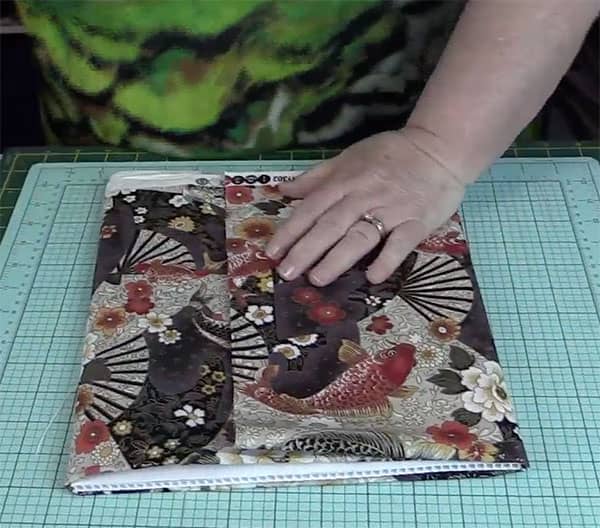
- So the great idea was to use Foam Board instead of Corflute. We had some in the studio that we use as a backdrop for photoshoots.
- It is firm enough to hold the fabric and has nice soft edges.
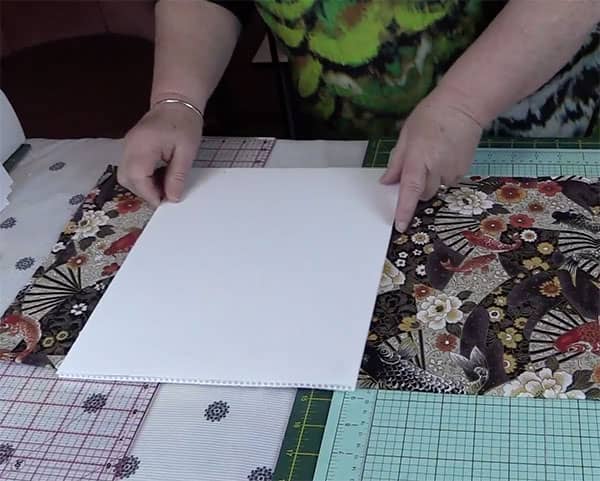
Our biggest problem, however, was finding a way of cutting it cleanly. Scissors were no good as they left a really rough edge and so did the Stanley knife that we tried. We needed to find a way to cut it smoothly so after watching numerous videos and searching Google we figured out the best way to do it.
So now that we had this technique under control we decided to try it with the Corflute and it worked just as well, although the Corflute was still a bit of a problem when trying to cut it as on smaller pieces it would move making it difficult to apply enough pressure to it to keep it in one spot.
For now, we are sticking with the Foam Board for any bolts we make in the future. It’s so much easier to cut and feels a lot nicer than the Corflute.