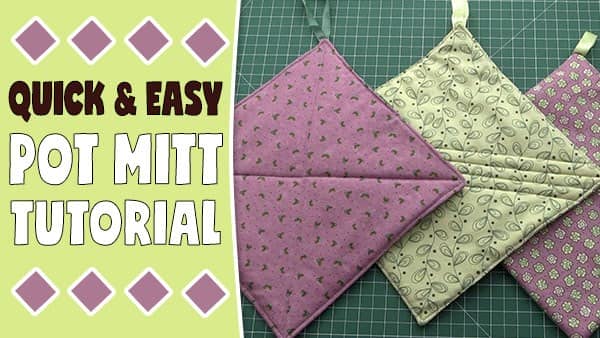
Quick & Easy Pot Holder Tutorial – Using Layer Cake Squares
A potholder is a super quick sewing project. You can make them in any color and size, and they make lovely gifts. We made ours using leftover 10″ layer cake squares, but you can cut 10″ squares from your fabric stash to suit.

This is the QUICK 1 MINUTE VIDEO
(or scroll down for a more detailed version)
Watch the video below or scroll down for the step-by-step written instructions
Tools Used in This Tutorial
- Olfa Cutting Mat – The mat we use measures 24″ x 36″ so it’s quite large. If you are wanting to get one this big then make sure you measure up your space first and buy one to fit.
- Olfa Rotary Cutter – As you can tell, we like Olfa products. We both use a 60mm rotary cutter but the 45mm is more popular. I just find that the 60mm handles most applications so I don’t find myself picking up the 45mm much at all anymore.
- Scissors – We use a generic brand but there are plenty of high quality scissors on Amazon.
What You Need
- 2 pcs fabric measuring 10″x10″ or you can use layer cake squares
- 1 pc quilting batting measuring 10″x10″ – We usually use Warm & Natural batting.
- 1 pc Insul Bright (You can purchase Insul Bright from Amazon here)
- 1 small piece of ribbon
- Matching thread
Materials We Used in This Tutorial
You can check the latest prices at Amazon by clicking on the links below:
Let’s Get Started
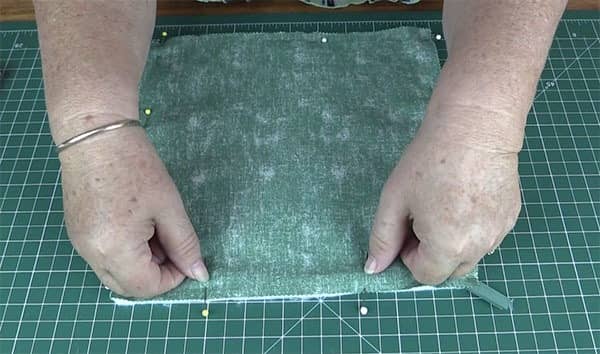
- Place the the batting on top of the Insul Bright and then place one of the fabric pieces face up on top of the batting. Place the final piece of fabric on top face downwards.
- You should now have a sandwich of 4 layers – Insul Bright, batting, fabric 1, fabric 2

- Fold the ribbon in half and place in between the two fabric layers with the raw edges facing outward.
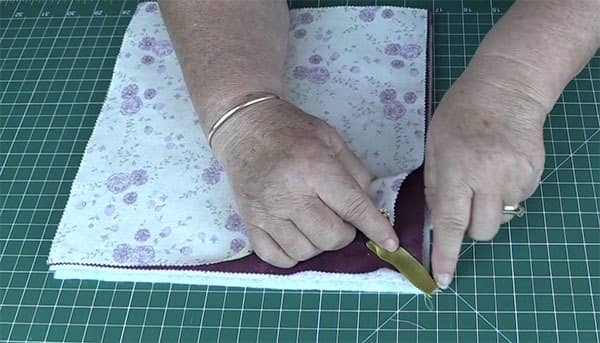
- Pin around all the edges, leaving a gap of about 4 inches or so on one side.
This will be the opening for when you turn the pot mitt through.
(Note: The fabric of the colour changes here only because we had one already completed.)
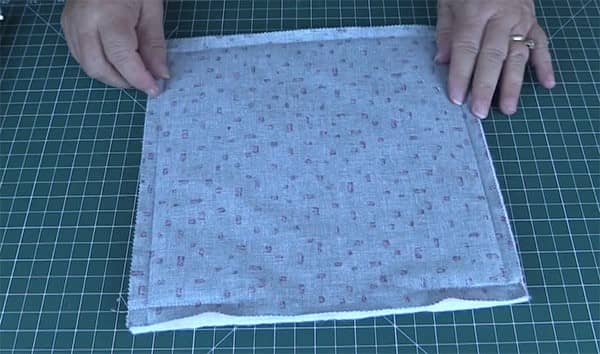
- Sew around the edge using a half inch seam ensuring that you leave the opening section free so that you can turn the pot mitt through.
(Again, the fabric changes here as we used pot mitts already partially completed to speed up the video tutorial.)
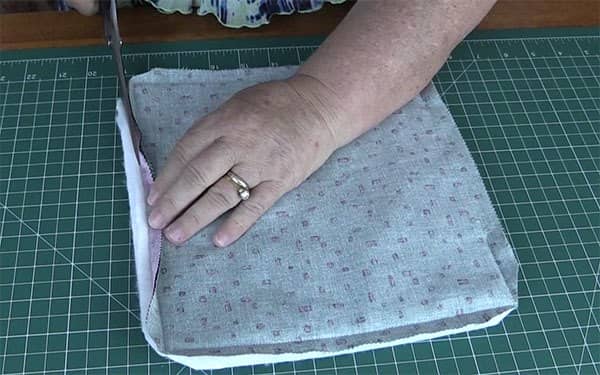
- Now we need to reduce some of the bulk from the sides.
- To remove the bulk, trim each of the corners as shown.
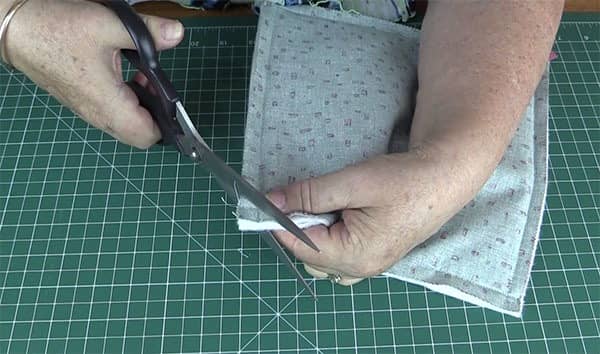
- Trim back the batting and Insul Bright from each of the edges.
- Turn the pot mitt through.
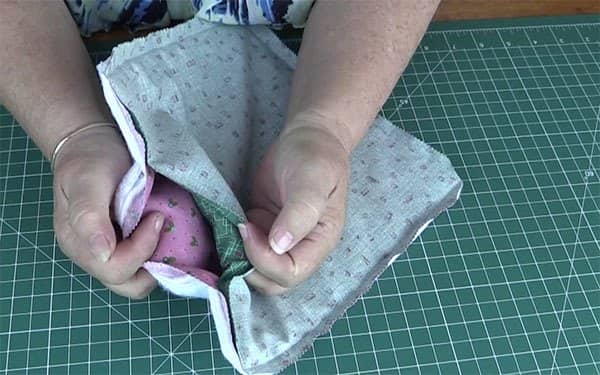
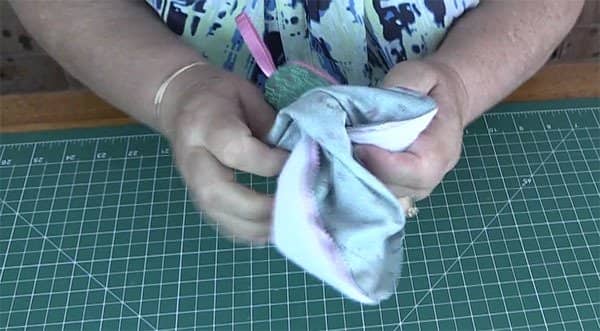
- Once you have turned the pot holder through, push out the corners using a chopstick or you can use your scissors. Take care not to push the scissors through the fabric.
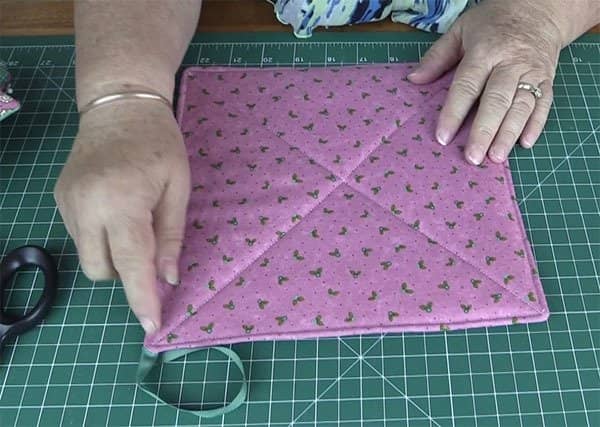
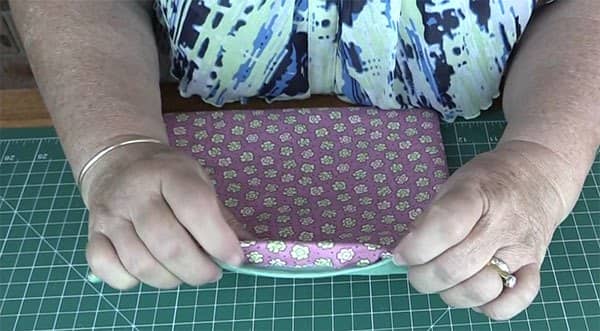
- Give it all a press and ensure you press the opening down nicely as shown in the image below.
- Top stitch around all four sides about 1/8″ around the edges. This will seal up the opening.
- You can simply stitch across the middle to hold all the layers together.