How to Cut Your Own Fat Quarters from Yardage
In this tutorial, you will learn how to make your own fat quarters from yardage.
If you have been making quilts or small sewing projects, then you have probably already heard of fat quarters.

You can buy fat quarters at your local fabric store or online and there are usually plenty of colors, shades and hues to choose from.
Even so, sometimes you may have a project in mind that calls for fat quarters and you may not be able to purchase the right colors or patterns for your particular project, or you may want to use a fabric that you already have in your stash, so in this video, we show you how to cut your own.
Watch the video tutorial below or scroll down for the written instructions
What is a Fat Quarter
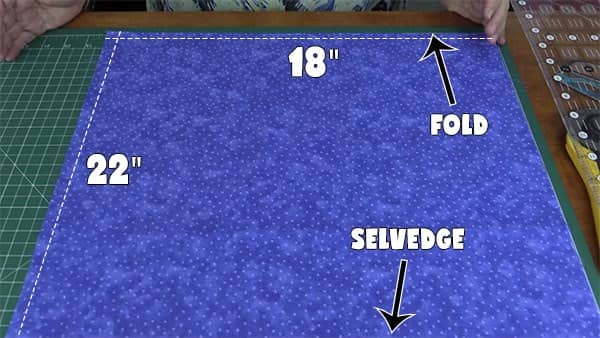
- It’s a piece of fabric measuring approximately 18″ x 22″ (46cm x 56cm).
- Quilters and patch workers generally use fat quarters because of their shape and size.
- A normal quarter of a yard cut from a bolt would measure 9″ x 44″(112cm x23cm), so you can see why fat quarters are so much more useful for many projects.
How to Cut a Fat Quarter
- Take ½ yard of fabric, that is still folded in half across the width of fabric.
- It’s important to note that the long edge of the fabric should measure at least 22″ or more.
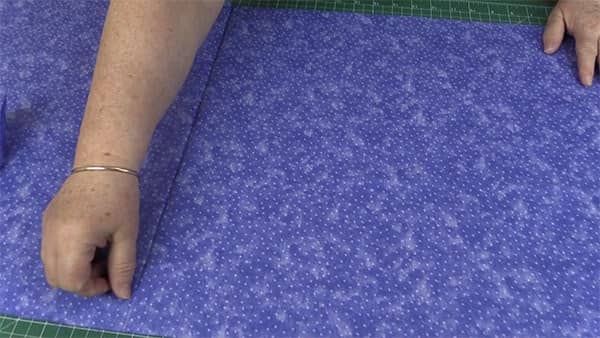
- Open the fabric out.
- You will see a fold line in your fabric. If your fabric has been folded perfectly, ie. the selvages line up perfectly, then you can use that fold line as a guide to cut.
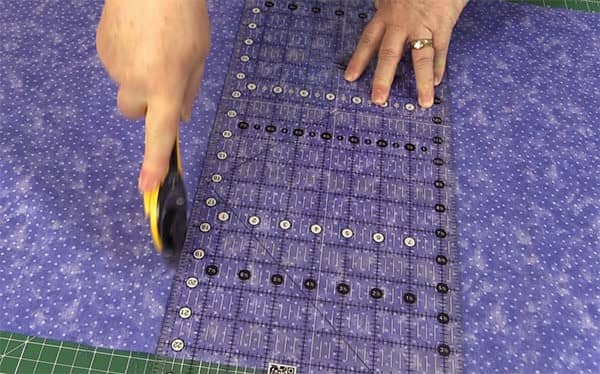
- If your fabric has not been folded correctly then simply measure 22″ along the long end and cut.
- You will now have two fat quarters.
Calculation for those working in Metric measurements
Here in Australia oftentimes, fat quarters are cut using a ½ metre of fabric. The fat quarters will be slightly different as they generally measure 50cm x 55cm (20″ x 22″).