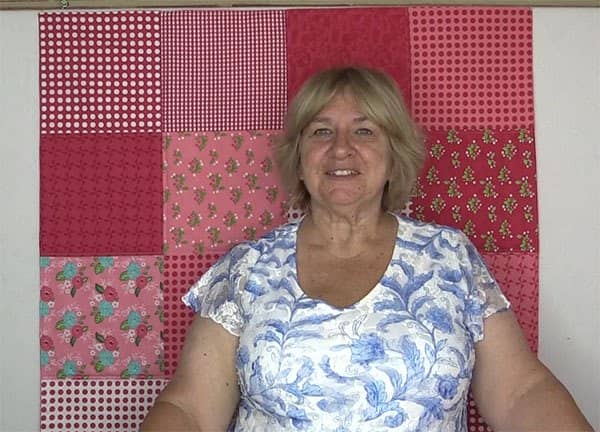
Quick Quilt #1: Layer Cake Baby Quilt Tutorial
Baby quilts are one of my favourite things to make. The reason? Because they are small so you can get them done fast. Plus, if you have an easy baby quilt tutorial to go by, you can get it done even faster…you know, for that baby shower you were only given two days’ notice for.
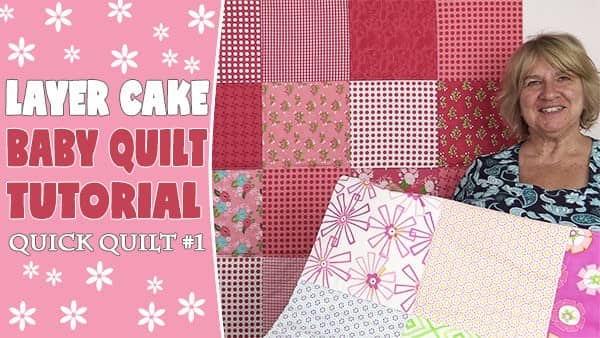
I must admit that I am not one for making long-winded quilts that take months to complete. Yes, I know they are worth it in the end but I have a tendency to get over things pretty quickly and want to move on to the next project. So quick and easy quilts are my favourite things to make. So with this in mind, we have started a series of quick quilt tutorials that only take a day or so to make and this baby quilt tutorial is a nice easy one to start with.
No binding quilt makes it super easy
You don’t even have to add binding to this quilt as we use the turn through method to make it. You could, of course, bind it in the traditional way if you prefer.
You are going to love this easy baby quilt pattern.
WHAT YOU NEED
- 16 layer cake squares (or cut your own 10″x 10″ squares) – We used a Moda Layer cake for this one and I highly recommend you do that if you have trouble choosing fabric or if you would rather not cut your own. It just speeds up the process immensely.
- Fabric for the backing – 1 ¼ yards (approx 38.5″ x 38.5″)
- Quilt batting (approx 38.5″ x 38.5″) – We use the Warm & Natural brand for most of our quilts and they do have a pack specifically for crib size quilts.
TOOLS USED IN THIS TUTORIAL
You can check the latest prices at Amazon by clicking on the links below:
- Creative Grids Ruler 8½” x 24½”
- Olfa 24″ x 36″ double sided healing mat
- Olfa 60mm rotary cutter
- Oliso Iron
- Gutermann Sew All thread
- 505 Basting Spray (temporary adhesive)
Watch the video tutorial below or scroll down for the written instructions
(Can’t see the video? You may have an ad blocker installed. You can watch the video on our YouTube channel here.)
Let’s Get Started
- Start by laying out your squares in the pattern you would like with 4 squares in each row.
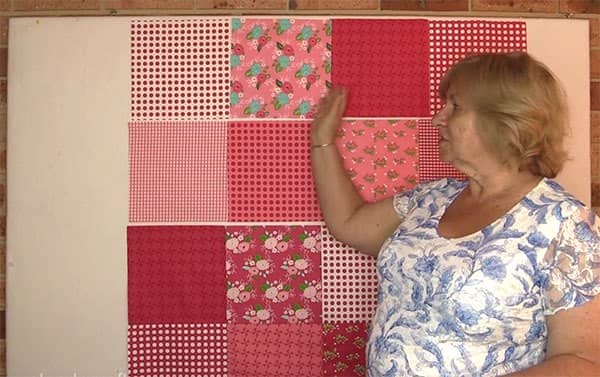
- Sew together the squares into 4 rows. (Use a quarter inch seam throughout the sewing of this quilt.)
- Watch the video at the end of this post for tips on sewing the squares together.
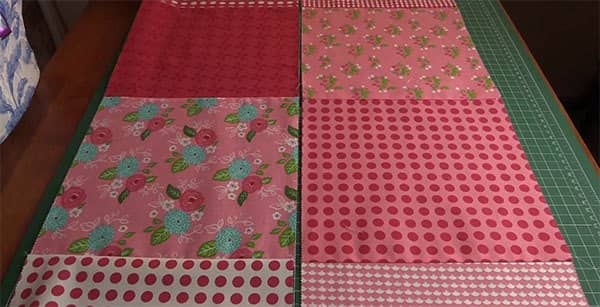
- Sew the first and second row together.
- Then sew the third and fourth row together.
- Finish sewing the quilt top together by sewing the two pieces together.
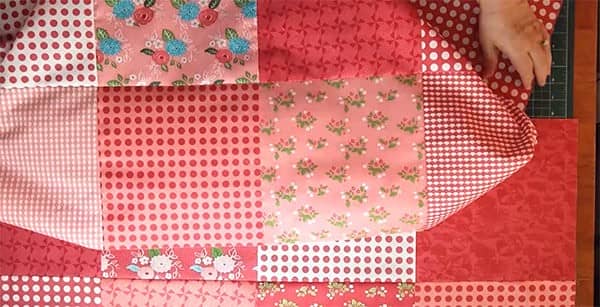
- Technically if you have sewn a perfect quarter inch seam, your quilt top should now measure 38.5″ x 38.5″. BUT, as we know things don’t always go to plan so it is best to measure your quilt from top to bottom and side to side to get the exact measurements.
- Once you have your measurement cut the backing fabric and the quilt batting to the same size. Our quilt did end up measuring 38.5″ x 38.5″ so that is how we cut our backing and batting pieces.
- Lay the quilt batting on the floor or table and place the quilt top face up on top of the batting. Smooth down as best you can. The smoother the better.
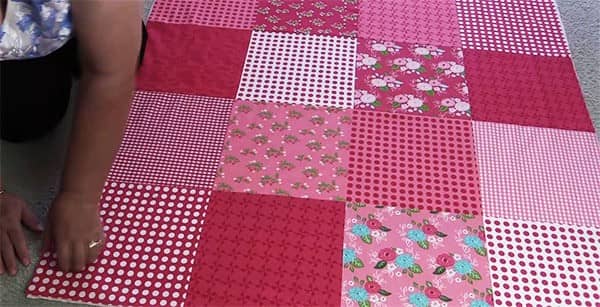
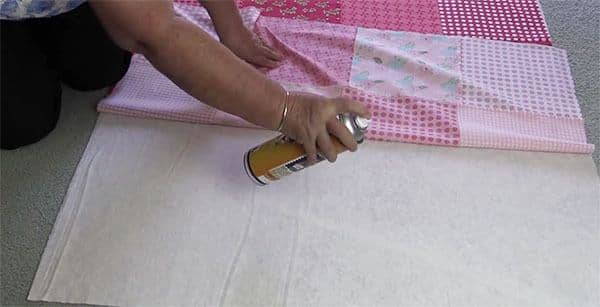
- Lift up the bottom section and spray with a quilting adhesive spray. We use 505 Spray. You can also pin if you prefer.
- Repeat the process with the top half of the quilt.
- Ensure you smooth down the quilt so there are no lumps and bumps.
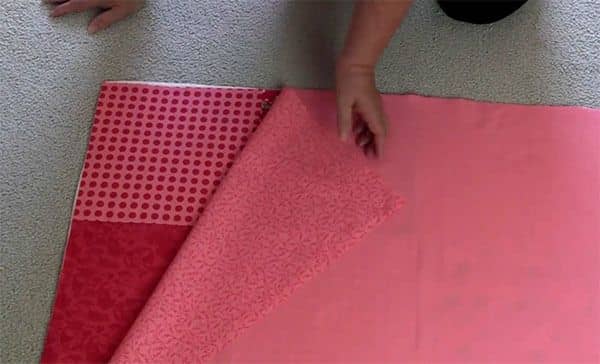
- Place the backing fabric face down on top of the quilt.
- Sew the three layers together by sewing around the quilt with a quarter inch seam. Ensure that you leave an opening of 5 or 6 inches to allow you to turn the quilt through.
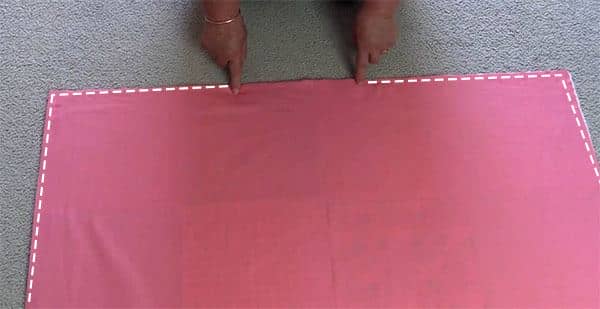
- You can clip your corners at this point to reduce the amount of bulk but we always like to turn the quilt through first before making any cuts, to ensure that all the layers have been sewn together correctly.
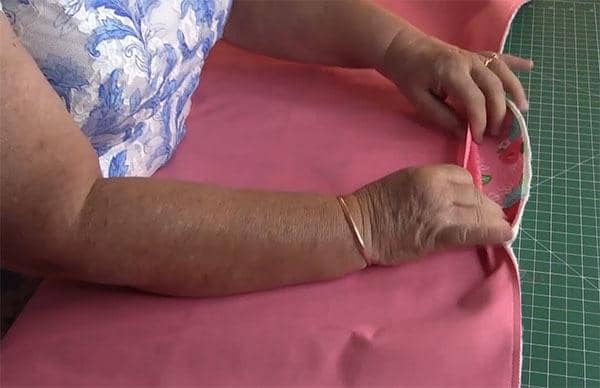
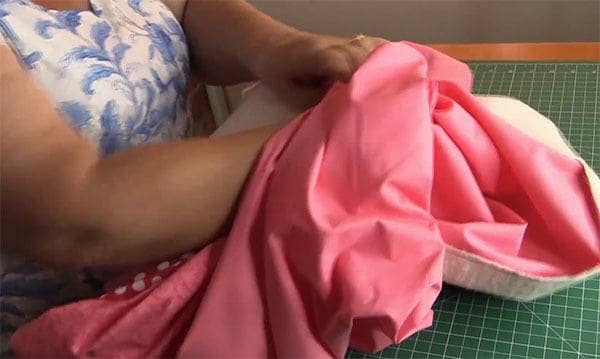
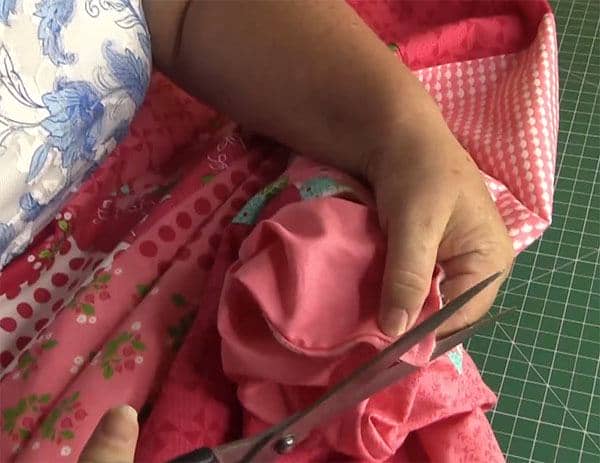
- Push out the corners. We use a skewer but you can also use a chopstick. If you are using scissors just be careful that you don’t pierce through the fabric.
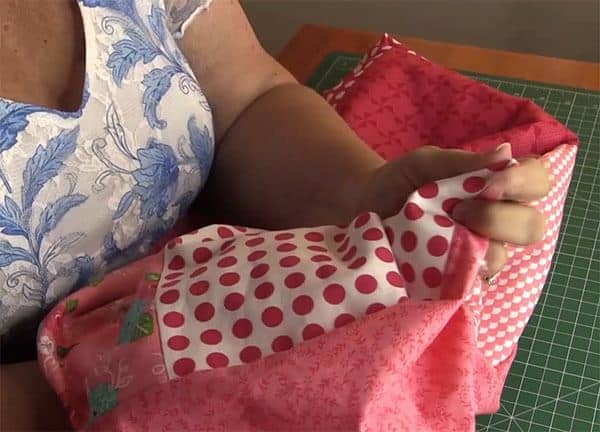
- Now fold in the opening neatly and iron around the edges of the entire quilt.
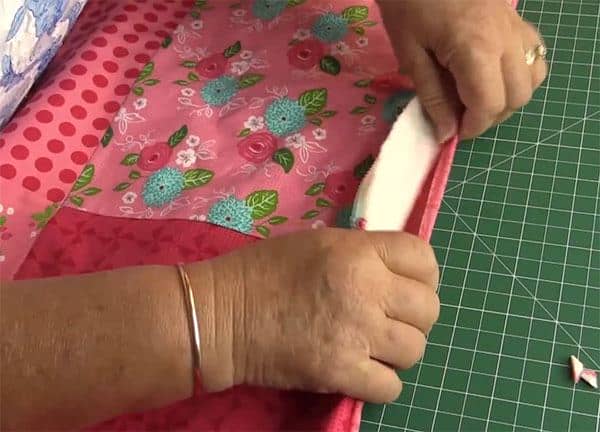
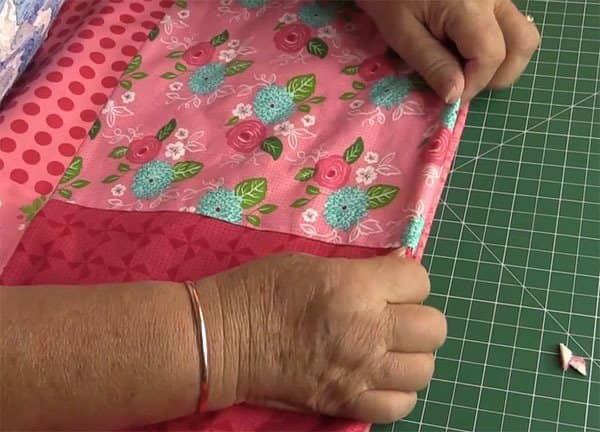
- You are now ready to topstitch around the entire edge of the quilt. This will close up the opening. Sew close to the edge – about 1/8″.
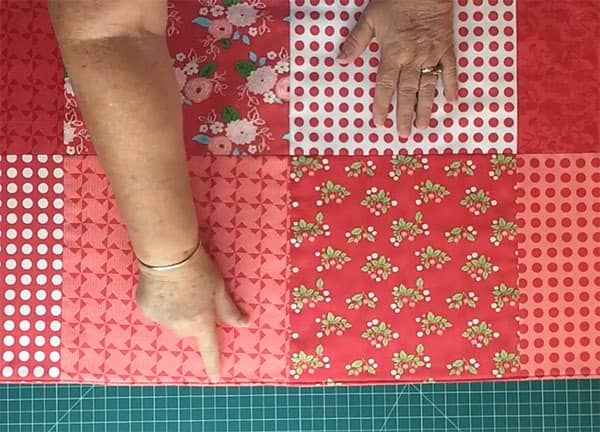
- You are just about done. Now it’s time to quilt your quilt. You have a number of options but just remember that with this particular quilt you don’t want to go to heavy with your quilting pattern.
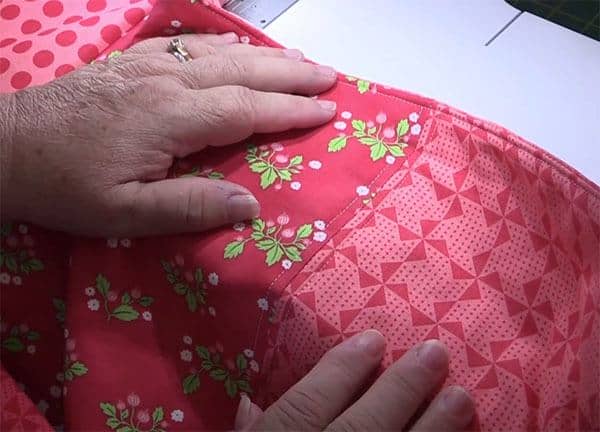
- The easiest option is to simply stitch in the ditch. Or you can do what we did and stitch on either side of each seam as you can see in the image below. You can find more details in the video on how we did this.
- Once you have finished quilting, you are done!
