Quilting for Beginners – The Easiest Quilt Ever – Step-by-Step Tutorial
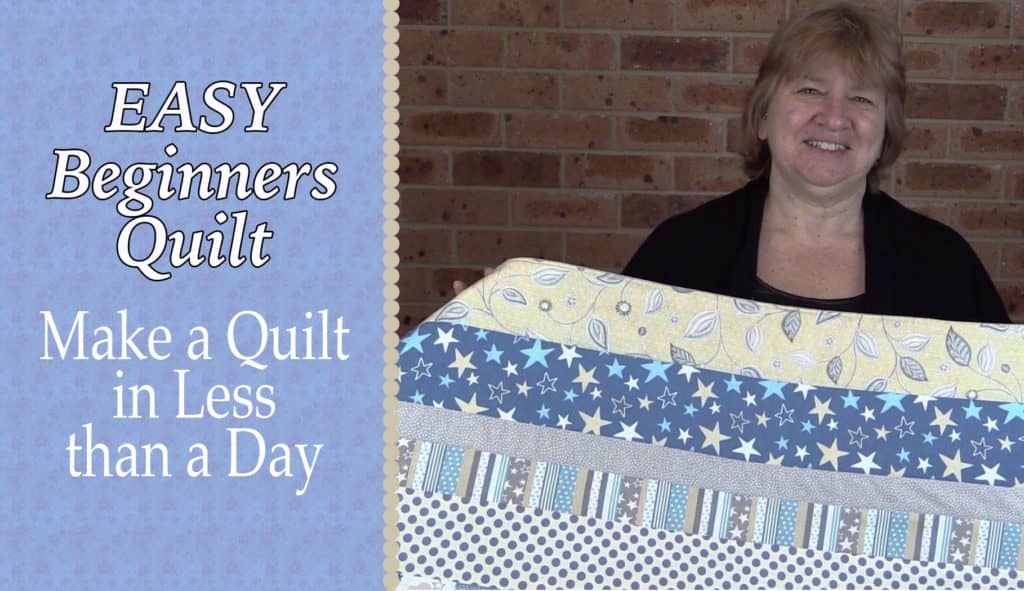
Quilting for Beginners – This is by far the easiest quilt you will ever make
When you’re making your very first quilt it can be a little overwhelming. Those quilt blocks can look quite complicated and knowing which tools are needed can be kind of confusing. Plus, the fancy free motion stitching on the top of the quilt, requires quite a bit of practice to get the hang of. And finally, there’s the binding…now that can be quite tricky when you are just starting out.
But what if there was a quilt you could make that was super simple and didn’t require much in the way of fancy tools or fancy sewing skills?
This is where the easiest quilt ever comes into play.
The easiest quilt for beginners is one that doesn’t require a special sewing machine, doesn’t require you to bind the quilt (this is always the most difficult part for newbies) and doesn’t have you spending hours trying to piece together fancy quilt blocks.
It should be super simple, not require you to sew a perfect quarter-inch seam, be small enough to handle easily in your machine, and not require you to know how to stitch fancy designs on the top to quilt the layers together.
In fact, in order for you to create your very first beginner quilt, it should be as simple as you knowing how to sew a straight line with your sewing machine.
And once you have created your first quilt, you will want to branch out to make more detailed and larger quilts.
This is our goal for you with our easiest quilt ever.
It is as simple as we can make it. You can sew it by hand of course but in this tutorial, we use a sewing machine. So as long as you can sew a straight line on your machine then you are good to go.
In this free quilting tutorial, we show you, step by step, how to make a quilt in less than a day, even if you are a beginner quilter. And the more quilts you make the faster it becomes. This is a ‘quilting for beginners’ type of tutorial so don’t be afraid to tackle it, even if this is your very first quilt. You will love how easy this quilt pattern is.
Are you put off making a quilt because of the binding? – well in this quilt we don’t use binding.
Not up to free motion quilting just yet? – no worries, we don’t do that either.
Don’t want to have to piece together quilt blocks? – you’re in luck, this quilt doesn’t have any.
This is a very simple beginner’s quilt that can be made by anyone who can sew a straight line with their sewing machine. You will be so amazed at how quick and easy this quilt pattern is, that you will soon be making them for gifts. A lot of people are looking for easy quilts to make in a day and this is the easiest one by far.
Quilting for beginners has never been so easy!
Watch the step-by-step video below or scroll down for the written instructions
(Can’t see the video? You may have an ad blocker installed.)
QUILTING SUPPLIES YOU WILL NEED TO COMPLETE THIS PROJECT
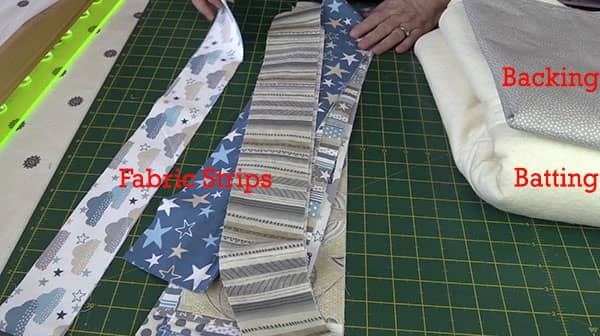
FABRIC
- 2 metres of quilting cotton (approx 2 yards) for the backing fabric (we had some leftover after cutting to size)
- 1/4 metre (approx 1/4 yard) of quilting cotton for each of 8 different types of fabrics (we didn’t end up using it all) – You could also use pre-cut jelly roll strips, but we wanted the strips to be different sizes.
BATTING
- 2 metres (approx 2 yards) of quilting batting (we had some leftover after cutting to size), or you can just buy a pack here.
TOOLS USED IN THIS TUTORIAl
We make a small commission for each sale on Amazon (at no extra cost to you) when you purchase using the links below :
- Creative Grids Ruler 8½” x 24½” – I really like Creative Grids rulers and we have a few in different sizes. This one is great for when you need to cut across the width of the fabric, which is what we are going to do in this project. They also have a very handy smaller 6.5″ x12.5″ ruler which we use a lot. It’s a very handy size. However, for this project we used the longer ruler.
- Olfa 18″ x 24″ double-sided healing mat – We use a larger 24″ x 36″ Olfa mat for projects like this, but when I went to find the link for you on Amazon I was unable to find it. So I have added a link to one of their smaller mats.
- Warm Company Batting – We use Warm and Natural from the Warm Company. A while ago we bought a really big roll of their batting and it seems to be lasting forever, I think it will see us both out the way it’s going. However, it is really handy to have on hand. Their batting comes in a variety of sizes and lofts. So you can choose what sort of batting you want for to use for your quilt. Is it going to be used in Summer or Winter? The Warm Company have just the right batting and they provide all information to help you make the right choice.
- Olfa 60mm rotary cutter – I really like the 60mm rotary cutter for these types of projects. My preference is for the cutter with the straight handle as I find it comfortable to grip and easy to guide. But these things are always a personal choice, you may prefer the Olfa rotary cutters with the slightly curved handle and the trigger function.
One thing I do recommend is that you try to get into the habit of covering the blade when it’s not in use, even if you intend cutting the next strip almost immediately. The blades on rotary cutters are very sharp and you could end up with a nasty cut if the blade is not covered, simply brushing against it as you reach to get something can cut you. - Gutermann Sew All thread – We like using Gutermann sew all thread and keep a supply of the larger reels in white, black and cream on hand. The thread comes in so many different hues so there will pretty much be a thread in a color to suit your current project. Plus you can pick up packs of assorted multi-colored thread sets.
For this quilt I used cream throughout. I tend to stick to neutrals for the front and match the thread bobbin to the main color of the backing fabric. - Quilters Curved Pins for pinning the quilt layers together – you could use regular safety pins or even pins if that is all you have but the quilters curved pins are easy to work with and they go through the layers easily.
- 505 Fabric Adhesive Spray – (optional) for basting the quilt. Now although I do pin, and quite profusely I must say, I also like to use temporary adhesive spray to help hold the layers together. I use adhesive spray on quilts, table runners, cushion covers, in fact anything that has layers that I want to hold together.
The completed size of this quilt is approx 37″ x 50″.
The size of this quilt is approximate because it will depend on how you cut your fabric strips. It will be around the size of a baby quilt or lap quilt but it can be upsized. However, we recommend that if this is your first quilt that you stick with keeping it relatively small to get an idea of the process.
To Make the Quilt Wider
- Cut two strips of the same fabric and sew them together for each row
To Make the Quilt Longer:
- Add more strips.
LET’S GET STARTED
We highly recommend that you watch the video above first before going through the written instructions.
Note that we will be using a quarter-inch seam allowance throughout this quilting project.
1. Cutting the Quilt Strips
There is no hard and fast rule for cutting the strips.
For the quilt in the video we cut the strips in a variety of sizes – 2″, 3″ and 4″ but you can cut them to whatever size suits you. Just as long as you cut enough strips for the finished length of your quilt.
We cut the strips the width of the fabric. So essentially each strip measures approximately 42″ in length.
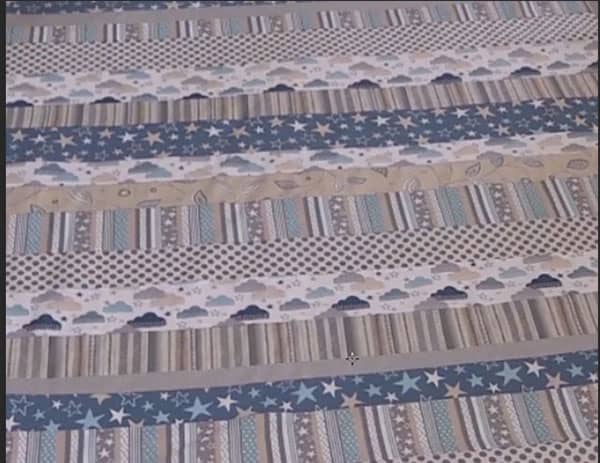
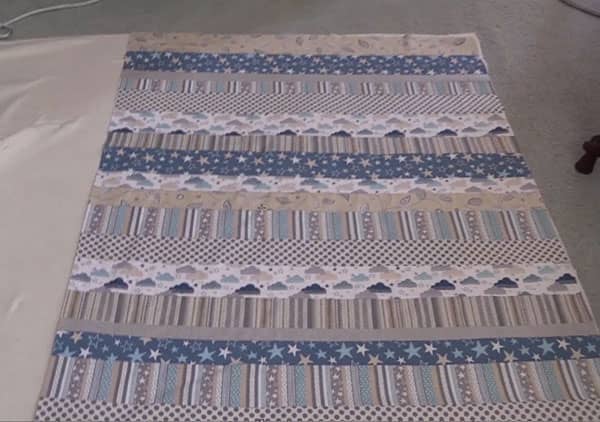
- Lay your strips out and decide how you want the finished quilt to look.
- Stack your strips so that they are in order.
2. Sewing the Quilt Strips
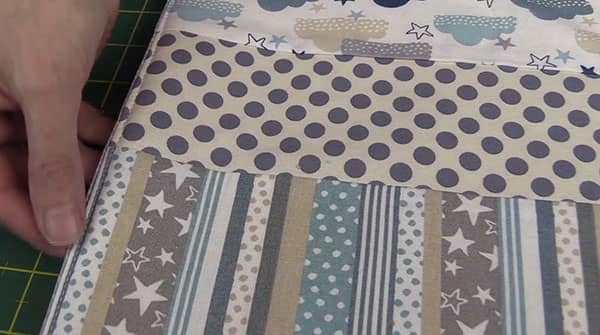
- Take the first two strips and lay them down with right sides together.
- Sew them together with a ¼” seam.
- Press the seams to one side, generally towards the darker fabric so they don’t show through if you have a light strip next to a dark one.
- TIP: To minimize warping we suggest that you sew your first strip in one direction. and add the next strip sewing it on in the opposite direction. If you sew all the strips in one direction the quilt may warp.
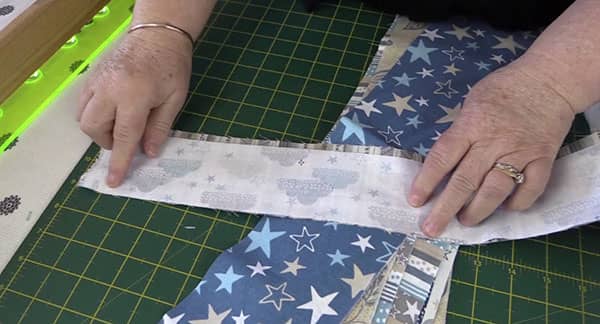
- Add the next strip to the previous one.
- Sew them together with a ¼” seam.
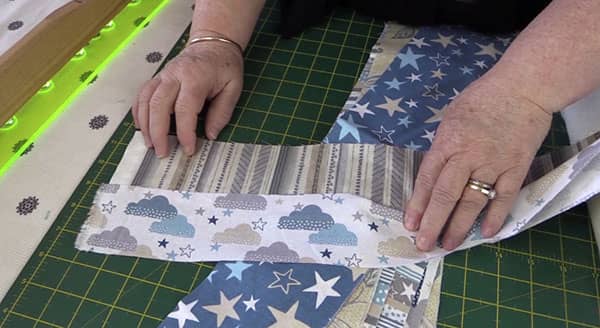
- Keep doing this until all the strips are sewn together.
3. Squaring up the Quilt
- Take your quilting ruler.
- Lay it straight on your fabric.
- Line up one of the lines on your ruler along one of your seam lines. Make sure it lines up in a few places.
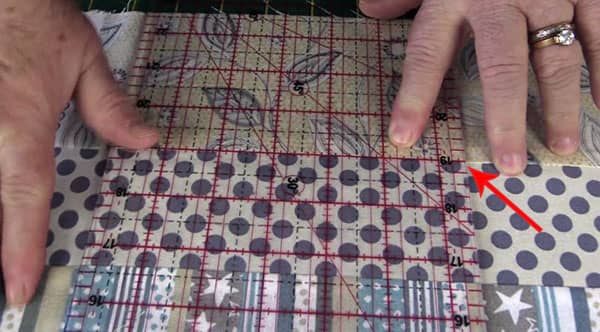
- Some of the selvedges on my fabric are quite wide. So I am going to come in about 1½” from the edge of the quilt.
- Cut off the excess with your rotary cutter or scissors.
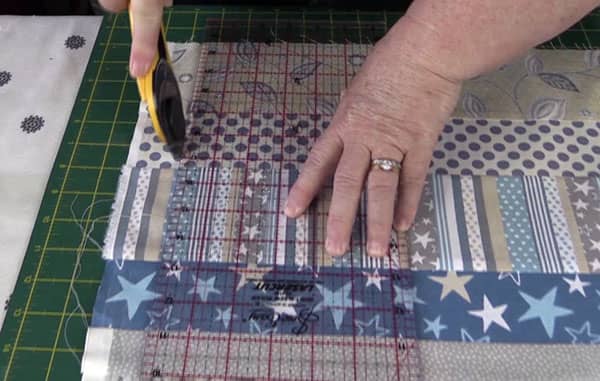
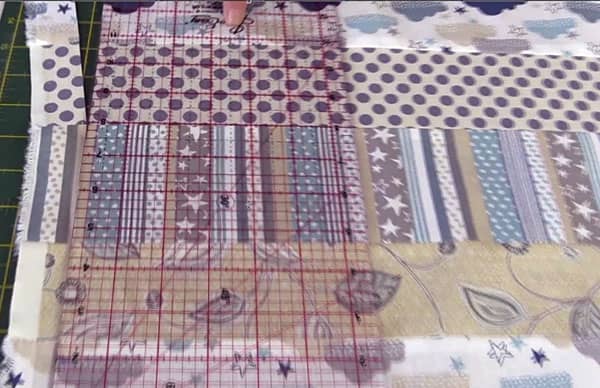
- When you come to the end of your ruler, move it up the quilt.
- Line up a line on your ruler with seam lines on the quilt.
- Continue to cut.
- Repeat on the other side of the quilt.
4. Constructing the Quilt
- Lay the batting down on the floor or a large workspace.

- Lay the quilt top on top of the batting.
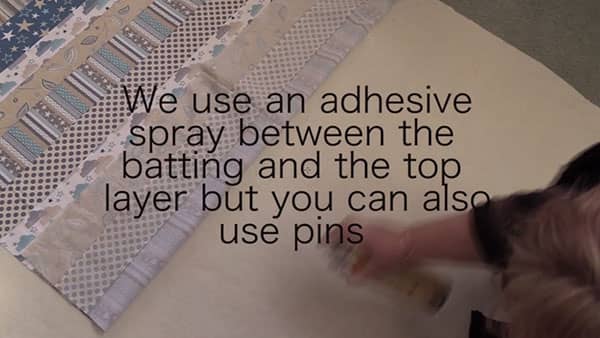
- Roll the quilt top back and apply adhesive spray on the batting. The adhesive spray should cover all of the batting. You don’t need need to spray too heavily.
- Place the top piece over the batting and smooth down removing any bubbles or creases. It’s important to iron both the top and backing pieces to ensure smooth, wrinkle-free fabric.
- It also helps to pin the two together as well.
- Use the adhesive spray and/or pin really, really well before taking the quilt layers to the sewing machine
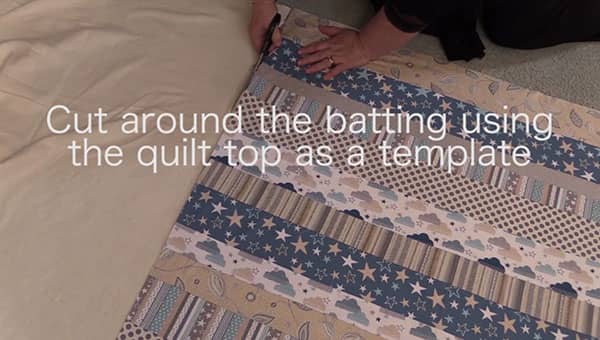
- Using the top layer as a template, cut around the batting.
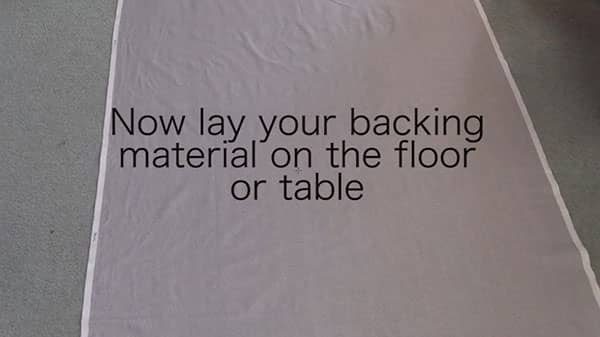
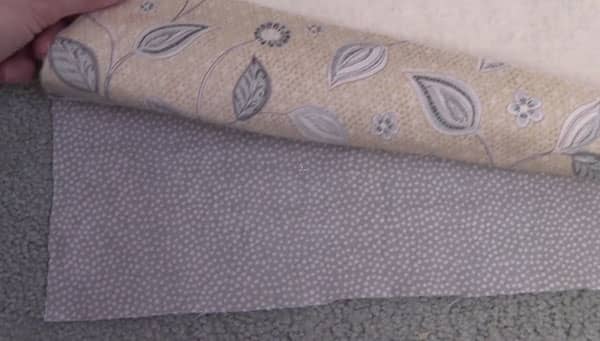
- Lay your backing material on the floor or table, right side facing up.
- You can trim the selvages off first. My lap quilt is going to fit between the selvedges so I haven’t done that.
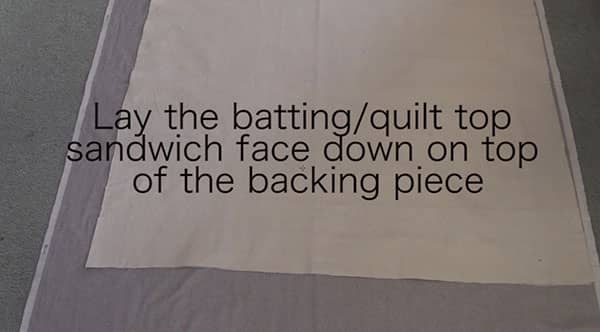
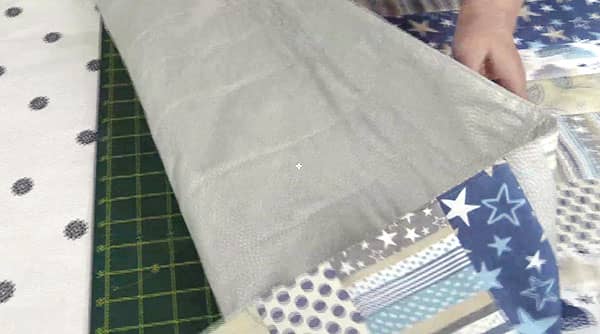
- Now lay the batting/quilt top face down on top of the backing.
- The backing and the quilt top will be right sides together.
- Cut around the backing using the batting/quilt top as the template.
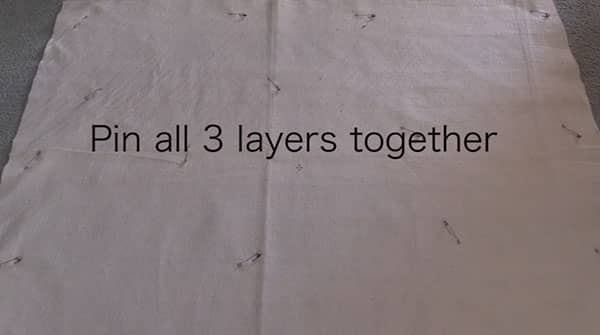
- You will now have three pieces of fabric all measuring the same width and height. Those 3 layers are called the quilt sandwich.
- Now we need to baste the quilt. This is just a quilters term for pinning all three layers together so that they all say in place before we move on to the next step. You will need some safety pins, pins or preferably quilter’s pins to do this. Make sure you use lots and lots of quilting pins or safety pins to keep everything in place.
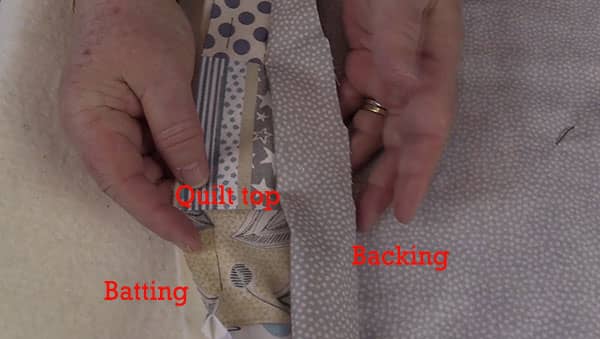
- Just do a final check that everything is in the right order before sewing.
- The backing and the top of the quilt are facing right sides together, and the batting is on the back of the top of the quilt. ( I hope that makes sense) see the photo below.
- Mark approx a 6″ – 8″ opening to turn the quilt through.
- Use a fabric pen or a Frixion pen. DO NOT use a regular pen.
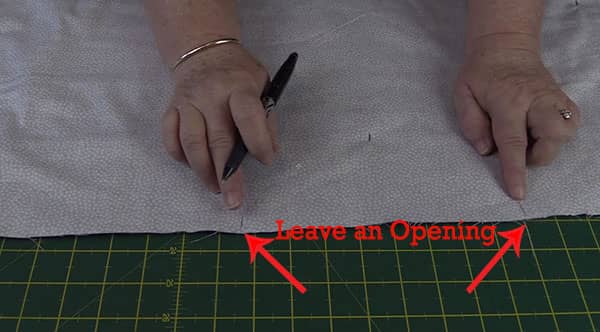
- Start with a backstitch at one of the marks.
- Sew around the edge using a ½” seam.
- Stop when you come to the second mark.
- Backstitch.
- You now have an opening to turn the quilt through.
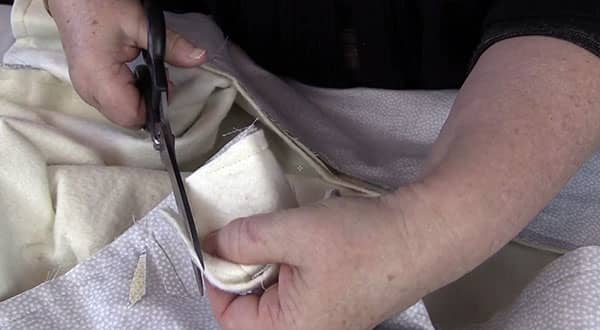
- Before turning the quilt through, trim the corners.
- Take care not to cut your stitching.
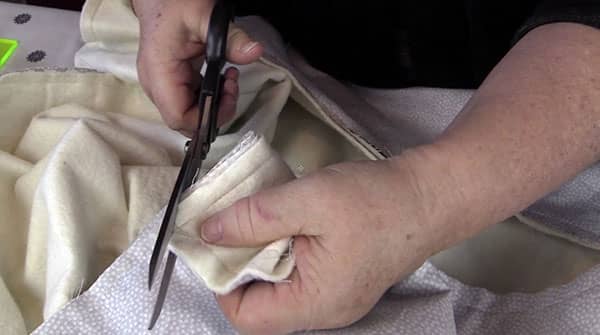
- Trim some of the bulk away from the corners
- Trim on an angle from the corner out to the edge.
- Take care not to cut any of your stitching.
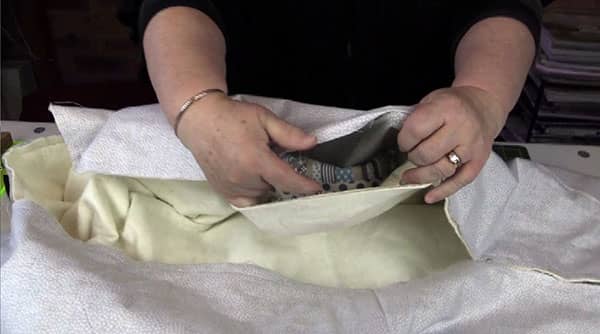
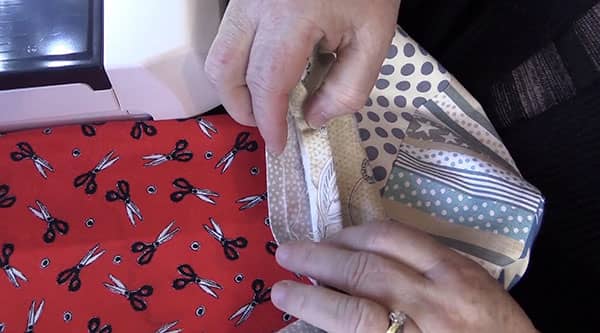
- Turn the quilt through to the right side.
- Push the corners out. I use a wooden skewer for this. If you use scissors, be careful not to push too hard. You don’t want to tear the fabric.
- Fold in the seam allowance at the opening.
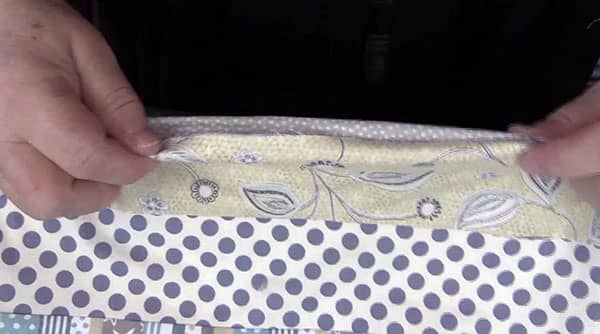
- Give the quilt a press.
- Press the opening so that it sits nice and flat.
- I like to pin the opening pieces together before topstitching.
- Topstitch all around the edge of the quilt. I use either 1/16″ or 1/8″.
- The topstitching closes the opening and gives a nice finish to the edge of the quilt.
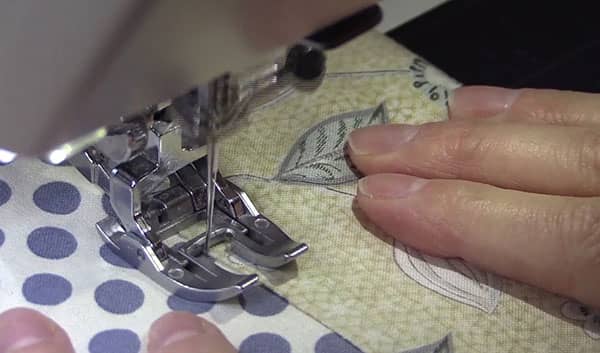
5. DITCH STITCHIN’
- Now it’s time to quilt. This is what holds all the three layers together. We are going to ditch stitch but you can quilt however you like.
- Stitching in the ditch is sewing down the seam lines.
- We are going to sew down the seam line where each set of stripes meet.
- An open-toe walking foot will help you to see where you are stitching. It also helps to keep the layers in place as you sew. A walking foot will really help here as it is made to keep all of the layers together as you sew so you don’t end up with bunching up of the fabric at the ends.
- At the beginning and end of each line of stitching just do a small backstitch so that the thread doesn’t unravel.
- Go slow and smooth the layers our to the side as you sew. This will help to make sure there is no bunching of the layers when you get to the end of the row.
- And there you have it, a completed quilt in no time at all. With no binding to worry about.
- You can see the ditch stitching lines on the back of the quilt.
- All nice and neatly finished.
Check out how the Frixion pens are used for quilting here.
You might also be interested in another beginner quilting project here – The Easiest Quilt V2
We also have a ton of other simple and easy quilting projects on our blog – Easy Quilting Projects