Origami Fabric Bag Tutorial: Easy to Make Market Tote Bag

It’s been a while since we have done a bag tutorial but this one is a good one to get back into the swing of things. The Origami bag or azuma bukuro (sometimes called the Origami Market bag) is so quick and easy to make. It’s a slouch type bag, so its soft and drapey without any solid form. This is a great one if you make bags to sell at a market as they are so quick to put together.
Watch the video below or scroll down for the step-by-step written instructions
Origami Fabric Bag – What You Need
To make the larger bag that we made in the video tutorial you will need
- 1pc fabric measuring 19″ x 56″ (for the outside of the bag)
- 1pc fabric measuring 19″ x 56″ (for the bag lining)
- 1pc contrasting fabric measuring 7″ x 4″ (for handle cover)
To make the medium-sized bag (that is hanging in the background of the video) you will need:
- 1 pc of fabric measuring 16½” x 48½” (for the outside of the bag)
- 1 pc of fabric measuring 16½” x 48½” (for the bag lining)
- 1 piece of contrasting fabric – 7″ x 4″ (for handle cover)
Origami Bag Sizes
This is not a structured bag so the sizing is generally looked at as small, medium, large, extra large. So I can’t give you exact measurements for the finished size but here are some basic measurements:
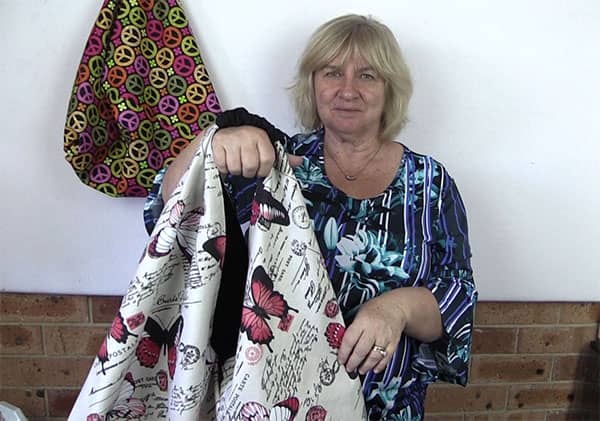
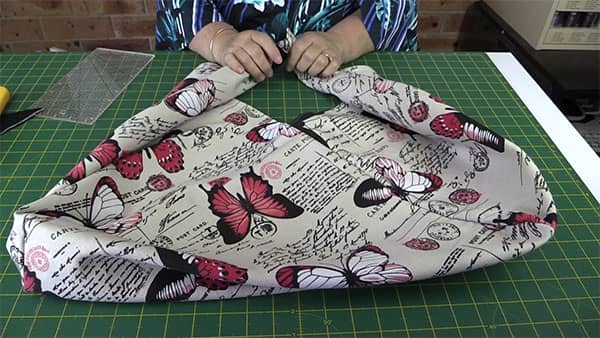
- Medium Bag (the one shown in the image above) – measures approx 22″ tall x 17″ wide when it is hanging on a hook. When I lay it flat and open it out on a table it measures 17″ tall x 21″ wide.
- Large Bag (the one we made in the video) – measures approx 26″ tall x 20″ wide when it is hanging on a hook. When I lay it flat and open out on a table it measures 20″ tall x 24″ wide.
How to Adjust the Bag Size
You can adjust the size of the bag by applying the following formula:
- (width of fabric x 3) = length of fabric
- then add a half-inch to the measurements (for the seam allowances).
For example:
If we decide on a width of fabric of 16″ we multiply it by 3:
(16″ x 3) = 48“
We now take the 16″ and the 48″ and add a half-inch to each number:
- (16 + ½) = 16½
- (48 + ½) = 48½
This now gives us our final measurement for the cutting of the two pieces of fabric. They should both measure:
- 16½ x 48½
TOOLS USED IN THIS TUTORIAL
You can check the latest prices at Amazon by clicking on the links below:
- Quilters Slidelock
- June Taylor Shape Cut Pro ruler
- Creative Grids Ruler 8½” x 24½”
- Olfa 24″ x 36″ double-sided healing mat
- Olfa 60mm rotary cutter
- Oliso Iron
- Gutermann Sew All thread
Let’s Get Started:
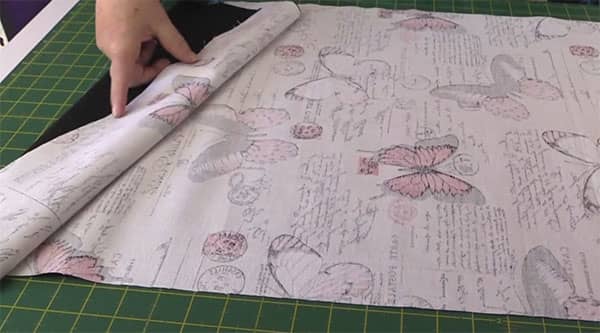
- Take your two pieces of fabric and lay them right sides together.
- Sew around the edge with a ¼” seam.
- Leave a 4″ gap to turn the bag through.
- This is the gap to turn the bag through.
- Turn through and push out the corners with a skewer.
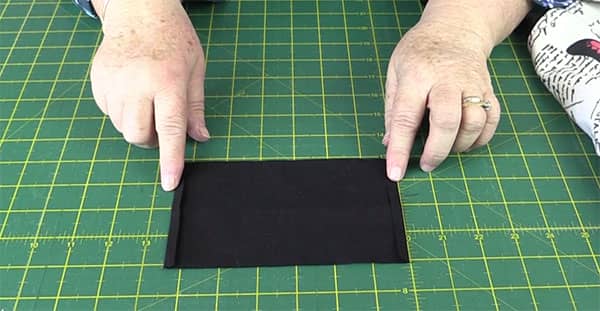
- Press the bag making sure to press in the folded edges of the opening.
- Topstitch around the bag approx an eighth of an inch from the edge. This will give the handle a nice finish plus it will catch in the opening.

Now comes the tricky bit.
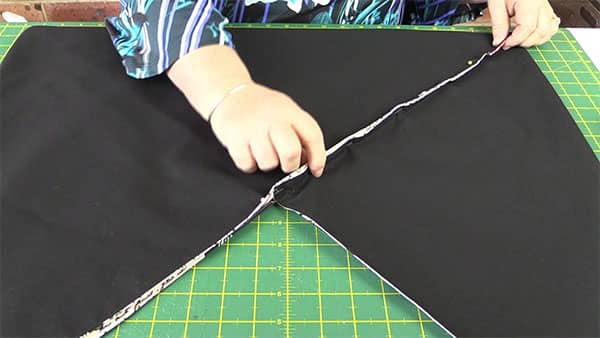
- Bring the bottom edge up to form a triangle. Make sure the top edges are together

- Go to the other end of the fabric and fold up to form a triangle. Matching the edges.
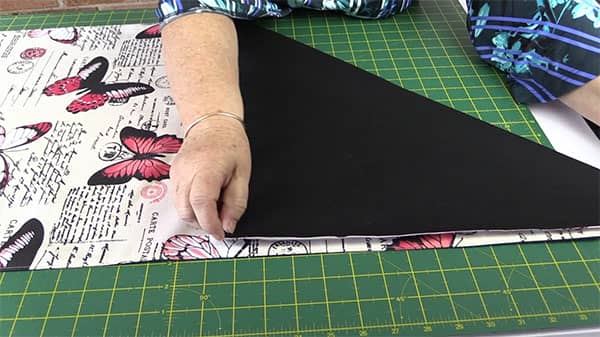
- You now have a triangle at each end of the fabric that is formed in opposing directions.
- The piece in the center looks like a square. We are going to imagine there is a diagonal line across the square.
- We are going to fold our fabric along that imaginary line.

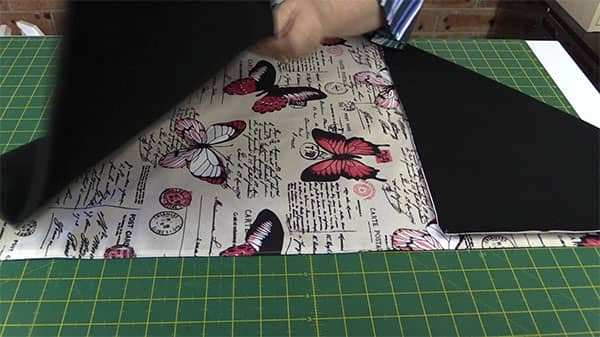
- Keep bringing the piece over until the edge of the large triangle matches up with the small triangle.
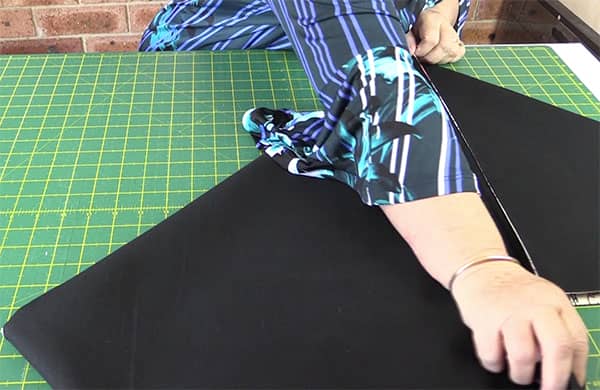
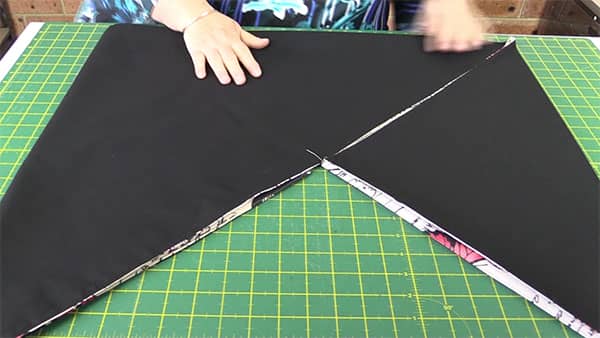
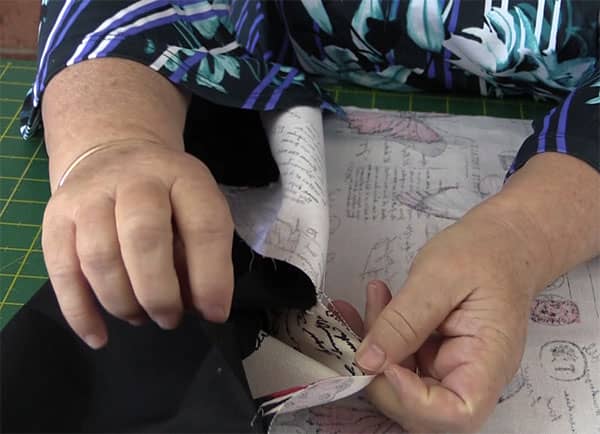
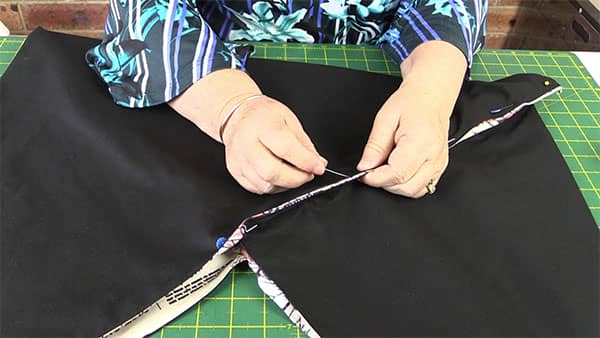
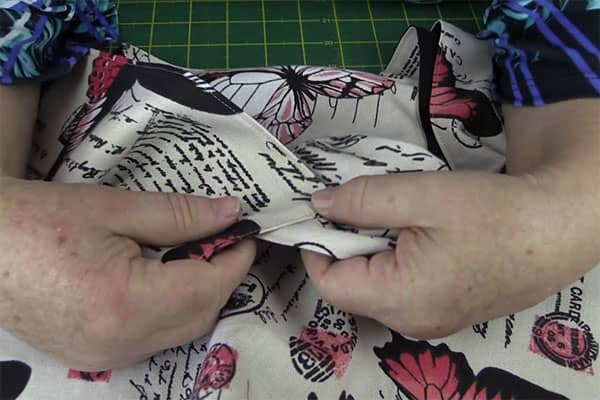
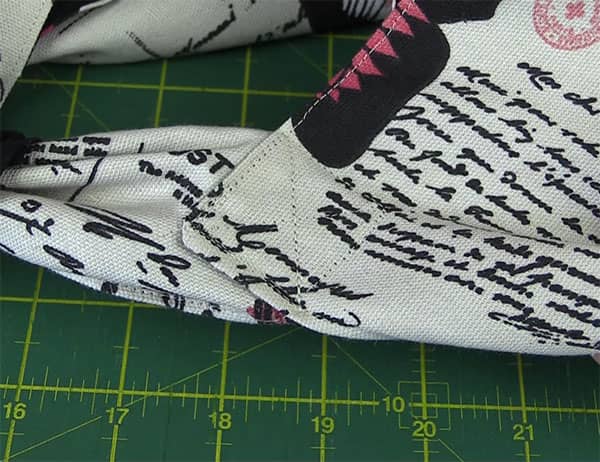
- Now pin the edge of the small triangle to the edge of the large triangle.
- Once you have pinned one side, turn the bag over and pin the other side.
- Sew each side together with a ¼” seam. Remove pins as you sew so that you don’t blunt or break your needle.

Box the Corners
If you don’t want to box the corners you can skip this step.
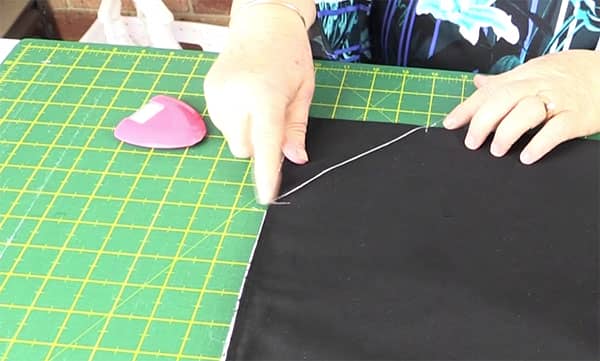
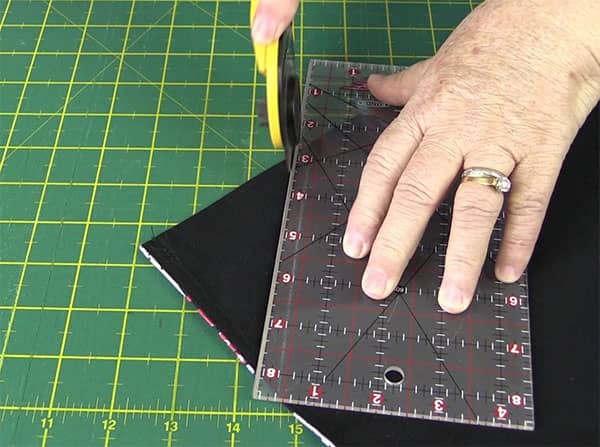
Lay the seam line along a line on your mat. and make sure the bag is laying flat with the ‘imaginary fold line’ also lying along one of the lines on your mat. Flatten the material down so you have a smooth surface.
- For the large bag – measure across 4″ and make a chalk mark. (for the smaller bag measure 3″)
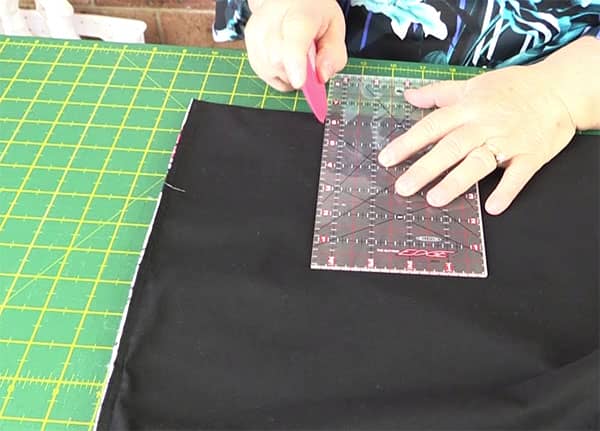
- Measure up the seam line 4″ and make a mark. (3″ for the small bag)
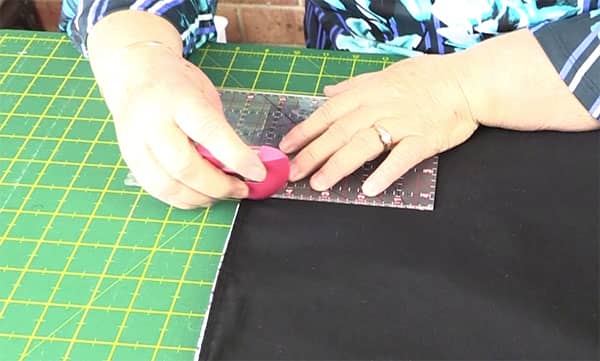
- Draw a line diagonally across the corner.
- This will be the sewing line.
- Back stitch at each end of the seam line.
- Cut across the corner approx ¼” from the seam line.
- You can serge across the corner, zigzag across the corner or just leave it. The choice is yours.
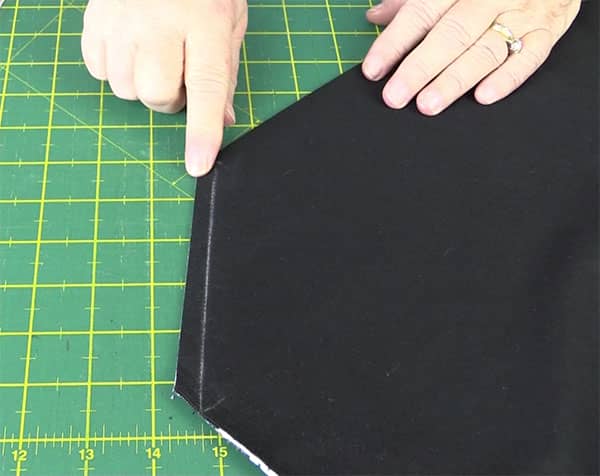
- Turn the bag through to the right side.
Handle Cover
- Take the piece of material that measures 7′ x 4″.
- Turn under each of the short ends ¼” and press.
- Put right sides together and sew down the long edge.
- You now have a tube.

- With much huffing and puffing, turn the tube through to the right side.
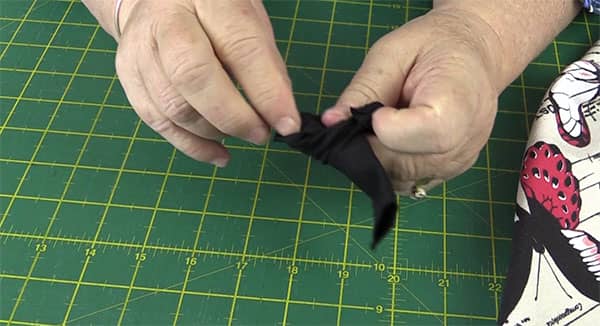
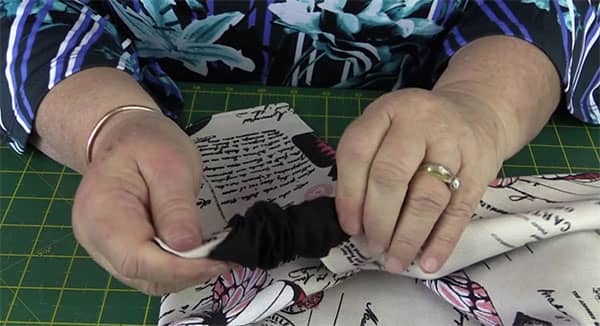
- Gather the tube up and slip it over the end of one handle piece.
- Pull the handle through as far as you can.
- Overlap the handles.
- Sew a square on the handle ends and add cross stitching in the square to hold the handles secure.
- You can even go around twice if you like. The handle join is the part where all the pressure will be when your bag is full of market goodies.
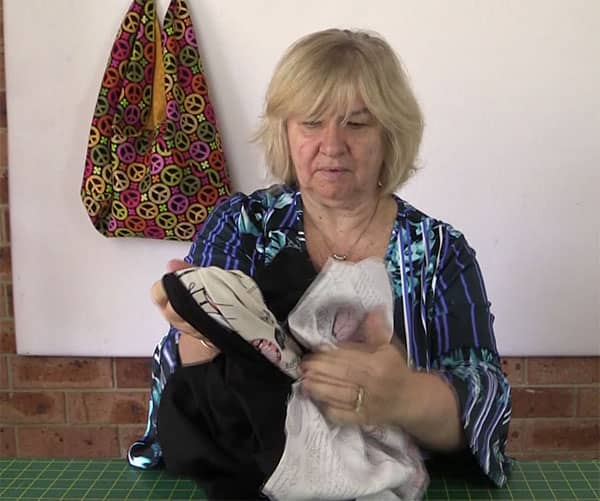
- Pull the handle cover over the joined handles.
- Twist the seam line to the underside of the handles.
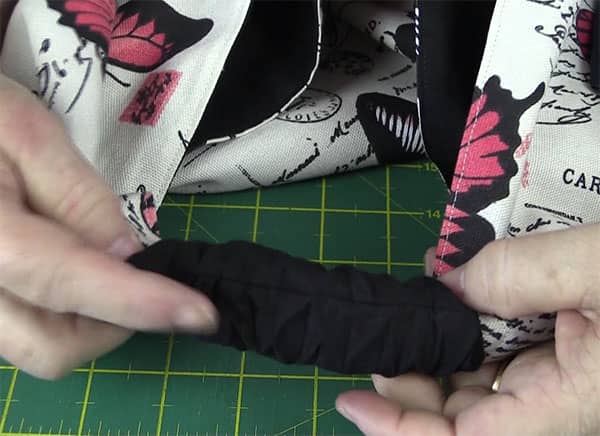
- There you go – bag finished. Quick and easy and ideal for markets for gifts.