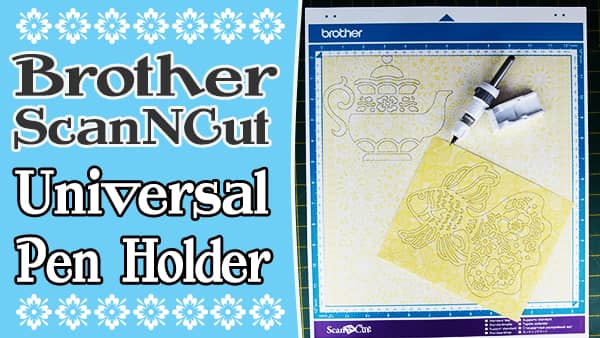
Brother ScanNCut Universal Pen Holder Review & Tutorial
We thought it was about time we did a review and demo of the Brother Scan n Cut Universal Pen Holder. We haven’t had it for very long but I have to say, I wish we had purchased it sooner.
The pen holder allows you to use your own pens when you want to use the drawing function on the ScanNCut.
Watch the video tutorial below or scroll down for the written instructions
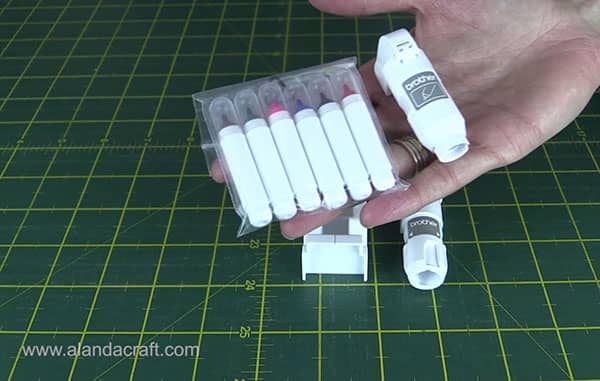
As you can see in the photo we have tried a number of pens and all of these were used with great success.
(For our list of recommended pens click here)

Like us, you may already have a set of the original Brother ScanNCut pens and holder, but we have found that, although they do an admirable job of drawing, there are some drawbacks.
The color choices are limited and at times we have found the tips to be a bit broad.
But now we can use our awesome gel pens and pens with nice fine nibs, by using the Universal Pen Holder.
Awesome as it is for drawing, the design could do with some improvements, as it can be a tad tricky to use until you work out the technique that works best for you.
The holder and base aren’t very stable when you are trying to set the pen up and keep the test paper in place as well…it’s definitely a challenge.
We found that by leaning the assembled unit backward and holding the base and holder firmly, it all came together nicely and the paper didn’t fall out. But even with that issue, we still love it to bits.
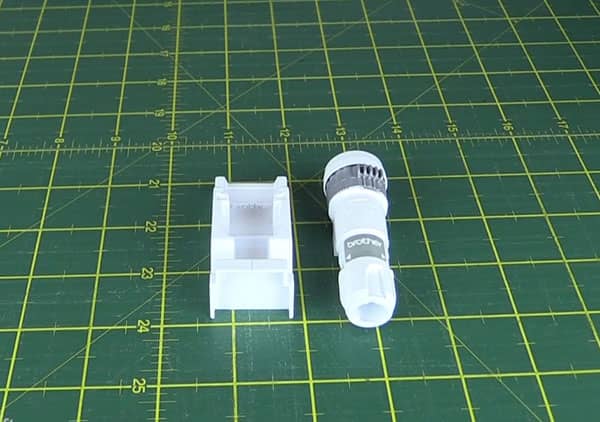
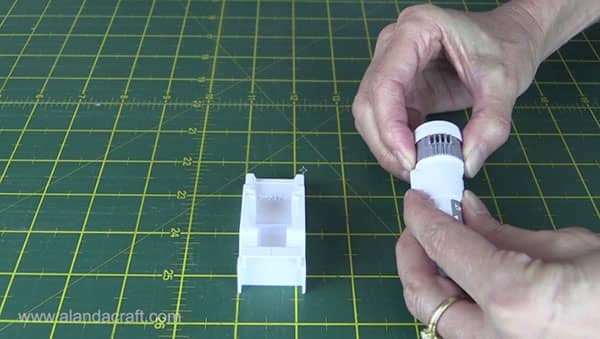
There are two pieces to the Universal Pen Holder:
- The Base – this is used to set the pen in position
- The Pen Holder – holds the pen securely in place for you to pop it into the holder on the machine.
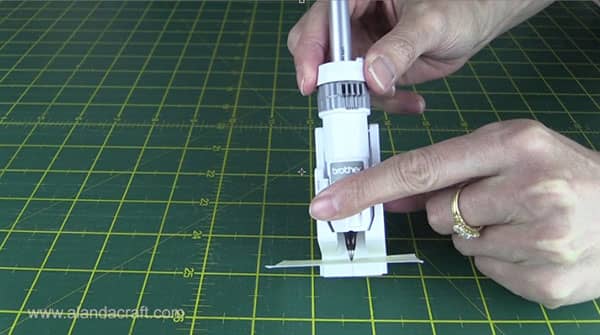
- Before inserting a pen, make sure that the grooves are in the home position, indicated by an arrow on the white part of the pen holder.
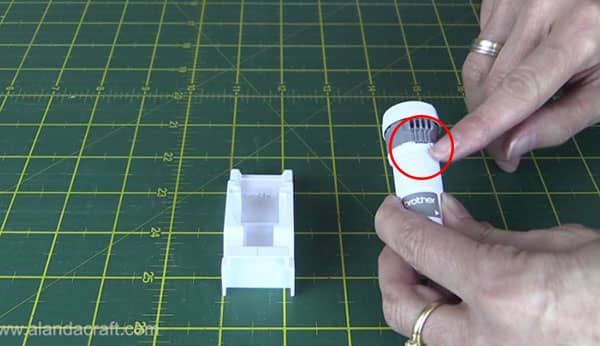
- The grey dial moves in increments.
- Pull it up and turn the dial until the pen is held tightly in position.
- So now we are ready to place a pen into the holder.
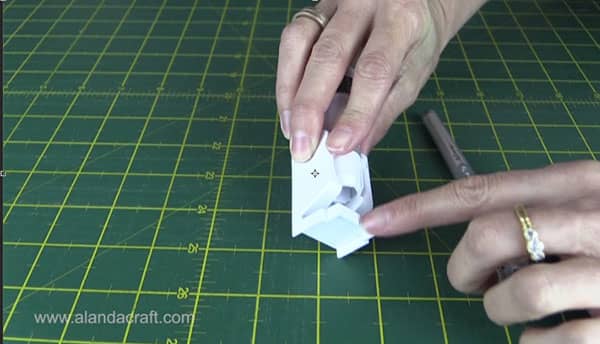
- Firstly place the pen holder into the base making sure the arrows on the holder and the base, line up.
- There is an additional groove on the base to help you line up the pen holder.
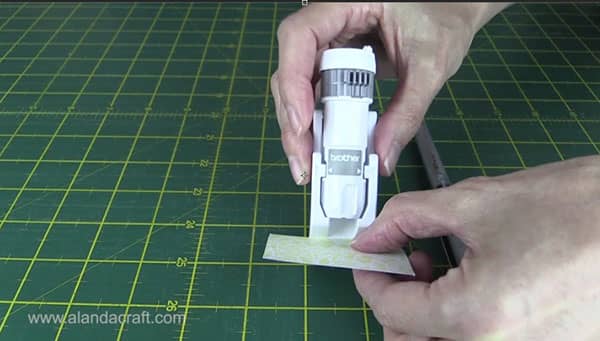
- Cut a small scrap of the material that you will be drawing on and place it on the base.
- This serves two purposes, it sets the pen into the holder at the correct height. For example, if you have card stock the pen will sit slightly higher in the holder than if you are using scrapbooking paper.
- The paper also stops ink from getting onto the base and marking it. If you do get ink on the base, clean it off straight away. We find that a wet wipe works well.
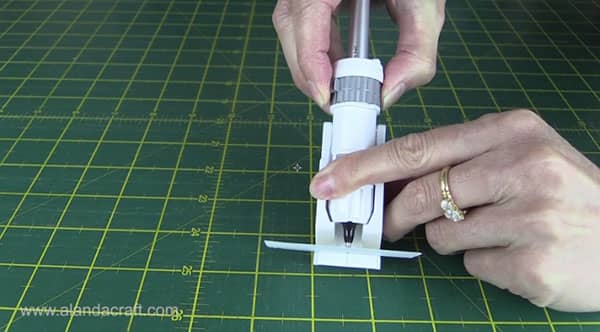
- Once you have popped the pen into the holder and it rests on the paper, grip the holder and the base together and just tilt them back a bit to make the next step a little more manageable.
- Lift the dial and turn until it holds the pen firmly and clicks in place.
- If you have a pen that is too small, you can wrap masking tape around the pen so that it fits.
- Remove the holder from the base
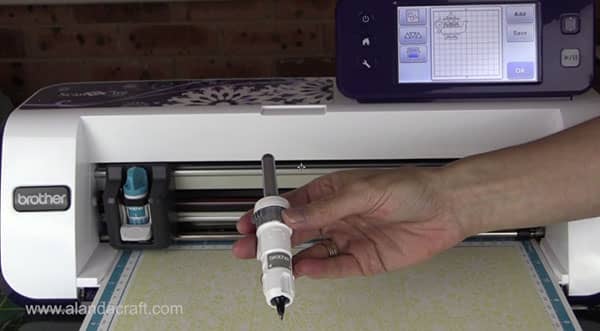
- Place the Universal Pen Holder into the holder on the machine.
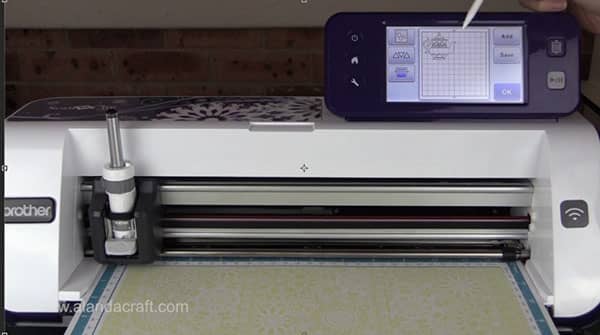
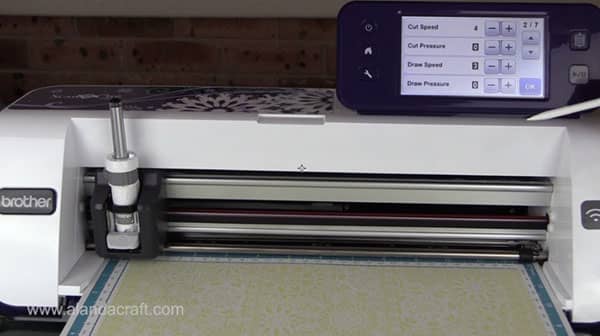
- Select your pattern and check your settings.
- We found that draw speed 3 and draw pressure 0 worked well for us.
- You are now ready to draw your pattern.
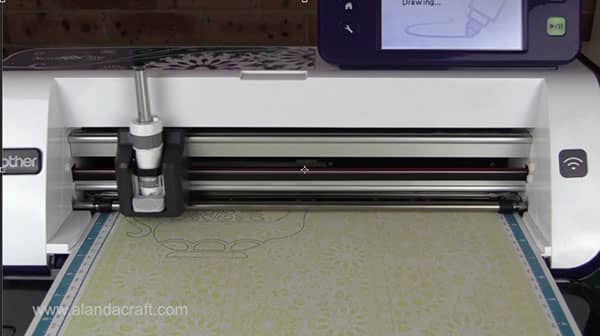
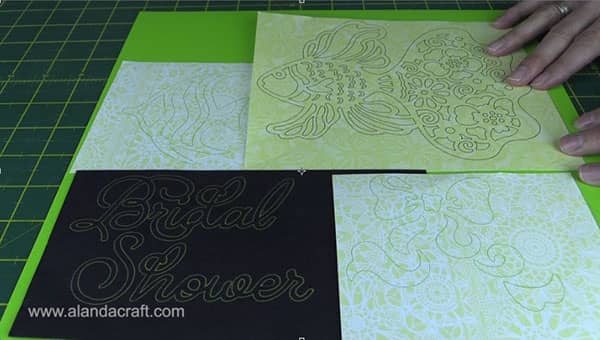
- And here are some patterns we drew using different pens.
- The Bridal Shower text was done using a gold pen on black card stock.
- The Angel fish and the bow were done using a green gel pen on scrapbooking paper.
- The large fish was done using a black Pentel pen on scrapbooking paper.
As mentioned above here is a link to a number of pens that we found worked successfully.
Where can you buy the Universal Pen Holder
The Universal Pen Holder can be purchased from Amazon.