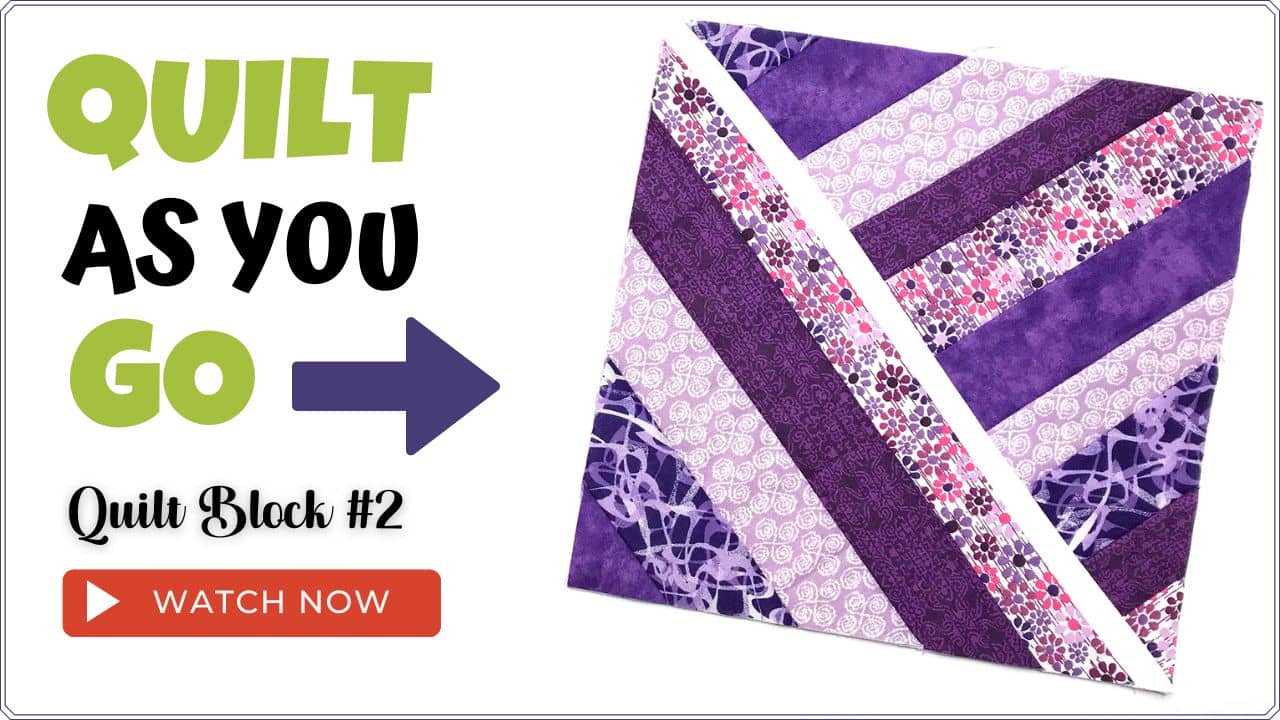
Quilt As You Go Block #2 – TUTORIAL
Here is another quick and easy to make ‘quilt as you go’ block and it is the second in our series of QAYG blocks. (You can find the first QAYG block here.) I really love playing around with my scrap fabric to see what I can make.
You can make an assortment of different types and sew them all together into a quilt or you can sew them into table runners and cushion covers. But whatever you decide to do, these quilt blocks will help you to use up your fabric stash, and that’s always a plus. And don’t forget to keep the excess fabric that you cut off, for crumb quilting and other scrappy projects.
What You Need
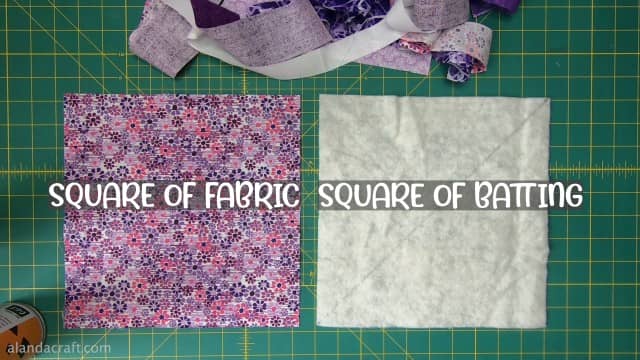
- A square piece of batting
- A square piece of backing fabric
- An assortment of fabric scraps
- A ruler
- A rotary cutter or scissors
Cutting
- For this block I have cut my backing fabric and my batting at 10″ x 10″. However, you can make these in whatever size you want.
- I cut my strips of fabric into 2″ and 11/2” strips. But again, you can make them whatever width you like and have on hand.
- I cut the white centre strip at 1″
Watch the video tutorial below or scroll down for written instructions.
(Can’t see the video? You may have an ad blocker installed.)
Method
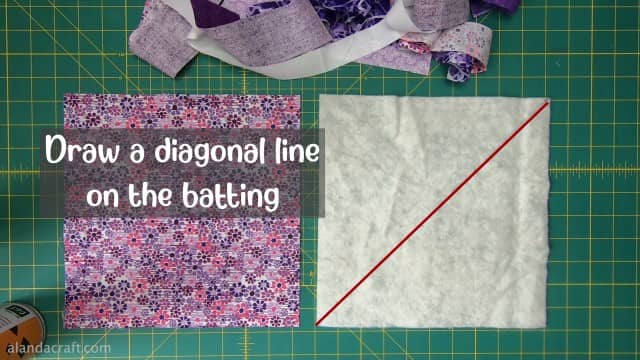
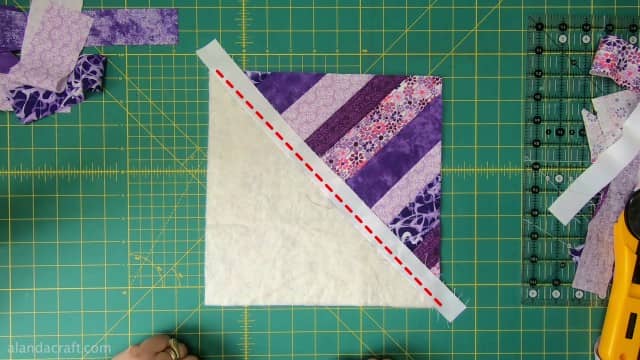
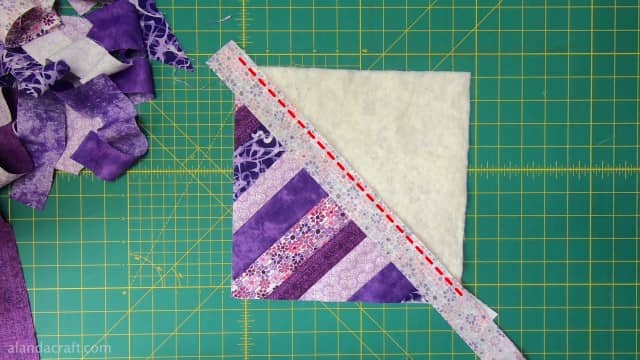
- Draw a line diagonally across your piece of batting. Use a Frixion pen or other fabric pen that will not leave a permanent mark.
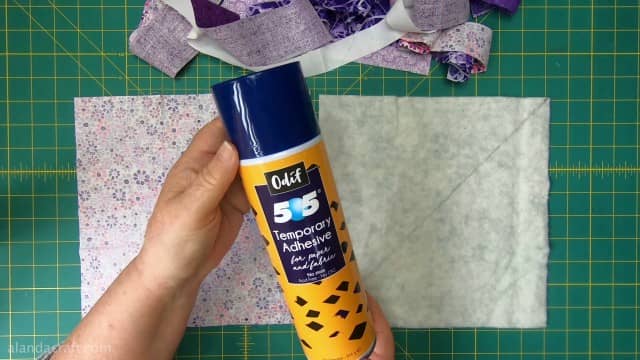
- Spray the backing with some 505 Adhesive spray.
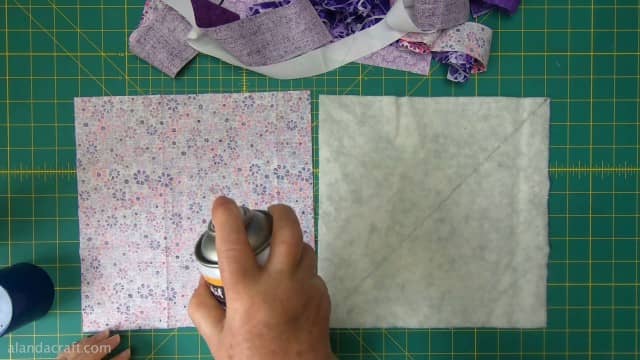
- Lay the batting on top of the backing, with the drawn diagonal line face up. After all you need that line as a guide for placing your scraps.
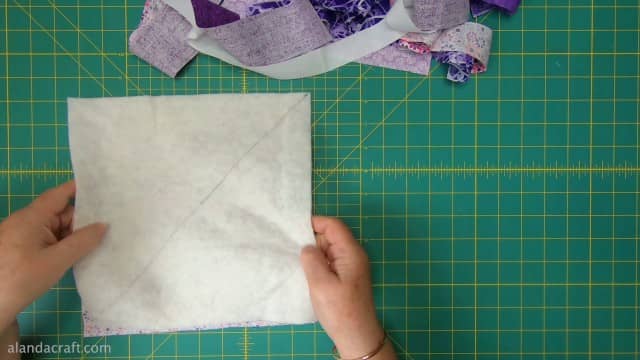
- Smooth the pieces out. We don’t want any wrinkles. You can press the pieces on the fabric side (not the batting). Keep in mind this may remove your line that you drew and you may need to draw it again.
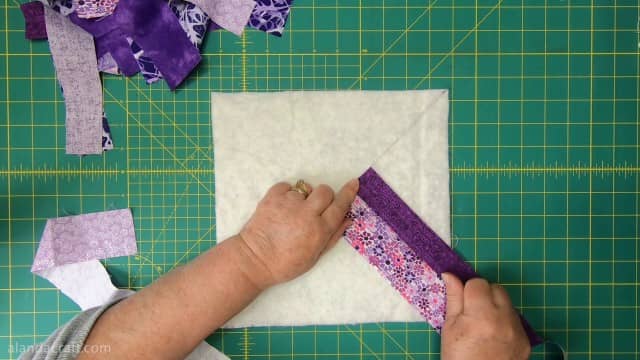
- Take the first strip and line it up against the line you drew.
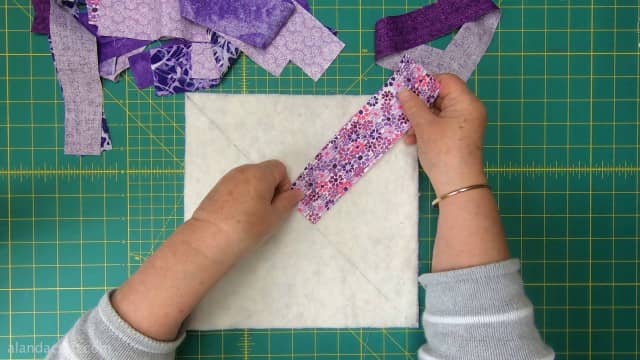
- Take the next piece and lay it on top of the first strip, right sides together.
- Sew them together with a 1/4″ seam.
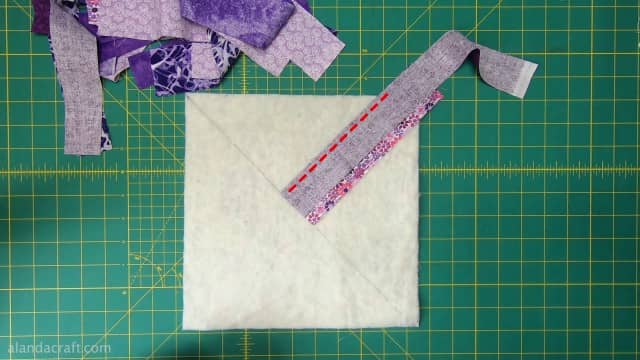
Finger press the seam open. Or you can use an iron but ensure that your batting is not prone to melting if you do this.
- Add the next strip in the same way and sew with a quarter inch seam.

- Continue adding strips until the entire half of the block is covered.
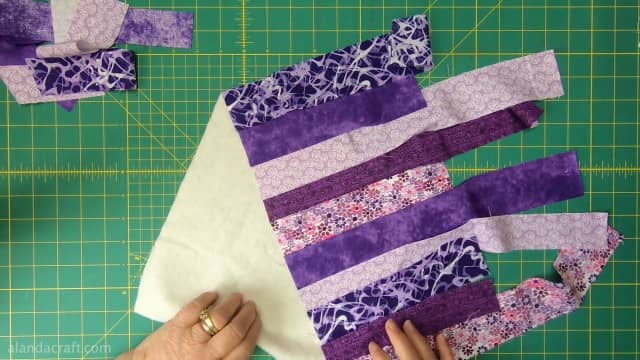
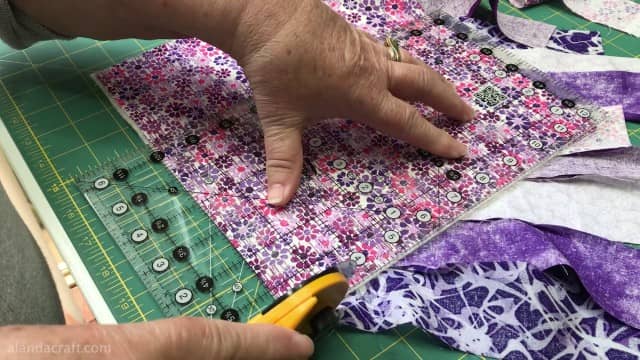
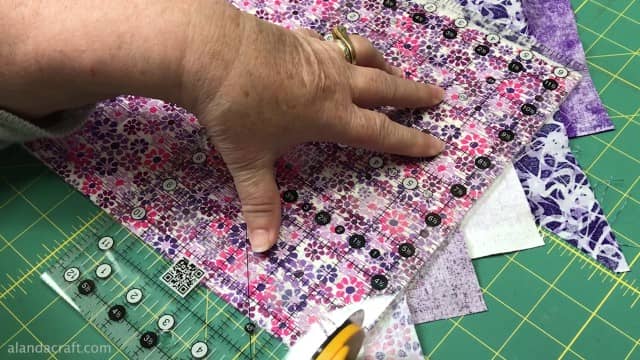
- Flip the block over and trim off the excess fabric.
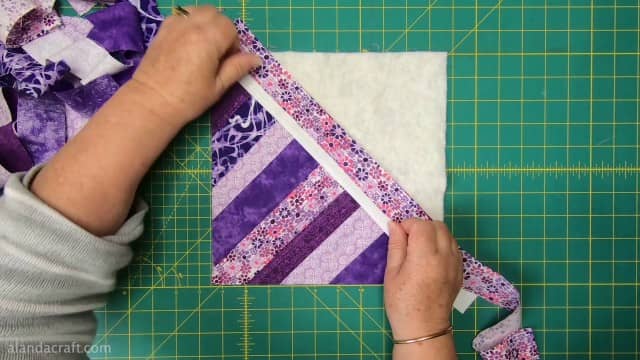
- Turn the piece over and add a 1″ strip along the center of the block and sew with a 1/4″ seam.
- Place a contrasting strip face down along the diagonal line, and sew with a quarter inch seam.
- Finger press or iron press this strip so that the right side is showing and laying flat on the batting.
- Continue adding ttrips until you come to the end.
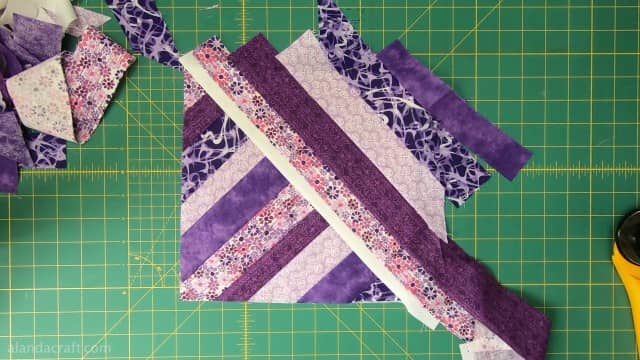
- Turn the piece over and trim off the excess fabric.
- And now your block is finished.
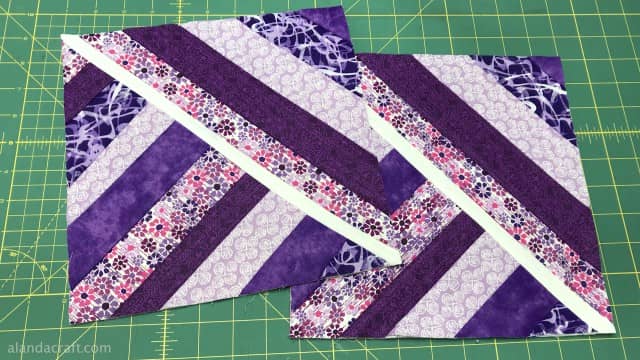
Make a few more blocks and here is a link to the tutorial on how to join them together