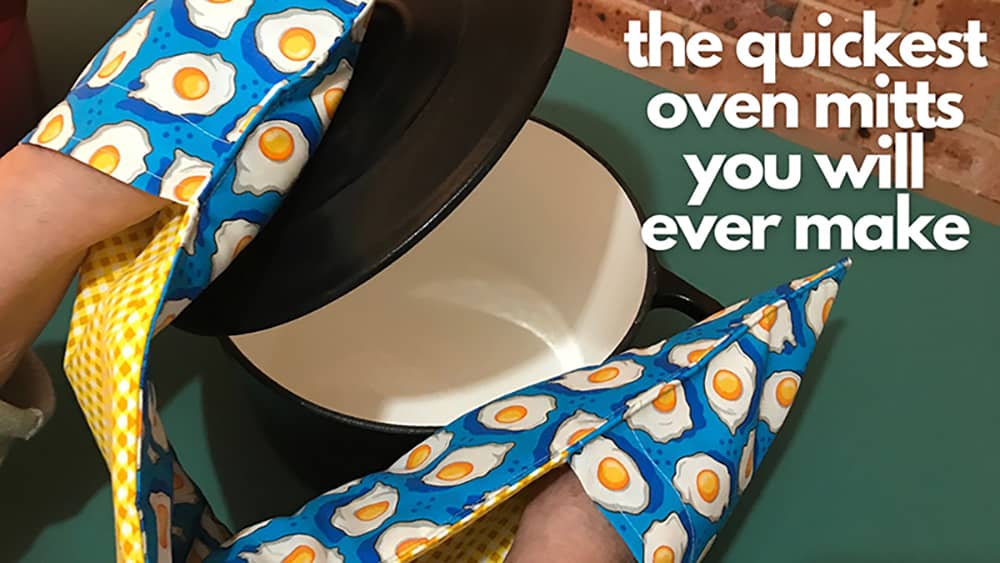
Quick Double Oven Mitt Tutorial
If you are looking for a quick double oven mitt tutorial then you can’t get much quicker than this one. These oven mitts make a nice addition to your kitchen and they make great gifts.
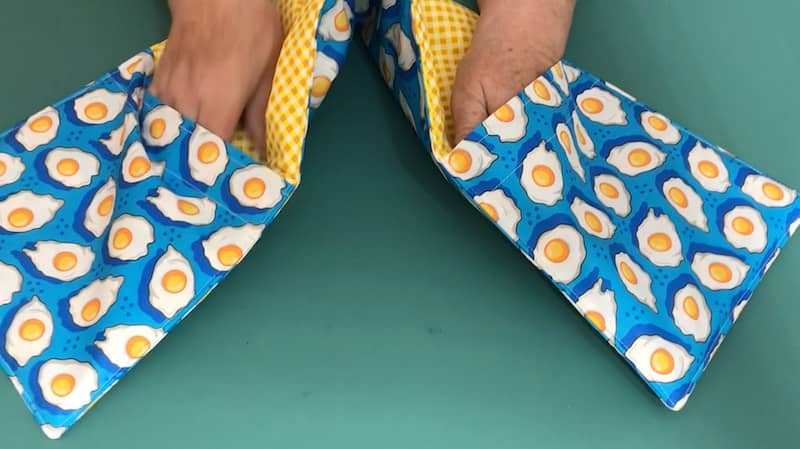
The oven mitt measures approx 26¾” x 7½” and the pocket measures approx 7½” x 7½”.
What You Need
Front and Back
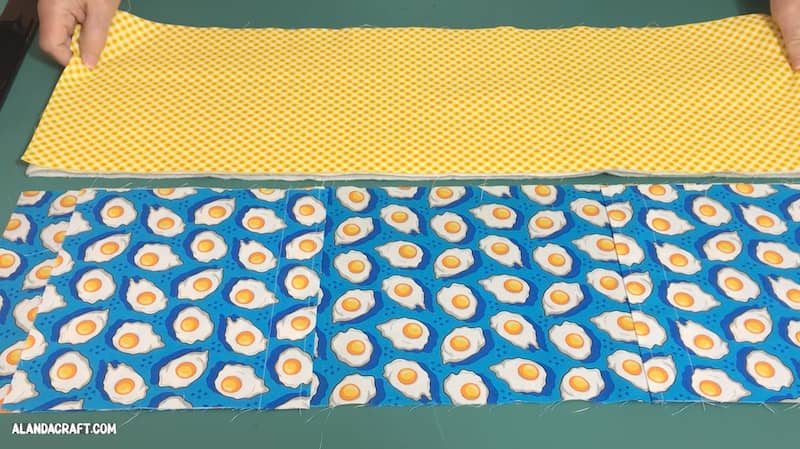
- 1 piece of fabric – 8 1/2 ” x 28″
- 1 piece of contrasting fabric – 8 1/2” x 28″
NOTE: You don’t need to use contrasting fabric, you can use all the same fabric in which case you cut 2 pieces of the same fabric.
Pockets
- 2 piece of fabric each measuring 8 1/2 ” x 16″
Insulation
- 1 piece of Insulbrite – 8 1/2” x 28″
- 1 piece of Batting – 8 1/2” x 28″
NOTE: Insul-Brite is a heat resistant batting. If you don’t have Insul-brite you can use 2 layers of batting but just remember it may not be as heatproof as the Insult-Brite.
Watch the Video below to see how easy this is to make or scroll on down for the step by step written instructions.
Method
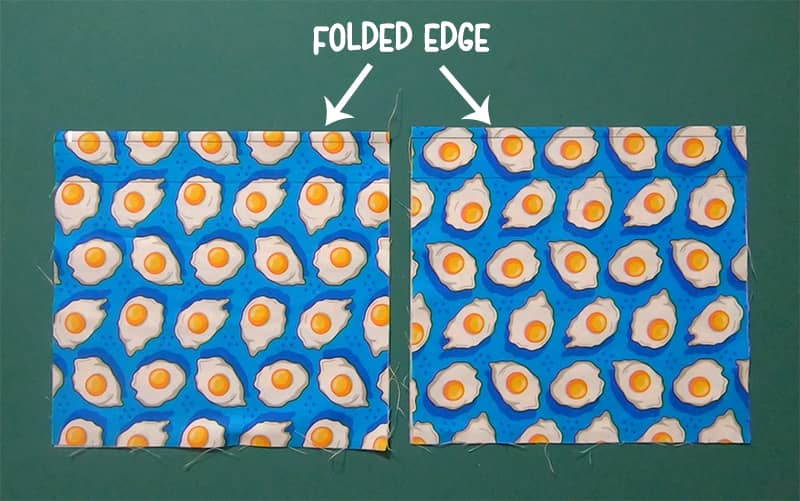
- Take your two pocket pieces and fold them in half
- Press the fold with your iron to get a nice crease
- Draw a line 1/4″ from the folded edge.
- Draw a line 1 1/4″ from the folded edge.
- Repeat this on process on both pockets
- Topstitch along these lines on both pockets. There is no need to do a backstitch as the sides will be caught up in the seam line when the layers are all sewn together.
NOTE: I am using a Frixion pen to draw those lines. Make sure you use an erasable fabric pen or chalk to draw your lines, or you could just eyeball it and not draw any lines at all. DON”T use a ballpoint or any permanent marker.
Making the Quilt Sandwich
- Place your piece of batting on the table
- Place the insulbrite on top of the batting and line up the edges.
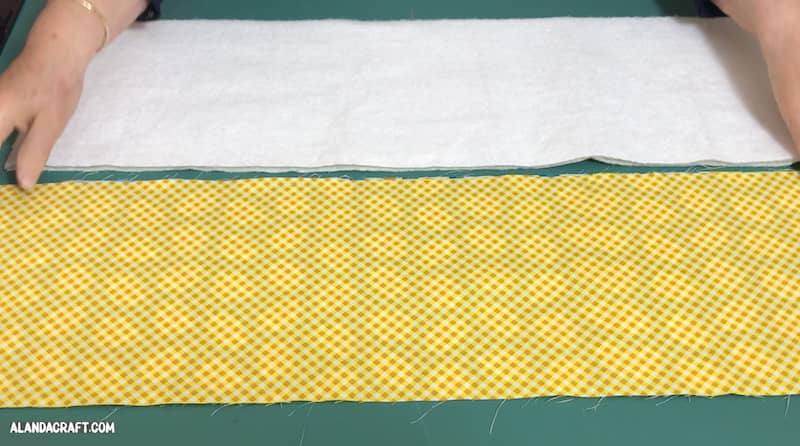
- Place your main front piece on top of the Insul-brite with the right side facing up.
- Place your pockets, one at each end, with the raw edges lining up with all the other raw edges. Make sure your folded edge is facing towards the middle of the oven mitt.
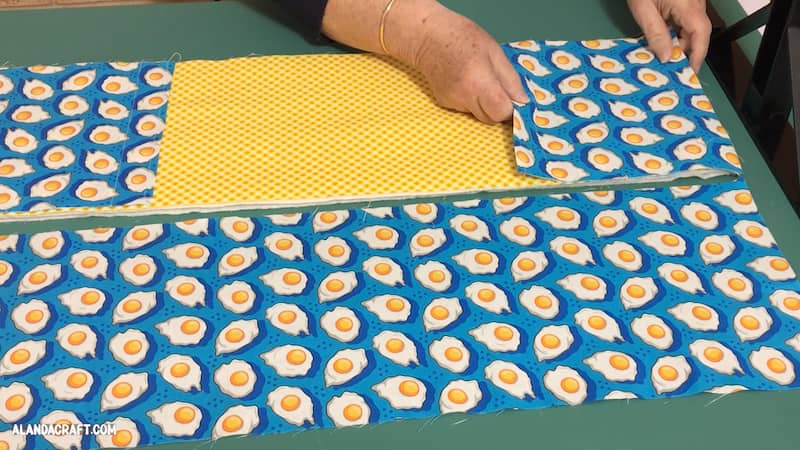
- Place the back piece of fabric on top, with the right side facing down.
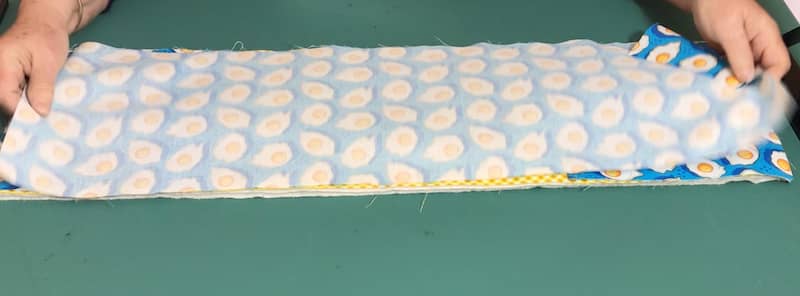
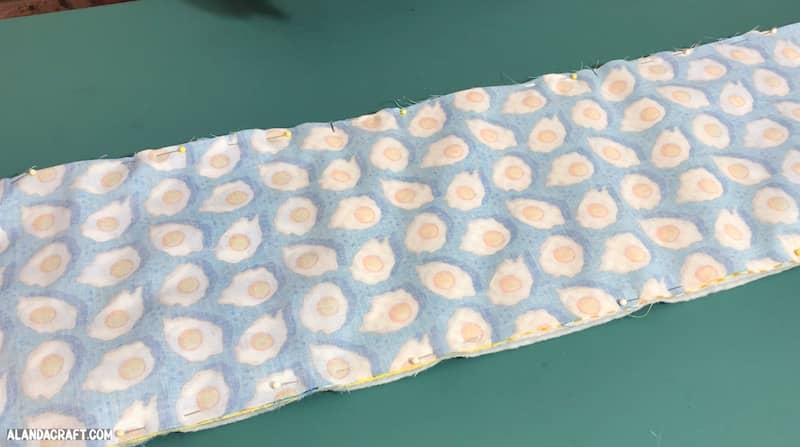
Pin all the layers together taking care to keep the raw edges nicely matching.
Once everything is nicely pinned in place, make two marks on one side piece, about them about 6 inches apart.
This is to turn through the oven mitt once you have sewn it together. You do want a reasonable sized opening to turn through the bulk.
Sewing the Layers
Now we are going to sew the layers together with a half inch seam.
Start with a back-stitch at the mark you have drawn for the opening and continue to the corner. Now we are not going to pivot at the corner but sew right off the edge. Turn the piece and start from the edge and sew to the next corner, once again making sure to sew right off the edge. Continue until you reach the other mark you drew. and finish with a back-stitch.
Trimming the corners and the layers
We are now ready to trim the corners.
Trim across the corner taking care not to cut the overlapping threads. I also trim back on an angle from the corner, to remove more of the bulk. Repeat on all four corners.
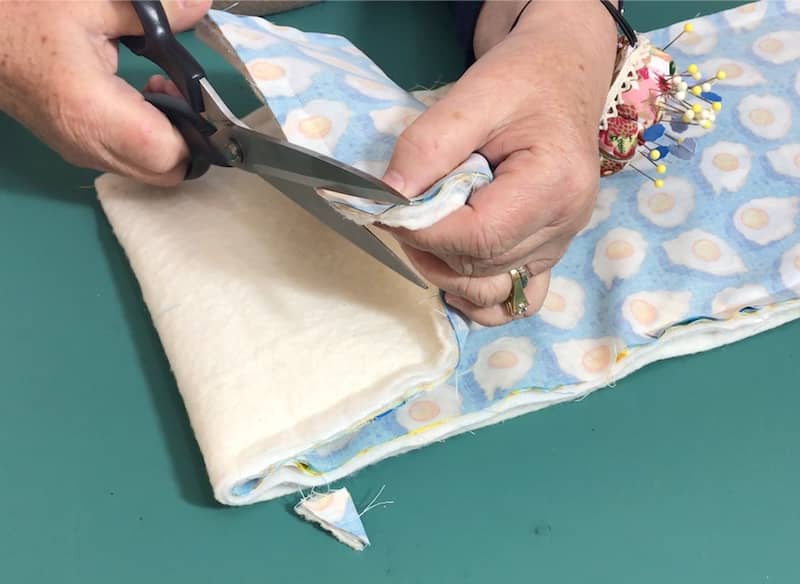
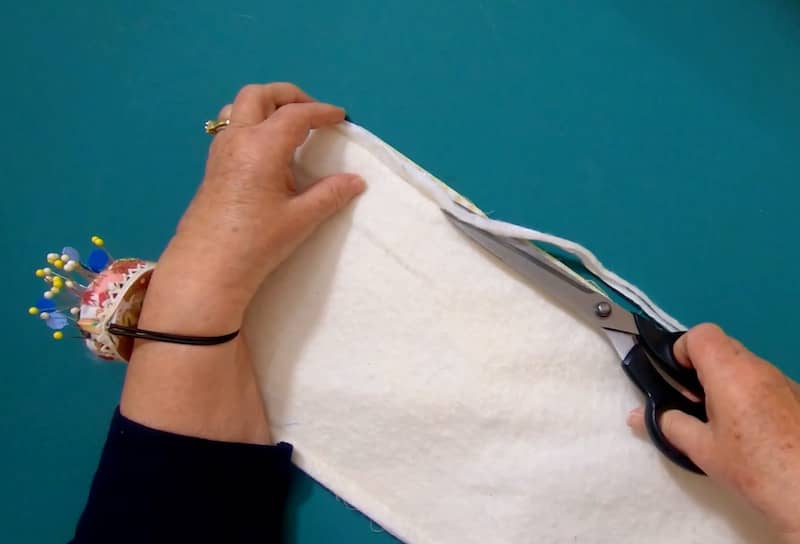
Turn the piece over and trim off some of the batting and the Insulbrite layers only. We do this to remove more of the bulk. Trim it back by about half, but don’t go too close to your stitching.
NOTE: do not cut the fabric layers (like I did in one spot. Fortunately it was in the seam line so not too much drama.)
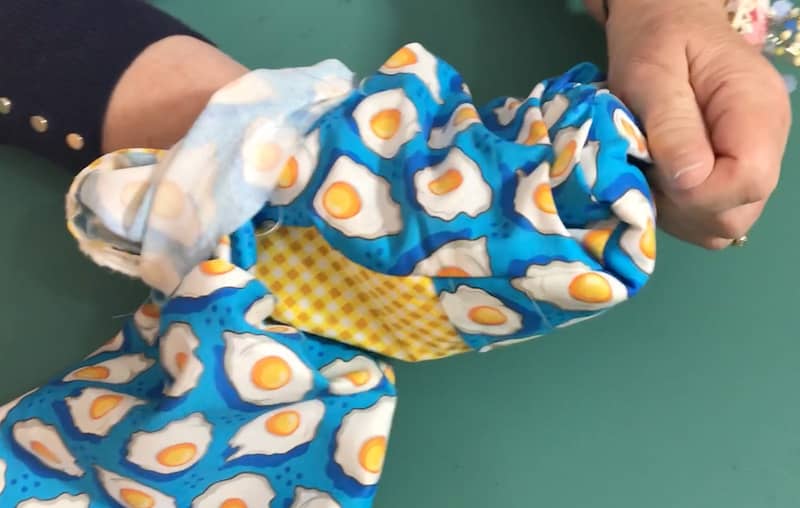
Turn it Through
Reach into the layers and pull the inside through to the outside.
Make sure that when you are doing this that you turn the pockets through the right way. So if they are laying against the backing instead of the front, just turn them over so they are in the right position.
With the first oven mitt I made when I turned it through I thought that I had sewn the pockets on the wrong way and proceeded to unpick it all only to find that I just hadn’t turned them through correctly. Ugh.
So keep that in mind as you do this.
Once you are done bringing it through, you just need to push out the corners. I use an apple corer but you can use a chopstick or a pair of scissors. Though just be careful when using scissors as the pointy ends may tear through the fabric, and after all your hard work, you don’t want that.
Press the Oven Mitt
At this point, you want to give the oven mitt a good press, particularly around the opening.
This bit can be a bit fiddly but just take your time with it as it will all look a lot better in the end if you have lined it all up nicely.
Press it so the opening edges come together neatly and then iron all the way around the edges. This will make it much easier to sew our topstitch.

Topstitch Around the Edge
Once our oven mitt is nicely pressed, we are ready to top stitch all the way around the edge.
This will not only provide a nice finish but it will close in that opening.
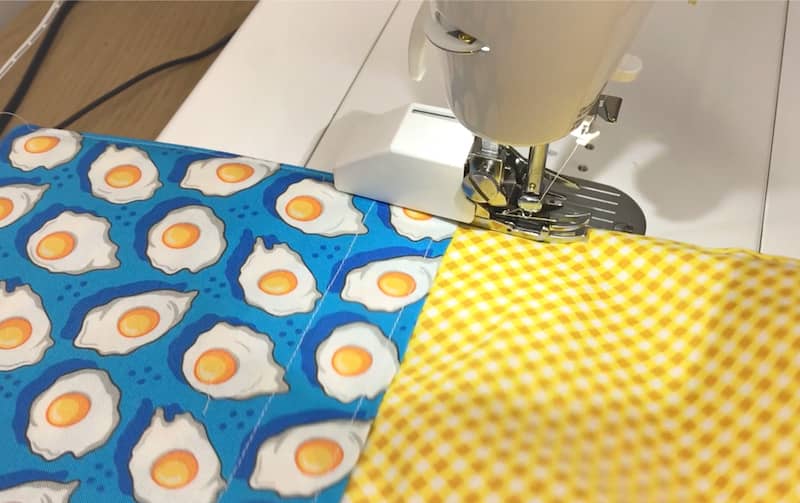
Starting with a back-stitch, topstitch around the edge with either an 1/8″ or a 1/4″ sewing line. When you come to the corners, leave your needle in the down position, lift your presser foot and pivot the piece around. Continue sewing all the way around the edge and end with a back-stitch.
And there you have it, a quick and easy double oven mitt. You will be running these up in no time at all and don’t forget they make lovely gifts for your family members and friends.