Quilting Blocks: Square in a Square Quilt Block Tutorial
 If you’ve never tried making the Square in a Square quilt block then you will be pleasantly surprised at how easy it is to make.
This block requires one large square of fabric and 4 smaller squares so cutting requirements are easy. And sewing it together is a snap.
Watch the video below or scroll down for the step-by-step written instructions
Cutting calculations for a Square in a Square Quilt Block
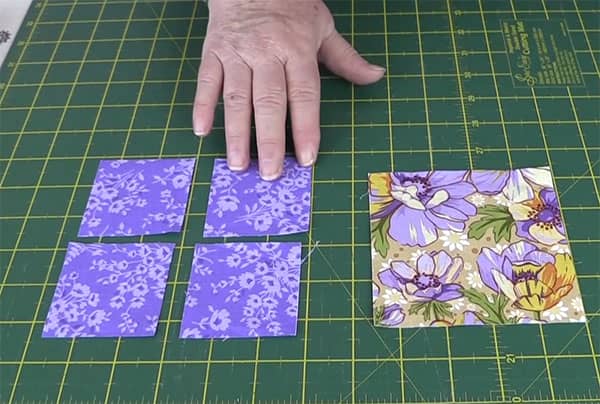
The square in square requires 1 large square and 4 small squares to be cut.
- To determine the size of the large square decide on your finished block size and add ½”.
For example, our finished block size is going to be 4 inches so we simply add ½” to that which equals 4½”. So our large square will be cut at 4 ½”.
2. To determine the size of the 4 small squares divide the finished block size by 2 and add ½”.
For example, our finished block size is 4 so we divide it by 2 which gives us 2″. Then we add a ½” to that. So our small blocks will be cut at 2½” each.
TOOLS USED IN THIS TUTORIAL
You can check the latest prices at Amazon by clicking on the links below:
- Olfa 24″ x 36″ double-sided healing mat
- Olfa 60mm rotary cutter
- Gutermann Sew-All thread
- FriXion Pens
- Olfa Non-slip Ruler 6½” x 6½”
- Olfa Non-slip Ruler 4½” x 4½”
- Oliso Iron
Sewing the Square in a Square Quilt Block Together
- Take each of your small squares and draw a line from one corner to the other.
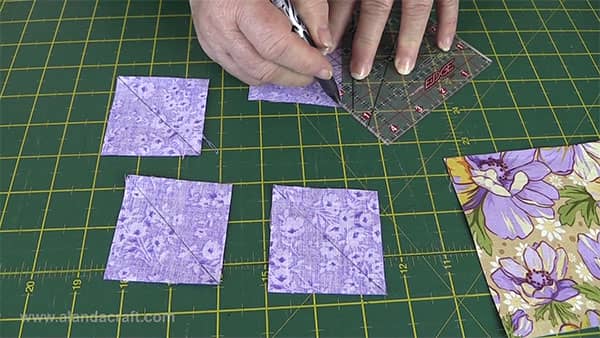
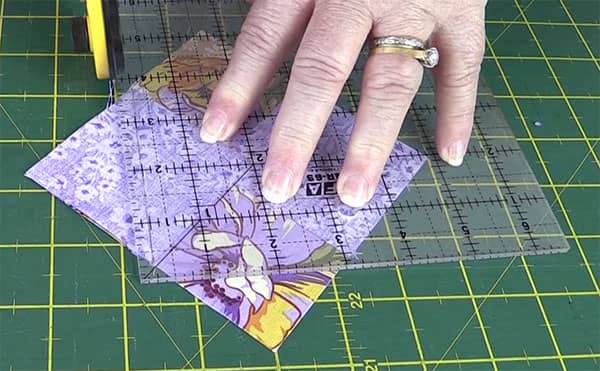
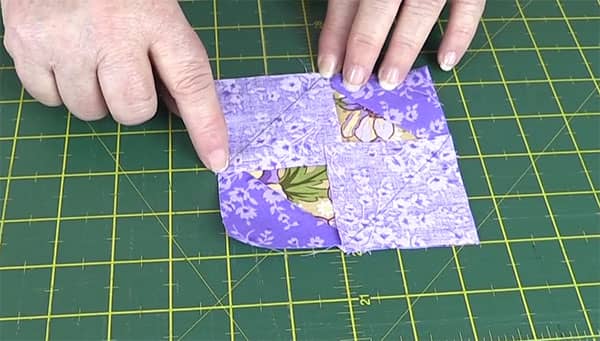
- Place one of the small squares face down on the main fabric square lining it up in one of the corners as shown in the image below. Take a second small square and do the same thing on the opposite side of the block. Sew along the lines you drew.
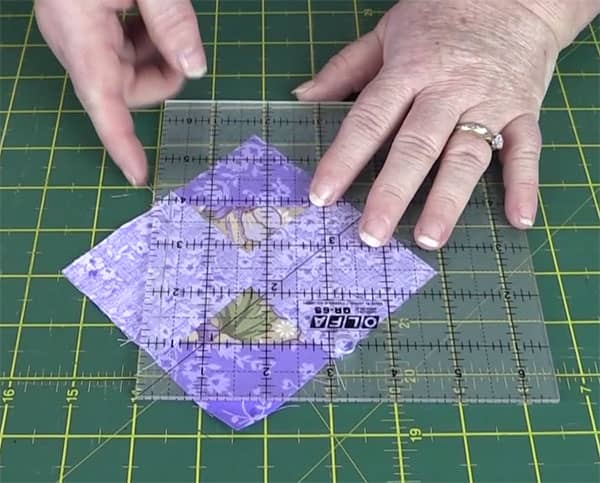
- Cut off the excess fabric on each side leaving a quarter inch seam.
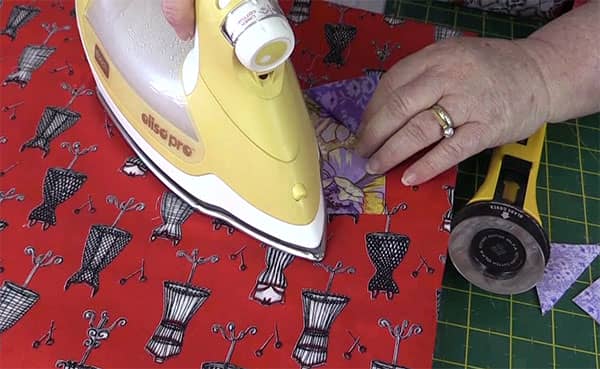
- Press the flaps open.
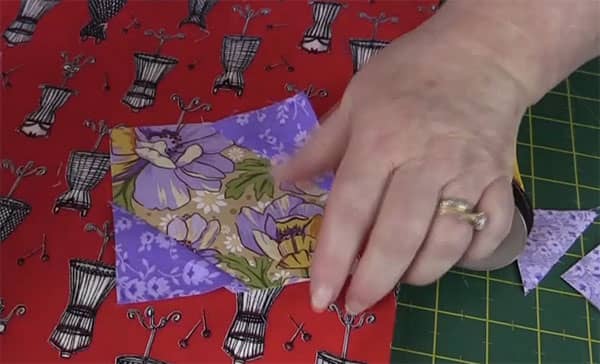
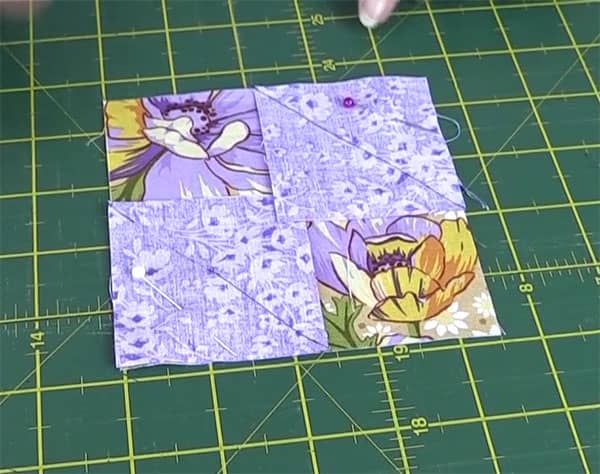
- Take the remaining two squares and repeat the process on the other two corners of the main fabric piece.
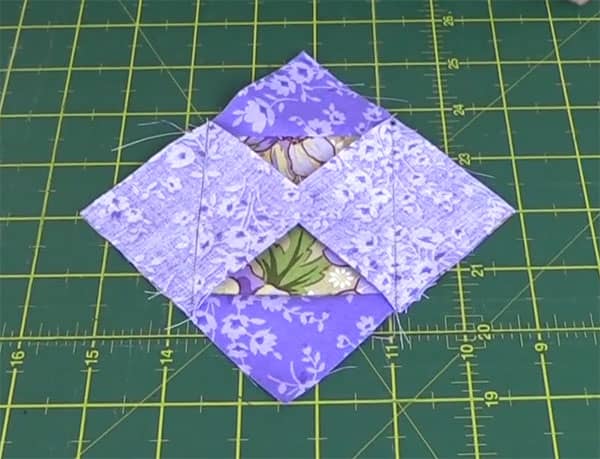
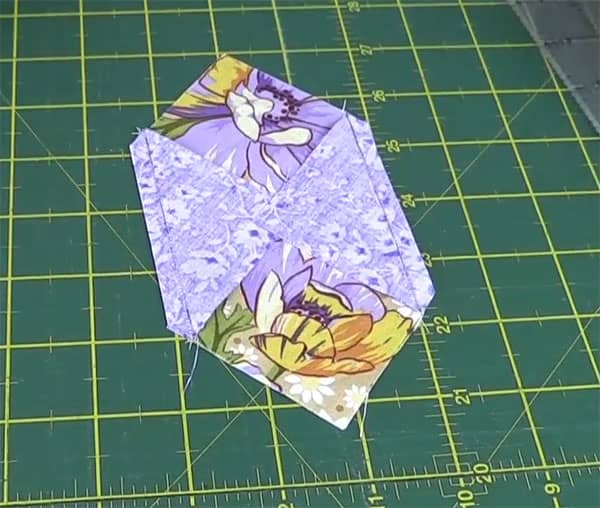
- This is what the reserve side of the block looks like.
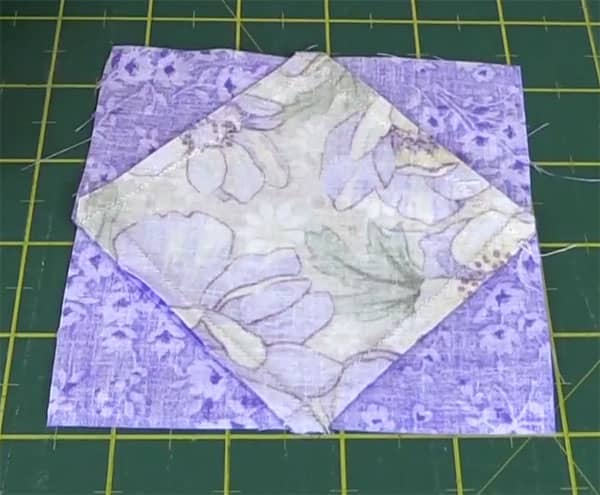
- And this is the completed block.
