Brother Scan n Cut: How to use the ScanNCut Photo Scanning Mat
 I am interested in genealogy and have a number of old documents such as wedding and death certificates, plus a number of old photos that are rather fragile. So what I do is scan them and I use my ScanNCut to do this.
Now, of course, I could use a regular scanner but my scanner is limited to an A4 or US letter size. Plus I personally find the ScanNCut easier to use.
Why I Use a ScanNCut Photo Scanning Mat
I use the ScanNCut Photo Scanning Mat because I don’t have to stick the document to the mat, as I would if I was using a Standard or Low Tack Mat. Some of these documents are very fragile and I don’t want them getting stuck on a sticky mat and tearing.
Watch the video below to see how to use this mat.
(Can’t see the video? You may have an ad blocker on.)
This is what a Photo Scanning Mat looks like.
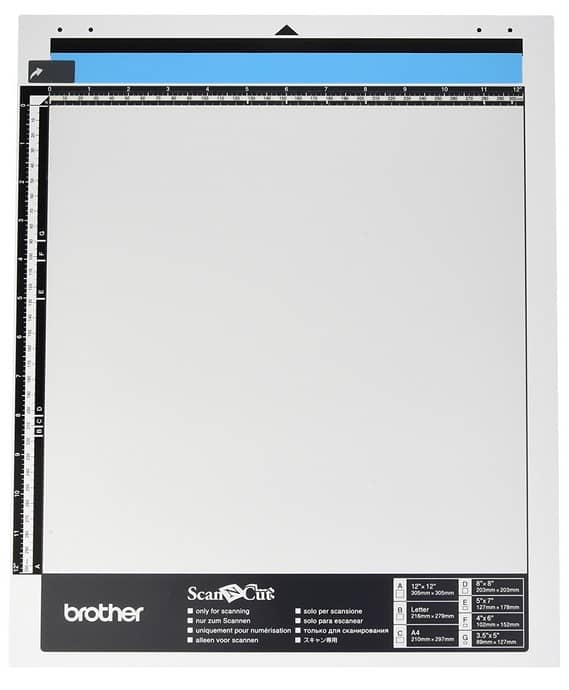
- You can see that it looks like a regular ScanNCut mat only it has a black trim instead of the usual blue or purple.
You can also scan in things like woven badges and thin balsa wood shapes that tend not to stick so well to a regular mat. Some of these have interesting shapes that can be used on a scrapbook page, but you don’t want to damage the back by having it stick to your regular mat.
I also just use it whenever I am scanning images printed on printer paper. Printer paper can stick like glue to a regular mat plus it’s just much easier and quicker to place it in the photo scanning mat.
The machine will see these sorts of things a lot clearer if they are on a dark background.
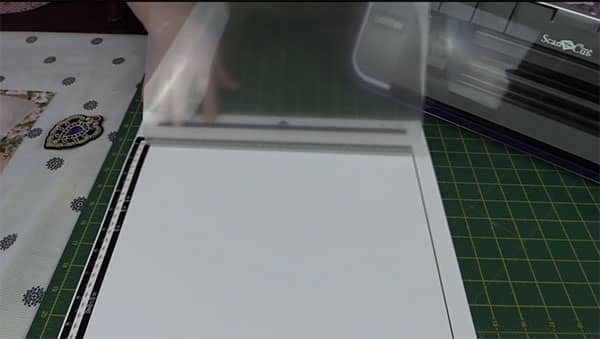
So you place a dark piece of cardstock in the photo scanning mat, then your stencil on top of that. Then place the plastic cover over the top and away you go.
There are 2 Ways to Save Using this Mat
Just to clarify that the photo scanning mat can really do two different things:
- It can scan through documents and photos and save them to a JPG format for you to store on your computer. Great for keeping digital records of those important fragile documents.
- It can scan through images that you can convert to cutting files.
So the Photo Scanning Mat is great for scanning fragile documents but it can also be used to just scan in shapes that are on a delicate background.