Brother Scan n Cut Tutorial: Create a Wall Hanging
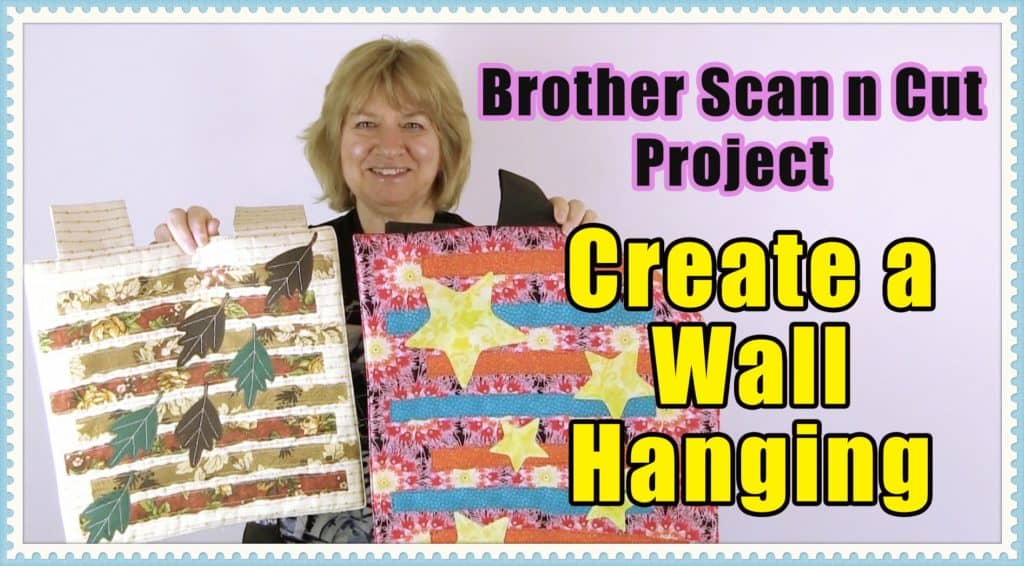 We were playing around with the shapes in Brother Scan n Cut and decided to make use of some of the great border patterns to create a wall hanging. Our video explains exactly how to do it.
Remember that you can make these wall hangings in any size that suits you, simply cut your material to the size you want. The finished size of the wall hanging in the video is 15″ x 17″
Watch the video below
You can make seasonal wall hangings, baby wall hangings and there is a crown design in your Brother Scan n Cut that would make a cute design for your little princess, then, of course, there are cars and dinosaurs for your young man. Ideas will flow as you scan through the designs that Brother has included.
Measurements
Front and Back of Wall Hanging
- 2pcs – 15 1/2″ x 17 1/2″
For the Strips
- 2pcs – 12″ x 6″
For the Main Applique Shapes
- 1pc – 11″ x 8″ (will depend on the shapes you choose)
Tabs to Hang the Wall Hanging
- 3pcs – 11″ x 3 1/2″
Interfacing
We used fusible fleece but you can use whatever interfacing you prefer and you can even use batting.
- 2 pcs – 15 ½” x 17½”
From your Brother Scan n Cut Applique Sheet cut:
- 2 pcs – 12″ x 6″
- 1 pc -11″ x 8″
Just another tutorial to help you get the most out of your Brother Scan n Cut.