How to Sew Triangles Together for Quilting – PART 2
Sewing together triangles is quite easy when you know how and it’s something worth learning because you can put together a triangle quilt quite quickly.
We have a complete step-by-step tutorial on how to cut triangles for quilting but in this post, we are going to learn how to sew them together.
This is Part 2 of our Cutting & Sewing Triangles for Quilting tutorial
Watch the video below for Part 1 – How to Cut Triangles for Quilting
TOOLS USED IN THIS TUTORIAL
You can check the latest prices at Amazon by clicking on the links below:
Method
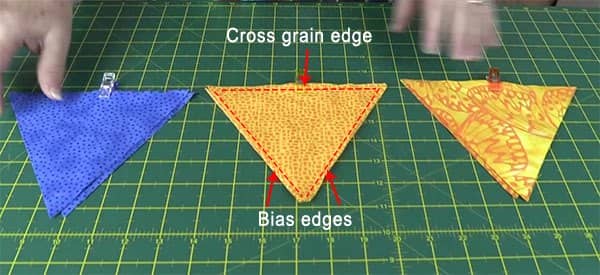
- Before you start sewing your triangles together, it’s important to note that each triangle will have 2 bias edges and a cross-grain edge.
- You will be able to tell the difference between the two as the bias edges are stretchy. The cross-grain edge is less so.
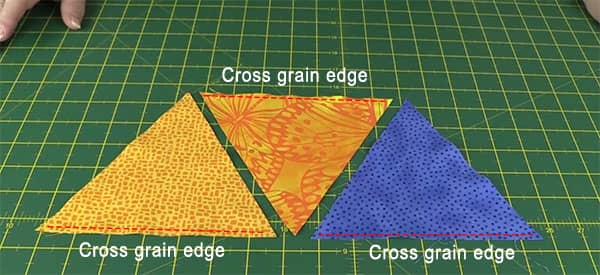
- You can see how we have sorted the triangles below and pinned the cross-grain edge for each color stack. This makes it easy to know where the cross grain is as we start to sew.
- When you are ready to start sewing, lay out your triangles in the pattern shown below – one up, one down, one up, one down and so on.
- You need to ensure that the cross grain edges are at the top and bottom as shown in the image below.
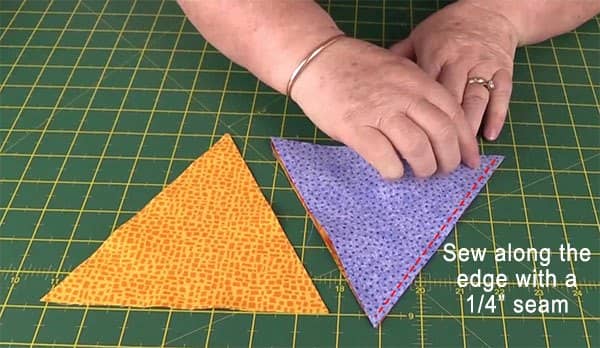
- Place one triangle on top of the corresponding triangle (right sides together) and sew along the bias edge with a quarter-inch seam.
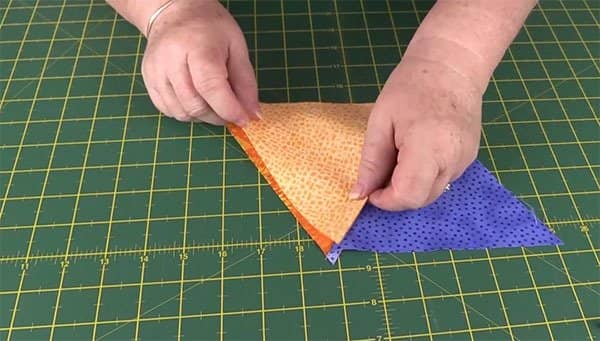
- Once sewn it should look like this.

- Now place the other triangle over the middle triangle (right sides together).
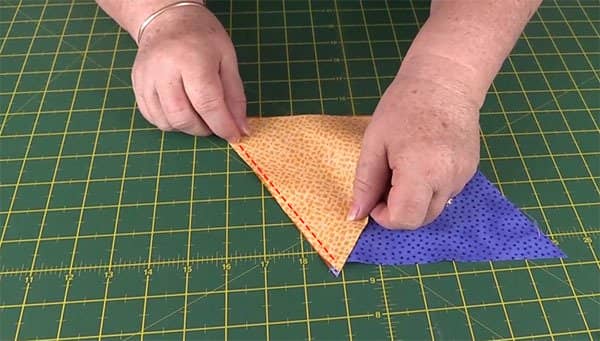
- Now sew down the bias edge with a 1/4″ seam.
- Your triangles should now look like this.
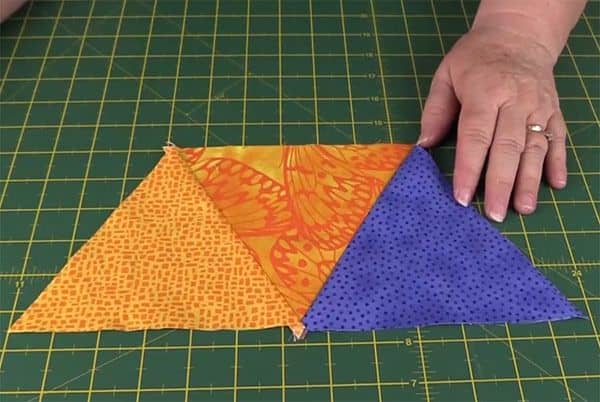
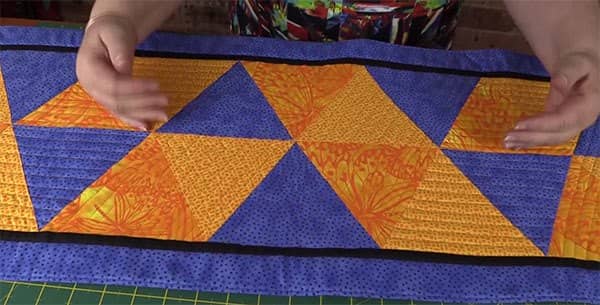
- You can continue to add more triangles in the same fashion until you have the strip as long as is required for your particular project.
- You can then create more strips as needed and sew them together as we have done for this table runner. Click the link for the triangle table runner tutorial.