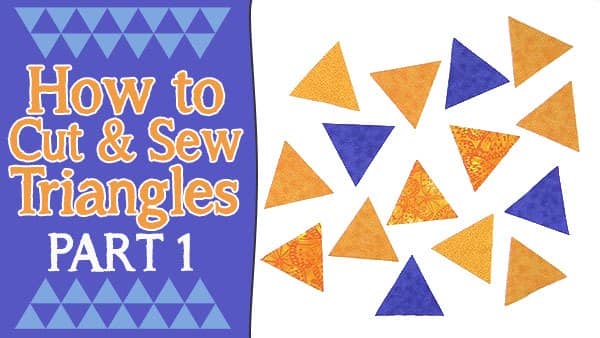
3 Methods for Cutting Triangles for Quilting (60º Degree Equilateral Triangles) – PART 1
Have you ever wondered what to do with those angle lines are on your quilting ruler? I know when I first started quilting, I had no idea what they were used for and just basically ignored them. But when it came to cutting triangles for a quilt, it all became clear and I realized just what I was missing out on.
I love triangle quilts. I love them because they are so easy to put together and they look awesome especially when you mix up the colors.
In this tutorial, we will show you how to cut and sew 60º equilateral triangles for quilting using three different methods:
- Using your 24″ quilting ruler, or any ruler really with a 60º line.
- Using a 60º triangle ruler
- Using your mat
Watch the video below or scroll down for the step-by-step written instructions
TOOLS USED IN THIS TUTORIAL:
You can check the latest prices at Amazon by clicking on the links below:
- Creative Grids 8½” x 24″ Rectangle Ruler
- Sew Easy Laser Cut 60º Triangle Ruler
An alternative to Sew Easy is the Creative Grids Equilateral Triangle which also has excellent reviews. - Quilters Slidelock Ruler
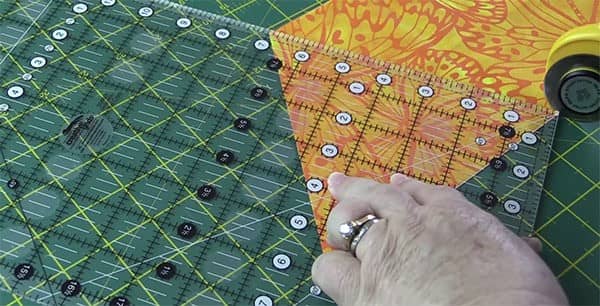
How to cut Triangles Using your 24″ Ruler
- Start by finding the 60º line on your ruler. You can see in the image how the line runs from the bottom right hand corner upwards to the left.
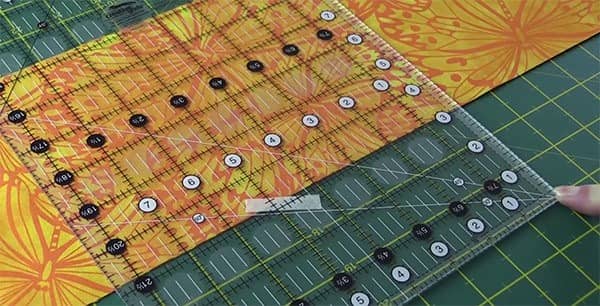
- Once you have found it, it might be worth you adding a piece of masking tape to that line (like we have done in the image below) so it is easy to find again and you don’t confuse it will any other lines that might be on your ruler.
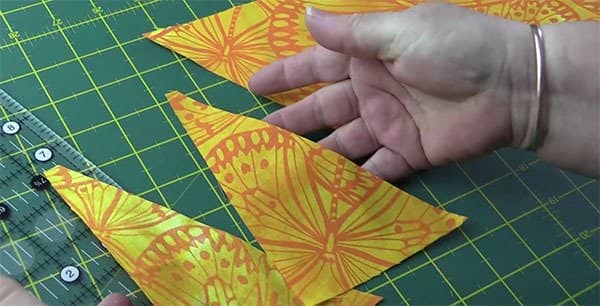
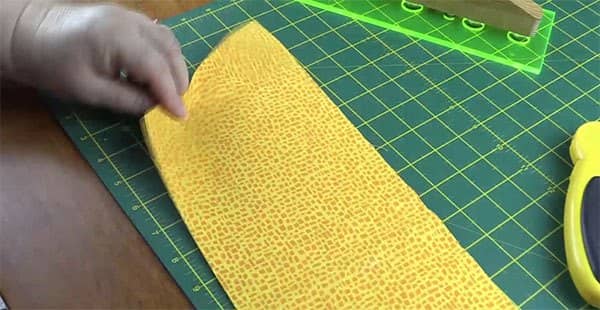
- Cut your fabric to the width of your triangles. For our project, we wanted 6″ triangles (unfinished) so we cut our fabric at 6″ by the width of the fabric.
So if I want a triangle with a finished size of 5 ½” I cut the fabric strip 6″ wide.
- Cut off your selvedges.
- Place the fabric so that the selvedge edge is on your left and the folded edge of the fabric is on the right.
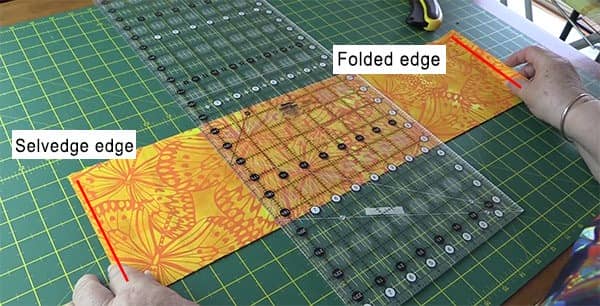
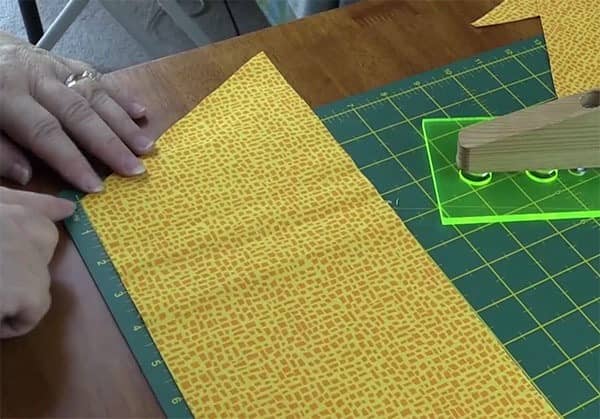
- The first thing we need to do, is to cut off the edge pieces.
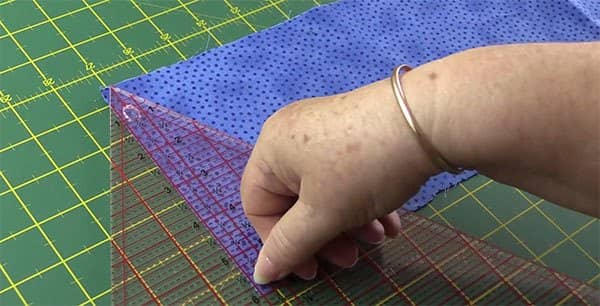
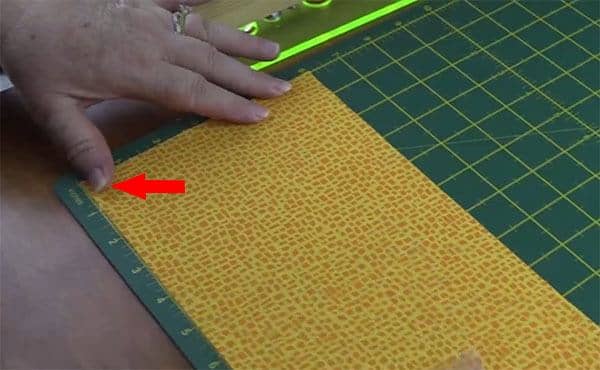
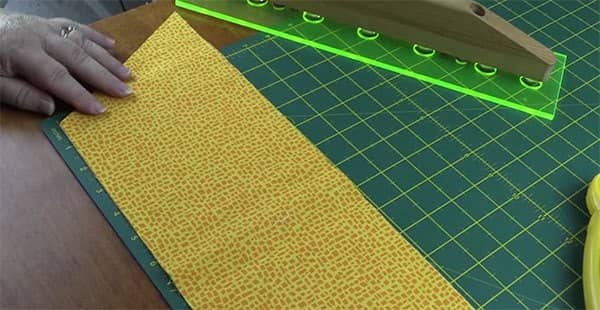
- Turn your ruler so that the 60º line sits at the bottom edge of your fabric as shown in the image below.
- The left hand side edge of the ruler should line up with the top corner of your fabric.
- At this point, if you cut the fabric, the edge pieces will not be usable as they will not have a seam allowance. So decide now whether you want to use these pieces in your project or not. If you don’t need them, then cut away. However, if you do need them then you will need to add a seam allowance.
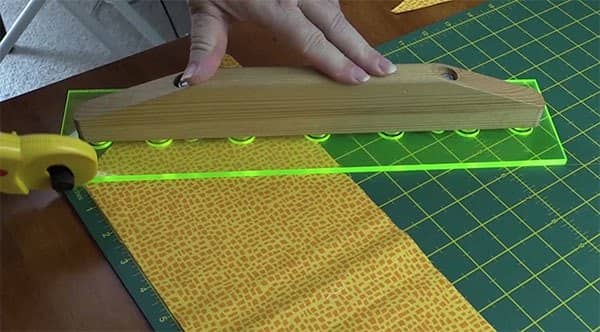
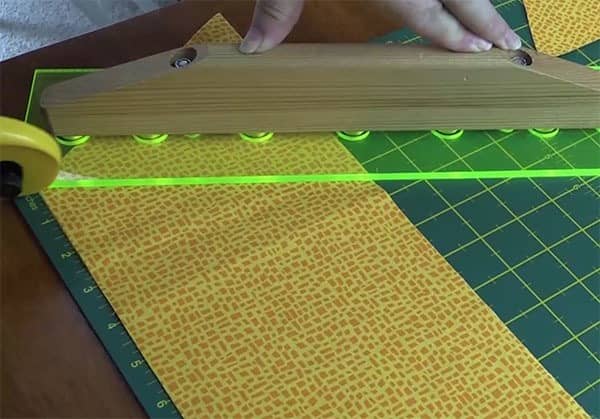
- In order to add a seam allowance, move your ruler a quarter of an inch to the right so that at the top of the fabric you now have an extra quarter of an inch added.
- Now you are ready to cut.
- This will leave you will two edge pieces that you can use in your project.
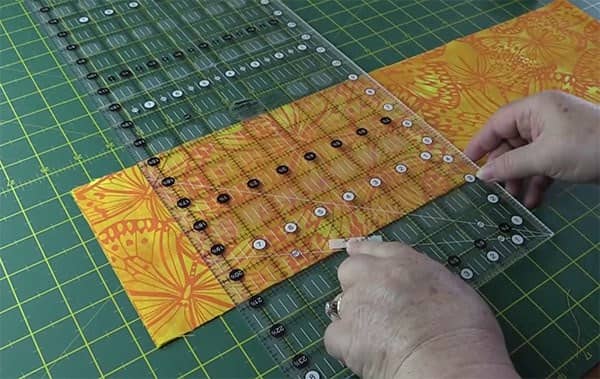
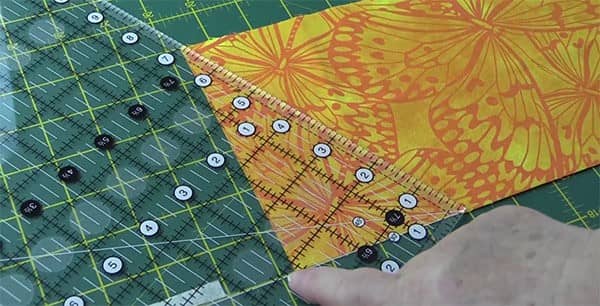
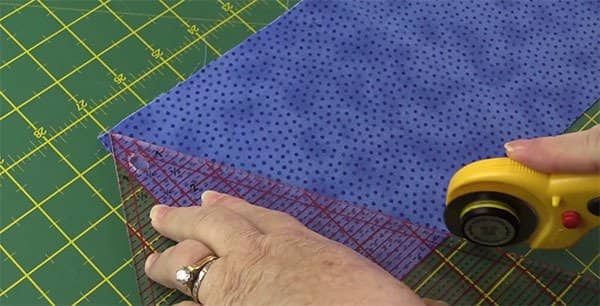
- Turn your ruler so that the 60º line is on the line that you just cut and the point of the ruler sits at the bottom edge of the fabric.
- Now you are ready to cut.
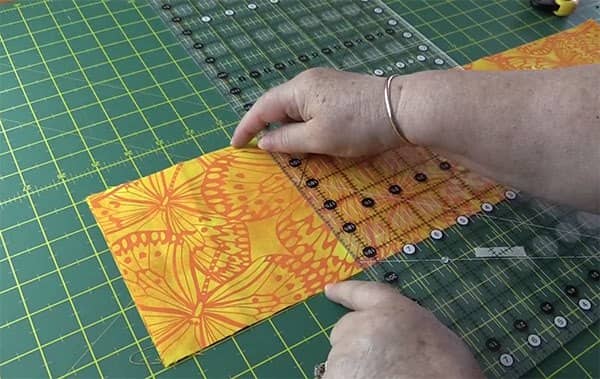
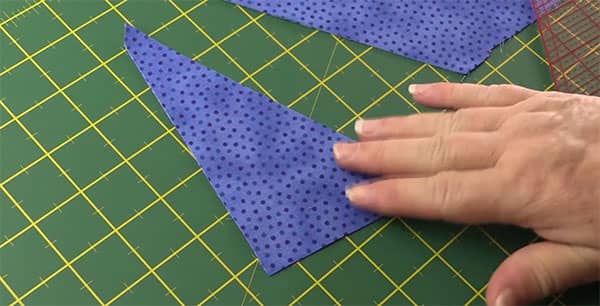
- This will give you two full triangles.
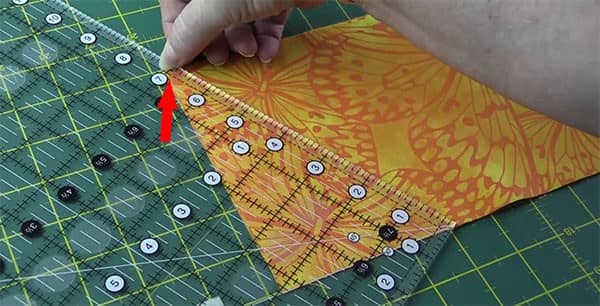
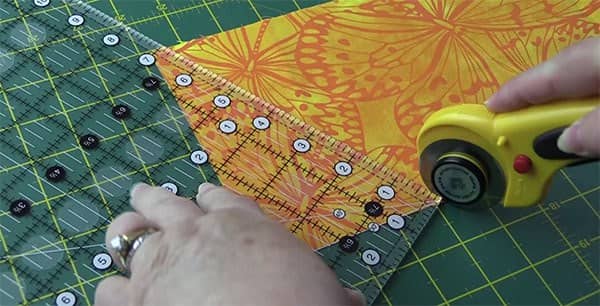
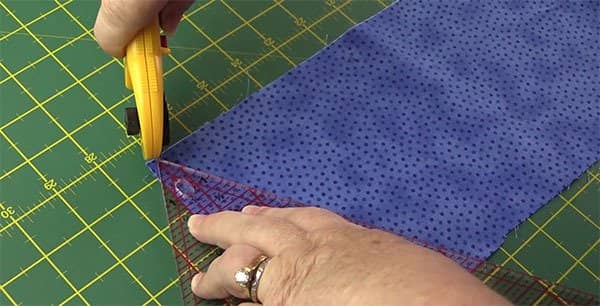
- Now we need to turn the ruler again so that the 60º line is running along the bottom edge of the fabric and the edge of the ruler lines up along the top edge.

- Now cut.
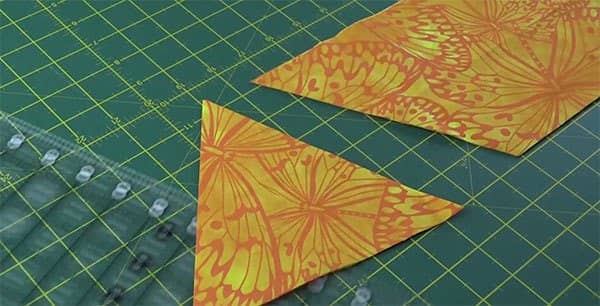
- Continue like this until you have cut the required number of triangles for your project.
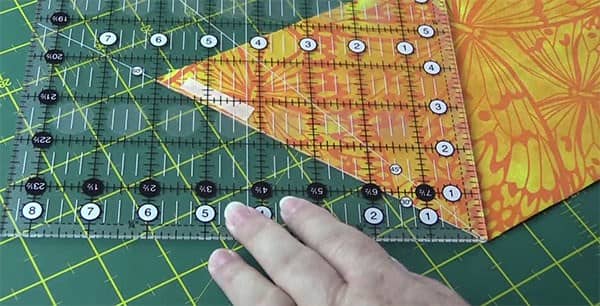
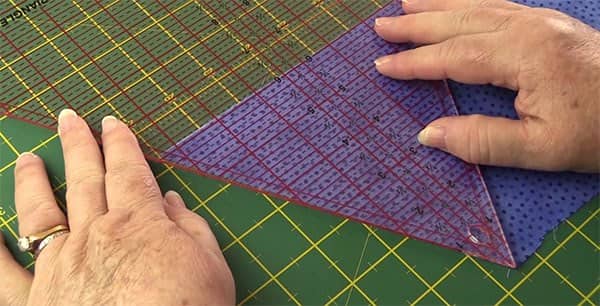
How to Cut Triangles Using a 60º Triangle Ruler
- Cut your fabric to the width of your triangles. For our project, we wanted 6″ triangles so we cut our fabric at 6″ by the width of the fabric.
- Cut off your selvedges.
- Place the fabric so that the selvedge edge is on your left and the folded edge of the fabric is on the right.
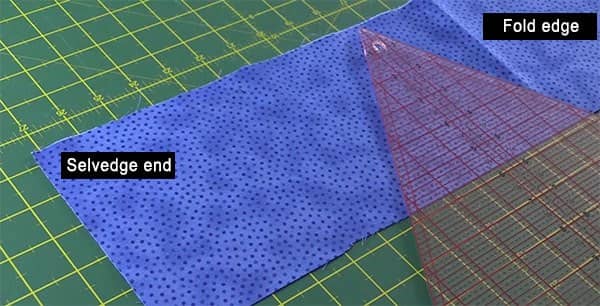
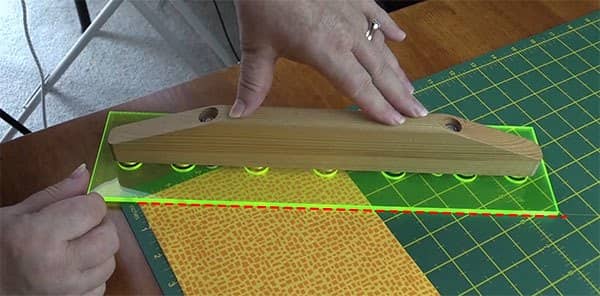
- Place your ruler so that the top of the triangle is at the top edge of the fabric. The bottom edge should line up with the width of your fabric. For example, our fabric is 6″ wide so the 6″ line of the ruler should line up with the bottom of our fabric.
- At this point, if you cut the fabric, the edge pieces will not be usable as they will not have a seam allowance. So decide now whether you want to use these pieces in your project or not. If you don’t need them, then cut away. However, if you do need them then you will need to add a seam allowance.
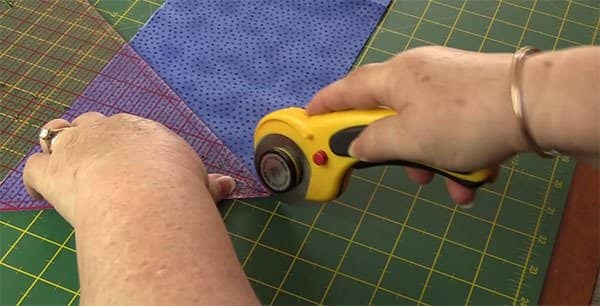
- To add a seam allowance, move the triangle ruler slightly to the right until it lines up with the quarter inch line.
- Now you are ready to cut.
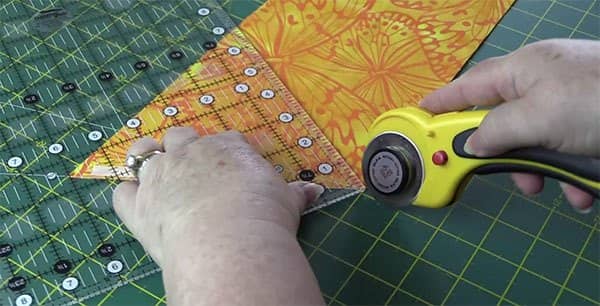
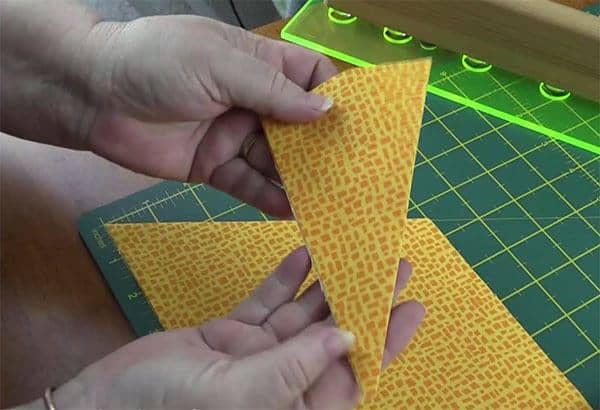
- You will also need to cut the little tab as shown in the image below.
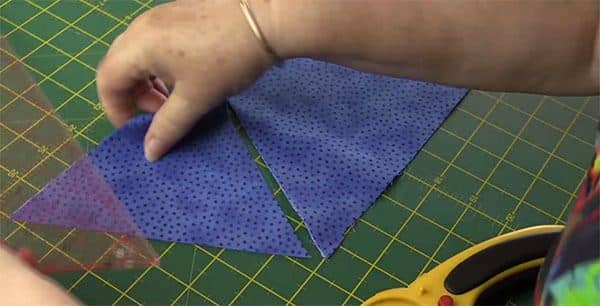
- This will leave you with two half triangles that you can use in your project.
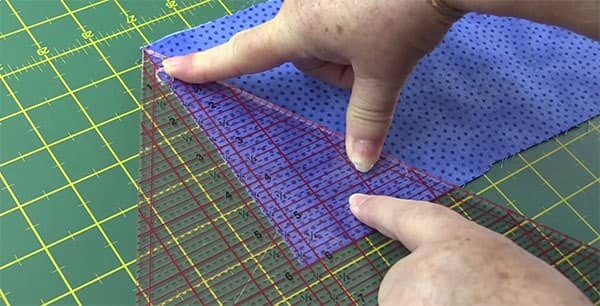
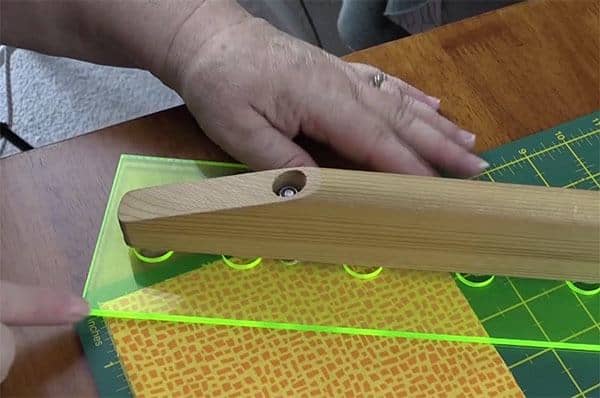
- Now turn your triangle ruler so that the point faces towards you.
- Line up the ruler as shown in the image below.
- Cut along the ruler.
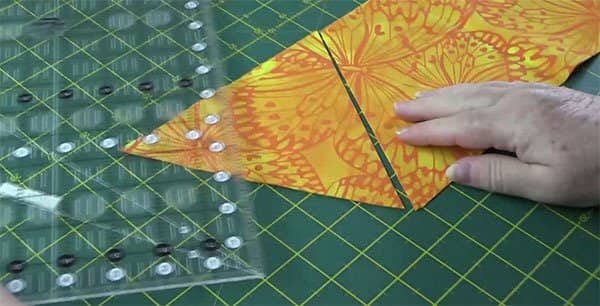
- You will now have two full triangles.
- Turn the ruler so that the point sits at the top of your fabric.
- Cut and you will have another two triangles.
- Continue turning the ruler until you have the required number of triangles for your project.

How to Cut Triangles Using Your Cutting Mat
- You don’t need any fancy rulers to cut triangles. Assuming your cutting mat has a 60º line, you can cut still cut triangles.
- Start by cutting your fabric to the width of your triangles. For our project, we wanted 6″ triangles so we cut our fabric at 6″ by the width of the fabric.
- Cut off your selvedges.
- Place the fabric so that the selvedge edge is on your left and the folded edge of the fabric is on the right.
- Find the 60º line on your cutting mat.

- Place your fabric so that it lines up in the corner of the mat.
- Line up you ruler along the 60º line as shown in the image below.
- At this point, if you cut the fabric, the edge pieces will not be usable as they will not have a seam allowance. So decide now whether you want to use these pieces in your project or not. If you don’t need them, then cut away. However, if you do need them then you will need to add a seam allowance.
- To add a seam allowance, move the fabric a quarter of an inch to the left.
- Line up your ruler again along that 60º line. (Ensure that you don’t place it on the point of the fabric as you want to leave that little extra for the seam allowance.)
- Now you are ready to cut.

- You will now have two half triangles that you can use in your project.
- Now grab the top edge of the fabric and flip it over towards you.
- Line up the fabric to the corner of the mat as shown in the image below.
- Line up your ruler on the 60º line and cut.
- This will give you two full triangles.
- Flip the fabric again towards you.
- Line it up again with the corner of the mat.
- Line up your ruler with the 60º line and cut.
- Continue to flip the fabric each time until you have enough triangles for your project.