Easy Quilted Christmas (or Fall) Table Runner
These table runners make great gifts and are ideal if you need to dress up a Christmas table or Thanksgiving spread. These are quite easy to make so would suit a beginner. As long as you know how to use your sewing machine and sew a straight line, you should be able to tackle this one.
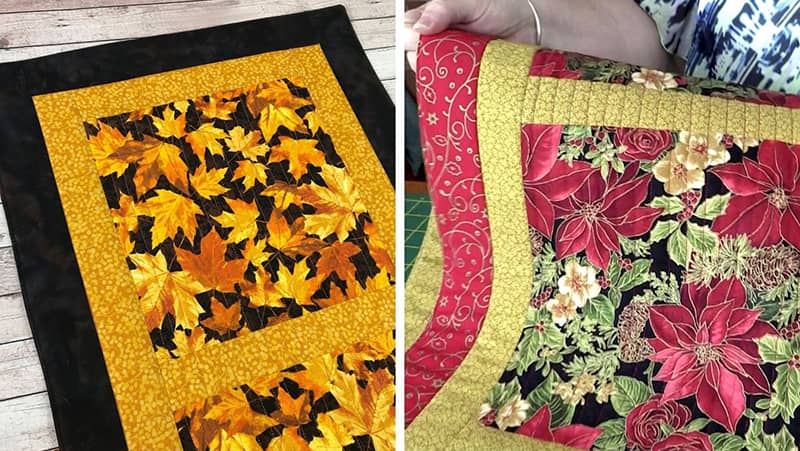
The table runner measures approximately 16½” x 38½” – finished size
What You Need:
Feature Squares: (1/2 yard)
- 3 pcs @ 10″ x 10″
Sashing: (1/4 yard)
- 4 pcs @ 2″ x 10″
- 2 pcs @ 2″ x 35″
Borders: (1/2 yard)
- 2 pcs @ 2½” x 13″
- 2 pcs @ 2½” x 39″
Backing: (1/2 yard)
- 1 pc 39″ x 17″
Batting:
- 1 pc 39″ x 17″
Please Note: In the video I stated that the border pieces measure 39½. They should be 39″. I do apologise for this error.

Watch the video below or scroll down for the step-by-step written instructions
TOOLS USED IN THIS TUTORIAL
You can check the latest prices at Amazon by clicking on the links below:
- Creative Grids Ruler 8½” x 24½”
- Olfa 24″ x 36″ double-sided healing mat
- Olfa 60mm rotary cutter
- Oliso Iron
- Gutermann Sew-All thread
Method:
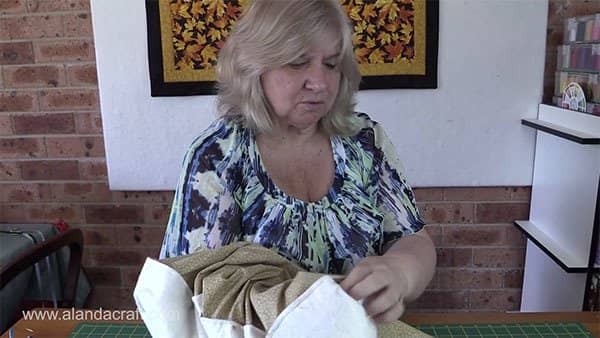
- Lay the 10″ squares on the mat.
- Place the sashing, right sides together, on top of the square and sew down the edge with a ¼” seam.
- Do this with each square.
- On the last square, sew a piece of sashing down two sides.
- Note: We ironed our seams towards the square.
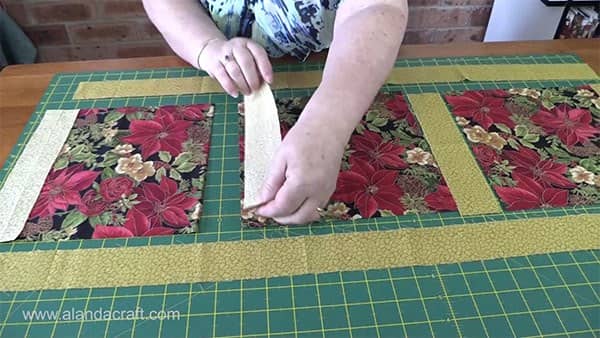
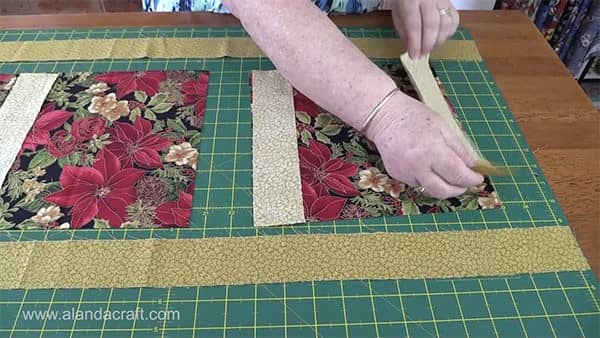
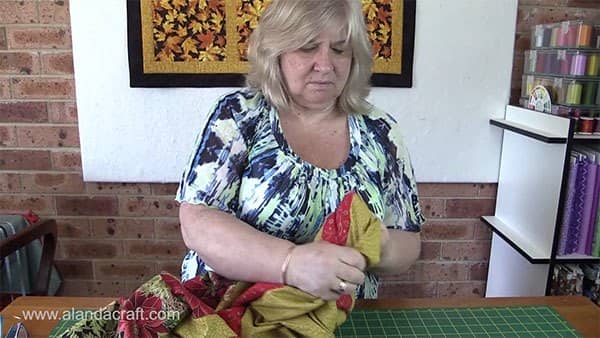
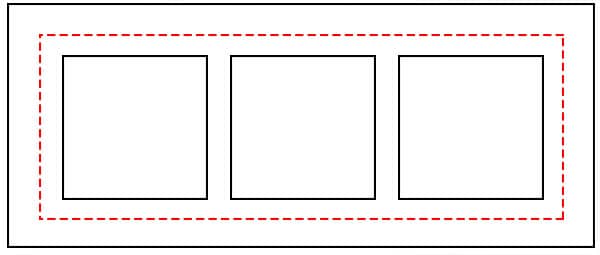
- Now join all three squares together.
- It should look like the image below.
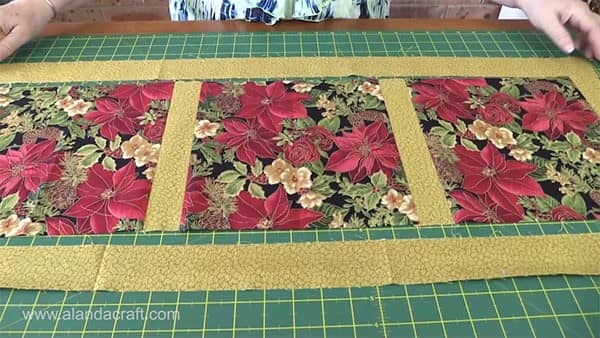
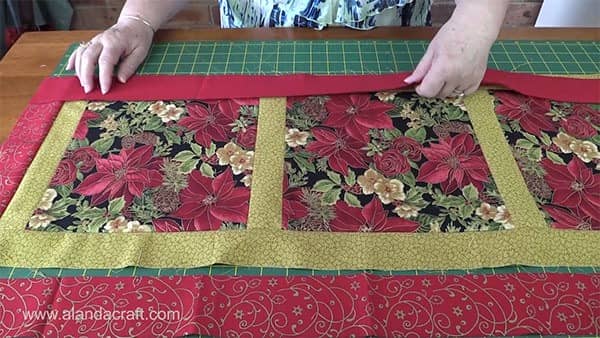
- Attach one of the long strips of sashing to one long edge of the center piece and pin in place.
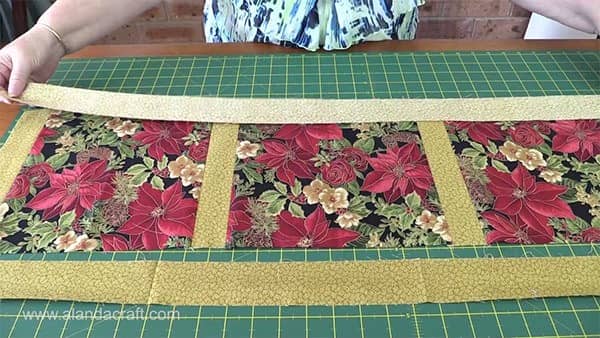
- Repeat with the other edge.
- Sew along each edge with a ¼” seam.
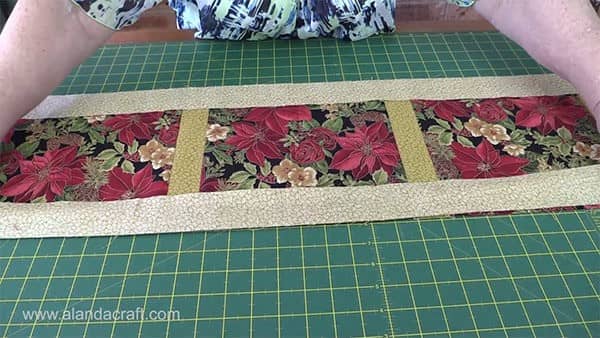
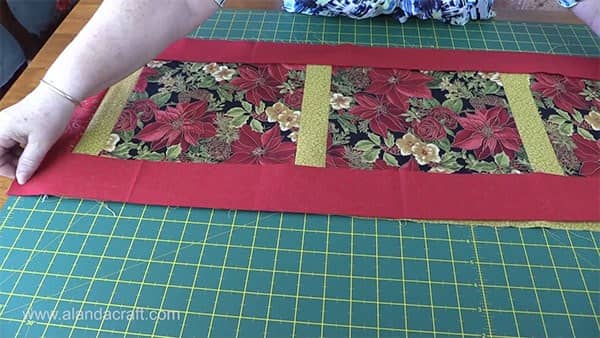
- Take one of the short border pieces and lay it along the short edge of the piece, with right sides together.
- Sew along the edge with a ¼” seam.
- Do the same on the other short edge.
- Sew with a ¼” seam.
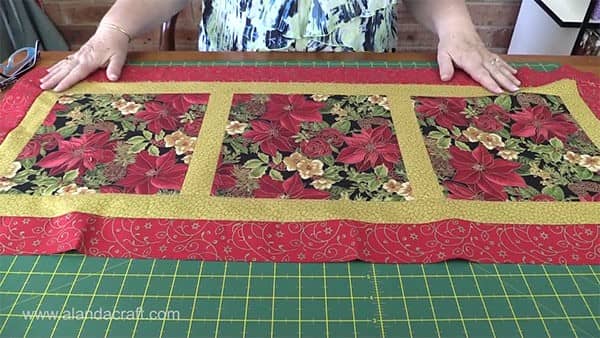
- Take one of the longer pieces of the border, lay it right sides together down the long edge of the centerpiece and pin in place.
- Sew with a ¼” seam.
- Repeat with the other edge.
- This will complete the top of the table runner.
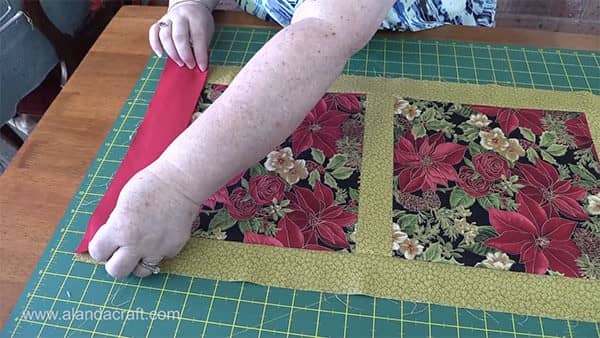
- NOTE: At this point, you could finish this table runner in the traditional way by adding your batting and backing, quilting it and then attaching binding.
However, if you would rather not use a binding, then continue on with the next set of steps.
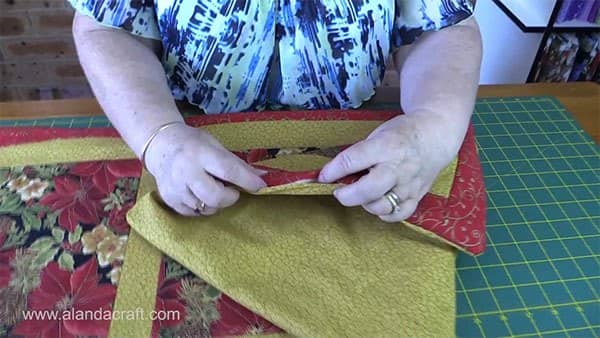
- Now we need to create a quilt sandwich.
- Start by laying the batting on the mat.
- Place the quilt top face up on top of the batting.
- Then place the backing fabric face down on top of the quilt top.
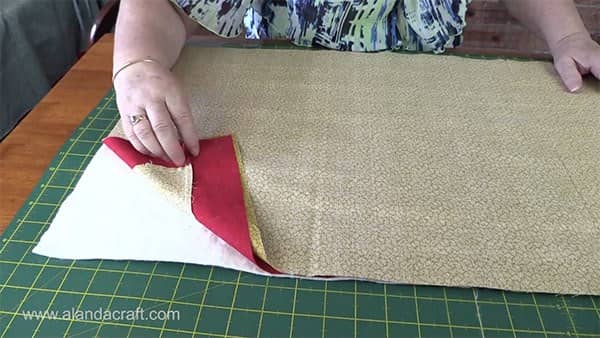
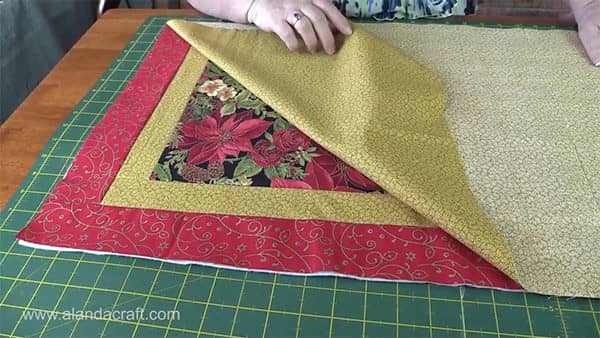
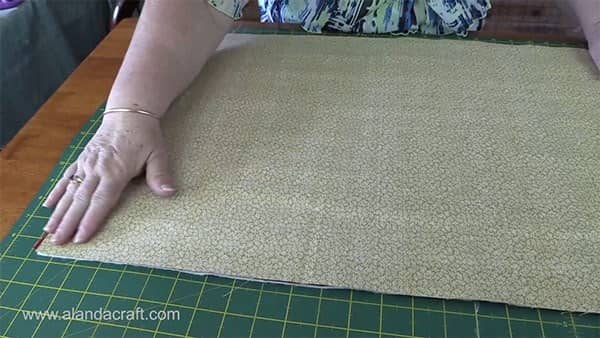
- Pin around the edges to secure everything in place.
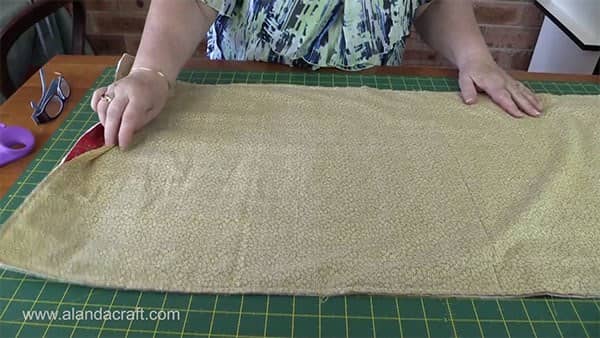
- Ensure you leave an opening of about 5″ at the end of one side of the table runner so that you can turn it through. You can use pins to mark this opening or make a mark with a fabric pen.

- Start at one side of the opening and backstitch.
- Sew around the entire runner until you come to the pin or mark for the other side of the opening. Backstitch.
- The opening should look like this once everything is sewn.
- At this point, we need to trim the corners of the quilt, but it is always a good idea to turn it through first just to check that everything has caught nicely in the seams. Once you are happy with the result, you can turn the runner back through the hole and trim those corners.
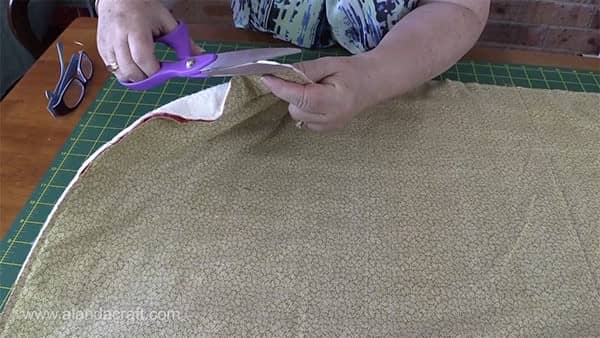
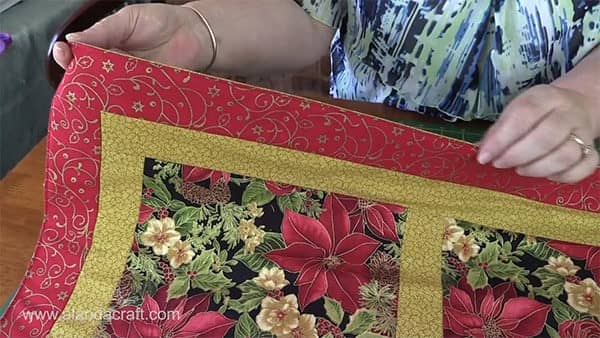
- Turn the table runner through the hole.

- Press the runner, making sure to press in the edges of the opening.
- Topstitch all the way around the runner approx 1/8″ in from the edge.
Now We are Ready to Quilt:
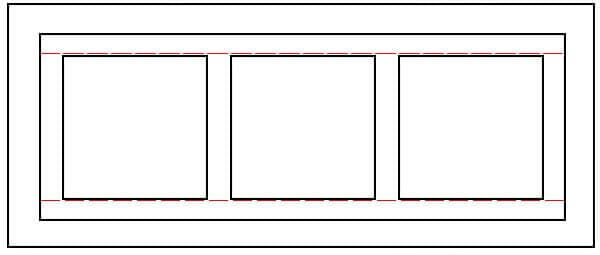
- Starting at one corner between the border and the sashing, do a small backstitch or tie of the threads and stitch in the ditch all around the seam line.
- End with a back stitch or again, tie off the threads.
- Now stitch in the ditch down the two side seams.
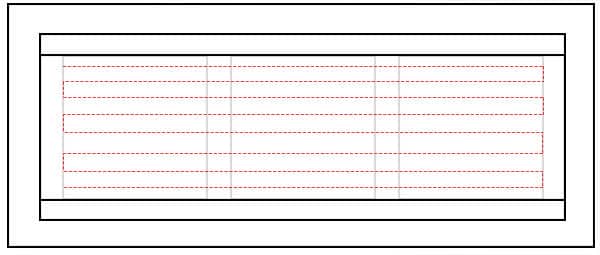
- We are going to simply line quilt the runner through the squares, so decide how far apart you want your lines to be and it is preferable to draw the lines on the runner.
- Start in the top of one square and stitch down to the end of the last square.
- Leave your needle in the down position and pivot the runner as you get to the end of each line.
- Continue doing this until you have all your lines sewn.
- End with a backstitch or tie off your threads.
- Give the table runner a good press and it is ready.