Fabric Journal, Book Cover Tutorial
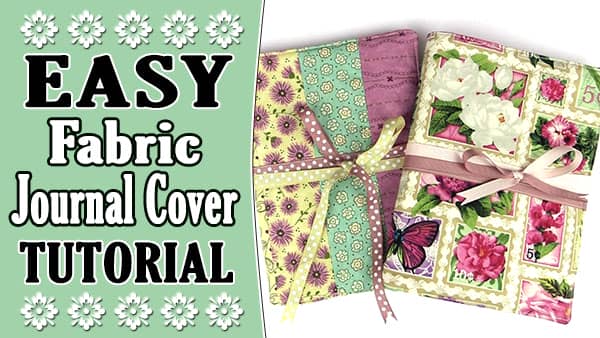
These covers are so handy for keeping your journals and your favorite soft covered books nice and clean.
The instructions are suitable for any sized journal or book.
Watch the video tutorial below or scroll down for the written instructions
What You Need.
- Journal or book – at least one cover needs to be flexible. You may have trouble trying to put a hard covered book into the cover.
- Tape Measure
- Batting
- Fabric for Lining
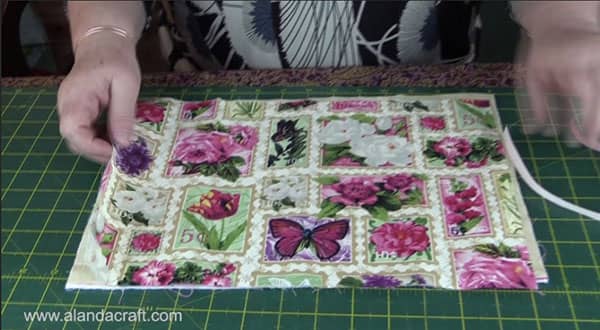
- Fabric for Cover
- Fabric for Flaps
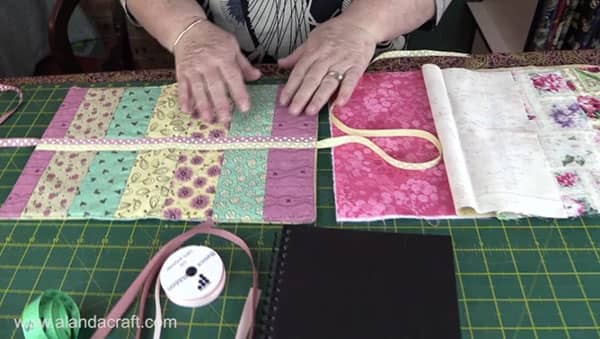
- Ribbon – two lengths. Cut one piece of ribbon at approx 32″ and one piece at approx 39″. I used contrasting ribbons that were 3/8″ in width.
- Measure the journal from the edge of one cover, right around the spine of the journal and ending at the edfe of the other cover.
- Write this measurement down and add 1″ to the measurement.
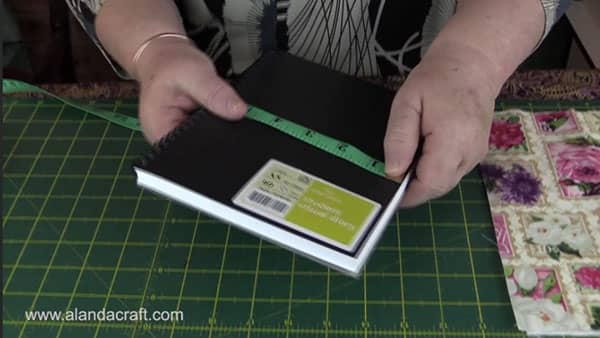
- My cover measures 12 7/8″ so I will add an inch and my material will measure 13 7/8″.
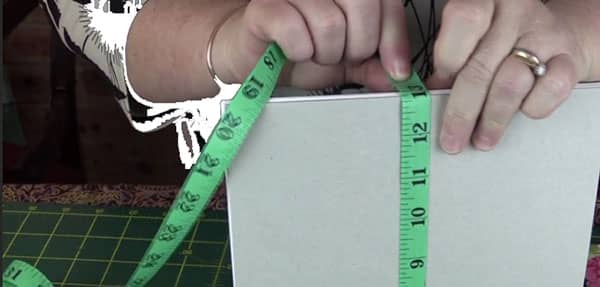
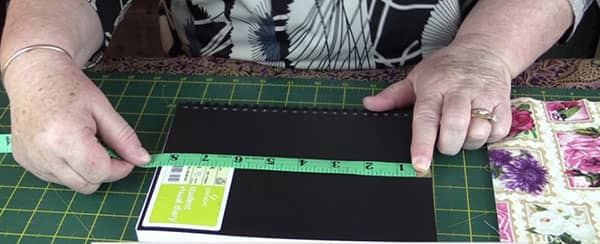
- Measure the cover from the top edge to the bottom edge.
- Write this measurement down and add 1″ to the measurement.
- My cover measure 8 3/8″ so I will add an inch and my material will measure 9 3/8″
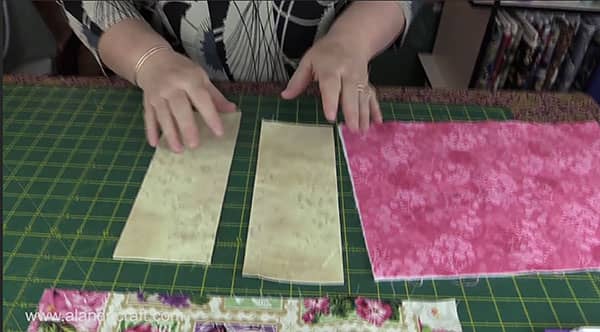
- Cut your fabric for the front, lining, the flaps and the batting to the measurements you have written down.
- I have cut all my pieces to 13 7/8″ x 9 3/8″.
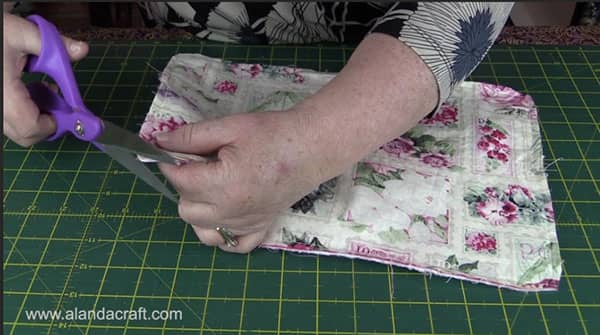
- Take the fabric for the flaps and cut in half.
- Fold each piece in half and press.
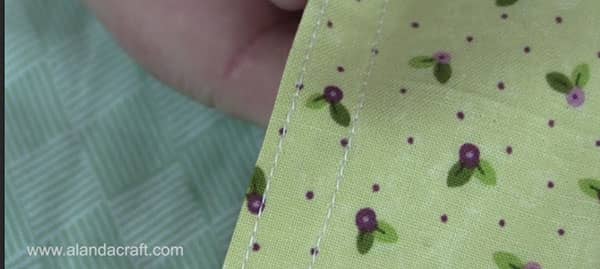
- On the folded edge, sew 1/16″ in from the fold.
- Sew 1/2″ from the line you just sewed. You can make this as big or as small as you like, or you can even omit this step altogether, it is only decorative and it does give a nice finish to the flaps.
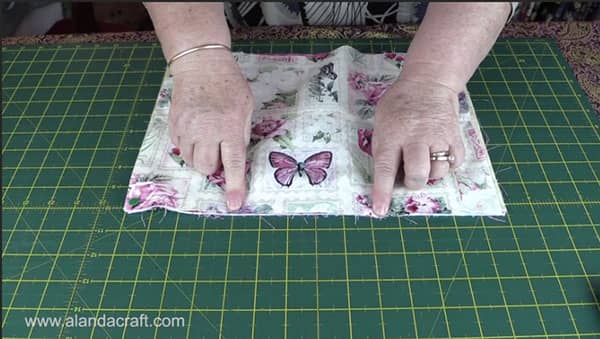
- Take your cover fabric and fold in half across the the width.
- Just finger press.
- Alternatively you can measure the half way mark and draw a line. We simply want the half way mark so that we can line our ribbons up along this line.
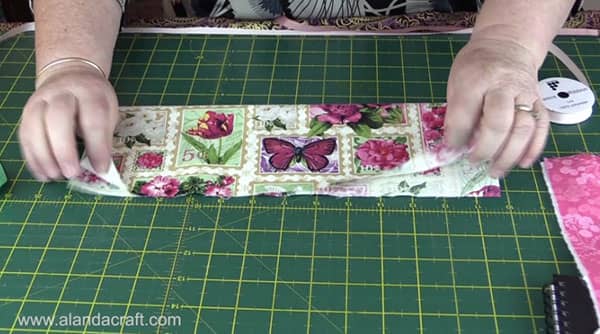
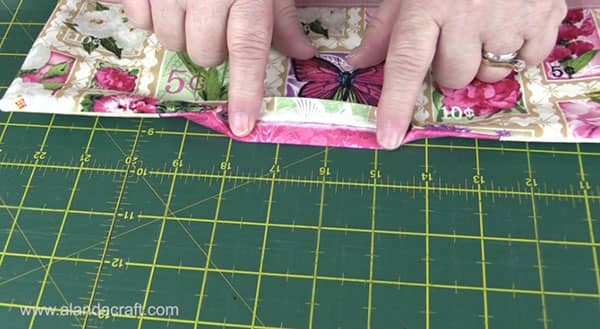
- Line up one piece of ribbon with one edge of the fabric
- Lay it along the line and pin.
- Sew the ribbon onto the fabric, just in from the edge, along both sides.
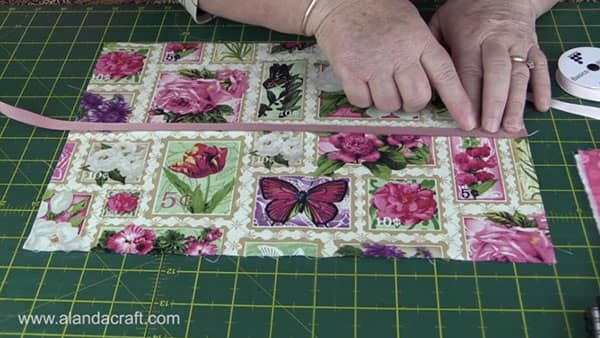
- Lay the second piece of ribbon along the line
- Sew the ribbon onto the fabric, just in from the edge, along both sides.
- Press.
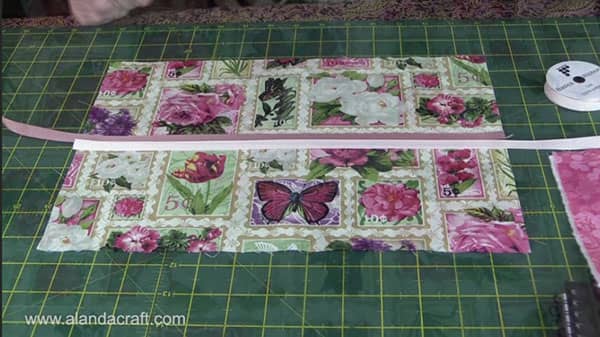
- Press the ribbons back over themselves and pin. This is just to make sure the ribbons stay lined up and don’t move while we assemble the piece.
- Don’t pin too close to the edge.
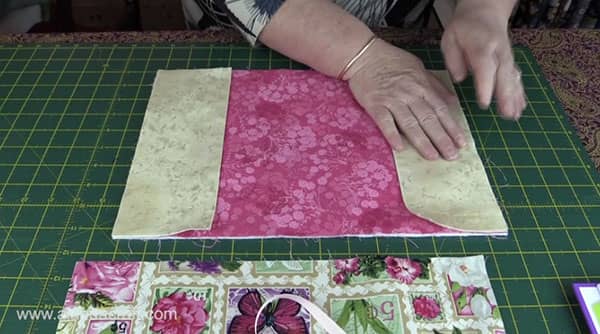
- Lay the batting on the table.
- Lay the lining, right side UP, on top of the batting.
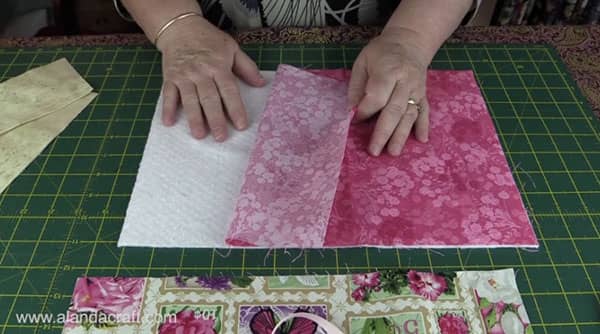
- Lay the flaps on each side making sure that the open pieces are facing out to the edge. We want the folded edge facing into the centre of the piece.
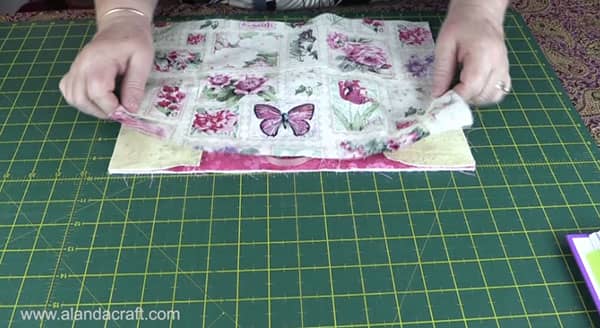
- Lay the cover piece on top, right side DOWN, making sure the ribbons are gathered into the centre well away from the edges.
- Pin everything in place making sure everything is even around the edges, and that you catch in the edges of flap pieces.
- Sew around the edge with a 1/4″ seam leaving a gap of approx. 4″ on the bottom edge. This is so we can turn the cover through to the right side once it has been sewn.
- Turn the cover through just to make sure that all the fabric and that none of the ribbon has been caught into the seams.
- Turn the cover back to the wrong side and trim the corners. Also trim away some of the bulk at the corners.
- Turn the cover back to the right side.
- Push out the corners.
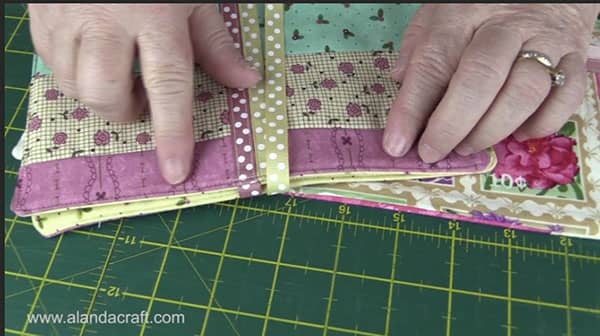
- Turn under the seam allowance at the opening and press everything, taking care with the opening to make sure it’s pressed down nice and neat.
- Topstitch 1/16″ around the outer edge to close the opening and to finish off the cover.
- If you have too much bulk in the corners, just lift the foot a little at the start of the corner until the machine gets going.
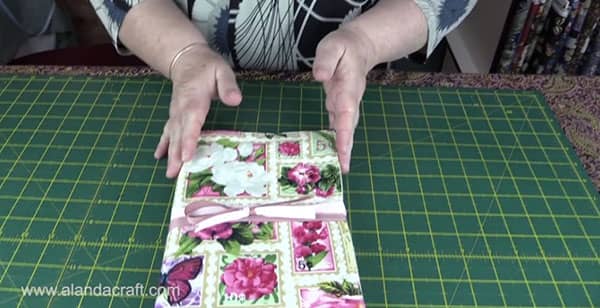
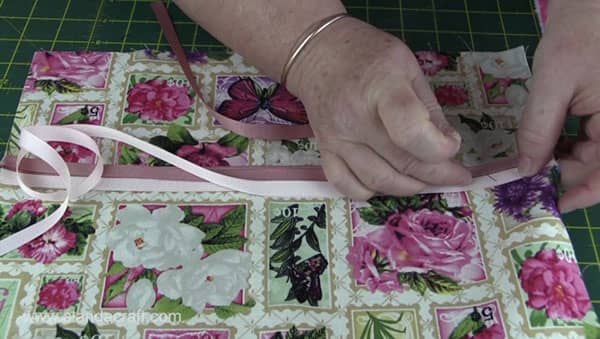
- Put your journal into the cover and decide how you want the ribbons to look.
- You can cut them short and just tie them at the edges, Or you can wrap them around the book, bringing both ribbons to the front, cutting them to the same length and then cutting a V in the edge of each ribbon to finish it off.