How to Create Pattern Stencils in Canvas Workspace (ScanNCut)
Many moons ago, we created a video on how to cut stencils with the ScanNCut. However, we never actually showed you how to create those stencils. One of our YouTube subscribers mentioned that they would like to see how to do this, so here we are with a tutorial on how to create your own stencils using Canvas Workspace..
So let’s get started…and by the way, this is pretty simple, so you could potentially end up with a ton of different types of stencils to add to your collection.
Watch the video below or scroll down for written instructions
(Can’t see the video? You may have an ad blocker installed)
Lets start by selecting the SHAPES menu from the left hand menu options.
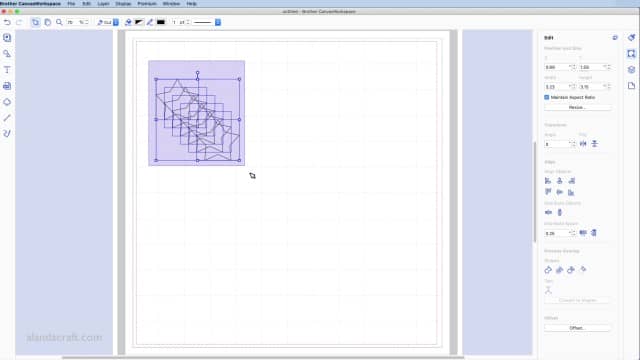
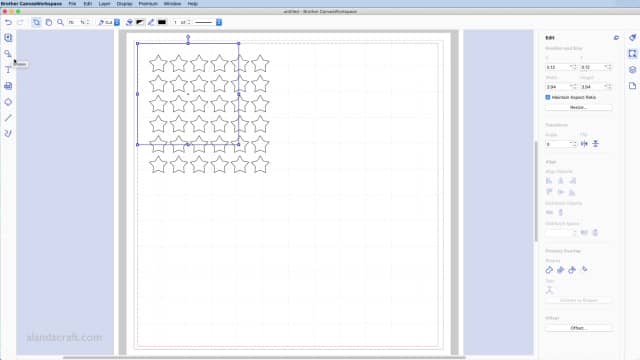
Click on the star shape.
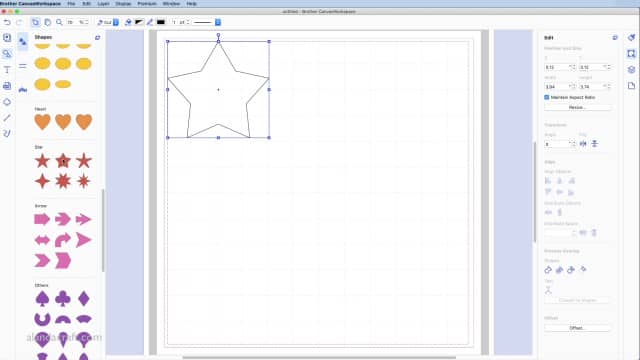
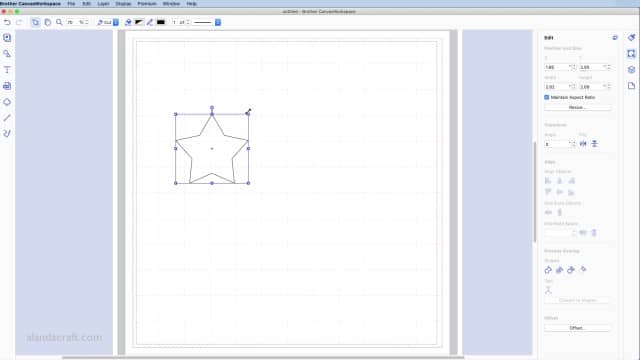
Resize the star to make it smaller by clicking and dragging from the corner of the outline around the star shape.
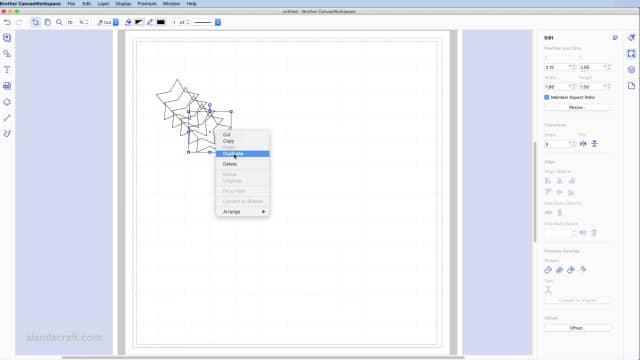
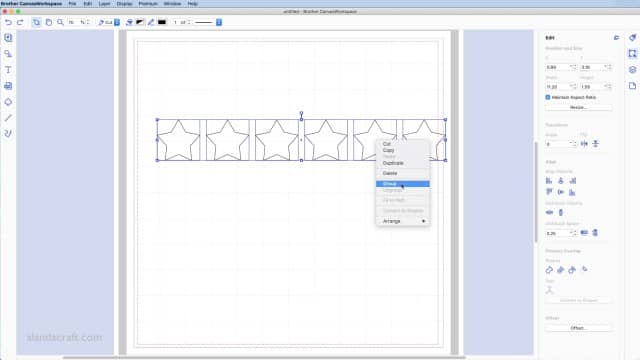
Duplicate the star 6 times by right-clicking on the star and selecting the DUPLICATE option.
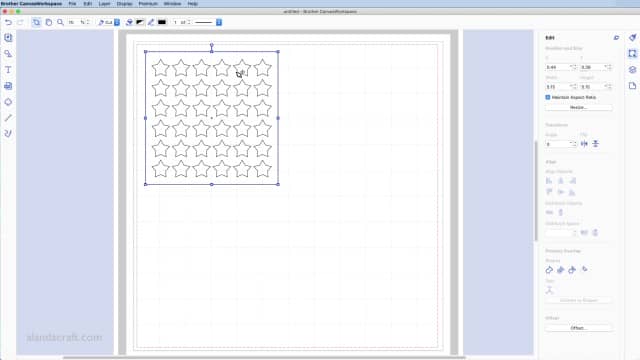
Select all of the stars by clicking and dragging with your mouse over the top of them.
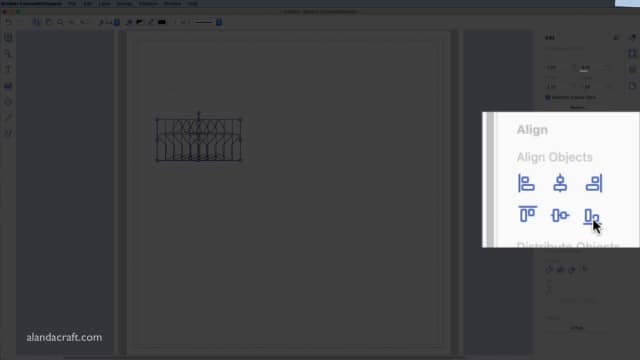
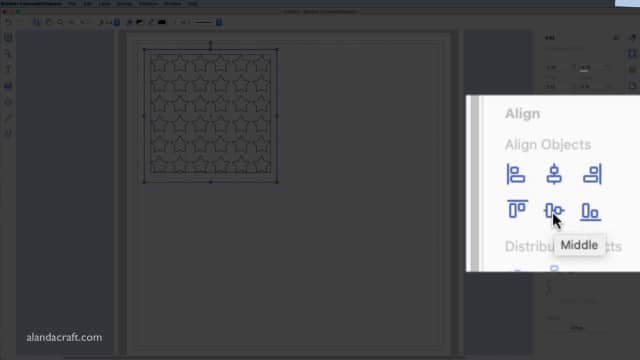
Now we want to align the stars.
While they are all still selected, click on the EDIT menu from the right-hand sidebar.
You will see the ALIGN section in that Edit menu.
Click the ALIGN BOTTOM option as shown in the image below.
The stars are now all aligned.
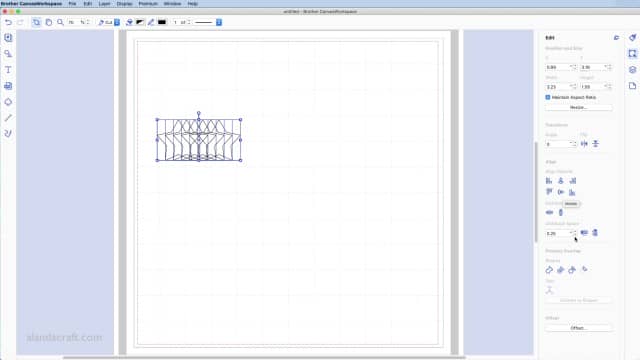
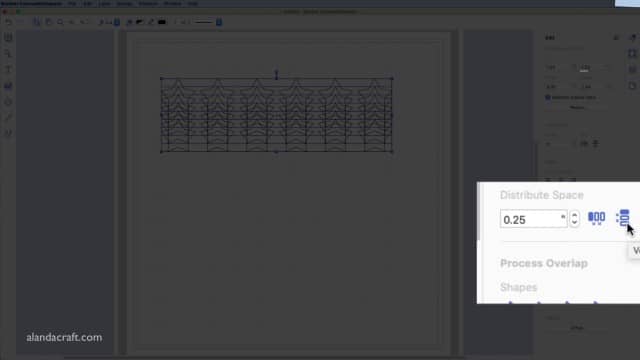
While the stars are all selected, change the size of the DISTRIBUTE SPACE section to .25 and click the HORIZONTAL option.
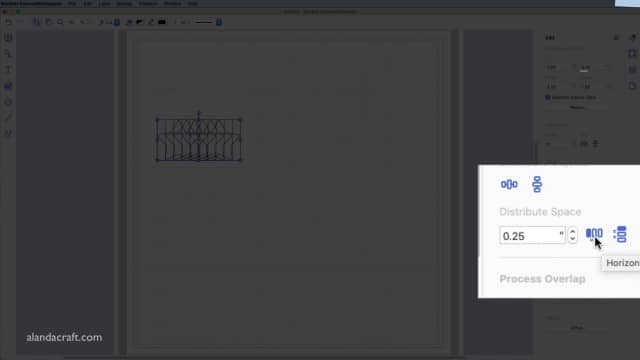
The stars are now spaced evenly.
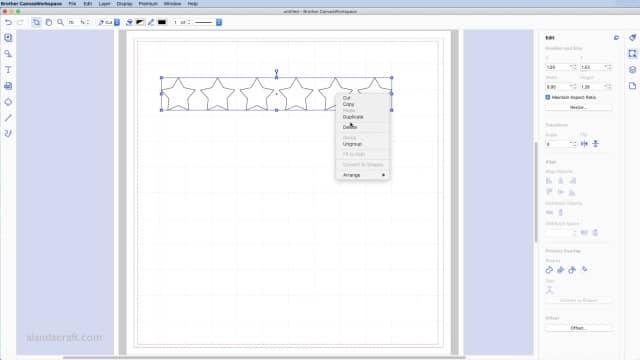
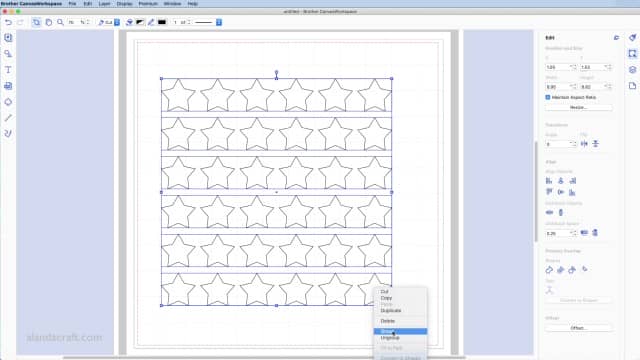
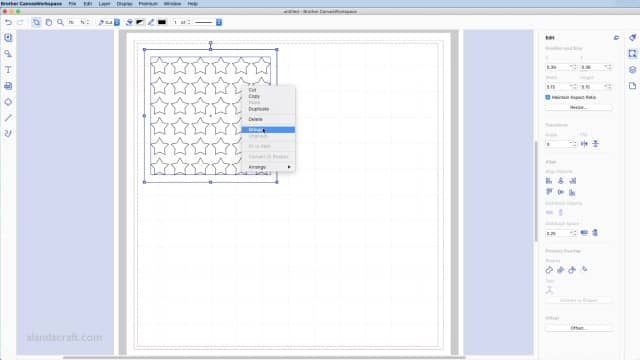
While all of the stars are selected, right-click and select GROUP.
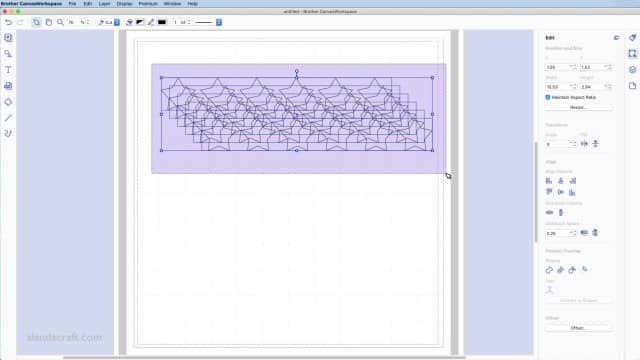
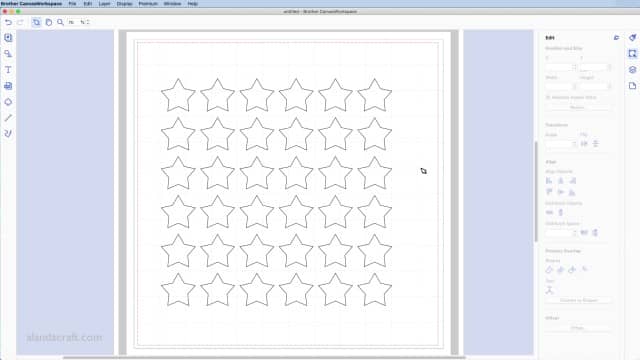
Now click on that group of stars to select it and then right-click and select DUPLICATE. Keep doing this until you end up with 6 rows of stars.
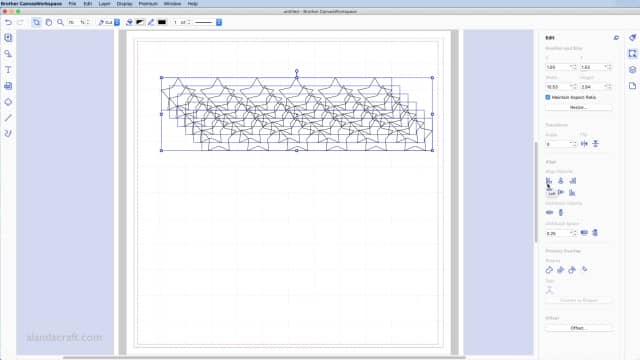
Click and drag with your mouse to select all the stars.
Then click on ALIGN LEFT from the Align menu.
All of stars are now aligned.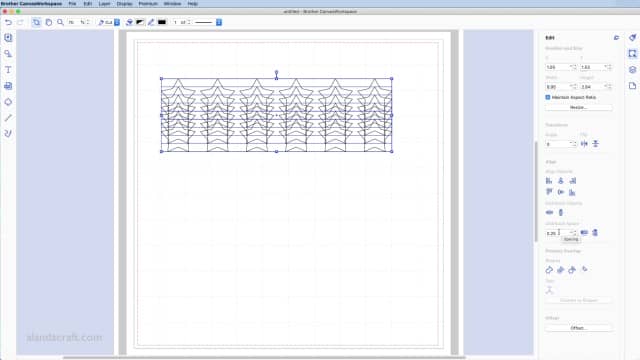
While the stars are still selected, click the Vertical option from the Distribute Space section.
The stars should now be all aligned.
Select them all and right-click and select GROUP.
You can now add a square border around the stencil. To do this, select the square shape from the SHAPES menu.
Drag the square from the corner to surround the stars.
Select both the square and the star shapes and select CENTER and then MIDDLE from the Align menu.
While both the stars and the square is selected, right-click and select GROUP.
Your stencil is now complete.
Watch the video above for another version of a stencil.