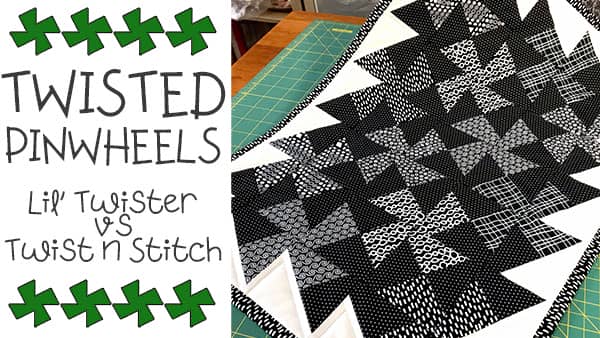
Twisted Pinwheels – Lil’ Twister vs Twist n Stitch Ruler Review
 I’ve been wanting to try out a twisted pinwheel for some time now ever since I saw a video on YouTube for the Twist n Stitch Ruler by June Tailor.
That was some time back and funnily enough I had forgotten that I even purchased the ruler. It had been hanging with all of the other rulers we have purchased (but haven’t tried yet).
It was only when I purchased the Lil’ Twister ruler (which does the same job, but in a different way) that I remembered that I already had the June Tailor version.
So since we had the two different tools to play with, we decided to do a comparison to see which one we preferred.
Watch these two tools in action in the video below or scroll down for written instructions
Where Can You Buy These?
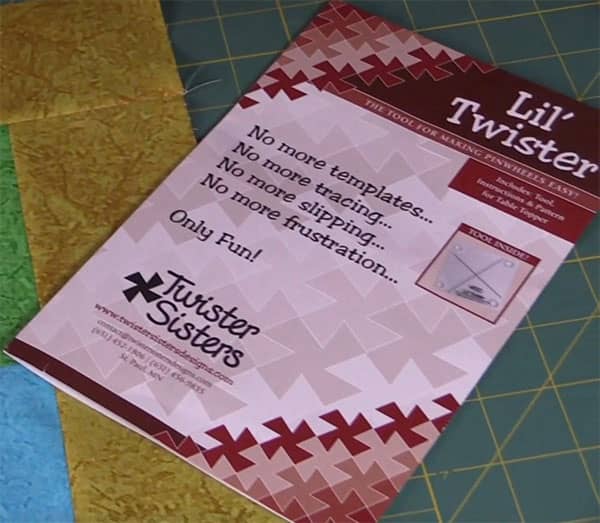
The Lil’ Twister
Twist n Stitch
How to Create a Twisted Pinwheel
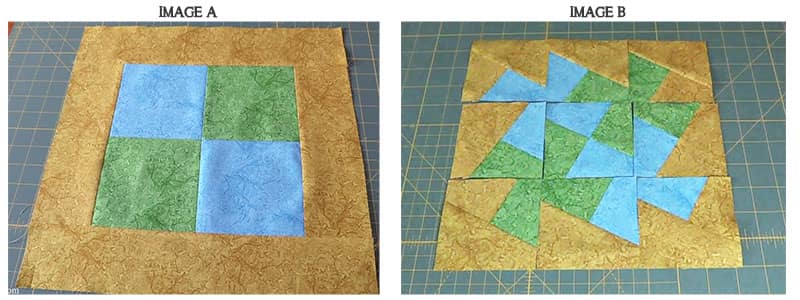
For either of these ruler templates to work, you first have to create a gridded pattern of some sort. The pattern you create will determine the result you achieve.
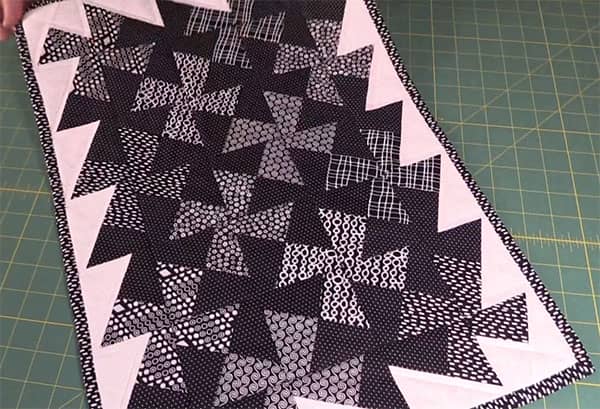
So for example, if you sew up the pattern as shown in Image A below, and then use either the Lil’ Twister or the Twist n Stitch tool, you will end up with the result as shown in Image B.
In this case, we used 5″ squares and a 3″ border.
You can create all sorts of patterns but since we were starting out, we decided to stick with the pattern that came included with the Lil’ Twister which was for a table topper.
Once we had sewn the pieces together, we started by testing out the Lil’ Twister ruler.
Twister Sister Ruler
This ruler comes in a variety of sizes that work with squares of fabric ranging from 2 ½” through to 10″. We had purchased the Lil’ Twister version which creates 3½” blocks, and we bought that size because it works with 5″ squares of fabric and we use a lot of charm squares.
You can buy the Lil’ Twister ruler from Amazon here.
When you purchase the ruler, you also get instructions on how to use it and a free pattern.
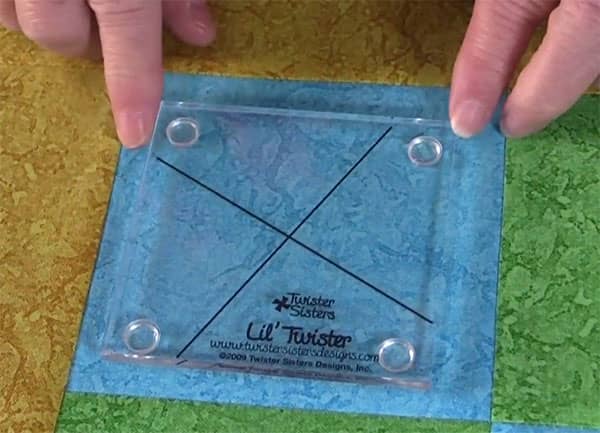
The ruler comes with soft padded feet which helps it to stay in place while you are cutting and a crosshair pattern printed onto the ruler to help show you where to place the ruler. Once placed, you just cut around all sides to form the block.
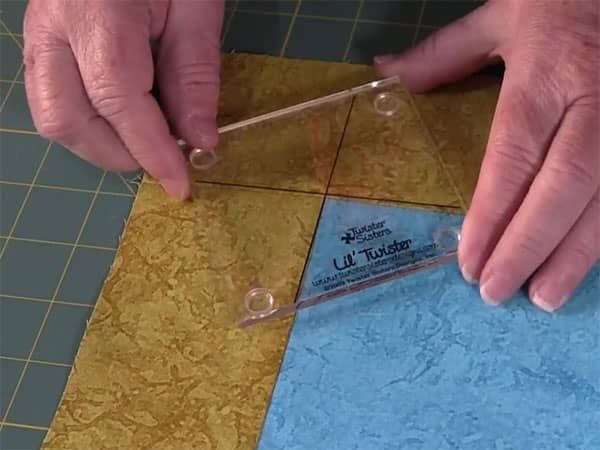
It was super easy to position the ruler in place onto the fabric. The difficult part was cutting around all 4 edges. You can see this in the image below as I try to cut the third side. (Watch the video above to see this in action.)
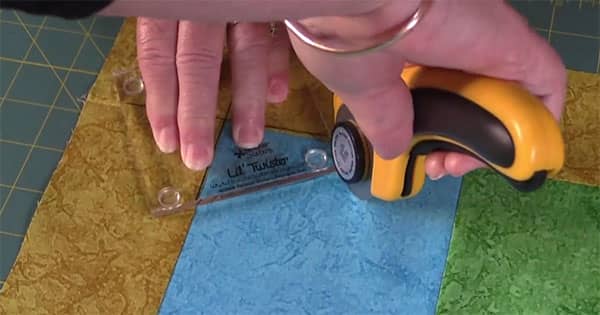
It took a bit of practice but after a while, we both got the hang of it and it started to become a lot easier. We had no problem with slipping as the four little feet kept it in place quite well.
Twist n Stitch
The second tool we tried was the Twist n Stitch ruler by June Tailor. We are both fans of June Tailor rulers and we are familiar with how to use slotted rulers work. It’s very easy
You can buy the Twist n Stitch from Amazon here.
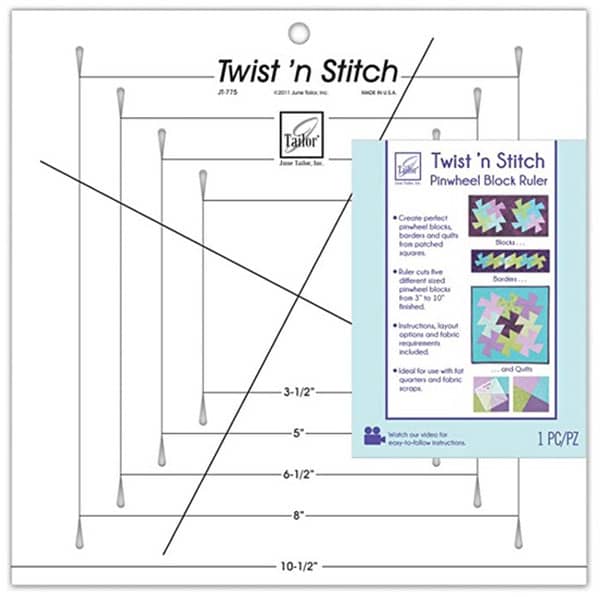 Unlike the Twister Sister rulers, the Twist n Stitch works with a variety of different sizes from 5″ charm squares all the way up to 13″ squares. So the one tool does it all.
This ruler has a printed cross (like the previous tool) which allows you to line up the ruler on the intersecting seams of your pieced fabric.
Once lined up, you simply insert your rotary cutter into the slotted seam and cut on both sides.
You then turn the ruler and repeat the process to cut the other two sides. (Watch the video above to see this in action.)
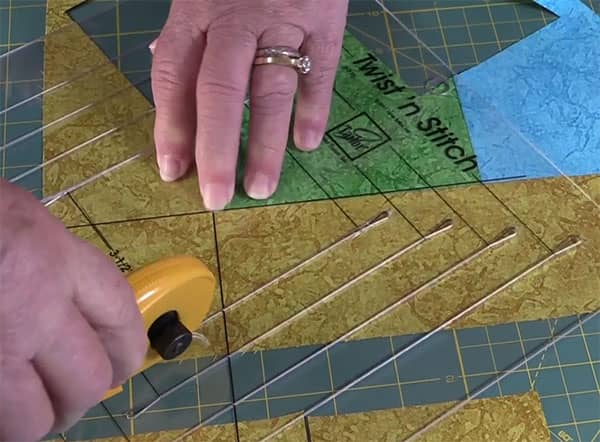
We loved this ruler. It made it so much easier to create the blocks. We did struggle at the start with the ruler getting stuck between the slots. We ran a blade through it a few times to loosen up the slots as they felt a bit tight and from then on it worked really well.
You could also use this ruler to draw the lines on the fabric and then cut around the lines with scissors.
Our Final Verdict
We both agreed that we preferred to use the Twist n Stich ruler. The Lil’ Twister version just felt a bit awkward to use when trying to cut around all four sides. It did get easier the more we used it but even so, the Twist n Stitch just felt a lot easier to use than the Lil’ Twister.
The Twist n Stitch also allowed us to cut all sorts of sizes whereas with the Lil’ Twister we were stuck with only cutting 3½” blocks.
The only drawback we found with the Twist n Stitch is that it is not as sturdy as the Lil’ Twister. We have used June Tailor slotted rulers in the past and continue to use them today as we love how easy they make cutting fabric. However, we do know that they don’t last forever. Over time, they can degrade and it is easy to accidentally cut into the plastic.
So if you want something that is going to last, then go with the Lil’ Twister. If instead, you want something that is easy to use straight out of the box and it will only be used for a few projects, then go with the Twist n Stitch.
Where Can You Buy?
The Lil’ Twister
Twist n Stitch
Our Creations
You can see some of the items we created using these tools.
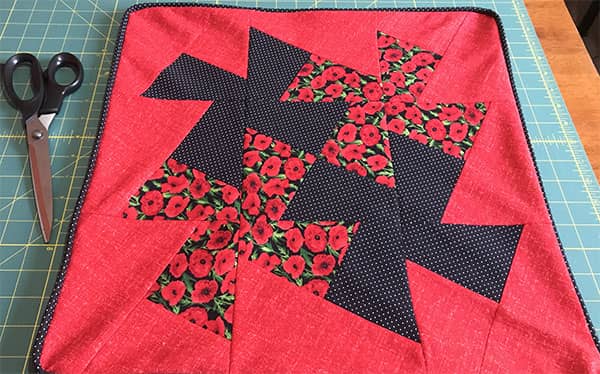
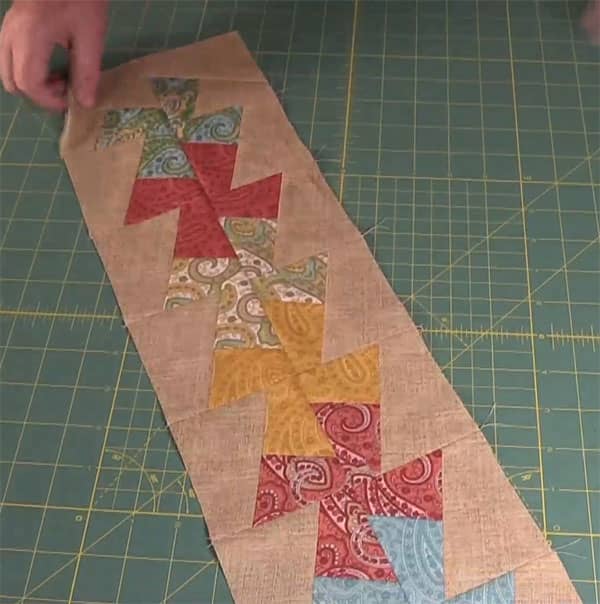
This lovely table runner pattern is included with the Lil’ Twister tool
Pinwheel Cushion – We purchased the pattern at the Twister Sisters website. 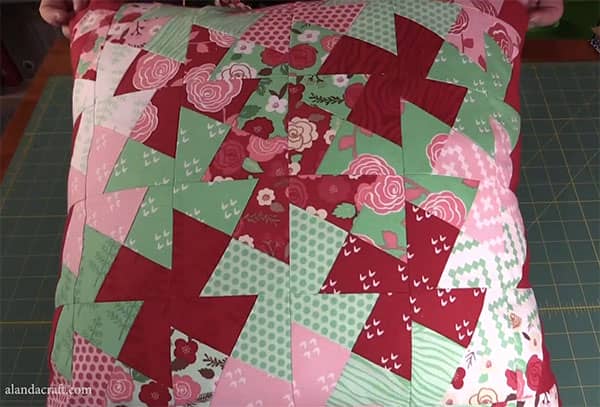
Cushion Cover adapted from the pattern on the table runner pattern on the June Taylor website.