Pollyanna’s Embossing Mat for the ScanNCut – Demonstration and Review
I have done parchment embossing in the past and so I am well aware of how long it takes to create a design. In fact it can take quite a few hours to trace and emboss a pattern. So when we were contacted by Phil who designed the Pollyanna’s Embossing Mat, I knew I had to give it a try.
What I like about it was that it was made for the Brother Scan n Cut (and apparently other cutting machines) and what this means is that the time taken to trace and emboss would be reduced dramatically.
So we purchased the mat and since we would be reviewing it he kindly included the embossing tool and some parchment paper.
We were excited when it arrived and couldn’t wait to put it through its paces. We tried different Draw Pressures in the Scan n Cut from 0 through to 6 and all worked quite well. The pressure you use will depend on the effect you want to achieve.
Watch the video below to see how to use the embossing mat or scroll down for more information
We also like the idea of the embossing tool that Phil has designed, as it fits neatly into the drawing pen holder, making it super simple to set up. You can also use your own embossing tool with the Universal Pen Holder.
How to use the Embossing mat
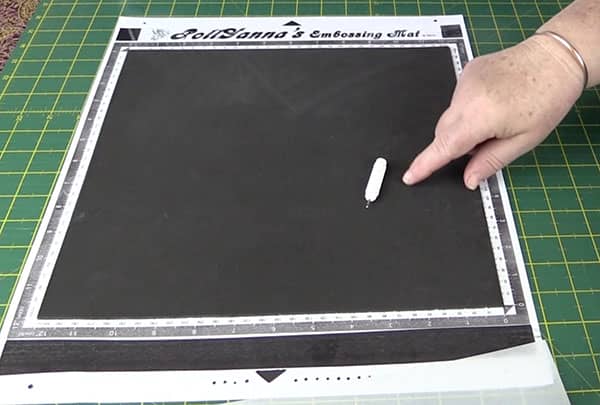
- Attach your parchment paper to the embossing mat with masking tape. Only attach the paper to the mat on 3 sides – see video for more details
- Insert the embossing too into the drawing pen holder or the Universal Pen Holder if you are using your own embossing too.
- Select your design
- Load the mat into the ScanNCut
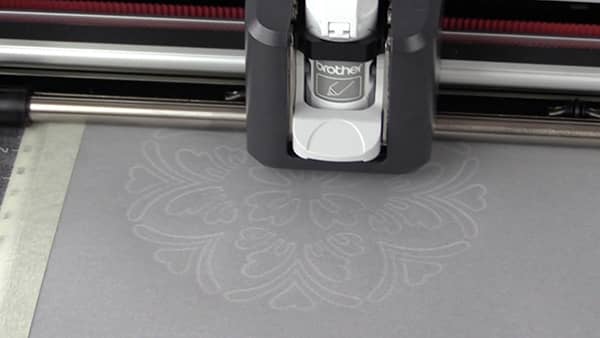
- Select the draw function
The first run-through will trace the design onto the parchment paper.
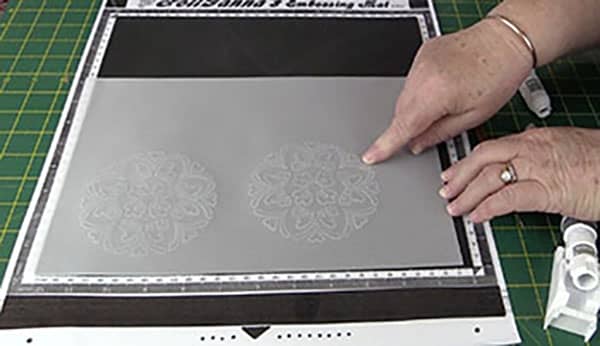
You can unload the mat and remove the parchment paper if you want to do your own embossing at this point. However, if like me, you prefer to let the ScanNCut do the embossing as well, then simply leave the mat in the machine after the first run and let the machine do a second run to deepen the effect.
Experiment with the draw pressures to get the effect you are looking for. I had so much fun playing with this.
Overall, we are really delighted with Pollyanna’s Embossing Mat. We know Brother has just released their own embossing kit but after seeing the long-winded process that is needed to emboss with their kit, I have to say that the Pollyanna is a far simpler method. I must also say though that the Brother Embossing Kit can also be used on thin metal. But if you are looking for a mat that will quickly and easily save you hours when embossing parchment, then we recommend the Pollyanna’s Embossing Mat.
WHERE CAN YOU PURCHASE THE EMBOSSING MAT?
UPDATE: It looks like the makers of the embossing mat have shut down their store so it is no longer available. You can view their Facebook page here for more info: https://www.facebook.com/pollyannasparchment/