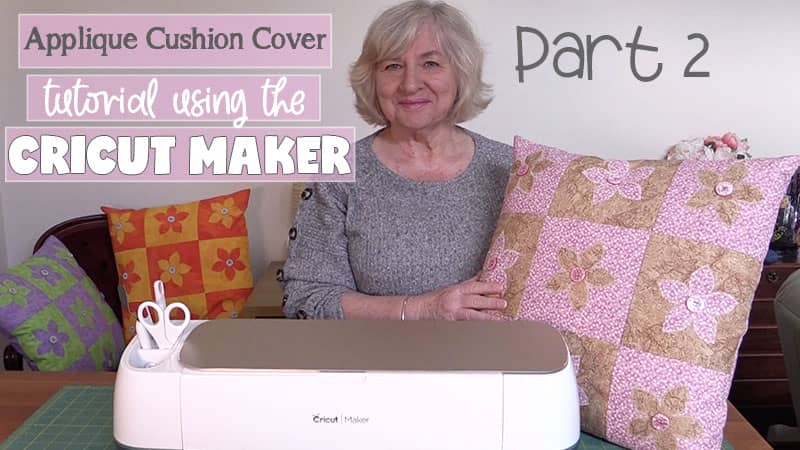
Cricut Maker Applique Cushion Cover Tutorial – Part 2: Creating the Zippered Cushion Cover
In Part 1 of this tutorial, we showed you how to cut the flower applique pieces using the Cricut Maker. In Part 2, we go on to show you how to complete the cushion cover.
Watch the video below or scroll down for written instructions
Part 2 – Completing the Cushion Cover
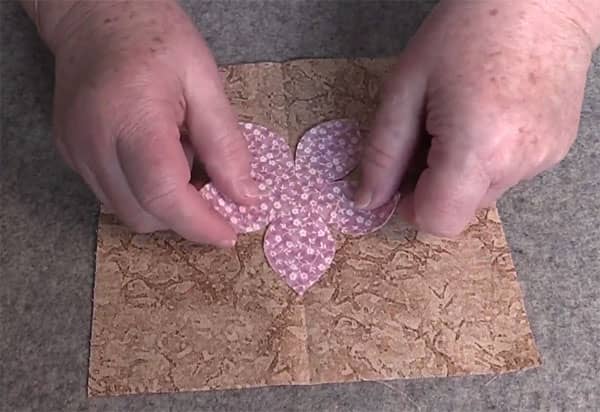
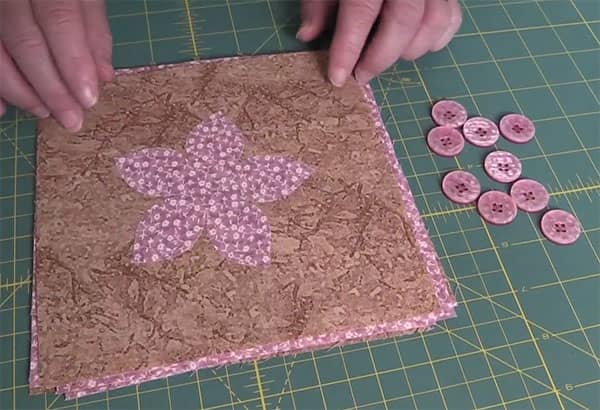
- Take each of the applique flower pieces (you created in Part 1) and place on a contrasting 7″ x 7″ fabric square.
- To better help you center the flowers, fold the fabric in half on both sides to a crosshair in the middle of the fabric.
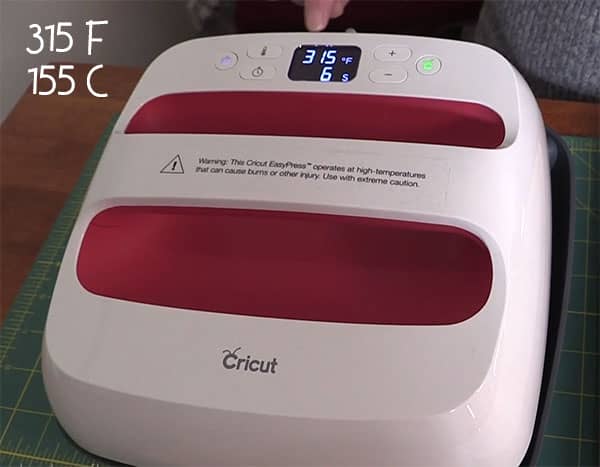
- Using an iron, or in our case a Cricut EasyPress 2, iron the flowers to each square.
- Our settings for the EasyPress are 155C (315F) for 6 seconds.)
- The Cricut EasyPress 2 makes adhering vinyl to your projects very easy.
- Now that all of the flowers have adhered to the squares, you will need to decide whether you will be using buttons or cutting circles to use as the middle of your flowers.
- If you are using circles, cut them now with your Cricut Maker and adhere them on.
- If you are using buttons, continue on. We will be adding them later (although you could potentially sew them on now).
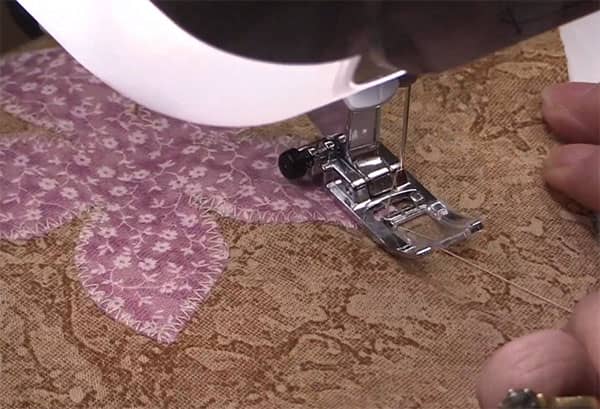
- It’s time to sew around the edges of your applique.
- You can choose a zig-zag stitch, blanket stitch, satin stitch, or even use a straight stitch if you are happy with a raw edge look.
- We went with a zig-zag stitch and our stitch settings were – 3.0mm width and 1.4″ length.
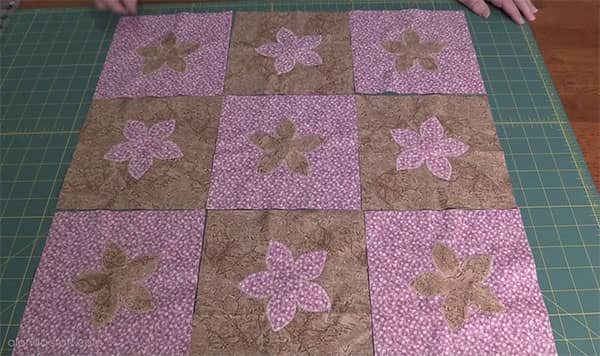
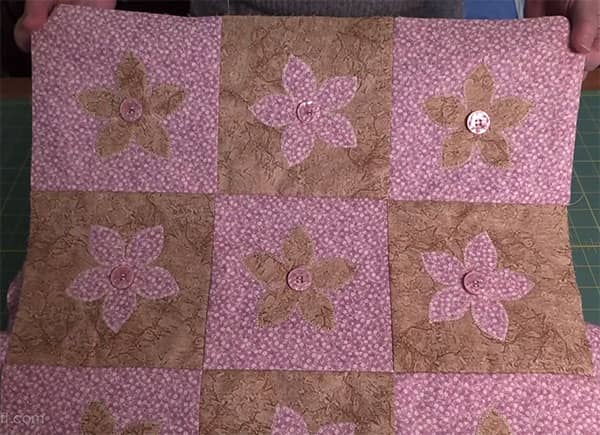
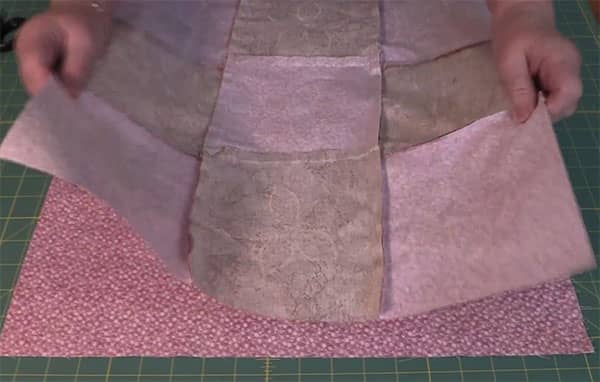
- Once all of your flowers are appliqued to the squares, lay out your pieces on the table as shown below.
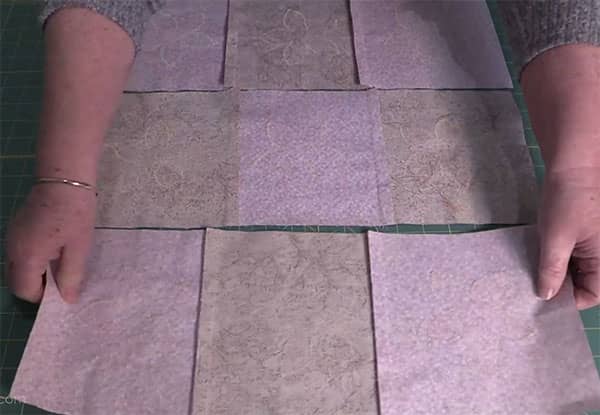
- See each row with a 1/2″ seam.
- You can see below how we ironed the seams. This just makes lining up the squares a whole lot easier.
- Sew the rows together and sew on your buttons and the front of your cushion is complete.
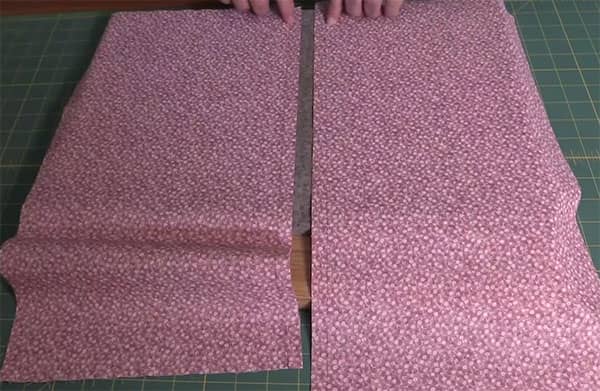
- To create the back of your cushion cover, cut two pieces 10″ x 19″.
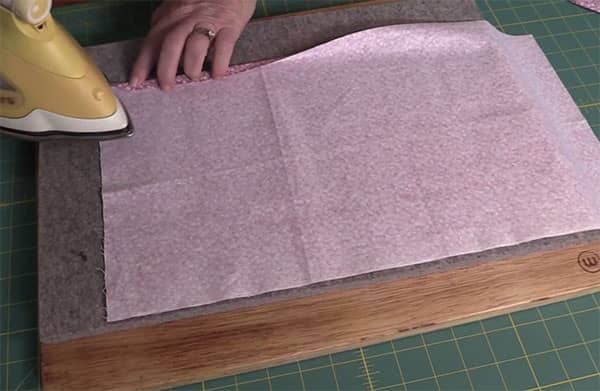
- Iron over each of the long edges at 1/2″.
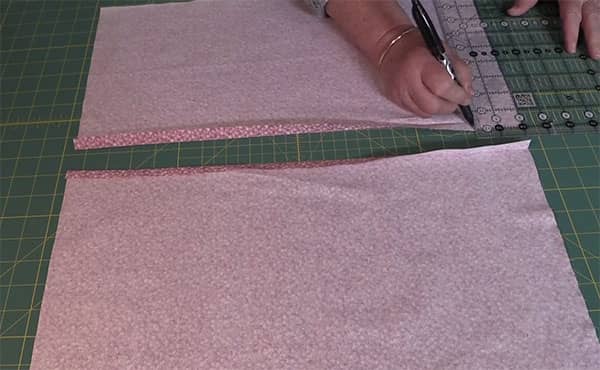
- Make a mark at 2″ using a removable pen (like the Frixion pen we are using below).
- Do this on both ends of the two pieces.
- At this point, it is worthwhile watching the video above if this isn’t as clear as it should be.
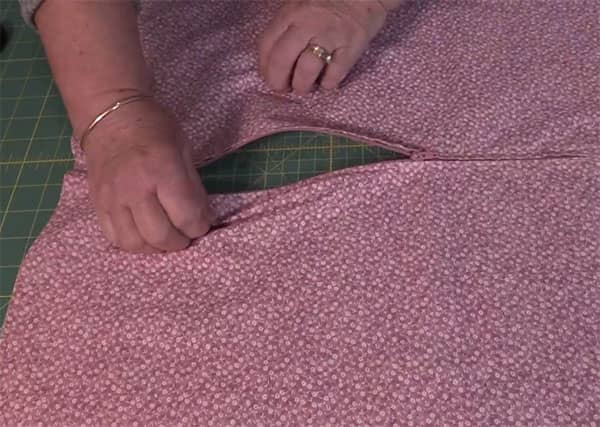
- Place each of these two bits of fabric back to back and sew along the 1/2″ edge to the mark you drew on the fabric and do a back stitch.
- Repeat on the other side.

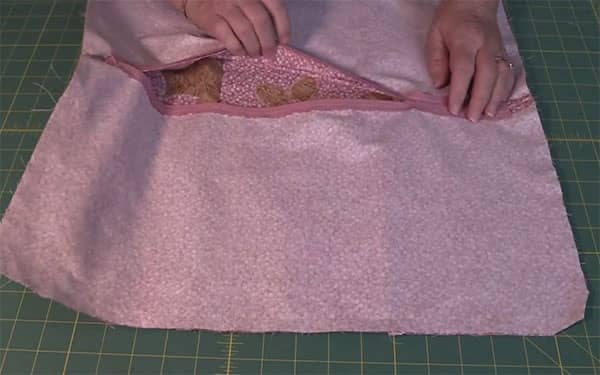
- You should end up with a piece of fabric with an opening in the middle which will be where the zip will be installed.
- Now draw a mark 1 ½” on each side of the fabric as shown below.
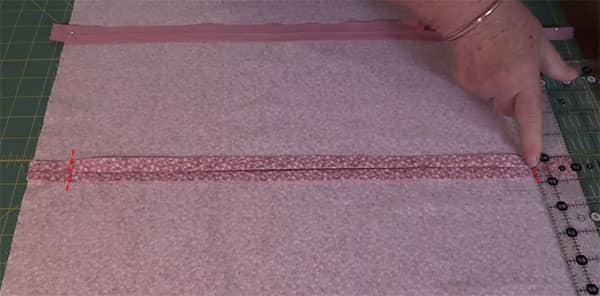
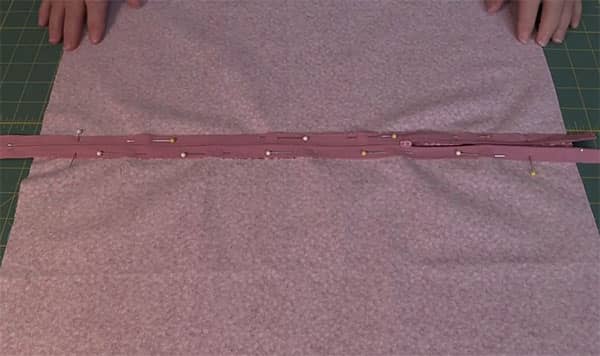
- Place your zip faceside down on the opening. Ensure that the zipper pull is placed facedown and it is open about a third of the way.
- Pin the zip on and sew in.
- WATCH THE VIDEO ABOVE to see how the zip was sewn if you need help here.
- Once your zip is sewn, open the zip about half way. This is an important step. If you don’t open the zip before sewing on the back, you won’t be able to turn the cushion through.
- Place the front cushion piece over the backing piece and sew around the whole edge with a 1/2″ seam.
- Clip the corners if you like. This just helps to reduce bulk.
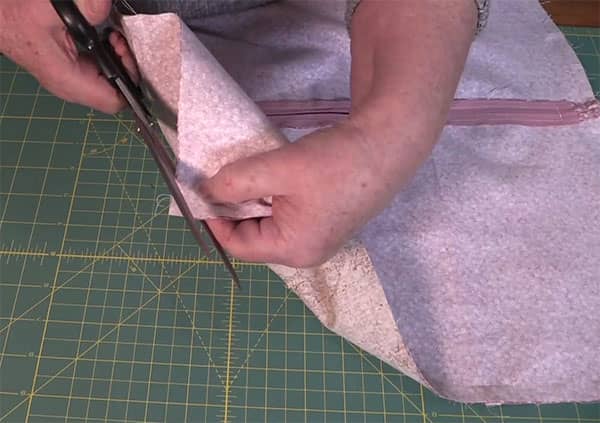
- Turn the cushion through.
- Aren’t you glad you left the zip open.
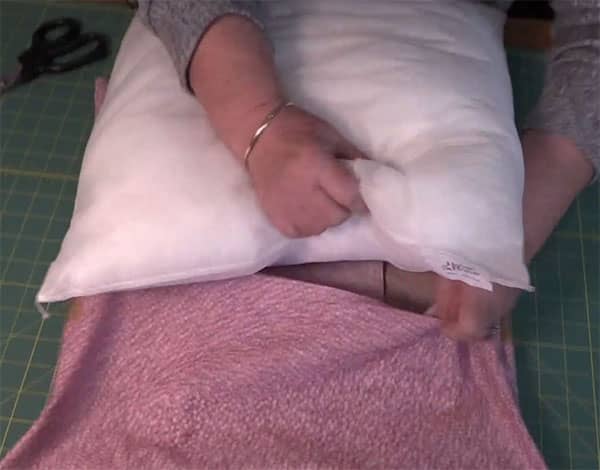
- Now insert your cushion insert.
- We used an 18″ cushion insert but you could get away with using a 20″ if you want a fuller cushion look.