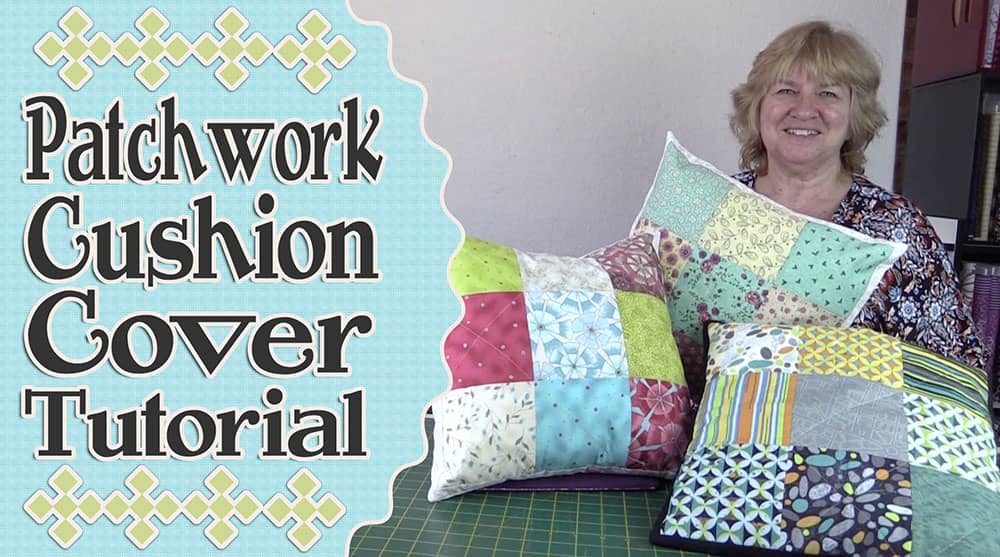
Charm Square – Patchwork Cushion Cover Tutorial
What a great way to brighten up a room. These charm square cushion covers are so easy to make. You can sew up lots of them for gifts or simply to scatter on your lounge. Did I say easy!!!!! They sure are and they look great.
Watch the video tutorial below or scroll down for the written instructions
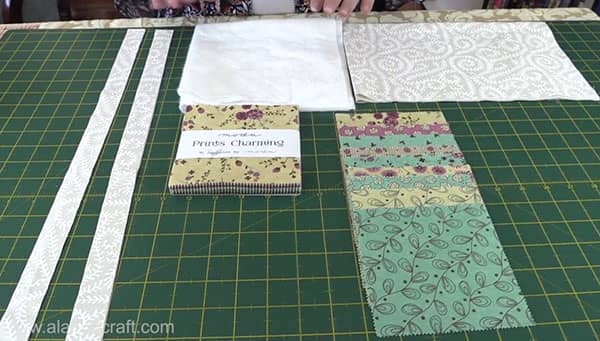
What you need:
- 9 charm squares or 5″ x 5″ squares cut from your favorite fabrics – I used ‘Prints Charming’ by Sandy Gervais for Moda, for today’s tutorial.
- A piece of batting 16″ x 16″ – we will have to trim it but I like to have a little too much than not enough.
- A piece of backing 18½” x 15″ – this will be cut in half to measure 9¼” x 15″ See Note Below
- 2 pieces for border 1″ by WOF (width of fabric usually 40″).
- A 14″ cushion insert.
- A pack of charm squares
TOOLS USED IN THIS TUTORIAL
You can check the latest prices at Amazon by clicking on the links below:
- Creative Grids Ruler 8½” x 24½”
- Olfa 24″ x 36″ double-sided healing mat
- Olfa 60mm rotary cutter
- Oliso Iron
- Gutermann Sew-All thread
Method:
- Lay out your pieces so that they look just how you want them to look.
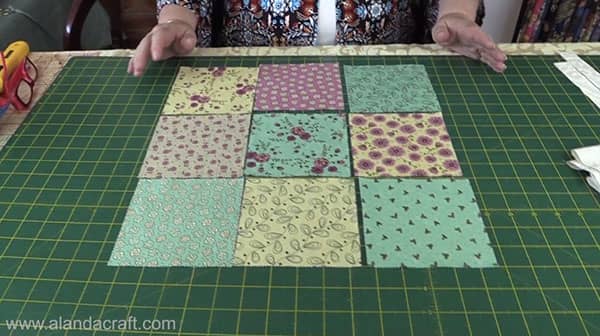
- Take a photo with your iPhone or Android. This will help you remember how the pattern is supposed to look as you take the pieces to sew.
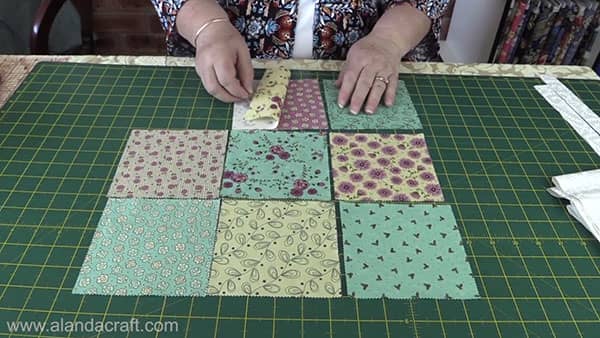
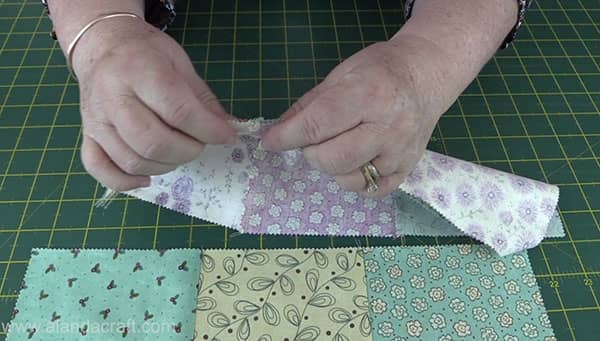
- Sew each row by placing the first square over the second square, pin and sew together with a ¼” seam. Now place the second square over the third and once again pin and sew together with a ¼” seam.
- Do this for each of the three rows.

- Press all the seams on row 1 in one direction, row 2 in the opposite direction and row 3 in the same direction as row 1.
- Sew the rows together by laying the top three squares in row 1 on top of the squares in row 2, pin and sew with a ¼” seam.You will notice that the squares butt nicely together because of how we pressed the seams at the start.
- Repeat by pinning and sewing these two rows to the third row again using a ¼” seam.
- Press these seams open – We do this to reduce the bulk in the joins.
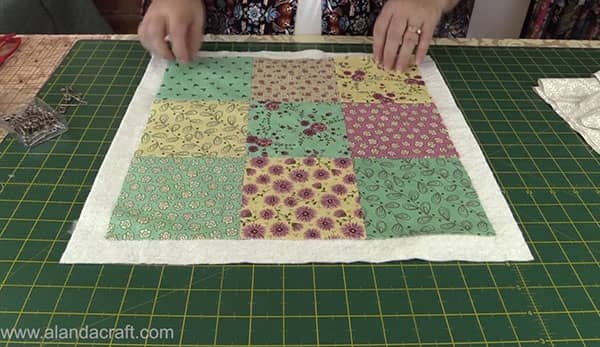
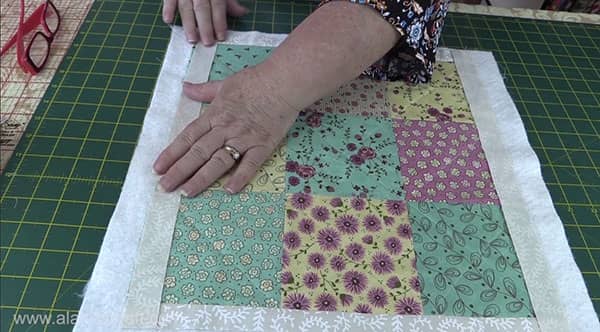
- Center your square piece on your batting piece. There will be excess batting around the square piece, we want this.
- Pin the front square piece to the batting using quilting pins, do be careful of placement of the pins as we are going to be topstitching over each block.
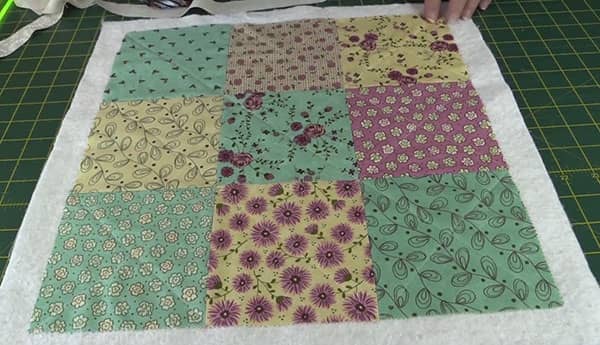
- Sew across each of the squares diagonally.
- This will fix the front square piece to the batting piece.
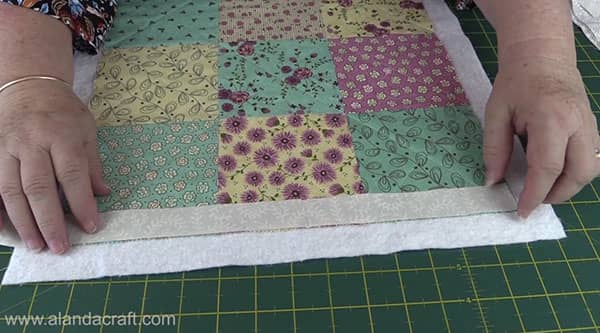
- Now lay a piece of the 1″ border strip, right sides together, along the edge of the square piece, not the batting piece. Pin and sew in place. Carefully trim the border to line up with the squares. Take care not to cut the batting. Do the same with the opposite border.
- Press the border pieces open.
- Next lay a border strip from the edge of the border you have just sewn on down along the edge of the squares and over the border strip at the other end. Pin and sew with ¼” seam. Repeat on the other side.
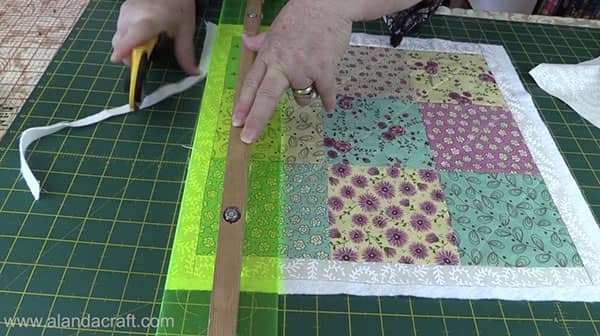
- Trim any excess batting away.
Next, take your piece of 18½” x 15″ piece of fabric and cut it in half. You will now have 2 pieces of fabric measuring 9¼” x 15″.
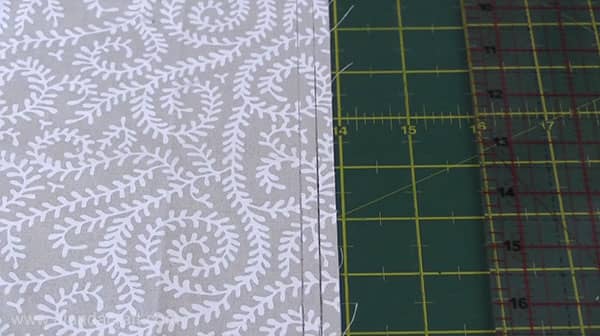
- On each piece of fabric, draw a line ¼” along the 15″ edge, and then draw another ¼” line from the first line. Finger press along the first line, to give a bit of a fold in. Then fold in along the second line and press with the iron.
- Topstitch along the edge to give you a nicely folded hem.
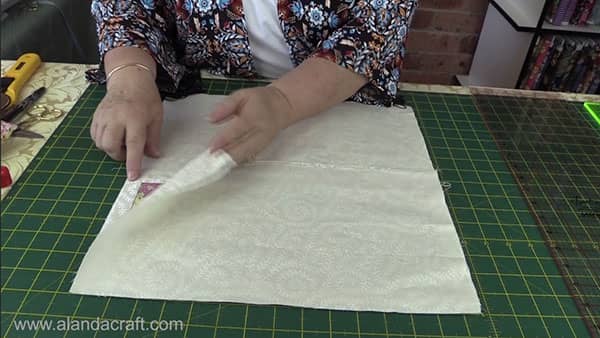
- Lay each piece, right sides facing, on top of your main piece and pin. you will not there is an overlap in the middle, and this is just what we want as this will be our envelope opening.
- Sew ¼” seam. around all four sides. I run off at the corners, turn the piece around and start again from the edge.
Turn the cushion through to the right side just to make sure everything looks okay and all edges are neatly sewn.
- Turn the cover back to the wrong side and clip the corners. Be very careful not to clip the stitching on the seam lines. I like to remove some of the bulk by snipping from the corner up about an inch, on an angle. Your corners will sit nicely without all that bulk.

- Turn the cushion cover to the right side and carefully push out the corners. Press the cushion cover and insert the cushion pad.
Push the cushion into one half of the cover, fold the cushion in half and it will slip easily into the other half of the cover. fluff it out a bit and push it around into the corners. Cushions tend to want to bunch in the middle when you first put them into a cover. But this will even out with use.
And there you have it, quick and easy and a nice way to brighten up a room.