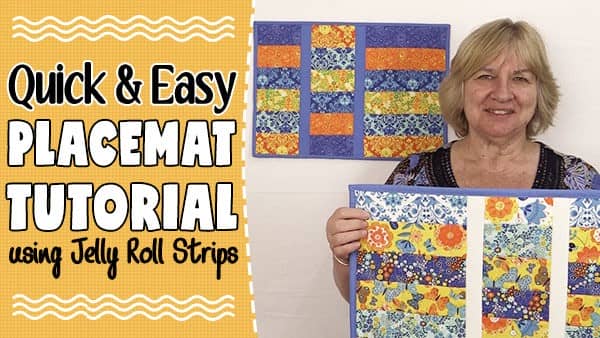
Quick & Easy Strip Placemat Tutorial Using Jelly roll Strips
We love ‘quick and easy’ sewing projects and this one certainly fits the bill. This placemat goes together with just a few strips of fabric (you can use jelly roll strips) and some backing fabric. This is a great one to use for special holidays like Halloween or Christmas by simply changing up the fabric.
The dimensions of this placemat are approx. 17″ x 12″.
What You Will Need
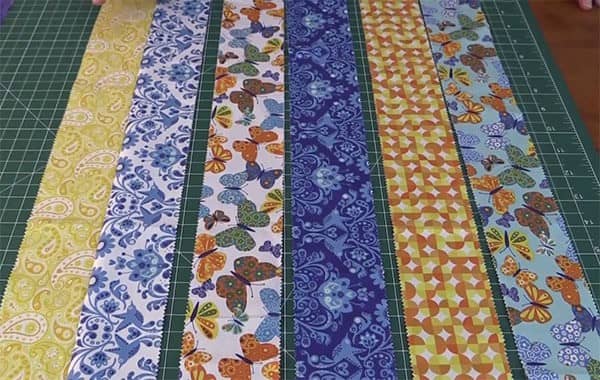
- 6 strips fabric – 2 ½” x width of fabric (we used Moda Jelly Roll strips, but you could cut your own strips.
- 2 strips for the sashing – 1 ½” x 12 ½”
- 1 piece for backing – 19″ x 14 ½”
- 1 piece of batting – 19″ x 14 ½”
- 2 strips for binding – 2 ¼” x width of fabric
TOOLS USED IN THIS TUTORIAL
You can check the latest prices at Amazon by clicking on the links below:
- Creative Grids Ruler 8½” x 24½”
- Olfa 24″ x 36″ double sided healing mat
- Olfa 60mm rotary cutter
- Oliso Iron
- Gutermann Sew All thread
Watch the video tutorial below or scroll down for the written instructions
Method
- Take your 6 strips and sew them together using a 1/4″ seam.
- Trim off the selvedges at one end.
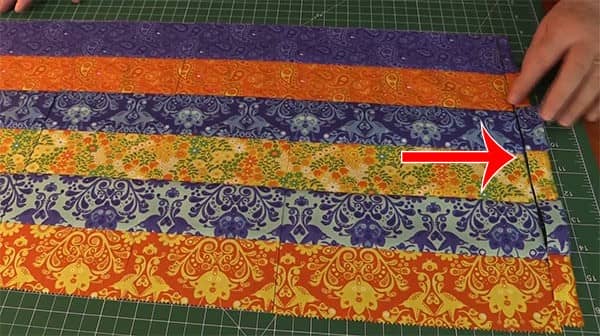
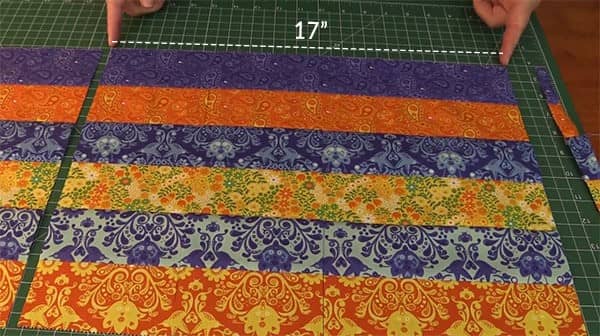
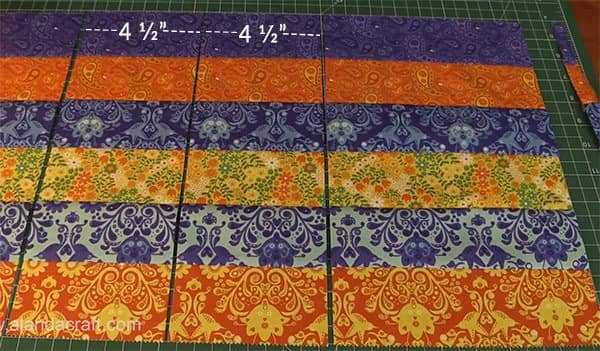
- Cut at 17″.
- You will have enough in this sewn strip to create two placements so you can cut another 17″ section from your strip.
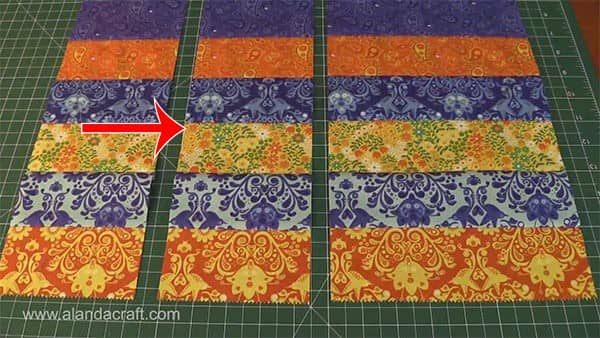
- From that 17″ piece, cut 4 ½” from one end and then another 4 ½” further from that cut.
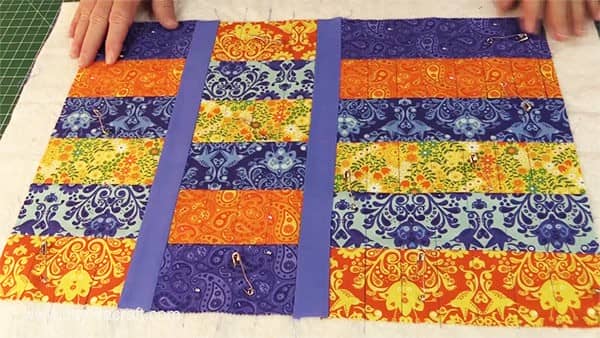
- Take the middle piece and flip it.
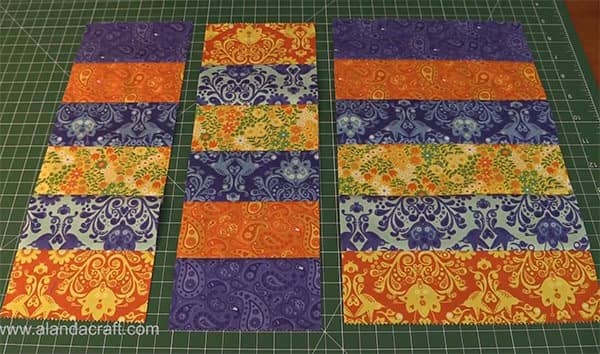
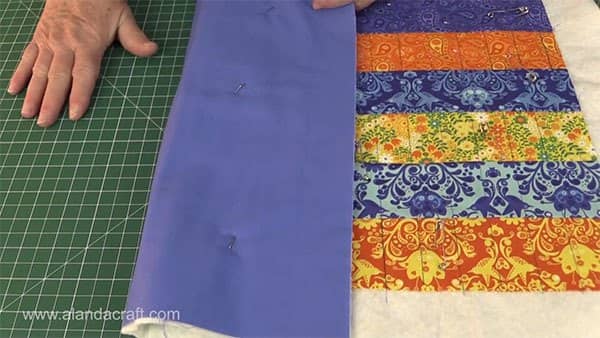
- Now it’s time to add your sashing pieces. Simply sew each piece onto the rectangular pieces with a quarter inch seam.
- Then sew all three pieces together.

- Create your quilt sandwich, pin the quilt and quilt. Place your backing fabric face down, add your batting and then your quilt top face up.
- We quilted the placemat using straight 1″ lines and we drew the sewing lines with a Frixion pen which disappears after ironing.
- Once you have finished quilting, trim the edges and attach the binding.
- You are done!