Easy Envelope Cushion Cover – 16″
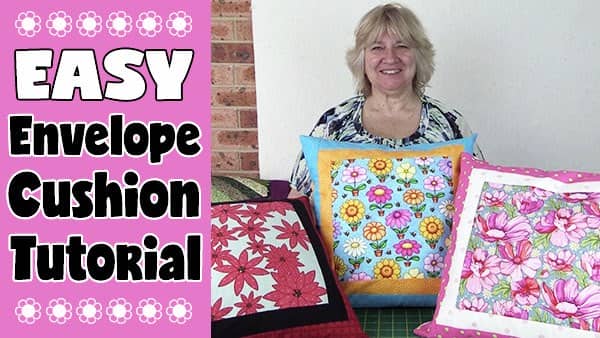
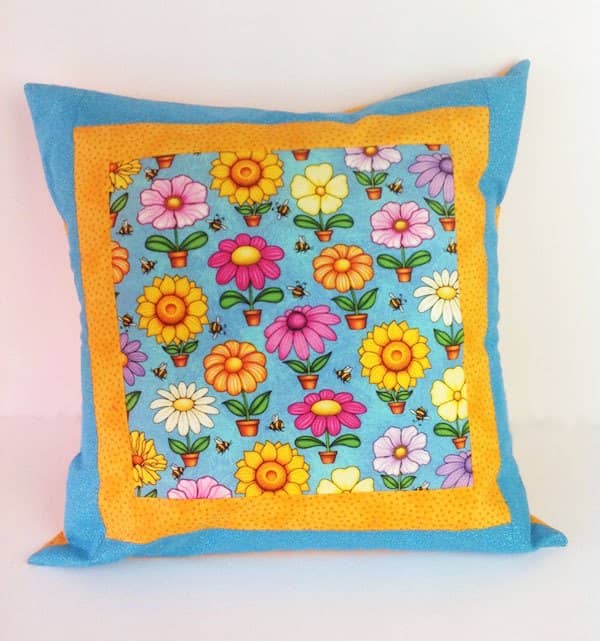
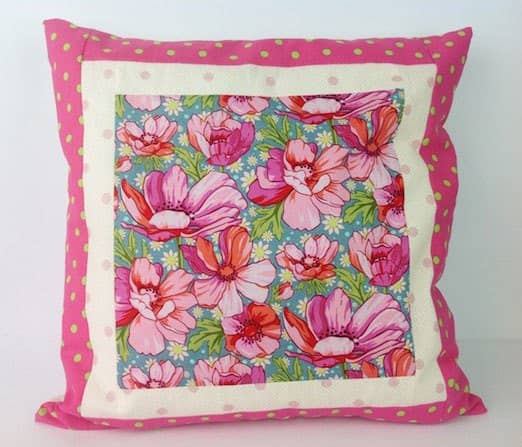
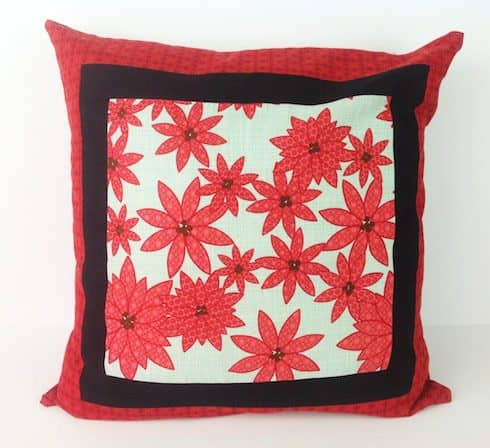
We made these cushions using a leftover layer cake square for one of them, and for the others, we cut fabric from our scrap stash.
They look lovely when they are finished and they take hardly any time at all to make.
Watch the video tutorial below or scroll down for the written instructions
Size
The measurements are for a 16″ finished cushion cover.
What You Need:
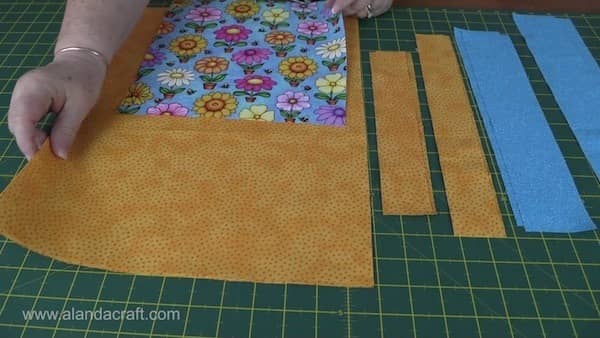
- 1 @ 10″ square for the centre piece.
- 2 strips @ 10″ x 1¾” (for the top and bottom sashing)
- 2 strips @ 12½”x 1¾” ( for the side sashing)
Border:
- 2 strips @ 12½” x 2½” (for the top and bottom border)
- 2 strips @ 16½” x 2½” ( for the side borders)
Cushion Cover Back:
- 2 pcs @ 13″ x 16½”
TOOLS USED IN THIS TUTORIAL
You can check the latest prices at Amazon by clicking on the links below:
- Creative Grids Ruler 8½” x 24½”
- Olfa 24″ x 36″ double-sided healing mat
- Olfa 60mm rotary cutter
- Oliso Iron
- Gutermann Sew-All thread
Method
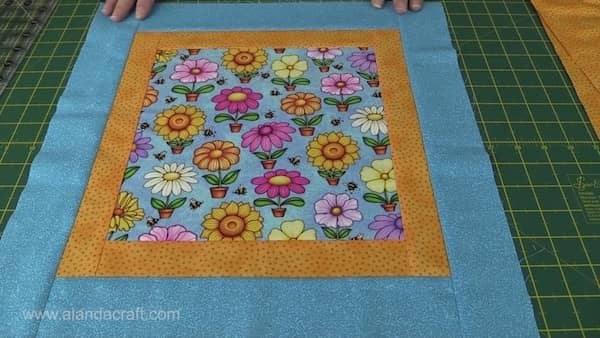
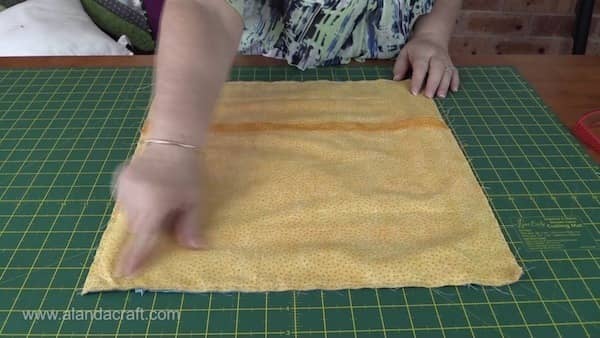
Cushion Cover Front:
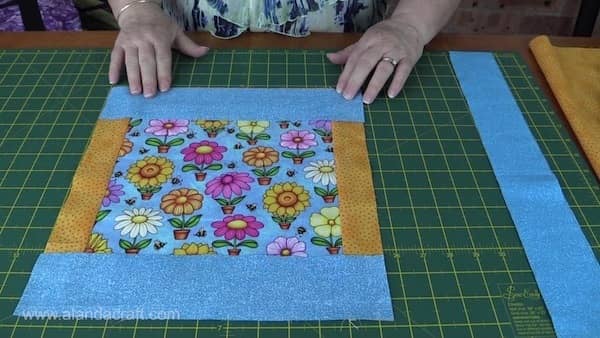
- Sew the two short side sashing strips, one to the top and one to the bottom of the center piece.
- Press the seams to the outside edge.
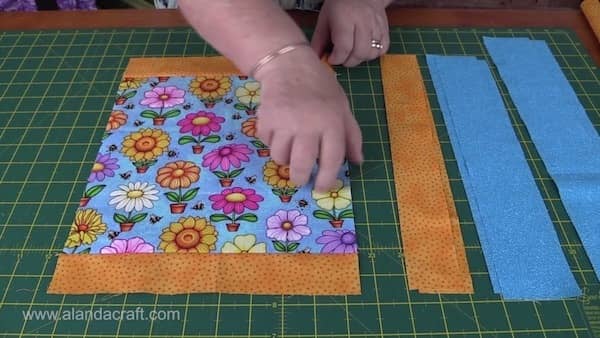
- Sew the long sashing strips, one on each side of the center piece.
- Press the seams to the outside edge.

- Sew the small border pieces to the top and bottom of the center piece.
- Press the seams to the outside edge.
- Sew the long border pieces to the sides of the centre piece.
- Press to the outside edge.
Cushion Cover Back:
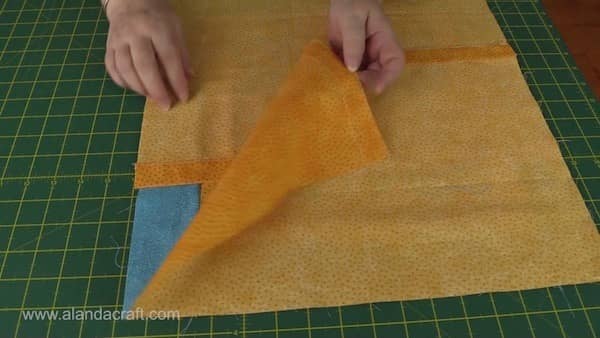
- This is how to give the top of the envelope pieces a nice, neat finish.
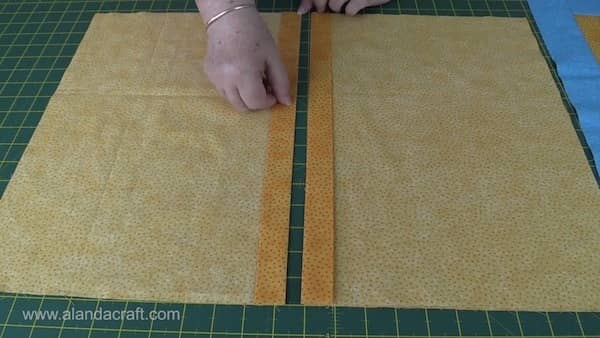
- Draw a line a ¼” along the long edge.
- Fold along the line.
- Press.
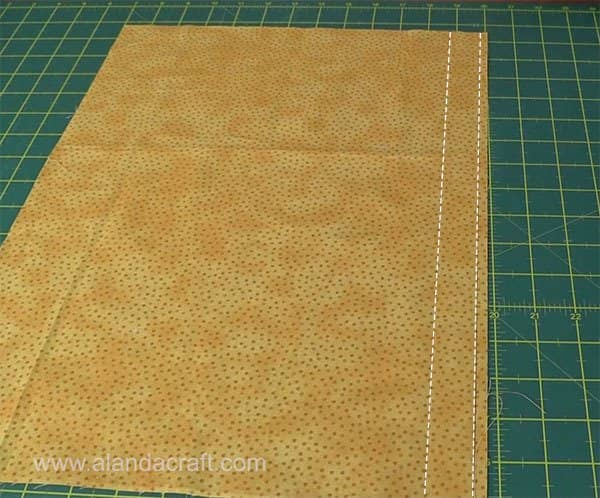
- Draw a line 1″ from the pressed edge as shown in the image below.
- Fold along the line.
- Press.
- Topstitch approx 1/16″ in from the 1″ fold line.
- Topstitch approx 1/16″ along the edge of the 1″ folded edge as shown below.
- Repeat with the other backing piece.
- Lay the front of your cushion cover, right side up, on your workspace.
- Lay one of the back cover pieces, right sides down, on top of the front piece
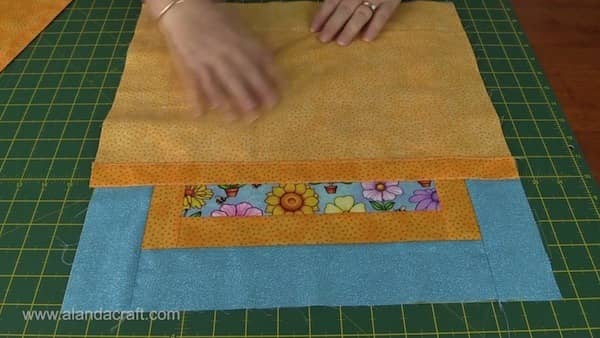
- Lay the other back cover piece so that it overlaps the first back cover piece.
- Pin around the edge taking particular care when pinning the overlapped pieces. You want to make sure that the underneath piece doesn’t move while you are sewing, so pin it well.
- Sew around the edge with a ¼” seam.
- Clip the corners taking care not to cut your stitching.
- Turn through and press.
- If you like a full, poofy look then insert a 16″ cushion insert. If you prefer a not so full look then use a 14″ or 15″ cushion insert.
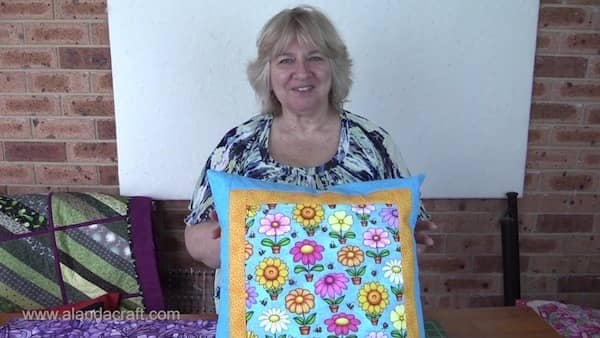
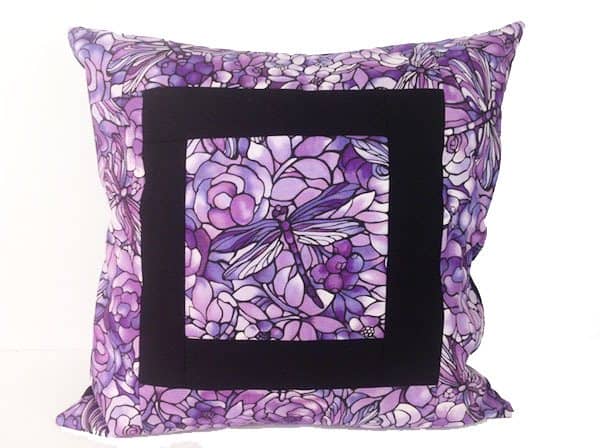
These cushion covers are so quick and easy to make.
- You can also change the look of the front as you can see in the purple and black cushion cover.
- Here I have made the centerpiece section smaller and increased the size of the sashing and border.