DIY Rice Heat Pack (or Trivet) Tutorial Using Two Layer Cake Squares
In this tutorial, we show you how to create your own rice heating pack or you can use this as a trivet in the kitchen for placing hot saucepans on…the choice is yours.
We made them with just 2 layer cake squares but you can cut two 10″ x 10″ squares of fabric from your stash. These are so easy to make all you do is simply sew around 3 edges and then sew 6 columns to create the pockets for the rice. Then seal up at the end to hold it all in place.
You can fill these with wheat, rice or small pebbles – (we used rice) and then add whatever extras you like. We used cloves and allspice in ours, but you can use lavender or simply mix in a few drops of essential oil into the rice. If you are using them as a heat pack then just heat in the microwave for 30 to 60 seconds or until you reach the desired level of heat. The smell is divine.
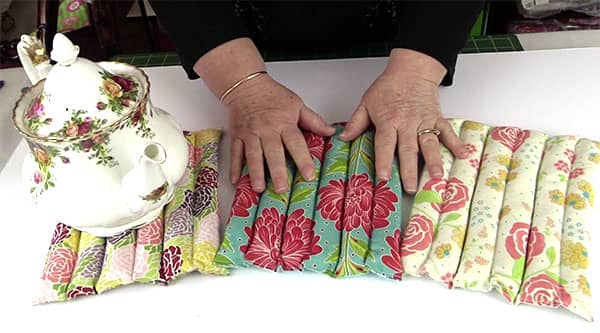
If you are using it as a trivet, then when you place your teapot or cooking pots on the trivet, the heat from them will impart a beautiful smell in your kitchen.
If you are concerned about the rice spouting or going moldy then you can use wood chips or very small pebbles as the filling. I haven’t had any problems with using rice, but it’s nice to have alternatives.
This is such a quick and simple project to make and these pot stands/heat packs will make great Christmas presents and stocking fillers.
Watch the video below or scroll down for the step-by-step written instructions
What You Need
- 2 Layer Cake Squares (or cut two 10″ x 10″ squares of fabric) – And just a reminder not to use fabrics and threads that are likely to melt if you place them in the microwave – thanks to Joy in the comments for this tip.
- rice or wheat ( you can also use wood chips or very small pebbles).
- fragrance of your choice, for eg. about 2 -3 heaped teaspoons of cloves, allspice – there is no hard and fast rule to this, it is entirely up to you how much you add; lavender, essential oils, eucalyptus – again work the oils into the rice and add to suit your sense of smell.
TOOLS USED IN THIS TUTORIAL
You can check the latest prices at Amazon by clicking on the links below:
- Olfa 24″ x 36″ double-sided healing mat
- Olfa 60mm rotary cutter
- Gutermann Sew All thread
- FriXion Pens
- Radha Beauty Aromatherapy Top 8 Essential Oils 100% Pure & Therapeutic Grade
Method
Step 1:
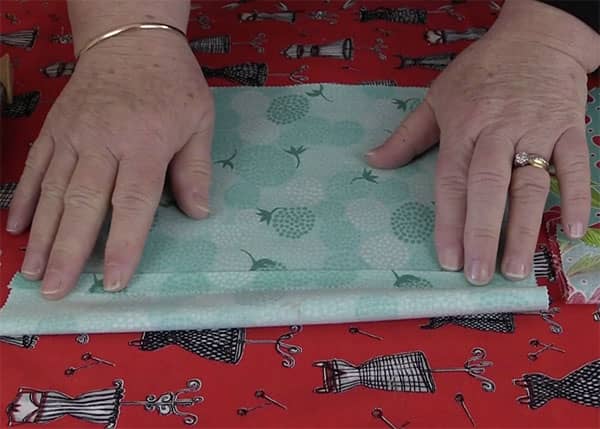
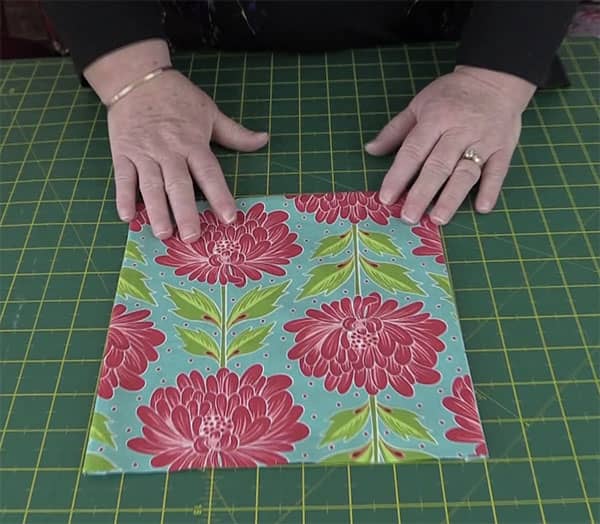
- Fold the tops of each of the layer cake squares over a half inch and press with your iron. This will be the top of the trivet/heat pack.
Step 2:
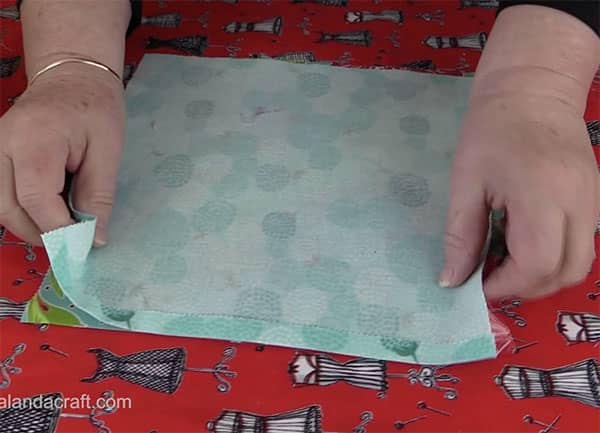
- Place the two pieces of fabric right sides together and sew around 3 sides with a half inch seam ensuring you leave the top open.
Step 3:
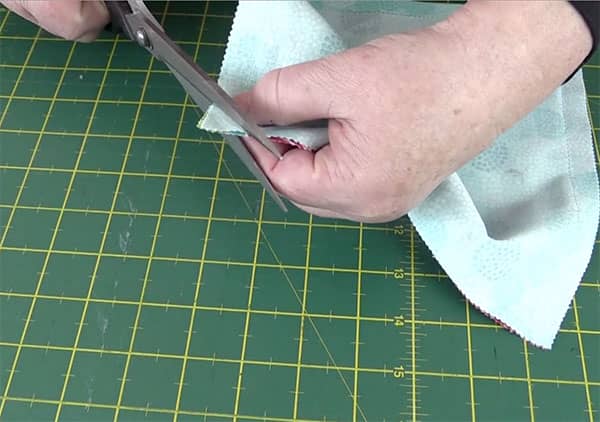
- Trim the corners to reduce the bulk and turn the pouch through so that the right sides are now showing. Ensure the corners are sharp for a nice crisp finish.
Step 4:
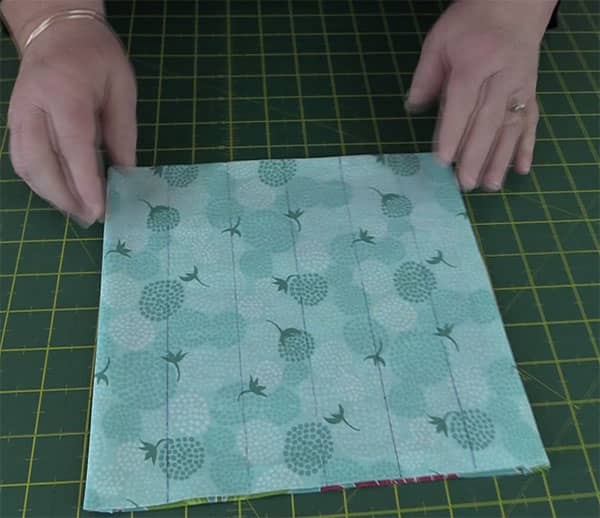
- On one side of the pouch, draw lines that are 1½” wide. You should end up with 6 columns. We used a FriXion pen which can be removed with an iron so ensure you use a removable fabric pen of some sort, NOT a ballpoint pen.
Note:
Lines drawn with a FriXion pen may reappear in very cold temperatures. I live in a cold climate and haven’t had a problem with this, but I just need to make you aware that this can happen. It’s why I wouldn’t use FriXion pens on a show quilt.
Step 5:
- Sew along the bottom of the pouch with a top stitch at about 1/8′. This will help reinforce the bottom of the trivet/heat pack.
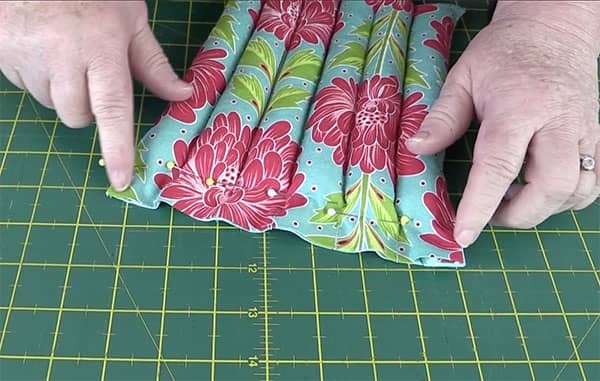
Step 6:
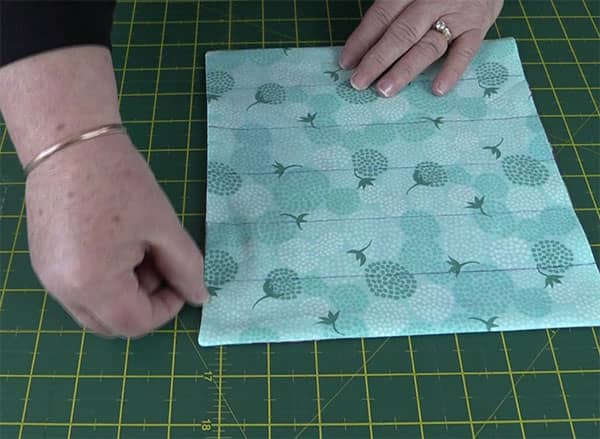
- Sew along each of the lines you drew on the pouch ensuring you do a small back stitch at the top and bottom of each sewing line.
Step 7:
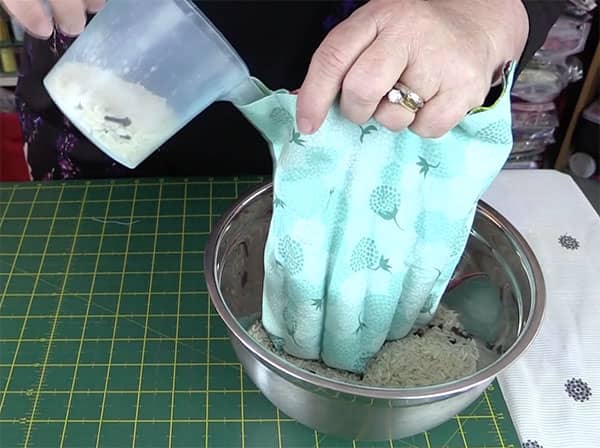
- Fill each of the columns with your rice mix tapping down every now and then as you fill to ensure the rice is packed in well. Leave at least 1 inch from the top to allow you to sew across. I used a small jug but a small funnel or simply a rolled-up piece of paper will work as well.
We received an excellent tip from Alexis, one of our lovely readers, – the way to make a perfect funnel for pouring the rice into the channels is to cut the top 3rd off a standard plastic water bottle. No spills. I will certainly be giving this a go next time.
Step 8:
- Pin the top and sew about 1/8′ from the edge to seal it all in.
And You Are All Done!