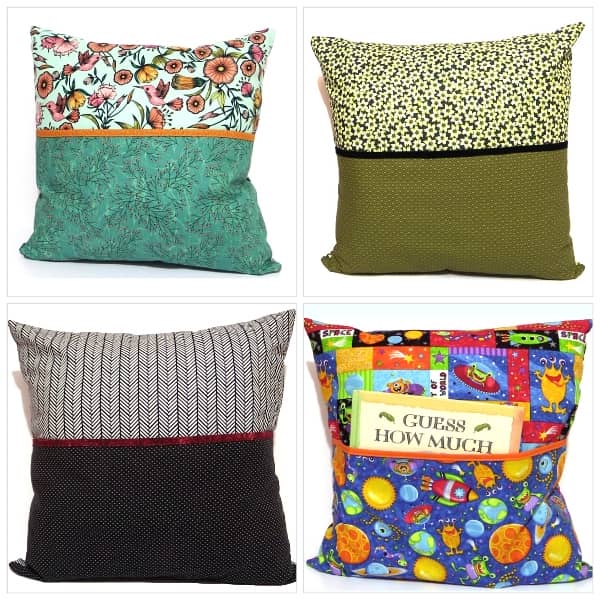
Pocket Book Cushion Cover Tutorial (aka reading pillow)
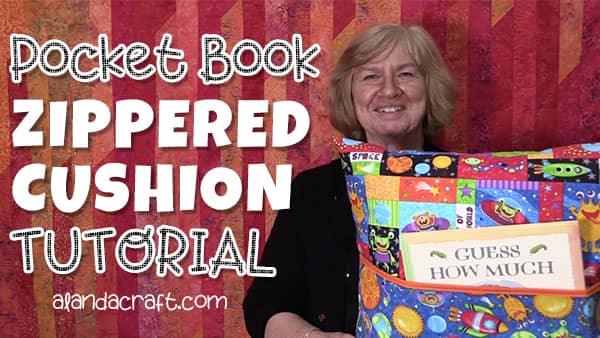
In this tutorial, we are going to show you how to make a pocket book pillow which is sometimes referred to as a reading pillow. We even show you how to insert a zip which we know a lot of people have a fear of but it is easier than you think.These are great fun to make and relatively simple.
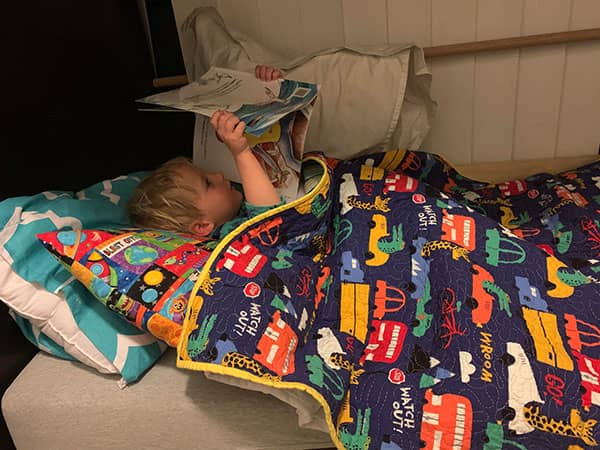
And kids love them, Here is my great grandson Leon with his pocket pillow. His mum tells me that he uses not only for his books but some of his toys end up in the pocket as well. His super cute quilt was made by his grandma Stacy on her long arm quilting machine..
Here’s what you will need…
- 1 piece of fabric for the front – 18″ x 18″
- 1 piece of fabric for the back – 18″ x 19″
- 1 piece of fabric for the pocket – 18″ x 20″
- 1 piece of fabric for the trim – 18″ x 1½”
- Cushion insert – 18″
- Zipper 16″ or longer
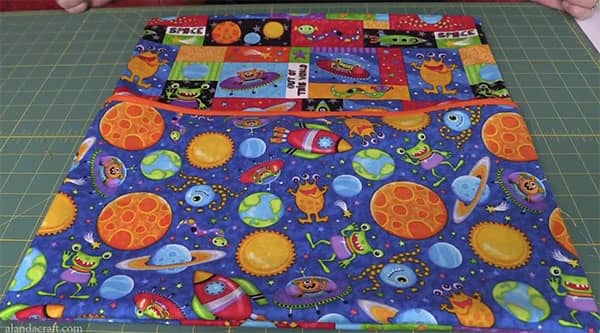
The pocket is ‘Lost in Space’ Patt # 4899.
Watch the step-by-step video below or scroll down for the written instructions
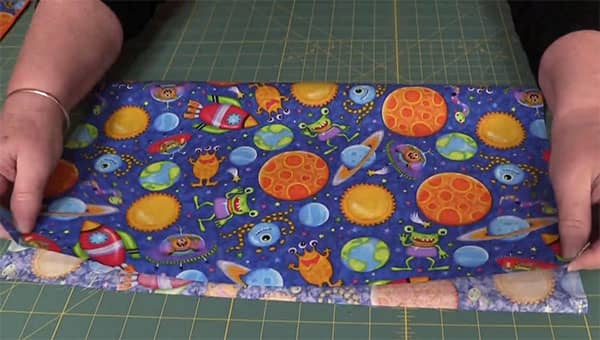
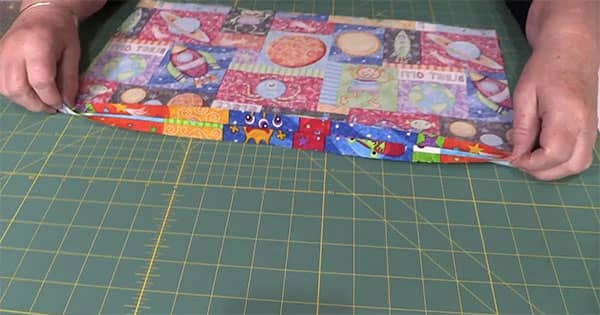
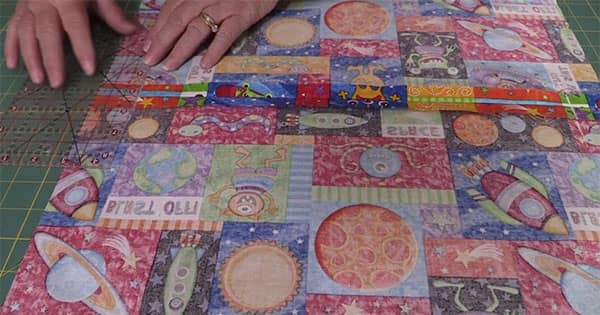
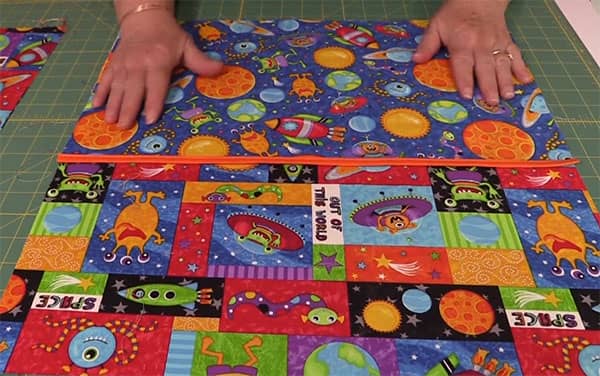
Start by taking the pocket fabric and folding it in half through the long side of the fabric. (In other words, when folded your fabric should measure 18″ x 10″.) Press so that you have a nice crease at the fold.
Take your fabric trim and fold it in half and press. Then open it out and fold in each side into the center and press and then fold again and press. Watch the video above on how to do this.

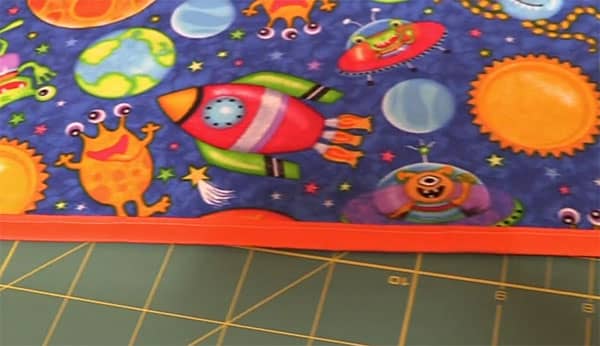
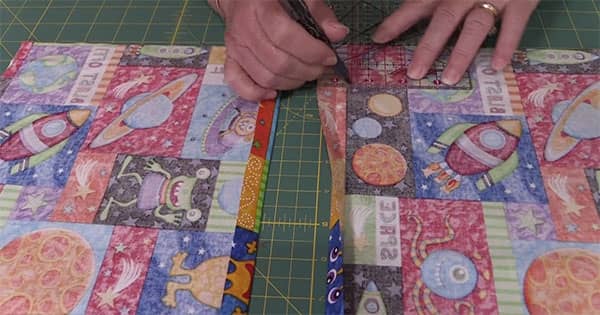
Place this trim over the fabric so that the fabric sits in between the folded trim. Pin and sew close to the edge ensuring that you catch both sides of the trim.

It should look like this when done.
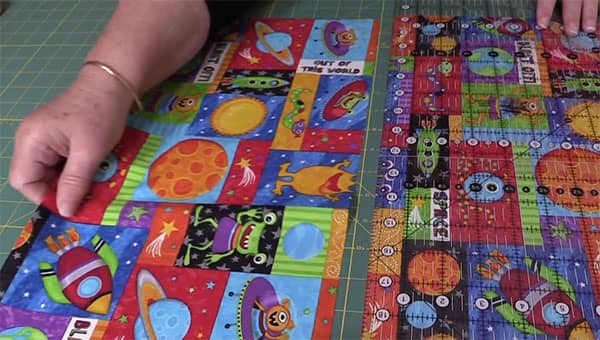
Now take your backing piece of fabric and cut it in half through the long end of the fabric. (In other words, you should end up with two pieces of fabric measuring (18″ x 9½”).
Fold over the two inside edges at a half an inch.
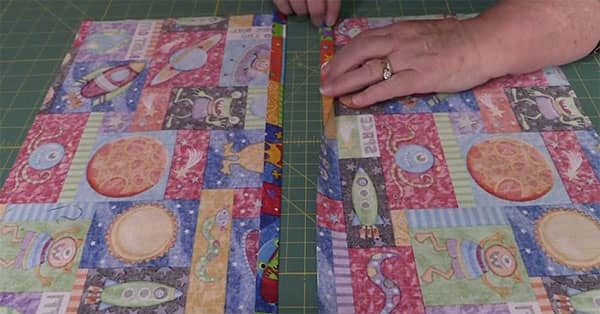
Measure in 2″ from the edge and draw a line. Repeat this on the other piece of fabric. Then repeat again at the other ends of the fabric.
Bring the two pieces of fabric together.
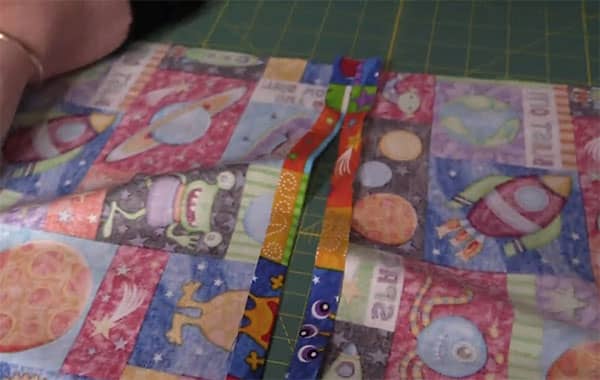
Now sew up to the marks you made on the fabric. Do a back stitch when you get to that mark. Do this on both ends of the fabric.
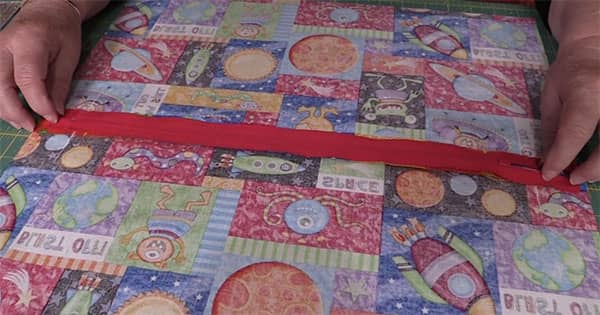
It should look like this when complete. You will have an opening ready to insert a zip.
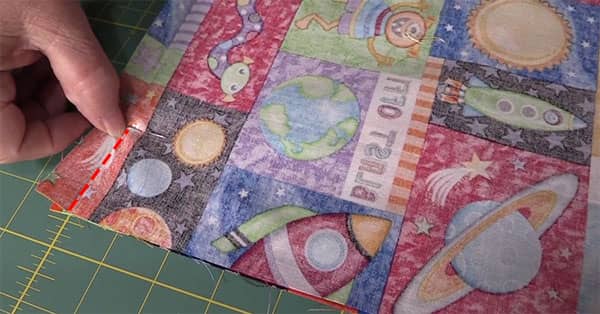
Measure in 1½” from one edge and draw a mark. Repeat this on the other end. These marks will be where you sew your zip into place.
Take your zipper and place it with the zipper pull face down into the opening. Pin or use a fabric glue to secure the zip ready for sewing.
Sew back and forwards a few times over the line you drew to secure the end of the zip.
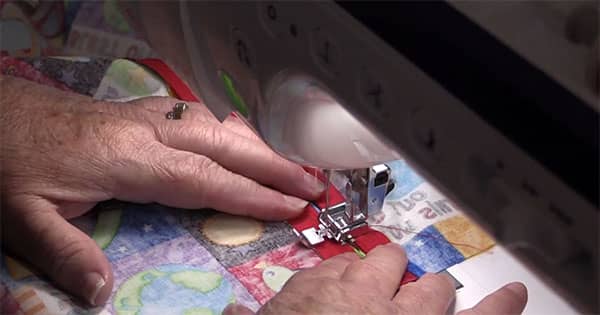
Then pivot and turn and sew down the edge of the side of the zip.
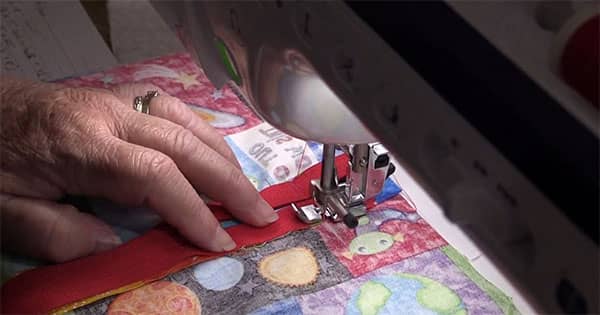
When you get to the other end, pivot and turn and sew back and forth a few times to secure the end of the zip. Then pivot and turn and sew down the other edge of the zip. Do a back-stitch when you get to the end.

Trim off any excess zip at both ends.

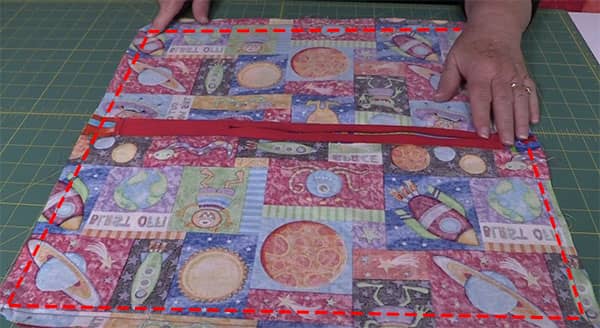
Take your front piece of fabric measuring 18″ x 18″ and place the folded pocket piece on top. You can baste this pocket piece in place now if you wish. We didn’t bother.
Place your backing piece of fabric over the top of the front piece.
Line up the edges and sew all the way around the cushion cover.
When completed you can clip the corners to reduce bulk and then turn the cushion cover through.