Easy Oven Mitt Tutorial: Made with 8 Moda Jelly Roll Strips
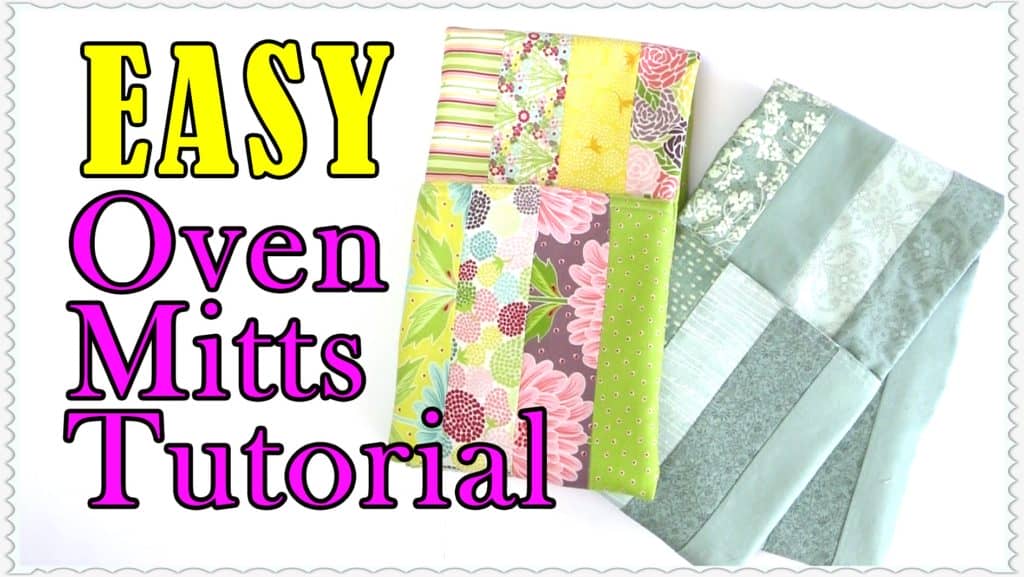
I really needed some new oven mitts so we decided to make use of some of the jelly roll strips in our stash, and design an oven mitt.
It took a bit of thinking on our part to get this to work as we didn’t want to use binding on the oven mitt.
This turned out to be a really quick and easy method, even if you don’t have jelly roll strips you can still make this. Just cut some 2½” strips from your fabric stash.
You can even personalize these oven mitts by using fabric to suit the person you are gifting them to. I made my granddaughter Ishta some oven mitts using black fabric with sugar skulls on them.
In this tutorial, we’ll show you step-by-step how to create these adorable and functional oven mitts using jelly roll strips batting and insul-brite. These oven mitts will make a fun and practical Christmas gift for family and friends. So Let’s get started!
Watch the video tutorial below
Materials Needed
Before we begin we need to gather the following materials:
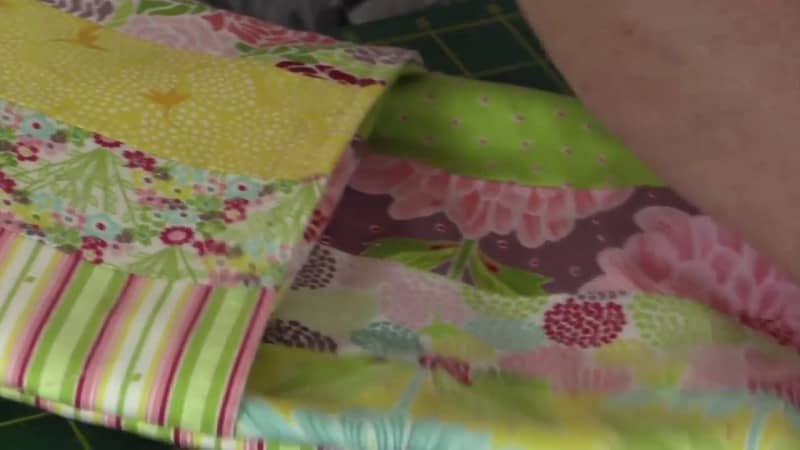
- 8 Jelly roll strips (or fabric to cut your own strips): Jelly roll strips are pre-cut strips of fabric that are often used in quilting projects. We used a Moda Jelly Roll but if you don’t have a jelly roll, you can cut your own 2½”fabric strips from fabric you have on hand.
- Batting: We tend to use a low loft batting and we generally use Warm and Natural. It adds an extra layer of protection and gives a nice padded feel to the oven mitts. You can use whatever batting you have on hand or your favorite brand.
- Insulating fabric: We have used Insul-brite for this project. Insul-brite is a special type of material that adds a protective layer against heat. It helps to protect your hands when you are picking up a heated pot or pan.
- Frixion pen or chalk: This is used to mark the fabric. Make sure to choose a marker or pencil that will easily wash out or fade away. The beauty of a frixion pen is that the marks will iron out and these are okay to use on small projects like this.
- Thread: We tend to use Gutermann all purpose thread
Now that you have gathered everything you need, let’s move on to the next steps.
Method:
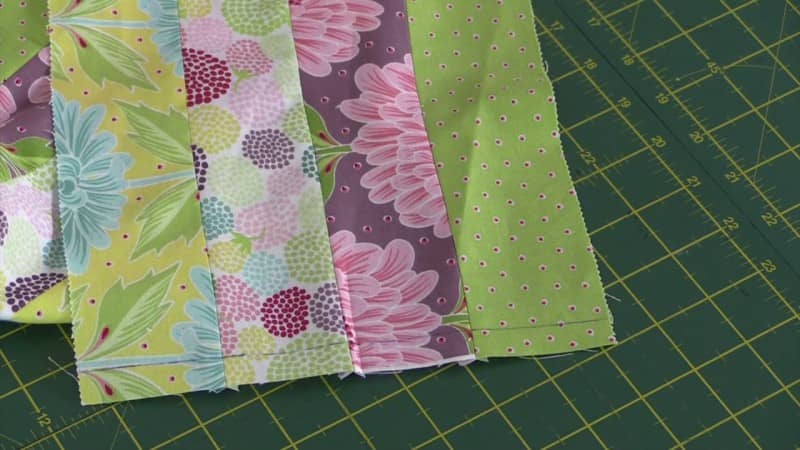
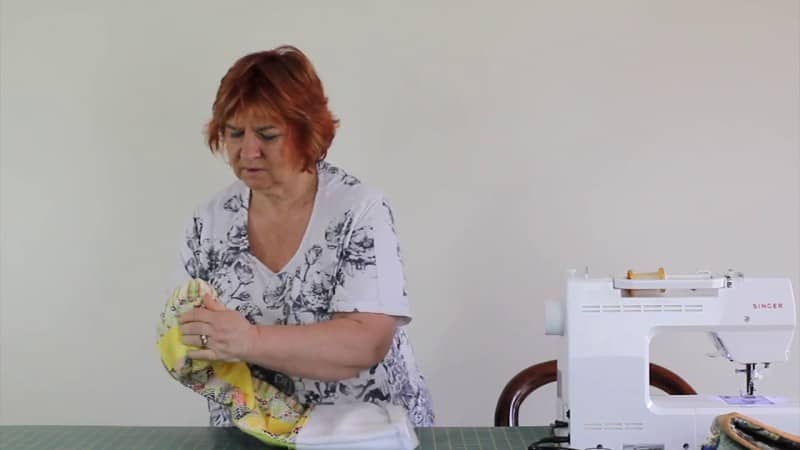
Step 1: Prepare the Strips
The first thing do is lay our strips out on the workspace. We need two lots of 4. (4 strips for the front and 4 strips for the back). Move them around until they are placed how you like the look of them.
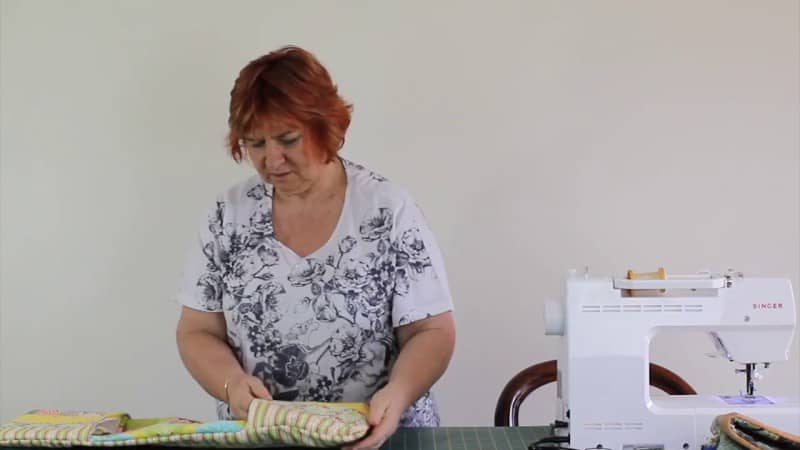
Step 2: Sew the Strips
Once you are happy with the layout you it’s time to get ready to sew the strips together.
- Take the first two strips and place them right sides together, making sure to align the edges.
- Pin the strips together.
- Sew the strips together using a ¼”seam allowance.
- Press the seam open with an iron for a smoother, bump free line.
- Repeat this process until you have two sets made of 4 strips each.
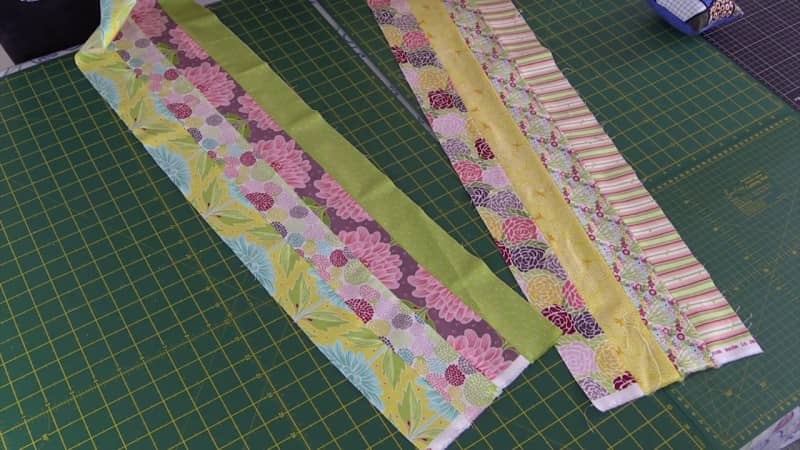
Step 3: Trim the Selvages
Once you have sewn all the strips together, it’s time to trim the selveges from both ends.
Selvages are the finished edges of the fabric that often have a different texture or pattern and often have the manufacturers details and we remove those so that we are left with just the main fabric.
Remember to trim the selvages from both ends of the strip and make sure that all the strips are the same length.
Step 2: Creating Neat Edges
Now that you have your fabric strips ready, it’s time to move on to the next step.
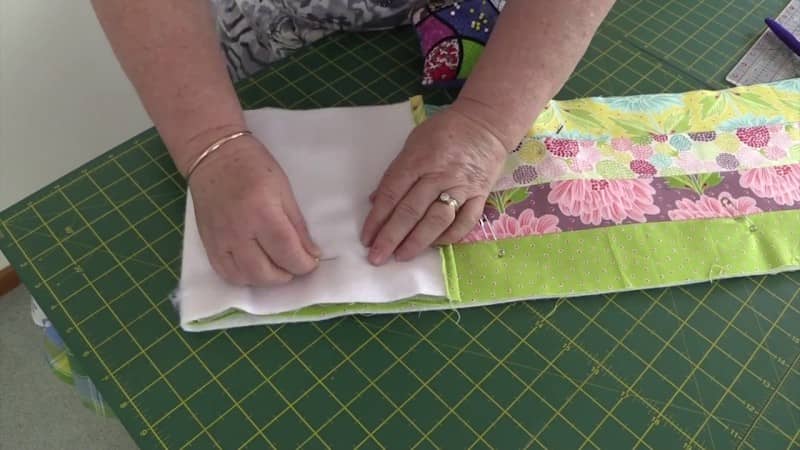
- Take one fabric strip and lay it flat on a clean work surface, right side facing up. We want to draw our line on the right side of the fabric.
- Measure ½” from the edge of the strip on the short end and mark it with fabric chalk or fabric marker.
- Repeat this on the short ends of each strip.
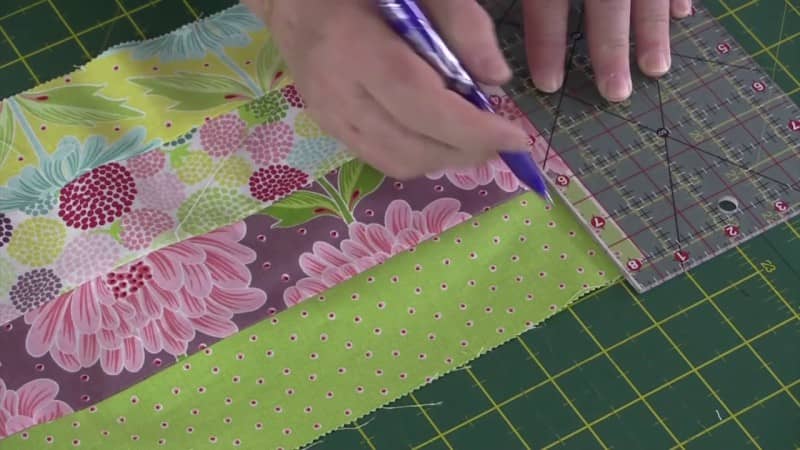
You can see the line drawn here.
Once you have the half inch lines drawn on the short ends of the strips, it’s time to fold the ends up and press them over. This will create a nice neat folded edge.
Place the fabric strip on the ironing board, with the marked line facing up. Carefully fold the fabric over the marked line, using the line as a guide. Once the fabric is neatly folded over, press it in place.
Repeat this process for all the fabric strips, ensuring each one has a neat edge created by folding and ironing. Take your time with this step, as it is important to create clean and crisp edges on all the strips.
Step 3: Add Insul-brite and Batting
Now that you have your main fabric piece ready, it’s time to add some insulation to make your project.
We need to cut one piece of insul-brite and one piece of batting. We used the strip pieces (with the ends that we have previously pressed with the ends folded in) as a template to cut the insul-brite and batting. But you can measure your pieces and cut the insul-brite and batting approx 1″ shorter than your strips of fabric.
Note : You want the insul-brite and the batting pieces to be approx 1″ shorter than your main fabric pieces.
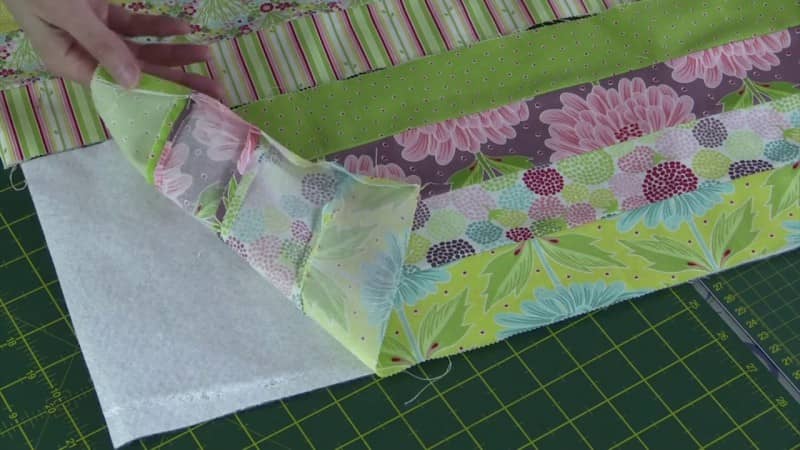
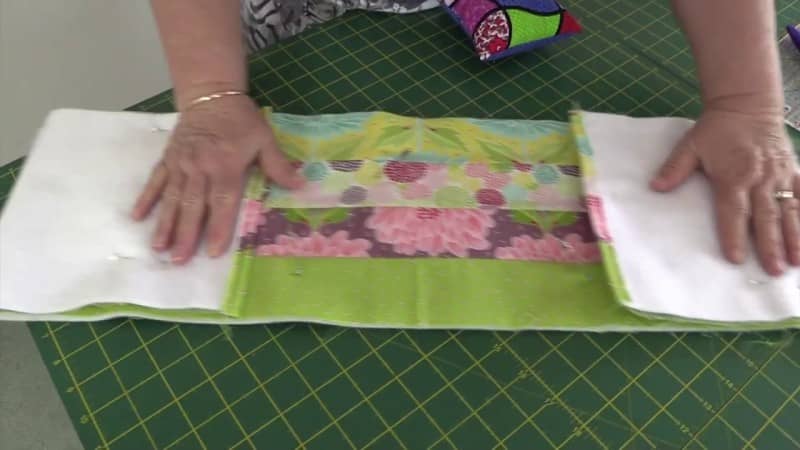
Now we lay the insul-brite or the batting, depending on which piece you are working with, so that it lays along the fold line on the short edge of the strip.
Fold the excess back over the insul-brite or backing.
Pin all the layers in place, and sew along the folded edge . You can see the result in the image below.
Step 4: Creating Pockets
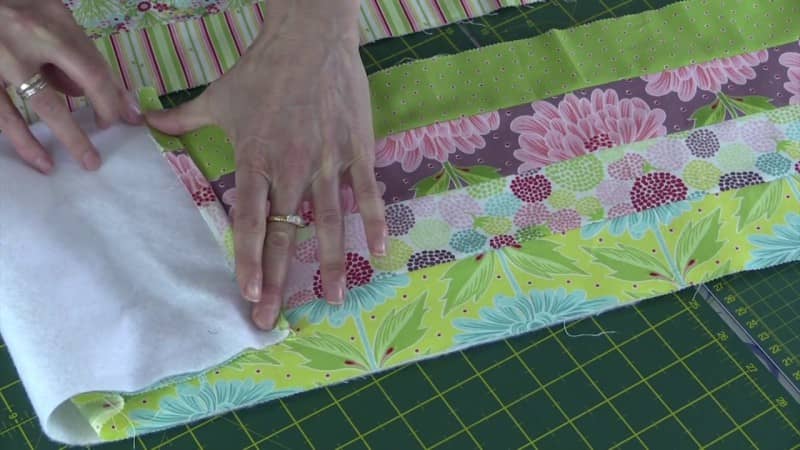
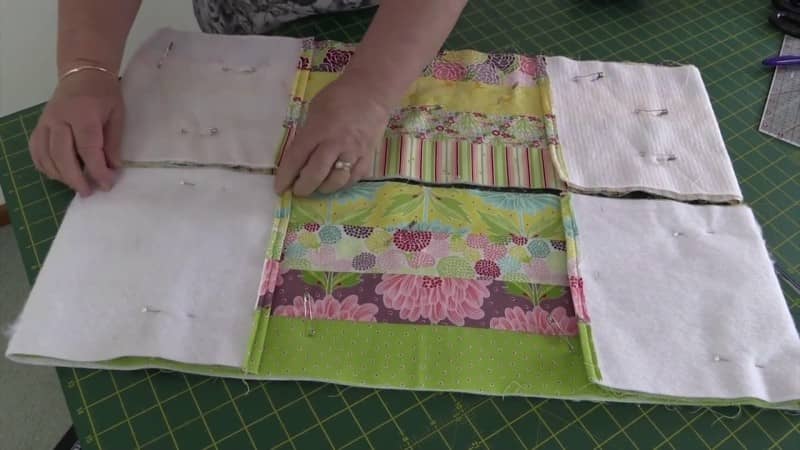
We will work with each strip separately. Take one strip with either the batting or insul-brite attached and pin the layers in place. You can quilt or ditch stitch the pieces together at this stage.
Measure 8 inches from the edge of the fabric and mark this point. This will be the top of your pocket. Repeat this process on both ends of the strip..

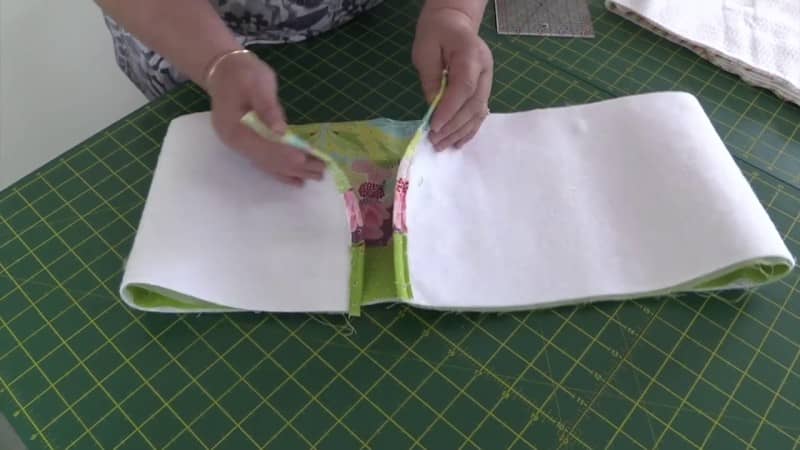
Once you have marked the top of each pocket, it’s time to fold the fabric to create the pocket. Fold the fabric along the 8″ mark, so that you have the right sides facing and pin it in place.
Repeat this at the other end of the strip.
This is what it will look like.
Now that your pockets are securely pinned, it’s time to sew them in place. Note that I have pinned well in from the edge. I want the pins to hold the pieces in place but leave me enough room to sew my seam without the pins being anywhere near the needle. We don’t want to break a needle, especially when we can avoid it.
Lay one piece on top of the other with the right sides facing.
We will be sewing all the way down the long edges, through all the layers.
NOTE: DO NOT SEW ALONG THE SHORT EDGES.
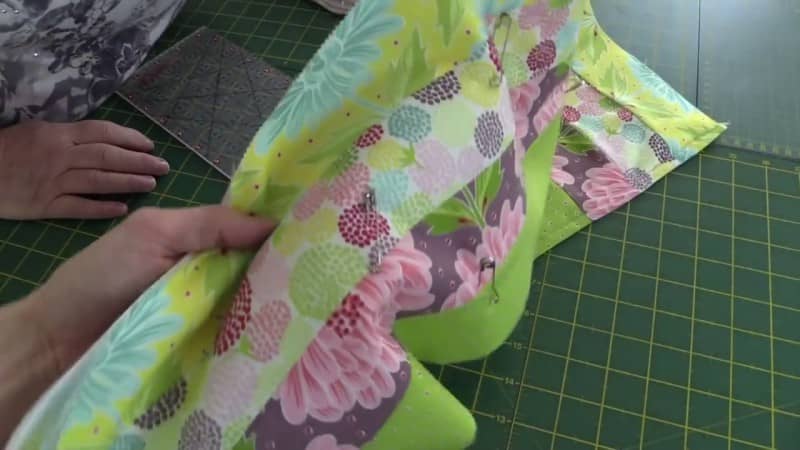
Pin the two pieces together and make sure that pocket pieces line up nicely together. I have to say that I am the queen of the pins, especially when it comes to keeping things lined up and matching.
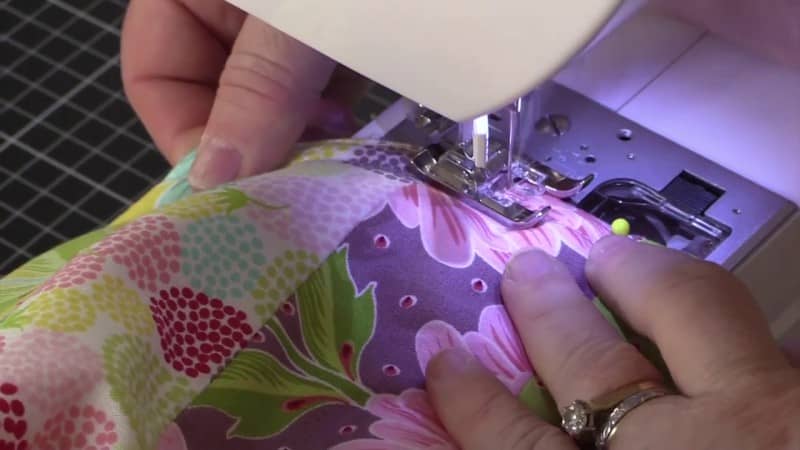
It helps to use a walking foot, when sewing this many layers together.
I started and ended with a backstitch.
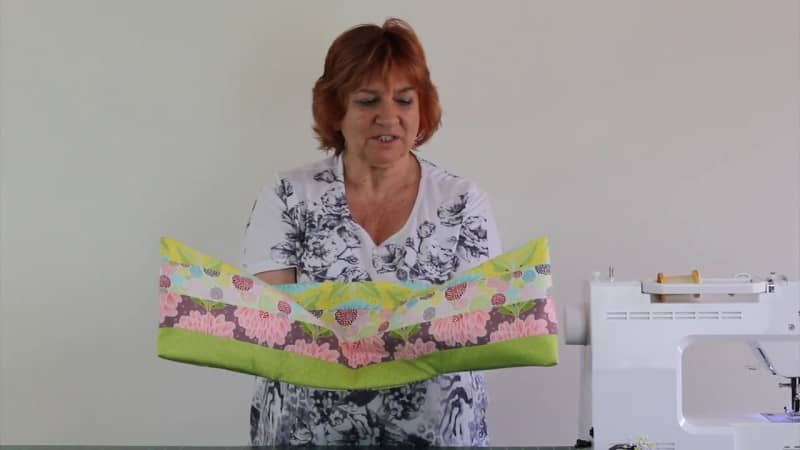
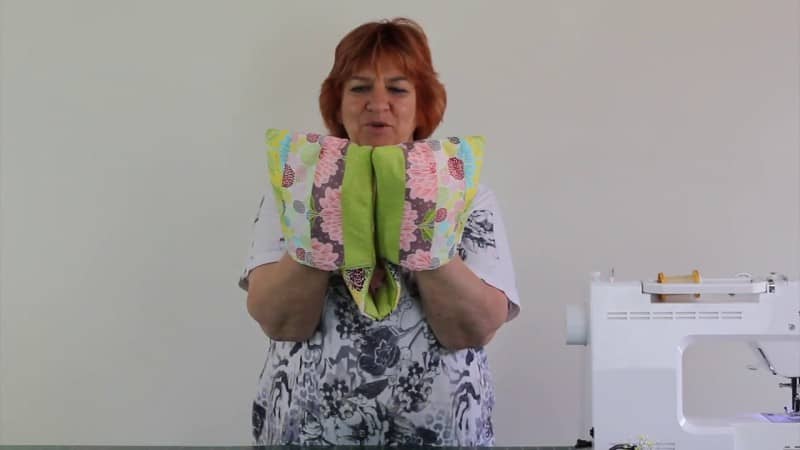
You now have a tube. This would make a really nice muff to keep your hands warm in winter.
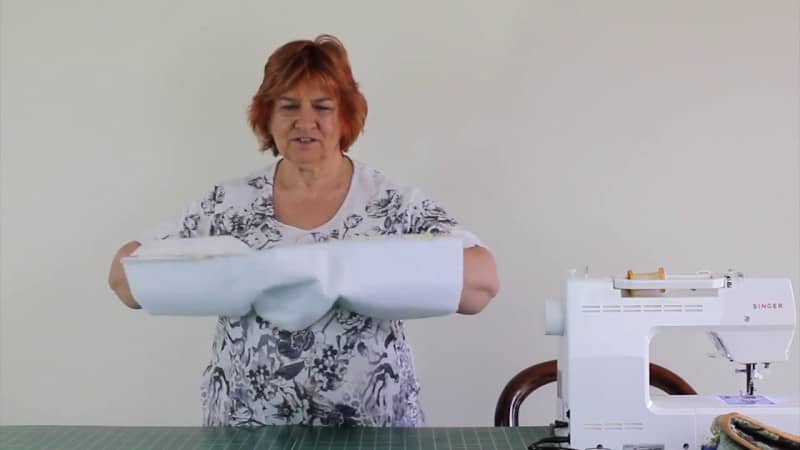
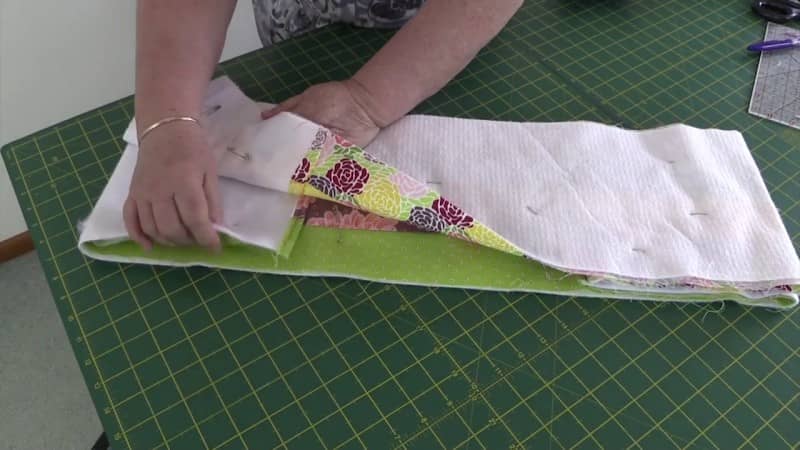
So now we need to turn it through.
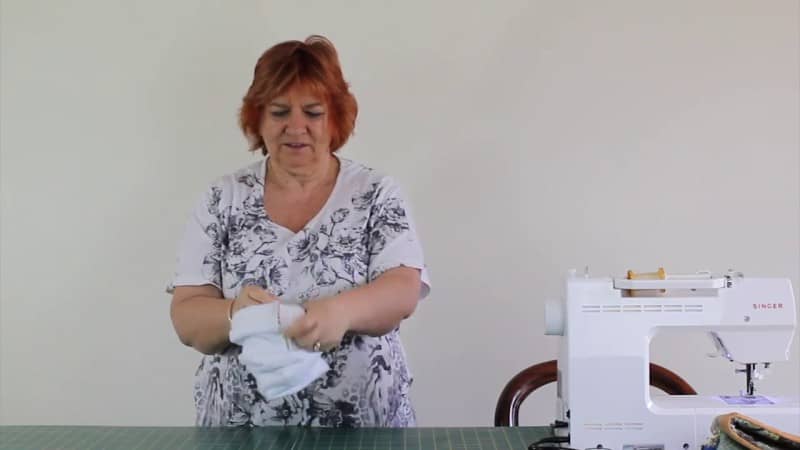
Now that you have it turned through it’s time to remove the pins.

We have an opening at the end and we will just reach up on one side and pull the pocket piece through.
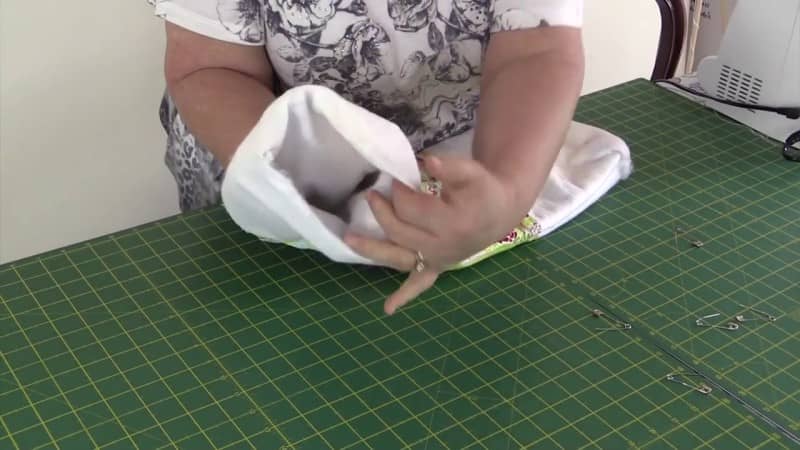
Just reach in and grab the end.

Keep working with it until the pocket is turned through completely.
Repeat the process on the other end.
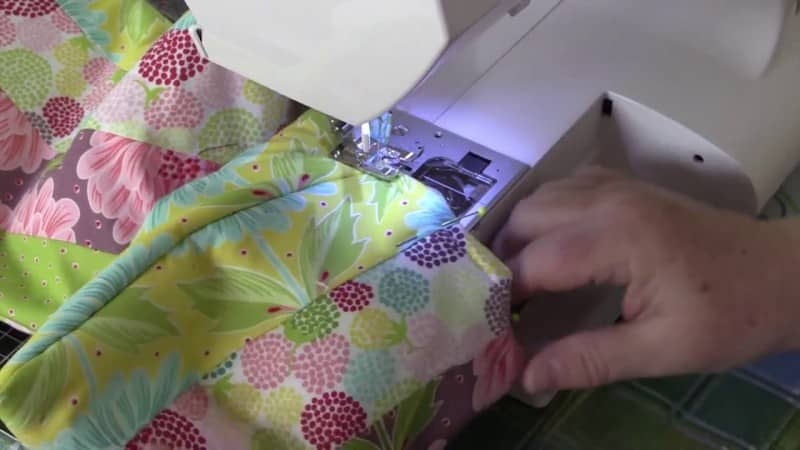
Step 5: Finishing the Mitt
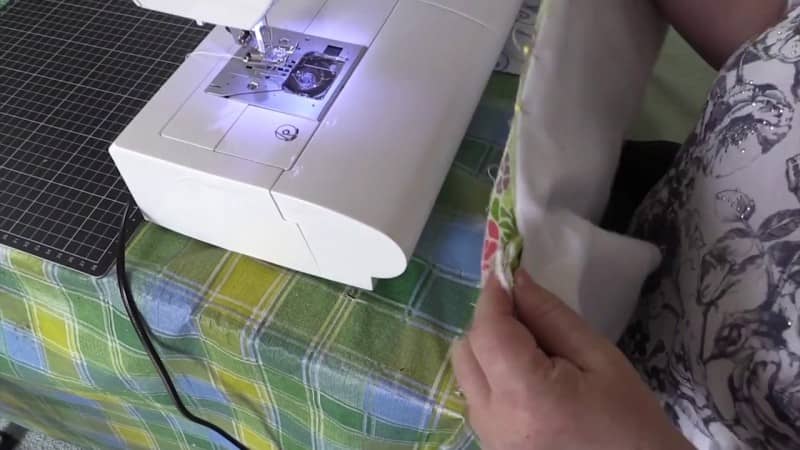
Now we just need to topstitch across the top of both pockets to close the opening.
I have removed the table part of my sewing machine to make this step a little easier although you can do it with the table on, it just takes a little more effort to get the piece into place so you can sew it together while keeping the edges lined up. Pins of course will definitely help.
I’m just starting at the seam line and I will sew across to the other seam. Start and end with a small backstitch or a tie off stitch if your machine does that.
Sew close to the edge, this is just to close the opening and hold the two pieces together..
So there you are, our Oven Mitts are all finished and I think they look really nice with these Moda strips.
Personalize Your Mitts
For a fun and creative way to add a personal touch to your kitchen, use fabric that matches your kitchen decor. Not only are oven mitts a practical addition to your cooking arsenal, but they also make unique and thoughtful gifts for your fiends and family.
One way to make your oven mitts extra special is by using festive jelly roll strips. Jelly roll strips are pre-cut fabric strips that come in a variety of patterns and colors. They’re perfect for adding a pop of holiday cheer to your mitts. Simply choose a jelly roll strip that matches your theme or personal style. Or you can cut your own 2½” strips from fabric you have on hand.
Make sure to use either a couple of layers of batting or a layer of batting and a layer of Insul-brite to your oven mitts for extra protection, making them heat-resistant and durable. This will ensure that your oven mitts not only look great but will also protect your hands from hot pots and pans.
So there’s no need to settle for plain and boring oven mitts with all the lovely fabric that is available. Be as creative as you like and personalize to match your kitchen decor.