Envelope Cushion Cover from One Piece of Fabric – Easiest Cushion Cover Ever
This is the easiest cushion cover you will ever make, trust me. I ran these three up in no time at all.
These cushion covers are made from just one piece of fabric. So you can showcase off those pretty pieces of fabric you have on hand.
Watch the video tutorial below or scroll down for the written instructions
(Can’t see the video? You may have an ad blocker installed.)
What You Need
This will fit a 14″ cushion insert
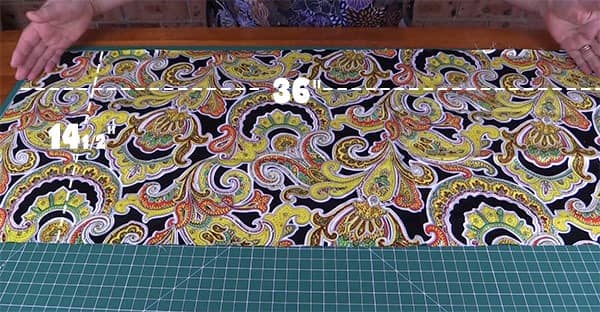
- 1 piece of fabric measuring 14½” x 36″
Formula to Make Other Sized Cushion Covers
I have tested this formula with cushion inserts measuring 14″,16″ and 26″ and this formula should work equally well for other sized inserts.
- For the width of the fabric, you need the size of the cushion insert plus ½”.
- For the length of the fabric, you need (the size of the cushion insert x2) + 8″.
| Size of Cushion Insert | Width of Fabric Calculation | Length of Fabric Calculation |
|---|---|---|
| 12" | 12" + 1/2" = 12 1/2" | (size of cushion x 2) + 8" = 32" |
| 14" | 14" + 1/2" = 14 1/2" | (size of cushion x 2) + 8" = 36" |
| 16" | 16" + 1/2" = 16 1/2" | (size of cushion x 2) + 8" = 40" |
| 18" | 18" + 1/2" = 18 1/2" | (size of cushion x 2) + 8 = 44" |
| 20" | 20" + 1/2" = 20 1/2" | (size of cushion x 2) + 8" = 48" |
| 26" | 26" + 1/2" = 26 1/2" | (size of cushion x 2) + 8" = 60" |
TOOLS USED IN THIS TUTORIAL
You can check the latest prices at Amazon by clicking on the links below:
- Creative Grids Ruler 8½” x 24½”
- Olfa 24″ x 36″ double-sided healing mat
- Olfa 60mm rotary cutter
- Oliso Iron
- Gutermann Sew-All thread
Method
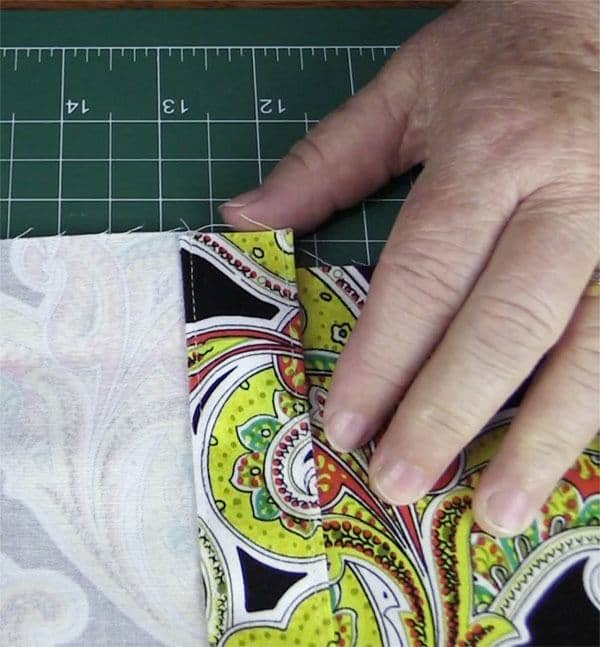
- Lay the fabric down and draw a ¼” line from the edge of each of the short edges. Use a Frixion pen or water erasable pen. (DO NOT USE a BallPoint Pen) . You can eyeball the ¼” if you wish, I personally prefer to draw a line so I know it’s straight.
- Add a 1″ line from the ¼” line.
- Fold the fabric along the ¼” line that you have drawn and press.

- Then fold over the 1″ line and press.
- Sew about an1/8th of an inch along the top edge and also along the edge of the 1″ fold.
- Do this for both ends.
- This gives a nice neat finish to our turn-ups on the cushion back
- Fold the material in half.
- Finger press or give the folded material a quick press just to give you a centerline crease to work with.
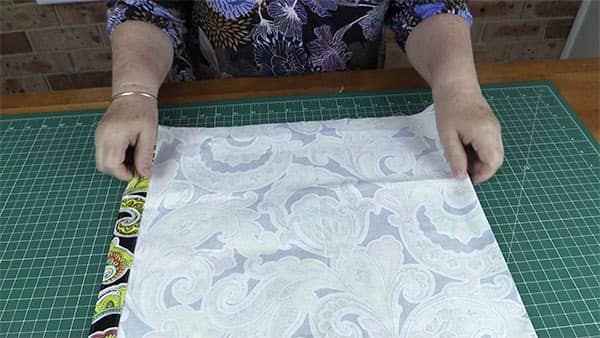
- The fabric should be facing right side up.
- Lay the center crease line along a line on your mat, any line will do. I used the 16″ mark.
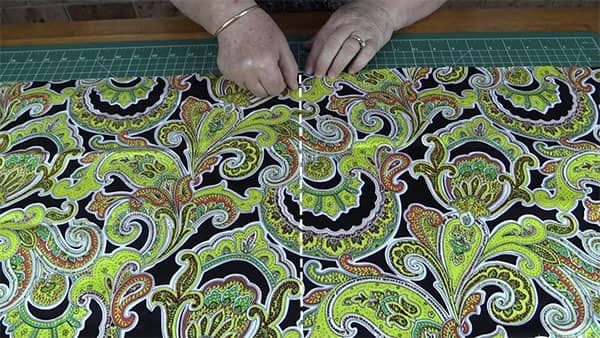
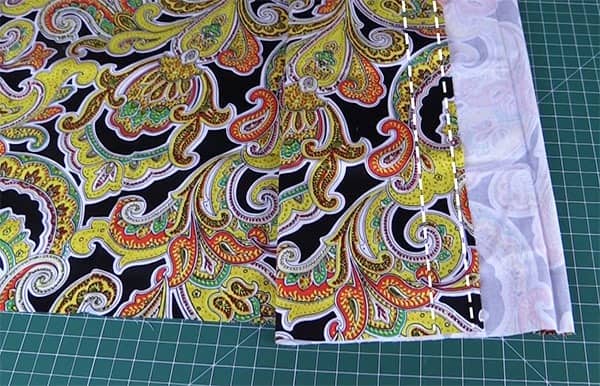
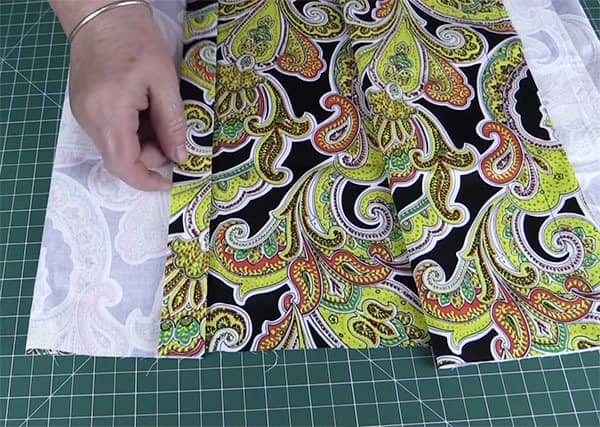
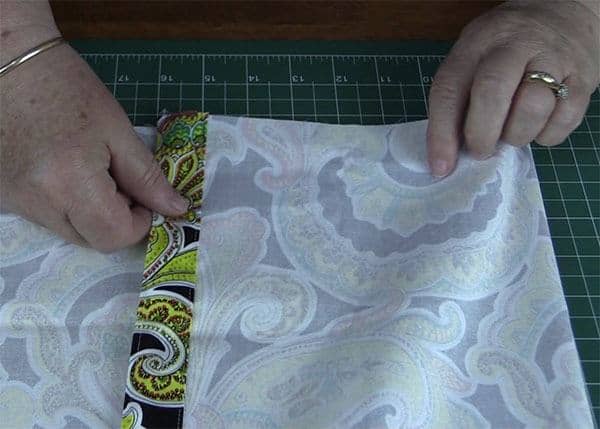
- Bring up one of the ends and lay it, right side facing down, so that the folded edge overlaps the creased center line by 4″.

- Since mine is lined up on the 16″ mark, I will bring my fabric edge over to the 12″ mark.
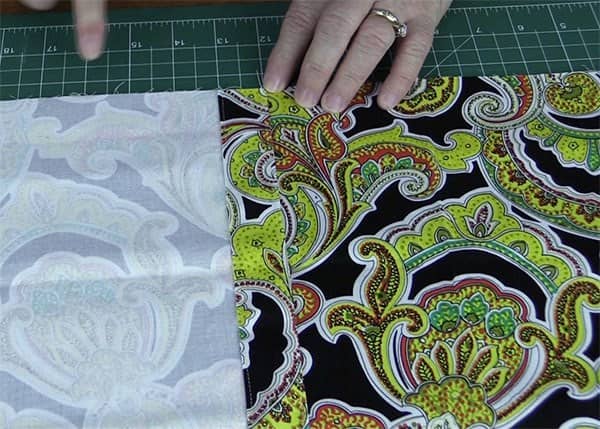
- Bring up the other end and lay it so that it overlaps the other end and the middle line by 4″ .
- Watch the video above if this part seems a little confusing.
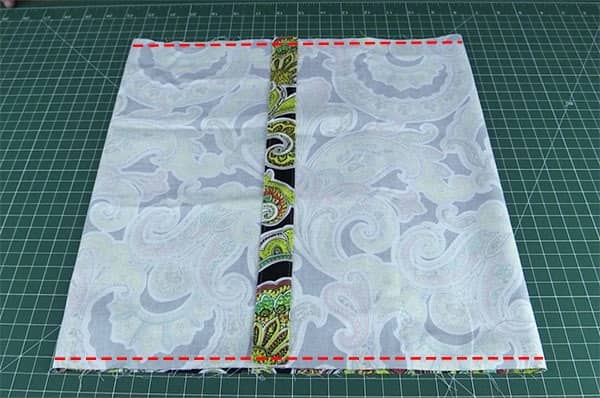
- Sew both sides together with a ¼” seam. Backstitch at the beginning and the end of each row.
- You are now ready to turn the cushion cover through.
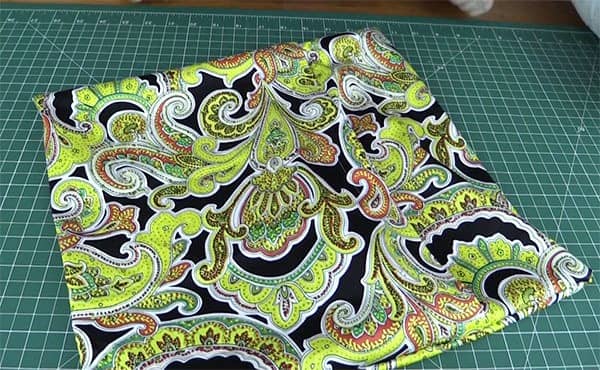
- Just insert your 14″ cushion and you are done.

See I told you it was the easiest cushion cover you were ever going to make.