Quilt-as-You-Go Scrap Buster Placemat Tutorial
Do you find yourself with more scraps than you know what to do with? Well, in this tutorial we are going to be making use of some of those fabric scraps with a fun and practical quilt-as-you-go sewing project.
And the best part? You don’t need a pattern for this one – just your creativity and a handful of scraps.
This project is perfect for quilters of all levels from beginners to experienced and is a wonderful way to experiment with different colour combinations and fabric patterns making it truly unique.
This is a fun and simple sewing project, so let’s get started.

Finished Size
Approx: 12″ x 18″ (NOTE: As this is a scrap project, your finished size may vary) In fact you can make it to whatever size suits you.
What You Need
- Fabric Scraps (for main section)
- 2 strips fabric each measuring 1½” x 19″ (for sashing)
- 2 strips fabric each measuring 2½” x 19″ (for borders)
- 2 strips fabric each measuring 2¼” x width of fabric (for binding)
- 1 piece fabric measuring 19″ x 20″ (for the backing)
- 1 piece batting measuring 19″ x 20″ (for the batting)
Tools Used in the Video
- Olfa Rotary Cutter 60mm
- Creative Grids CGR612 6-1/2in x 12-1/2in Ruler
- Creative Grids CGR824 8-1/2in x 24-1/2in Ruler
- Cricut Self Healing Grey Mat
- 505 Fabric Adhesive Spray
- Panasonic NI-WL600 Cordless Iron
- Juki 2010QP Sewing Machine
- Frixion Pen
Watch the Step-by-Step Tutorial Below or Scroll down for Written Instructions
Can’t see the video? You may have an ad blocker installed. Click here to watch on YouTube
Step 1: Cut your fabric scraps
The first thing you need to do is cut your scraps into strips that measure 6 ½” in height. The width doesn’t matter too much although I suggest not going any less that 1”. Mine measured anywhere between 1” to 2 ¾”
Now, the scraps I am using today were sent to us from Cotton Cuts. We are going to be part of their latest Puzzle Mystery Quilt with the Wild West theme and these were the scraps that match the Dusty Rose colour way that we chose.
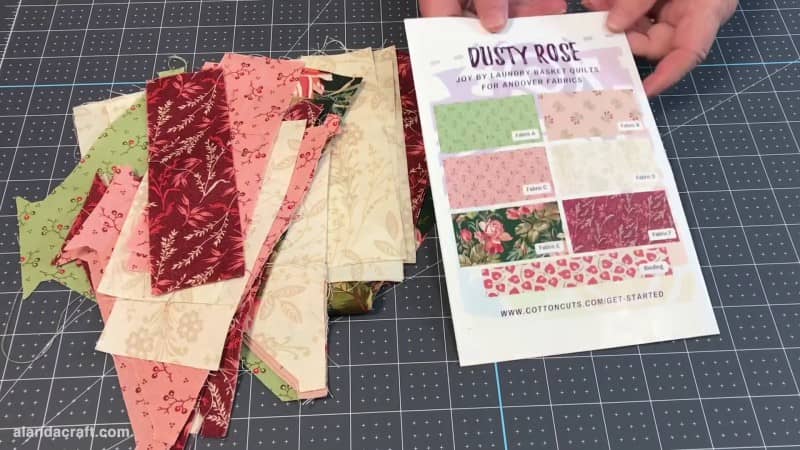
If you want to know more about the Puzzle Mystery Quilt project click here, but essentially it is a subscription based project where you receive pre-cut fabric pieces and instructions each month for ten months. You assemble the pieces like a puzzle and in the final month you get the key to complete a beautiful quilt top.
Step 2: Prepare the Backing & Batting
The next thing we need to do is cut a piece of backing fabric and a piece of batting that both measure about 20” x 19”.

And you’ll notice that I have drawn some lines along the batting. To do that I just found the centre of the batting by folding it in half lengthwise and then crosswise to form a crease and then made a mark with my Frixion pen.
And then because my fabric scrap pieces measure 6 ½”, I measured 3 ¼” from the center and drew a line and I did the same on the other side.
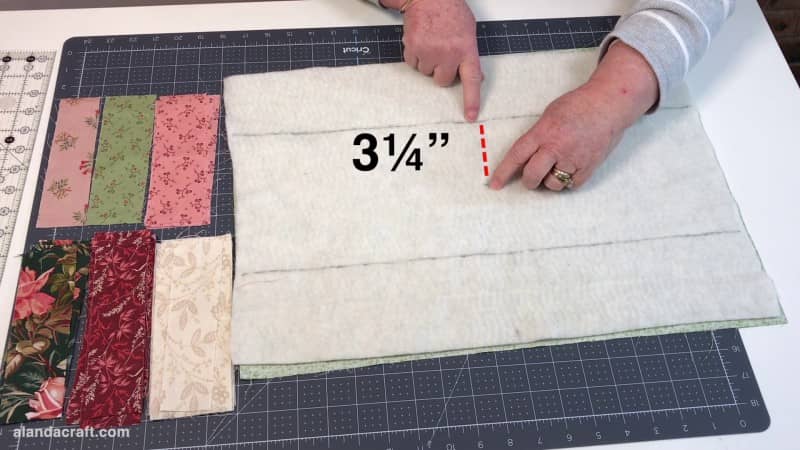

This is really just to give us a guide for when we are sewing the scraps on so that everything lines up and we don’t veer off too much.
Step 3: Optional
Now this part is purely optional but I like to use a fabric adhesive spray to keep the batting and backing together but it will still work without it so don’t feel like you have to go out and spend money on this. I made the first 3 without using any spray.
The spray that I use is 505 adhesive spray. I’ve been using it for years now to keep my quilt layers in place and it works well.
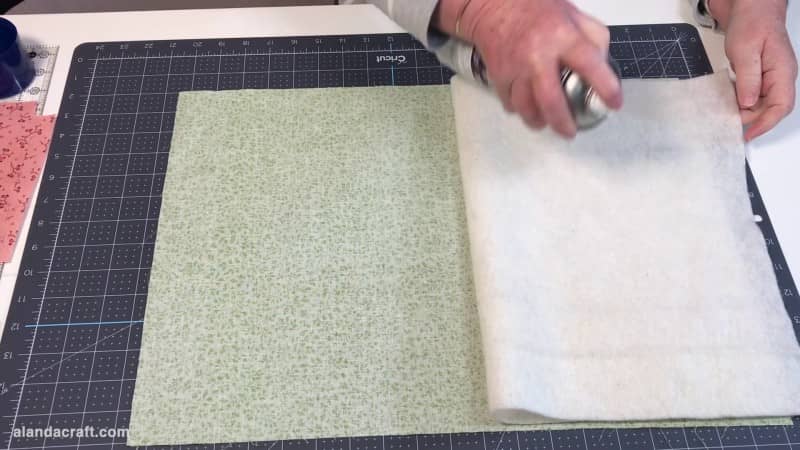
But if you have some adhesive spray then all you need to do is spray the batting with a small amount and then smooth everything down. I also like to give it a press as well so that everything is nice and smooth.
Step 4: It’s time to quilt as you go!
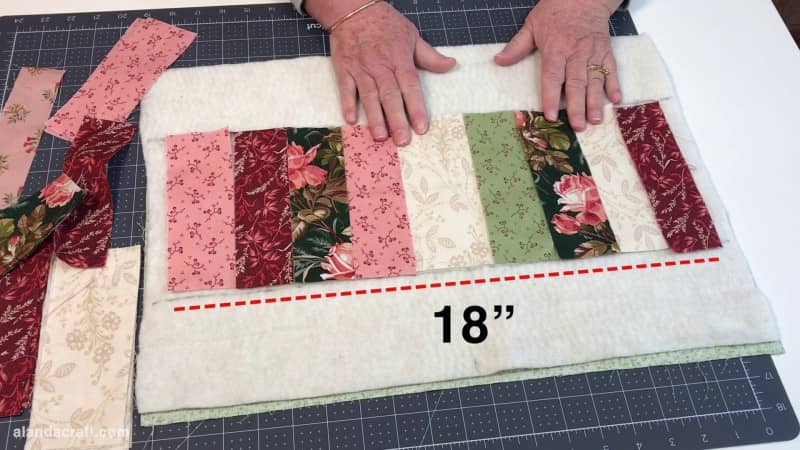
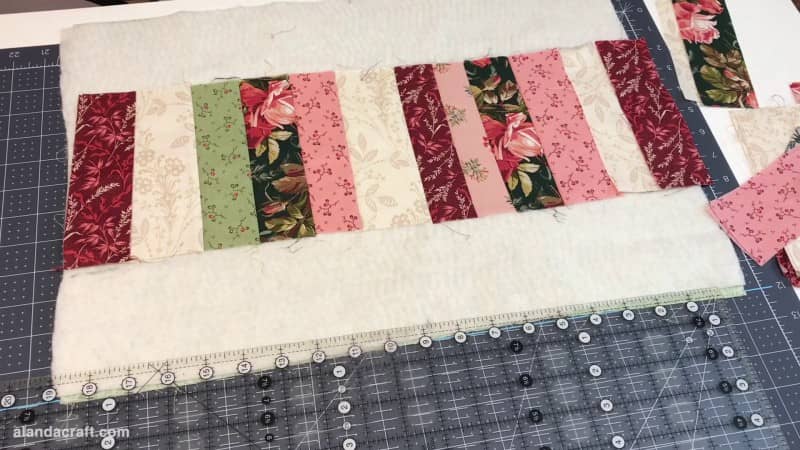
Now the fun part begins. This is where you get to place your fabric pieces. I like to audition the pieces first by laying them across the batting. This just gives me a basic idea of how I want it to look and how many pieces I will need for my place mat.
I will probably come back and add more after I have sewn the first lot down, as the seams will make these all smaller but the goal is to get about 18” across.
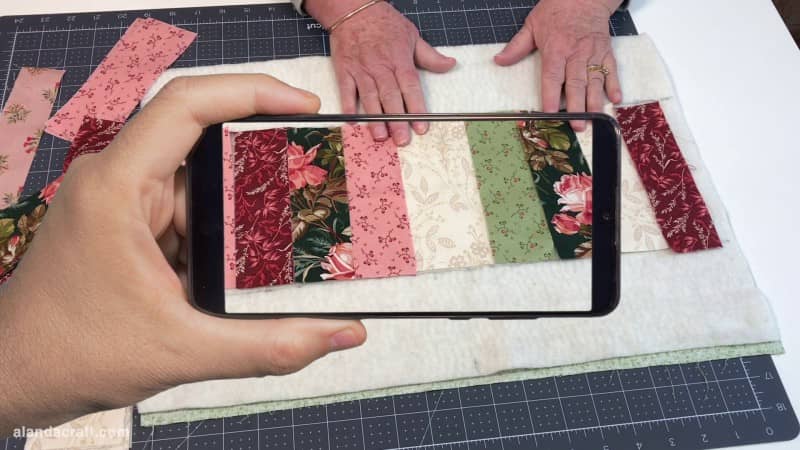
And once I have the look I want, I will usually take a photo with my iPhone so that I don’t forget how it looks and then I will remove the pieces.
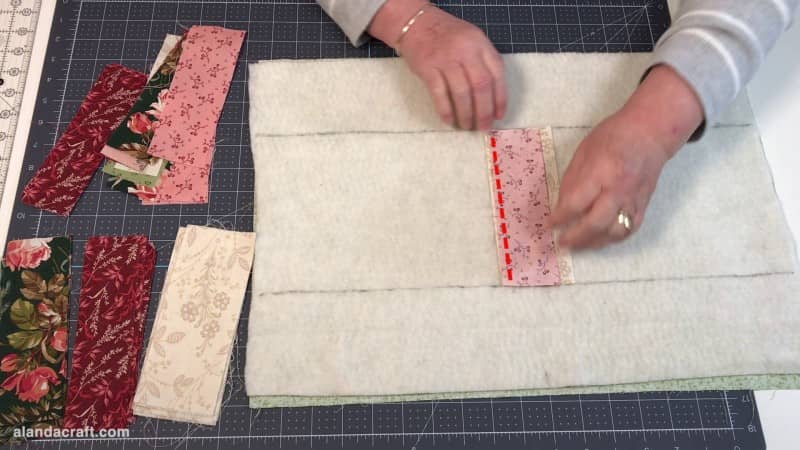
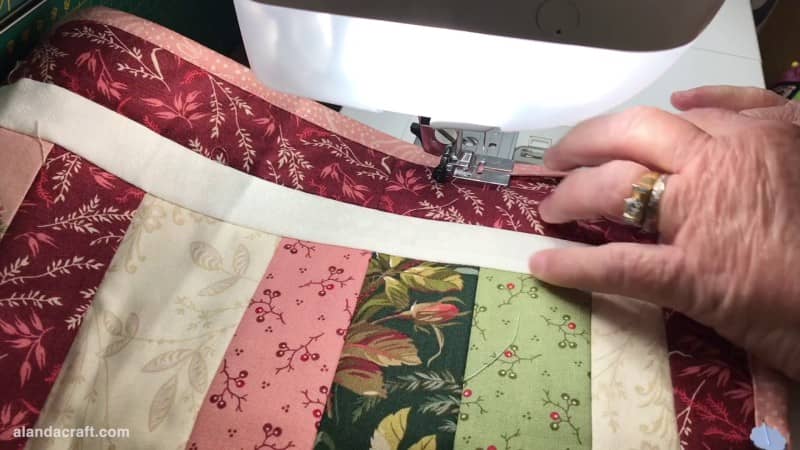
So I will take the first piece and lay it down and line it up nicely and then place the second piece over the top and sew along the edge with a quarter inch seam.
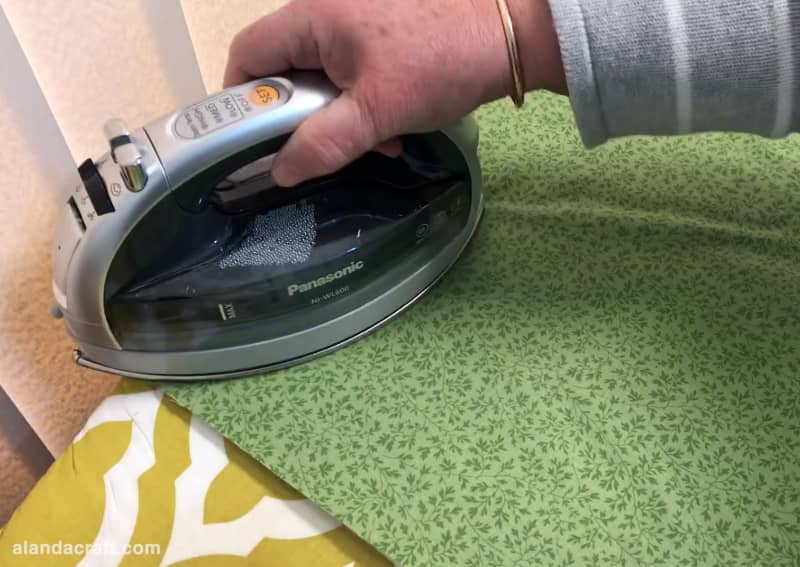
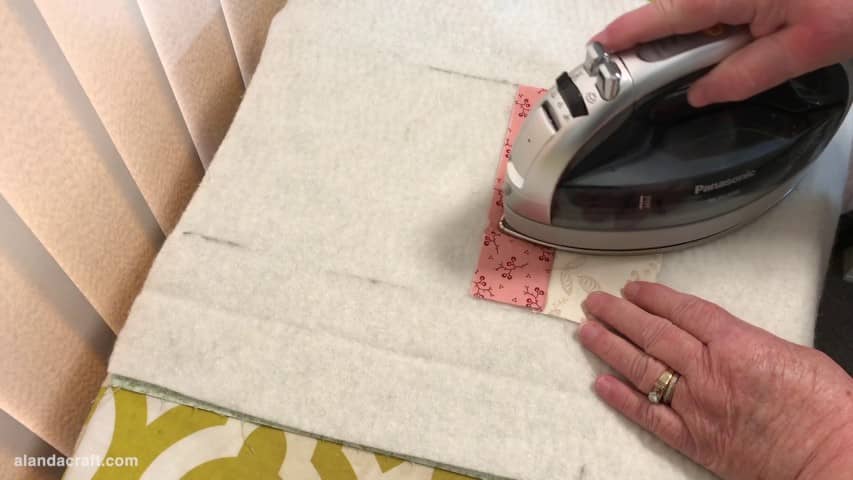
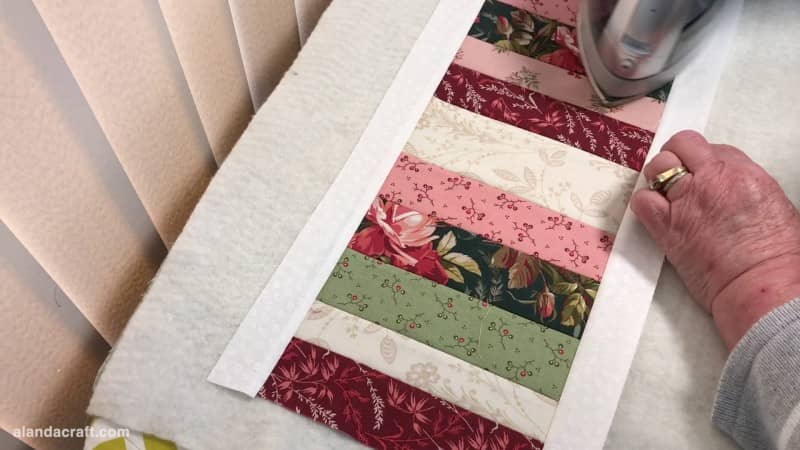
I always like to press the strips open before adding the next one but just don’t go too heavy handed here as it could stretch the batting. You can also just finger press the seam open or use one of those handy roller gadgets. But I find it just as easy to press with the iron.
Once the first piece is attached you can add the next piece and do exactly the same thing. Just place it on top of the other piece and sew with a quarter inch seam.
If you are using a Frixion pen like me, you need to be careful on how you use your iron as it will remove the marks you made which is exactly what happened to me so I had to draw them on again.
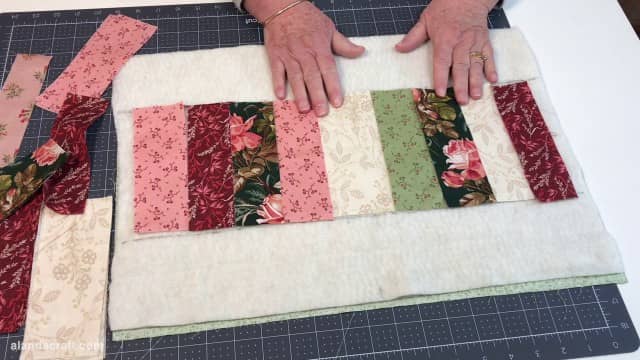
And now you just need to continue adding more strips until you get close to the edge and then flip the piece around and start from the other direction and just repeat the same process until you get close to the edge.
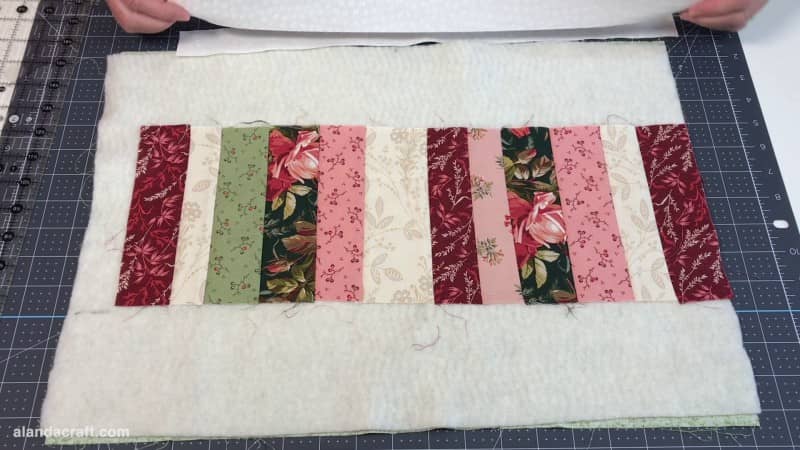
Once that is done, I’m going to iron the back and check everything is looking okay and then I will measure the width and ideally I want it to be at least 18” plus a little extra as we will be trimming this back. If your is less than 18″ just add more strips until you get to just over 18″.
You can see I have sewn all of the pieces on and despite my best efforts it still veered off, however it will all come good in the end so don’t panic if this happens to you. Obviously you don’t want it to be too crooked but if it looks something like mine it will work.
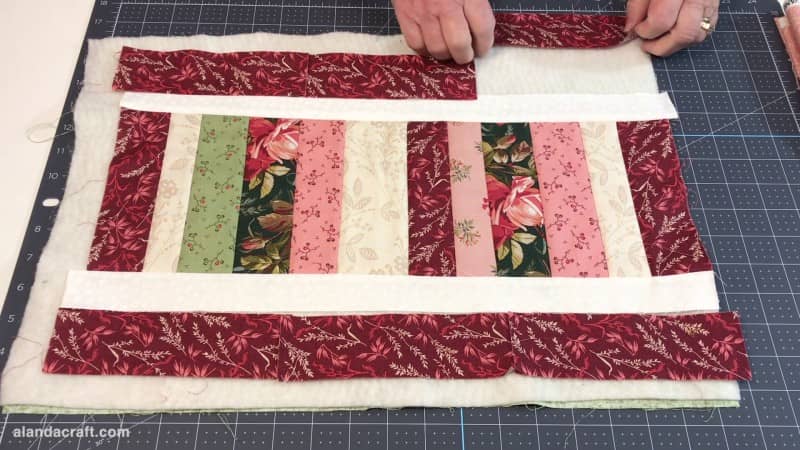
Step 5: Sew on the Sashing Pieces
The next step is to sew on the sashing pieces and these measure 1 ½” by about 19”.
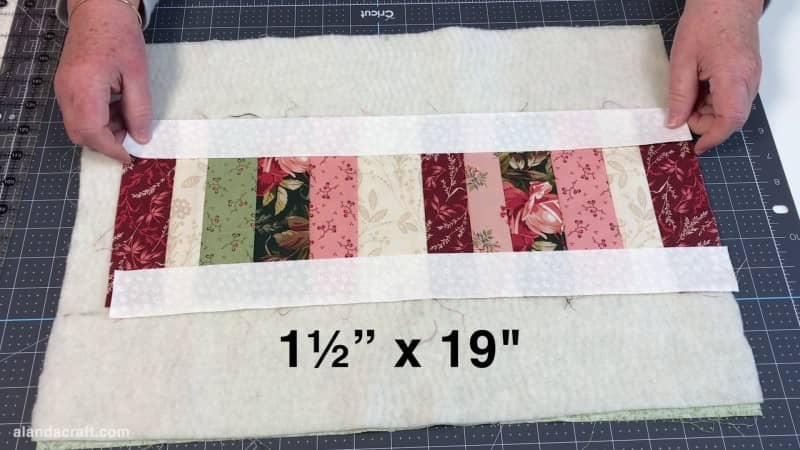
And once sewn on I just press them open.
Step 6: Sew on the Border Pieces
Now we are ready to add some border pieces and you can do this in one of two ways.
You can use a full 2 ½” strip like the one you see in the image below or if you’re like me and don’t have a full strip of anything in your colours, you can just join some pieces together and that will make the border.
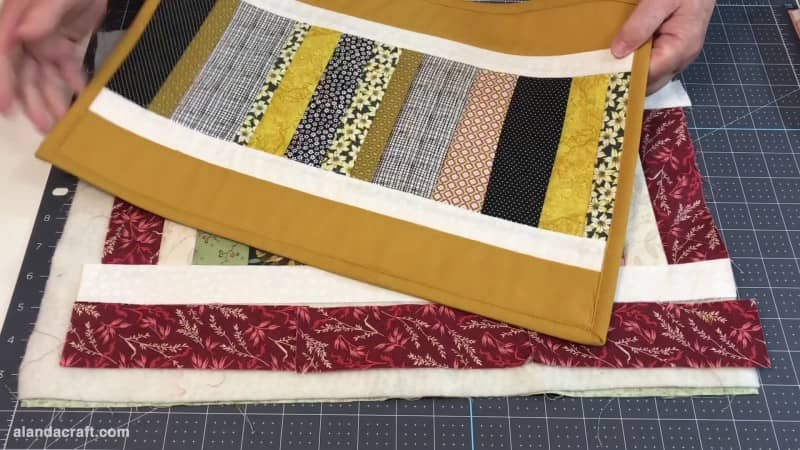
If you don’t have a full piece for the border just sew your pieces together with a ¼” seam to form a long strip.
Attach the border to the sashing with a quarter inch seam.
Step 7: Trim the Placemat
Now that the borders are attached I’m going to trim my piece. So I’ll line up my ruler along the seam line and then trim that back.
And then I’ll repeat that on the other end and then I’ll trim along the long sides.
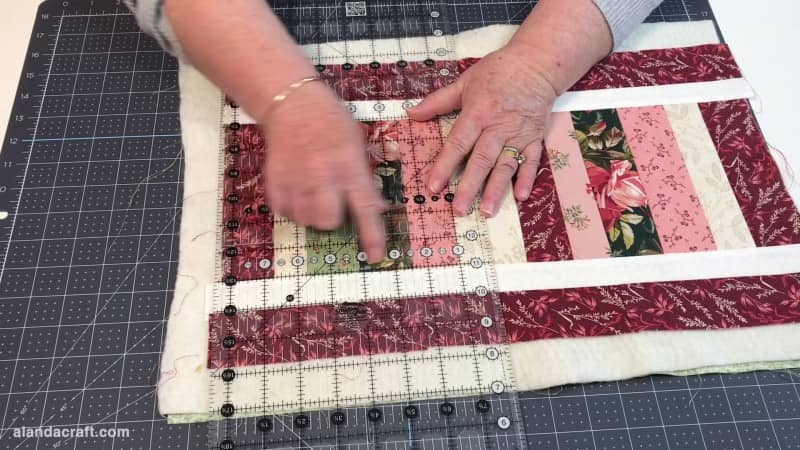
Just take your time with it and if it’s a bit wonky just tug at the edges if you need to in order to get everything straight.
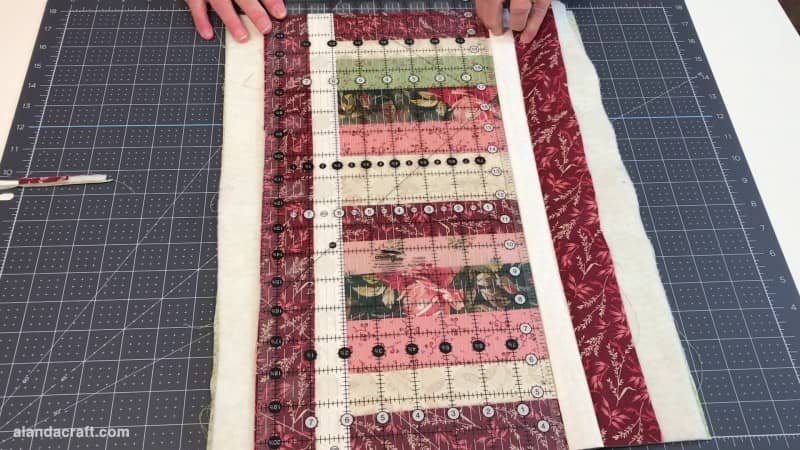
You can measure the final result to see if it is the size to suit you. If not, just trim a little more if needed. I ended up trimming a ¼” off each side to get the size I wanted.
Step 8: Add the Binding
You are now ready to add the binding. If you need to know how to do this we have a full step-by-step tutorial on how to add binding to a placemat or tablerunner.
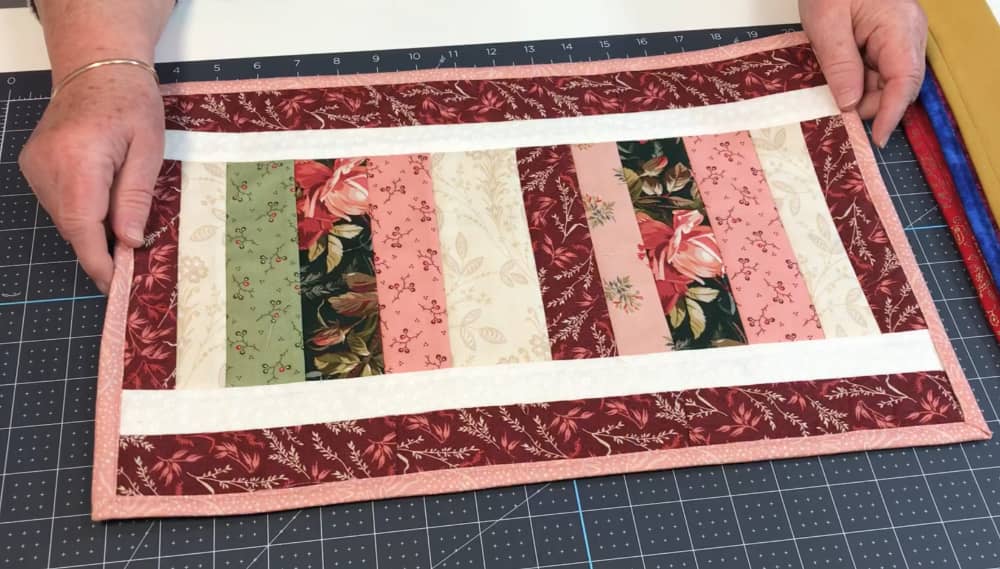
Our placemat is complete.
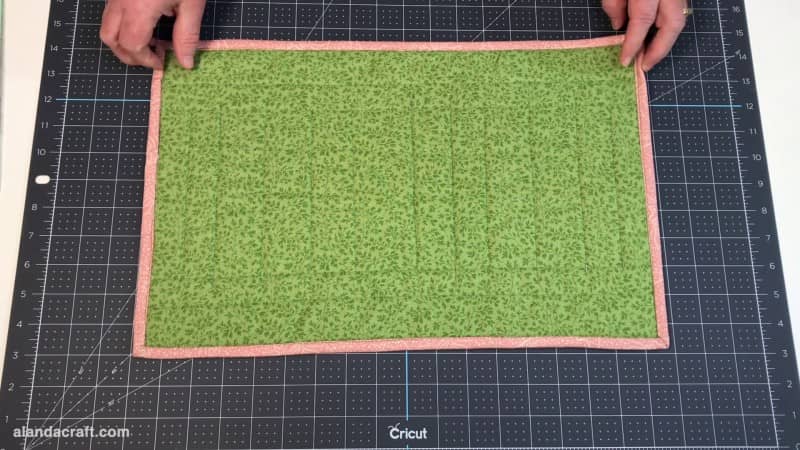
The Final Result!

I wasn’t really happy with the green backing but it was all I could find in my scrap pile that sort of went with the colours in the strips. And then I found a large piece of pink fabric that I used for the binding and wished I had found it sooner as it would have looked really nice. However, the green looks okay now that the binding is on.
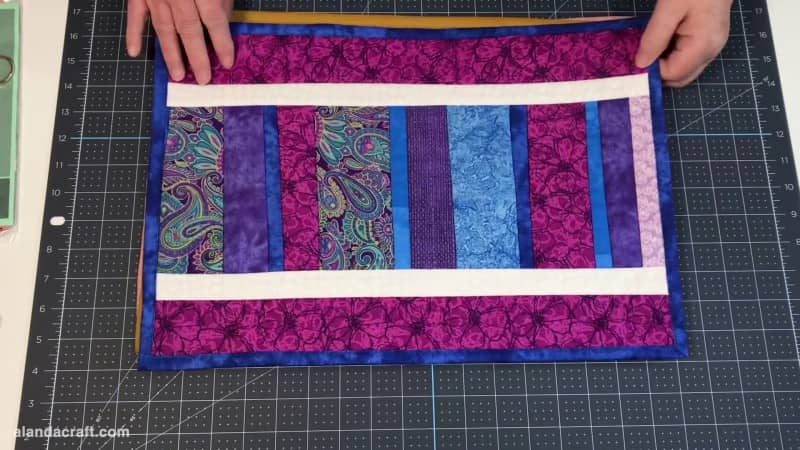
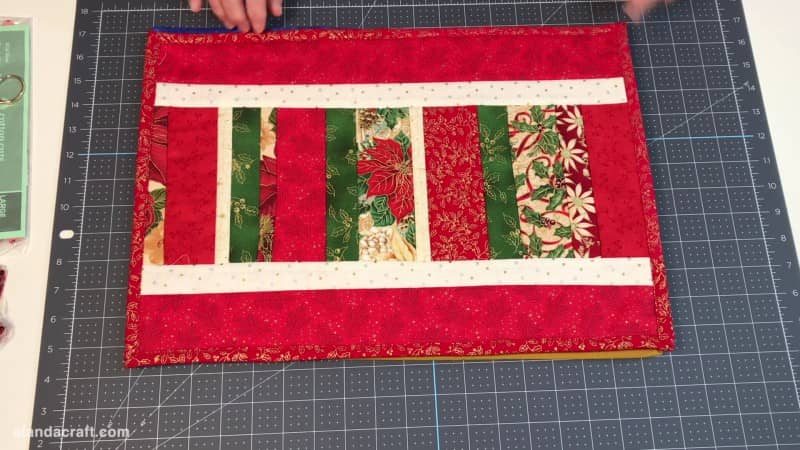
And here are a few of the other ones I made in various colour combinations and I even made a Christmas one. So you can use up some of those Xmas fabrics you have in your stash for gifts.