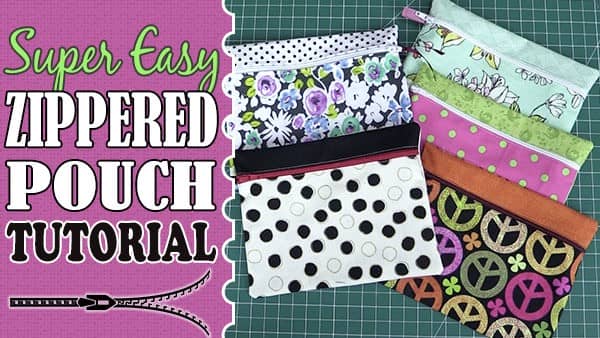
Super Easy Zippered Pouch Tutorial – (Zippered Purse)
let’s get started…
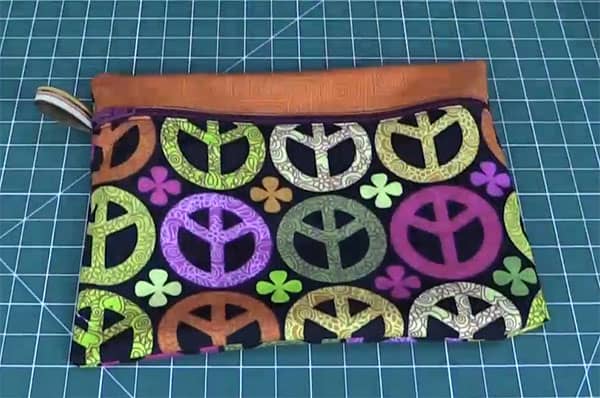
If you have been wanting to create a zippered purse or pouch but have been a little too hesitant because you haven’t sewn a zip into a pouch before, then this is the tutorial for you. This is a super easy zippered pouch and once you have created your first one, you will fly through them. You can make these zippered pouches from your fabric stash and they make great gifts.
Watch the video tutorial below or scroll down for the written instructions
What You Need
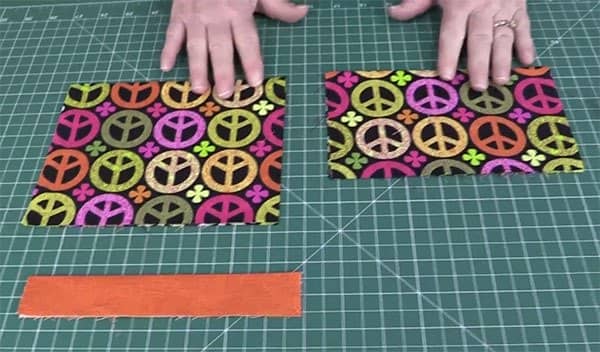
- 1 pc fabric @ 7 ½” x 9″ (front bottom piece)
- 1 pc fabric @ 7 ½” x 2 ½” (front top piece)
- 1 pc fabric @ 7 ½” x 12″ (back piece)
- 1 zipper @ 10″
- A small piece of ribbon – approx 3 or 4 inches.
TOOLS USED IN THIS TUTORIAL
You can check the latest prices at Amazon by clicking on the links below:
- Olfa 24″ x 36″ double sided healing mat
- Olfa 60mm rotary cutter
- 10″ Zippers
- Make-A-Zipper
- Oliso Iron
- Gutermann Sew All thread
-
American Crafts Grosgrain Ribbon
Method
- Start by folding each piece of fabric in half and press.
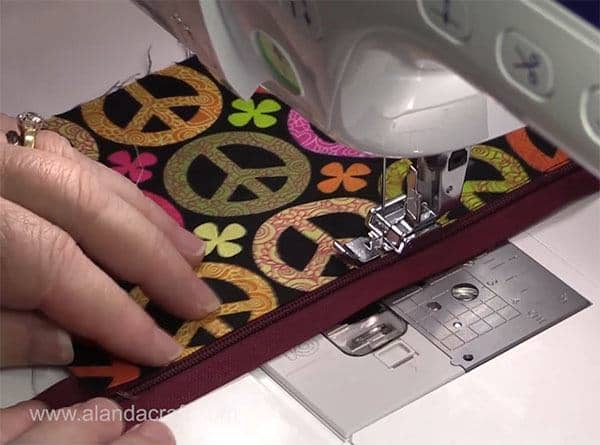
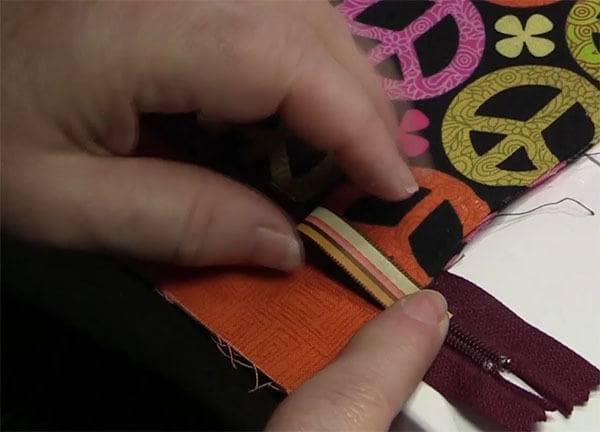
- Take the front bottom piece and place the folded edge up against the teeth of the zipper on one side. You can pin this on to hold the zip in place or use a fabric stick which makes things sooo much easier. We use a Lapel Stick and love it.
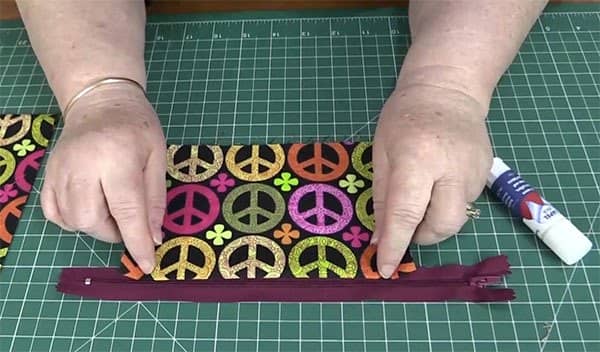
- Sew along the edge using your sewing machine zipper foot.
- Check the video below on how to use a zipper foot if you have never used one before.
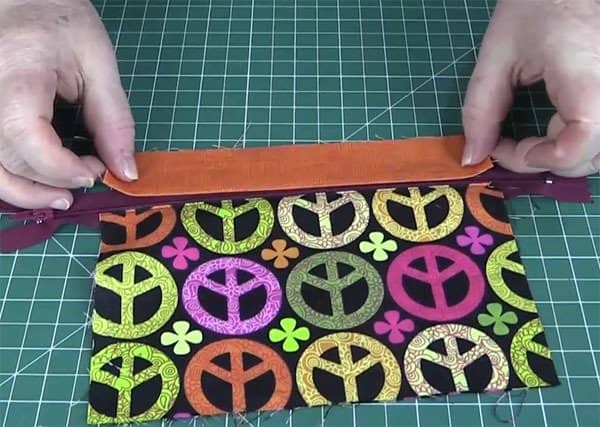
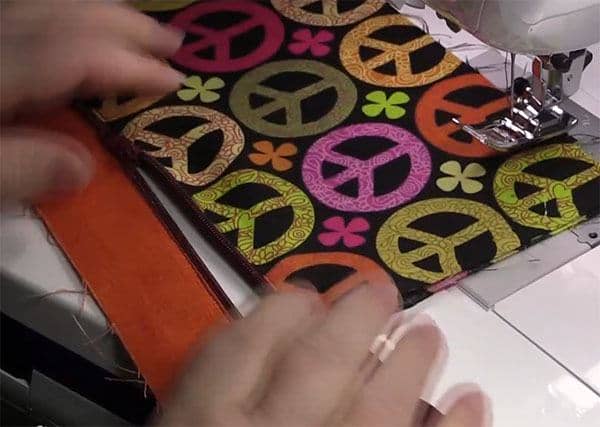
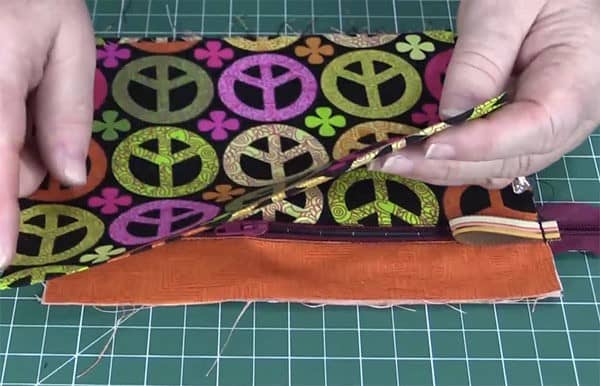
- Now attach the front top piece to the other side of the zip and sew down.
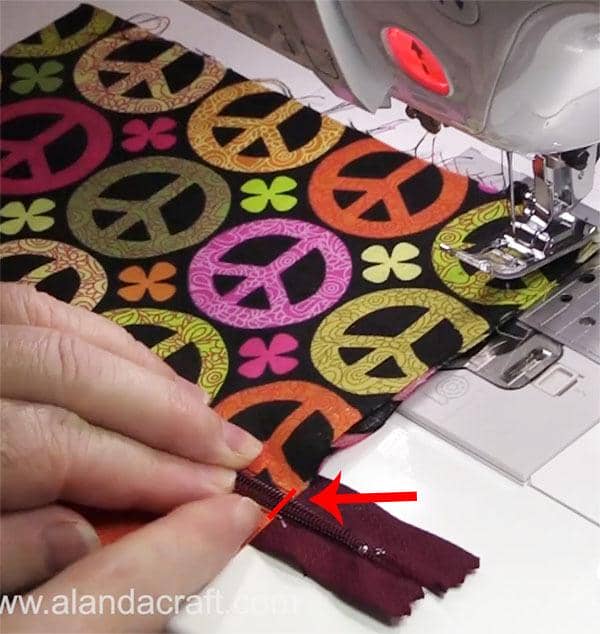
- Open the zipper pull down to about the middle of the pouch.
- Bring the two open ends of the zip together and sew back and forward 2 or 3 times over the top in order to keep the two sides of the zip together.
- See the image below for where you need to sew.
- Check the video below if you need further clarification.
- Take your piece of ribbon and fold it in half. Place it facing in towards the purse and sew to tack in place.
- Place your back piece over the front of the pouch and sew all around the edge using a quarter of an inch seam and sew back and forth over the zip areas on both sides to reinforce the zip.
Make sure you have that zipper opened first as you will not be able to turn the purse through.
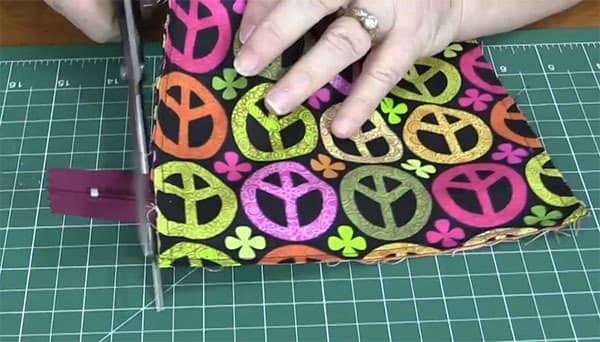
- Once you have sewn the back on, you can trim off the overlapping zip and also trim the corners to reduce the bulk.
- Now turn the pouch through the opening in the zipper. User a pencil or chopstick to push the corners through nicely and give it a good press. You are done!!
Note: Take care to use an ironing cloth or Teflon sheet if you are using a non-metal zipper as the zipper teeth may melt during the ironing process.