How to Embellish a Bag Using HTV – Cut With the xTool M1
Today we are going to look at embellishing some bags using Heat Transfer Vinyl that has been cut with our new xTool M1 Laser & Blade Cutting machine. I have used bags made from different materials – muslin, heavy canvas and furnishing fabric. I am really pleased with the results we are getting with the xTool M1. It cuts the vinyl very cleanly and by using the setting for HTV in the xTool Creative Space software – that guides the machine, we are getting the perfect ‘kiss cut’ each time.
Now bear in mind, we are using the vinyl that came with the machine (we received the deluxe version) so the default vinyl settings work every time. If, however, you were using a different brand of vinyl, you may have to play around with the settings to get it right.
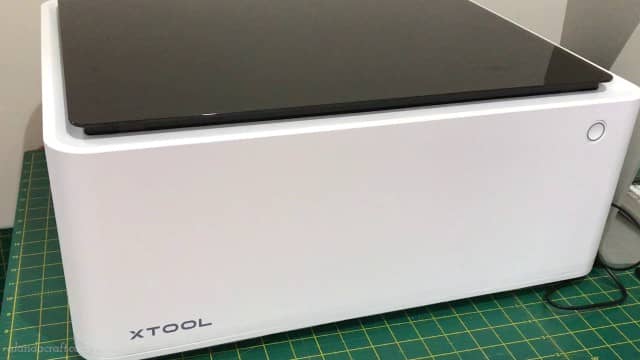
We have moved the machine into the craft room as it doesn’t need to be vented when you are using the blade cutting function. If you go on to do some laser cutting or engraving the machine needs to be vented out a window, but we move it out to the garage when we are laser cutting and engraving.
Watch the video below to see how to cut Heat Transfer Vinyl with the xTool M1
Products Used in This Tutorial
Machines
SVG Files
- Pumpkin Butter font
- Ragile font
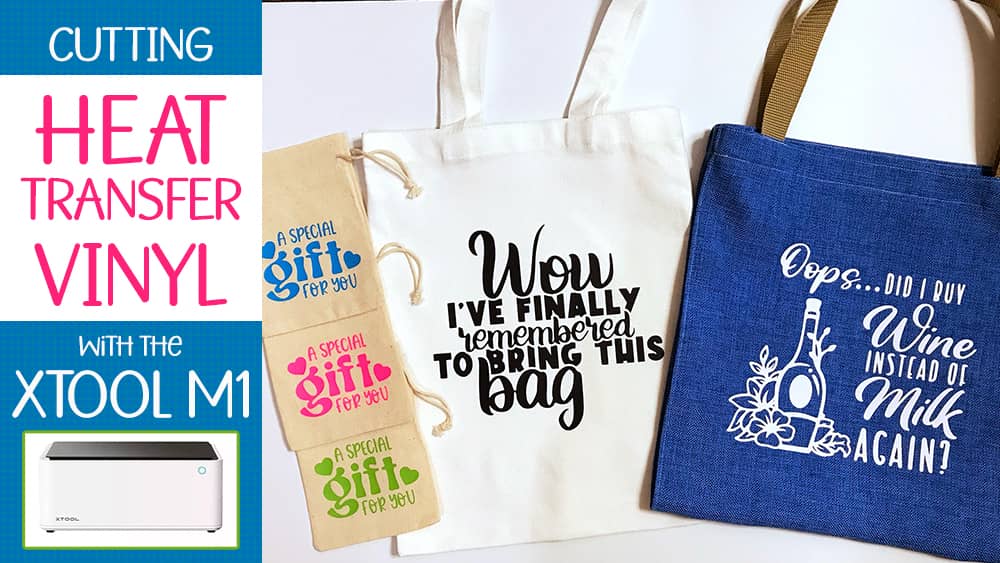
- Tote Bag Quote – ‘Wow I’ve finally remembered to bring this bag’
- Tote Bag Quote – Oops.. Did I buy Wine instead of Milk again
Getting Started.
- Turn on the machine and your computer.
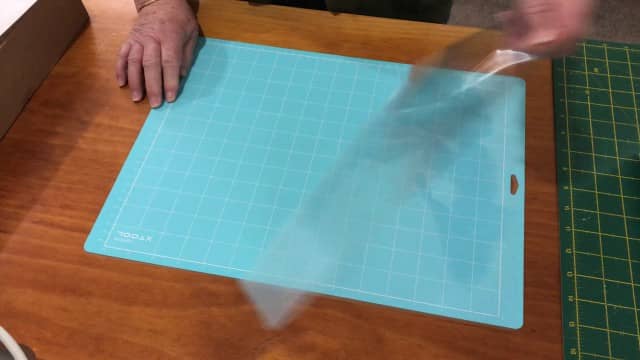
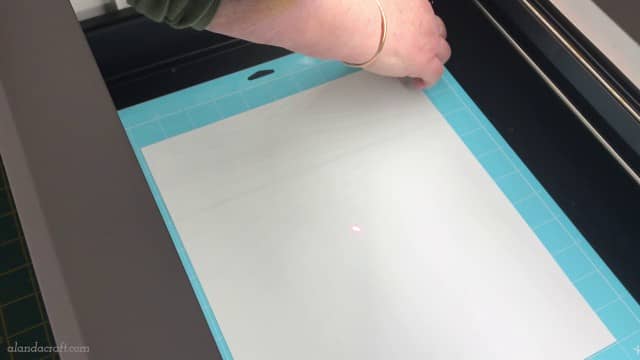
- The first thing we do is remove the plastic protective covering from both sides of the blue mat.
- Place the mat into the machine. with the grid side up. The mat is sticky on both sides so it sticks nicely to the base keeping it firmly in place.
Do not throw away the protective coverings, You need these to place back onto the mat when you finish your project. It keeps the mat clean and dust free.
Muslin Gift Bags
So let’s start with the muslin gift bags. I picked these up at the local $2 shop. There are 5 in the pack but I only used 3 and embellished each with a different colored heat transfer vinyl. I will save the others to put other designs on.
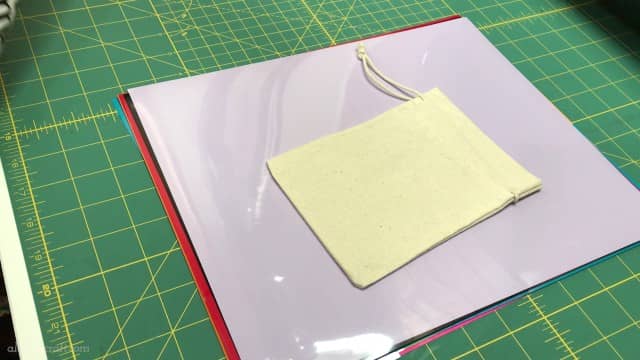
Measure your project so that you know how big to make your design or you can do what we did and put the bag in the machine. (Watch the video above to see this in action.) The machine takes a photo of the mat showing the bag. Having the image on the screen makes it easy to adjust the size to fit. Once you have finished with the design, take the bag out of the machine and place your vinyl on the mat.
You can create your own designs using the free xTool Creative Space software or you can import a file like an SVG. We’ll show you both methods.
Create Your Own Designs
The fonts we used for this design are Pumpkin Butter and Ragile. Both these fonts are available from Creative Fabrica and they are nice addition to your fonts library.
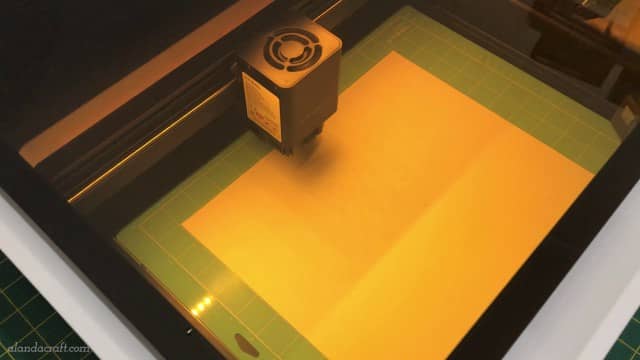
- Place your mat into the bottom of the machine.
- Place the vinyl, shiny side down, onto the mat.
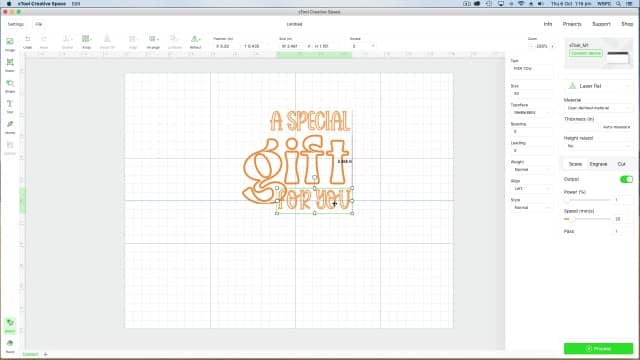
- Select Text from the side menu bar in Creative Space

- Choose the font you want to use and write your text in the box. We used Ragile for the ‘A Special’ and ‘ for you’ and Pumpkin Butter for ‘GIFT’
- Then we selected ‘Shapes’ from the side menu bar and chose a heart shape.
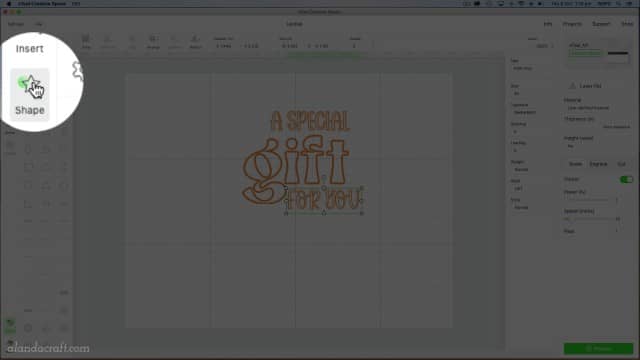
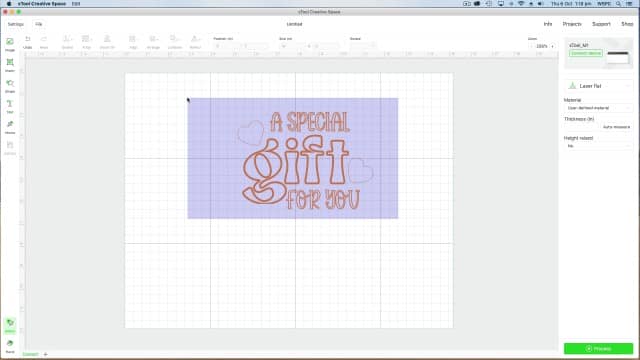
- Now it’s just a matter of moving the shapes around to place them where you want them.
- Select BLADE CUT from the drop down option and PU Heat Transfer vinyl from the materials list.
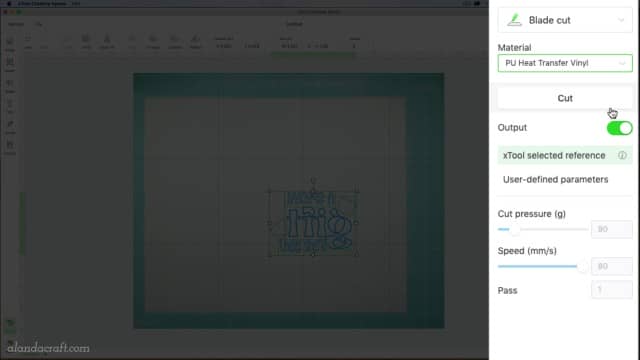
- Close the lid of the xTool. The machine will take a photos of the vinyl on the mat so that you can better place the design. Now that you have your design completed and positioned it’s time to click on Process
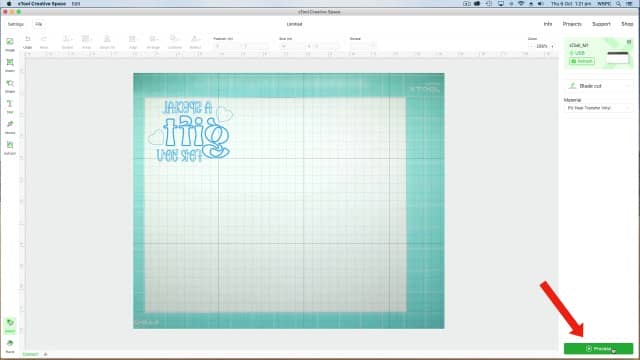
- FRAME in the software and press the start button on the machine.
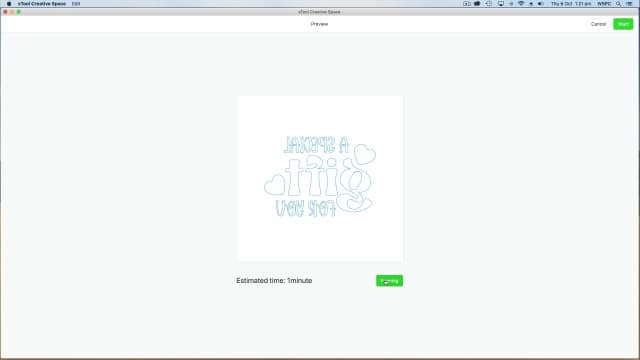
- The blade head will move around outlining where the design will cut. This gives you the opportunity to reposition the design if required.
- Once you are satisfied that the design is in the right position, select Start in the software and press the Start button on the machine.
- The machine will now cut the design.
- Open the lid and remove the vinyl from the mat.
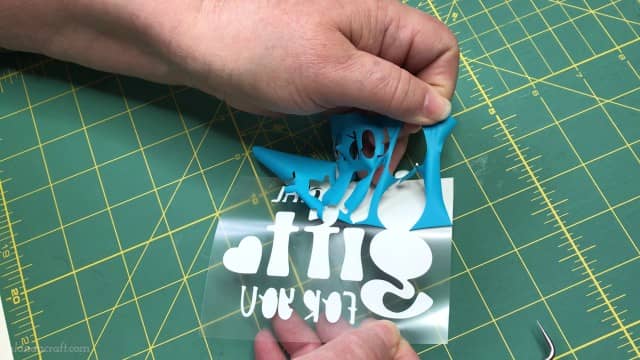
Next we need to weed out the design. I find that the Cricut Weeding Tool is ideal for this. I like to cut around the design area so that I don’t waste vinyl that can be used again for other projects.
Peel back the vinyl exposing the design. Now weed out the letters such as the a’s, e’s and the p’s. and anything else that should be clear.
- I have placed the design towards the bottom of the bag so that it is away from the drawstring at the top. This way the design will still show when the bag is gathered up.
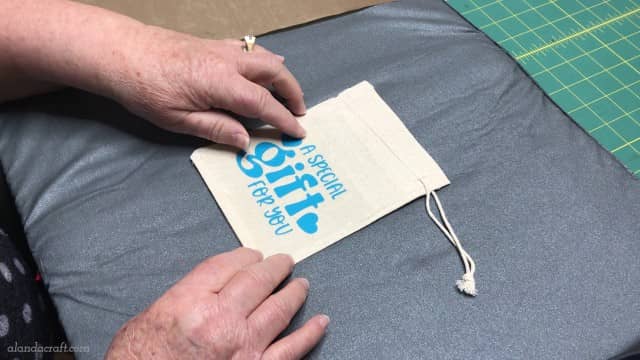
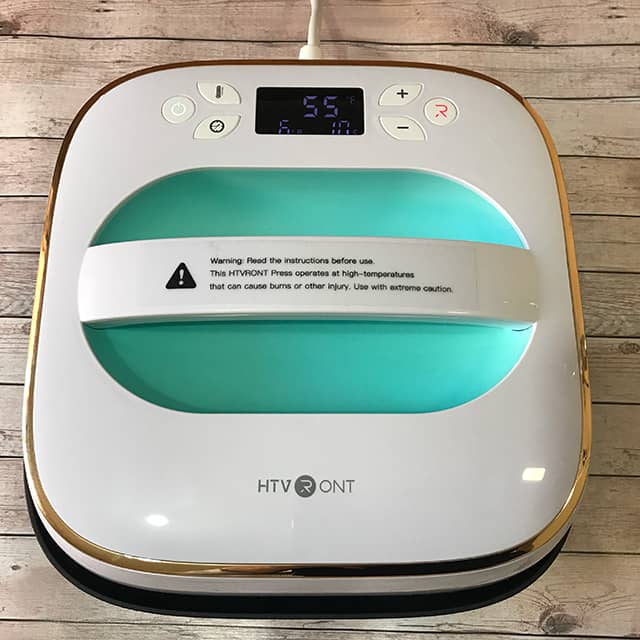
Place the design on your gift bag and using a heat source, press the design onto the bag. You can use your iron, your Cricut Heat Press or in this case I have used my HTV Ront Heat Press.
Importing Your Image From Your Computer
The next bag we are embellishing is our ‘NO Frills’ ‘tote bag. You can find the free tutorial on how to make this easy tote bag here. It’s really simple to make and we have a free video tutorial and step-by-step written instructions.
The bag is made from furnishing fabric and we thought it would look cute with an embellishment on it. So we chose a floral champagne bottle design and the wording Oops did I buy wine instead of milk again.
These were separate SVG files and we put the wine bottle and the quote together Photoshop, but you can also do this in the Creative Space software and I think they came together quite nicely.

- To import an image from your computer you click on the image icon
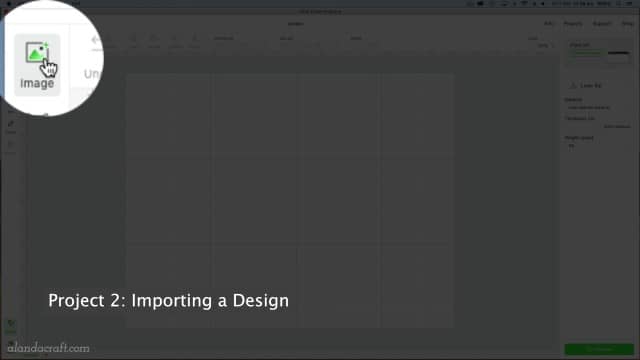
- Select the image from where you have it saved on your computer.

- My file was too large when it came into Creative Space
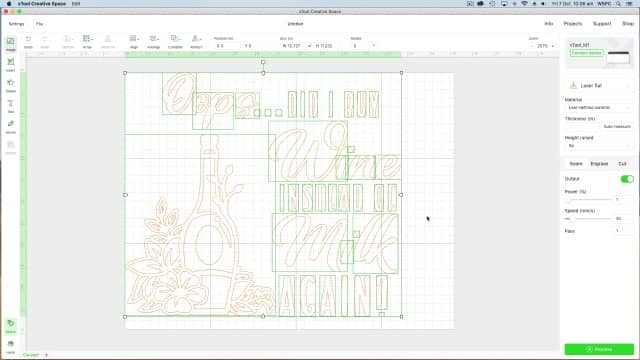
- So I selected the whole image, right click and select group.
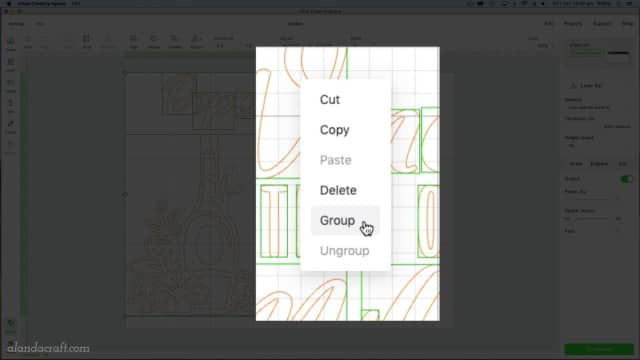
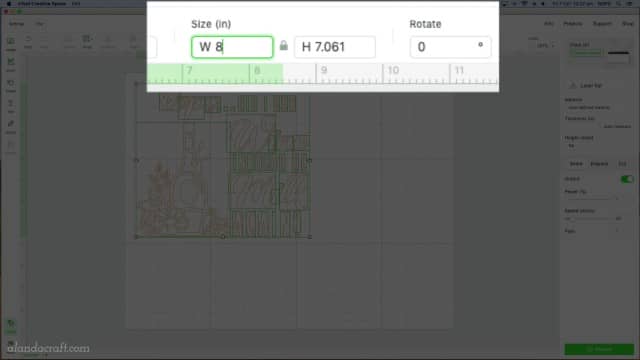
- Once you have the image grouped, click on the lock so that you can resize the image without losing the proportions.
- You can also key in the size in the Size fields.
- My image needed to be 8″ in width to fit the bag so I simply keyed 8″ into the width field.
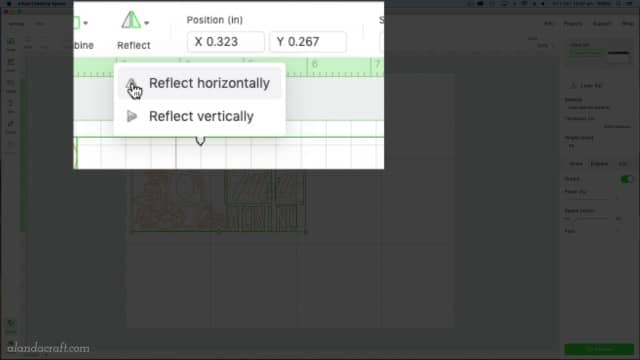
- Don’t forget to select ‘Reflect Horizontally’ so that the image is reversed on the screen. We need to do this whenever we have words in the design.
Now just follow the steps as for the gift bag above or watch the video.
White Canvas Bag
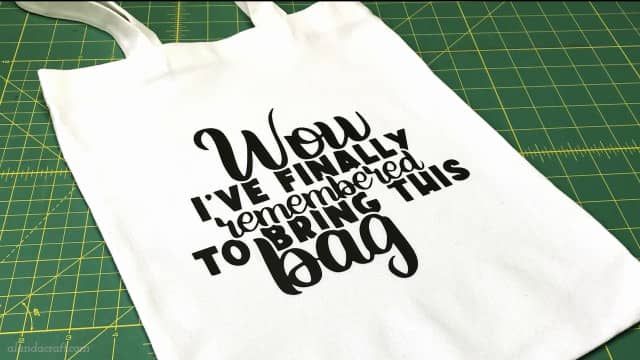
The next bag is the heavy canvas tote bag that came with the accessories included with our xToolM1 machine (deluxe version). It’s a very nice, weighty canvas. For this bag we chose one of the tote bag quotes ‘Wow I’ve finally remembered to bring this bag’. How many of us can relate to this saying these days. I have lost count of the number of days I have gone shopping and left the bags in the car. So I thought this was an apt saying to put on this bag.
We uploaded the SVG file into the xTool Creative Space and made the necessary adjustments to the size. The bag measures 14″ x 11″ so we adjusted the design to sit nicely in the middle section of the bag. Again another perfectly clean cut. You really can’t fault the xTool M1 for it’s cutting ability when it comes to vinyl.
We used our HTVRont Heat press to adhere the HTV to the bags. (Watch the video above to see this in action.) The muslin bags and the heavy canvas bag worked a treat, the bag made from furnishing material took a couple of presses before the vinyl finally stuck. I think the open weave of the fabric was the problem.
For anyone looking for a crafting machine that can cut using a laser or a blade then this is definitely the machine for you. Just think what you can create with an xTool M1. I love the idea of being able to switch from laser cutting and engraving to blade cutting. It’s really convenient. The software is still in beta and there are a few things that could be improved. But it does the basics very well, and I have no complaints on that part. If you use Cricut Creative or Brother Canvas then you will notice that you have less functionality in the xTool software.