This tote bag is definitely a no frills tote bag. Any time you find yourself in need of a quick gift or just need another tote bag you can run this one up in no time.
Make the bag using a canvas type fabric or a firm furnishing fabric .
The bag measures approx 12¼” x 13¼” and has a gusset measuring 3″
What You Need
- One piece of canvas type fabric
- Webbing for handles
What to Cut
- Cut fabric – 161/2” x 29″
- Cut two pieces of webbing – 22″ for each piece
Watch the Video below or scroll down for the step-by-step written instructions.
Method
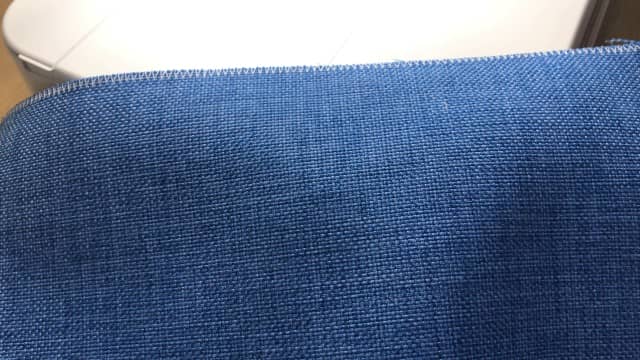
- Sew a zig zag stitch around the edge of the fabric. You can use your overlocker/serger or pinking shears if you prefer. This will just help stop any fraying that may occur.
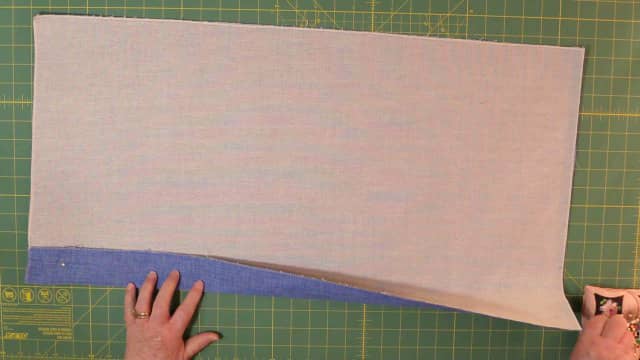
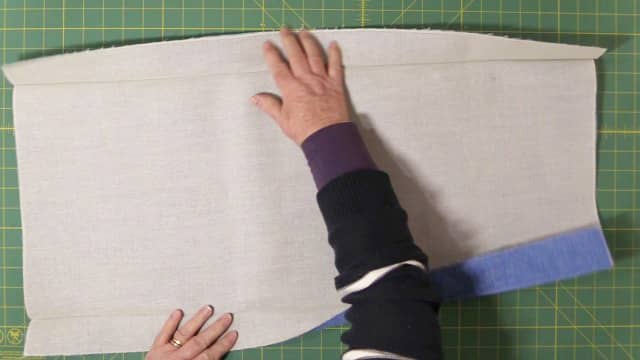
- Lay fabric on mat, right side facing up
- Measure 2″ in from the edge on the long sides and draw a line.
- Repeat for the other side.

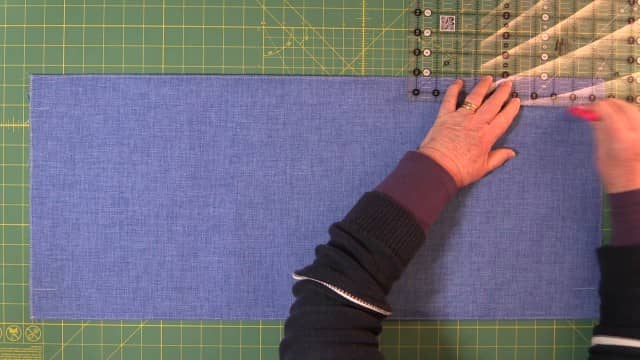
- Fold along the line and pin
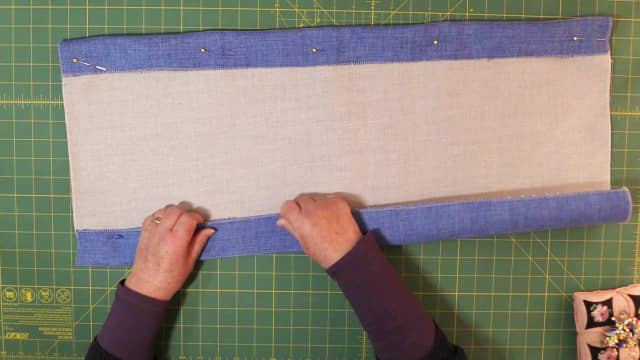
- Sew 1/8″ from the fold.
- You now have a seam down either side of the bag.
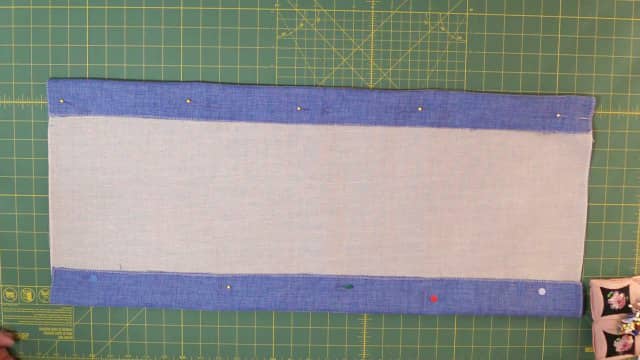
- Measure 11/2” from the fold and draw a mark. Do this on all four sides. It doesn’t need to be too long as it is just to mark where the handles are to line up.
- Draw a 1″ line, from the edge, along the short sides, on the right side of the fabric

- Turn the fabric over
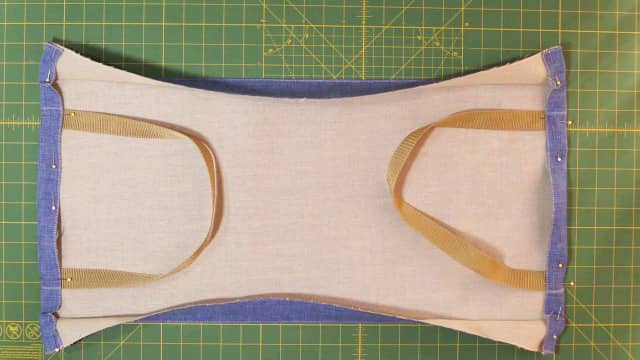
- Fold the fabric along the 1″ fold and pin in place
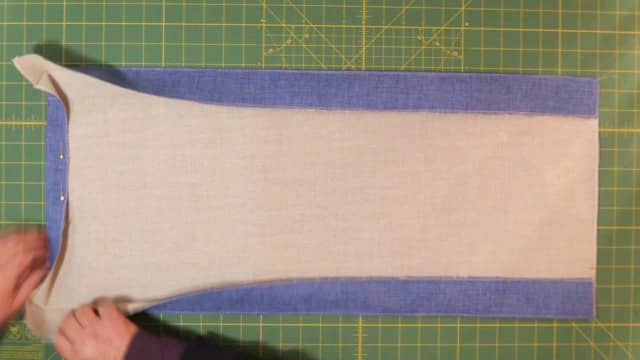
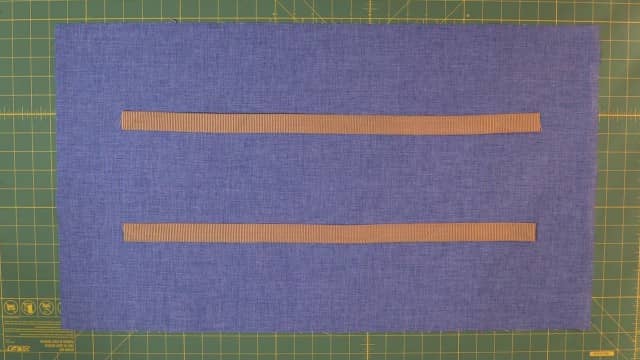
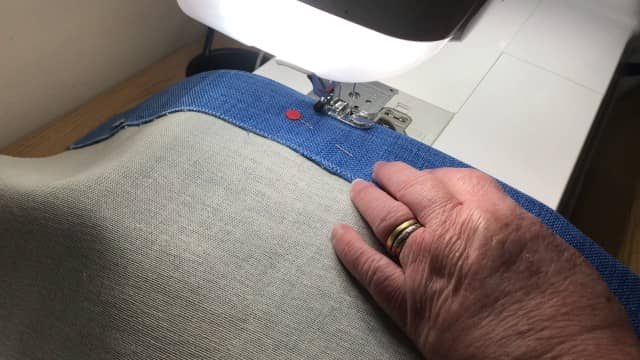
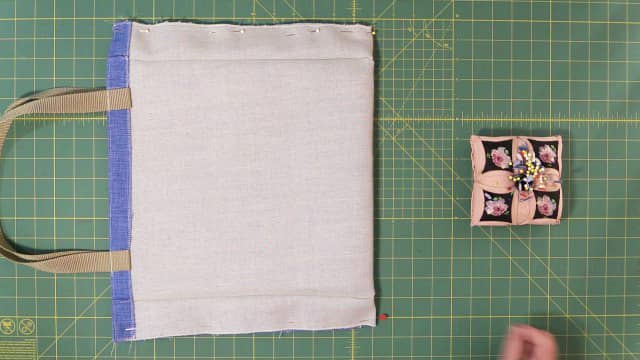
- Slip the webbing under the fold at the 11/2” mark and pin.
- Make sure to line up the edge of the webbing with the line as shown in the photo below.
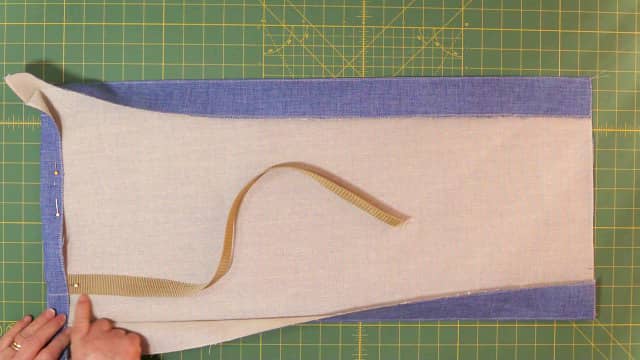

- Repeat the process for the other handle
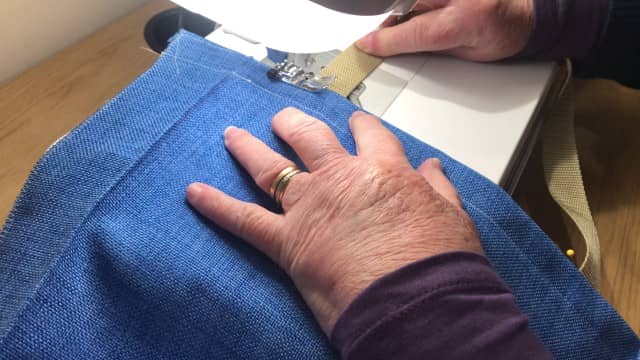
Sew a 1/8″ from the edge making sure to catch in the handles.
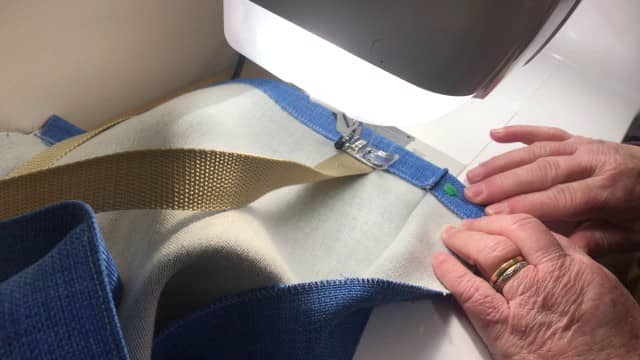
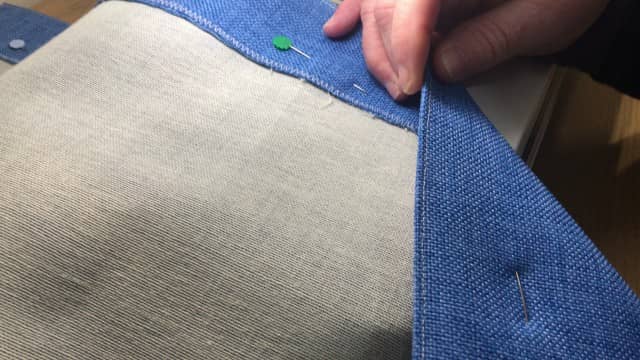
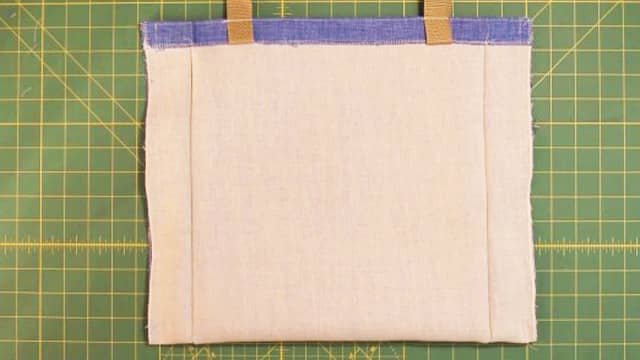
- Push the handles up and over the folded edge and pin in place. I put the pin in a diagonal position just to hold the handle in place until I turn the bag over and I will pin the handles in place when I turn the bag to the right side.
- You can see in the photo below that the pins are visible and easy to remove when I topstitch along the top edge of the bag.
- Sew 1/8″ from the top edge. Backstitch over the handles as you come to them. This will help to secure them in place.
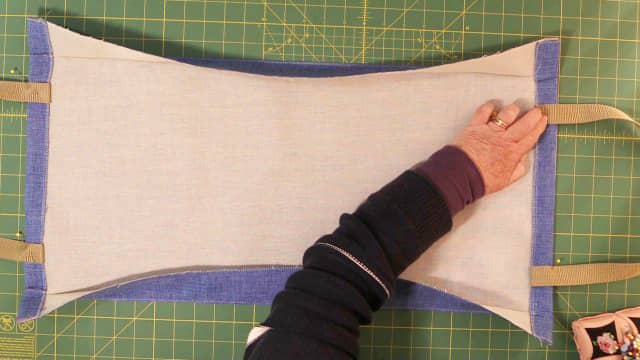
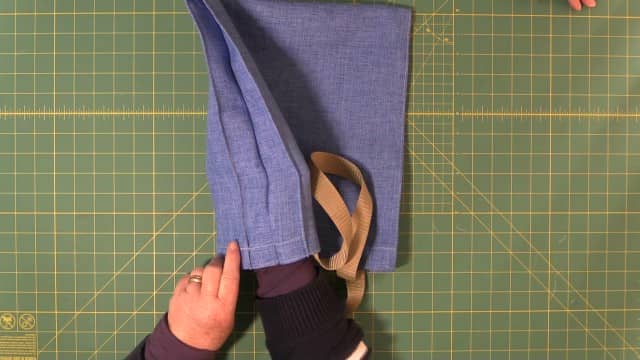
- Fold the bag in half with right sides together.
- Pin the sides together making sure the edges line up nicely.
- Repeat for the other side
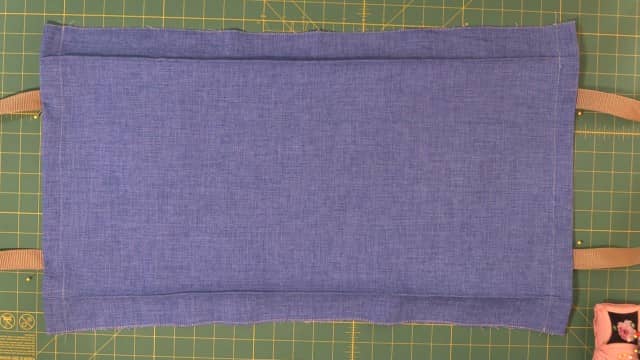
- Sew down the each side seam with a 1/2” seam.
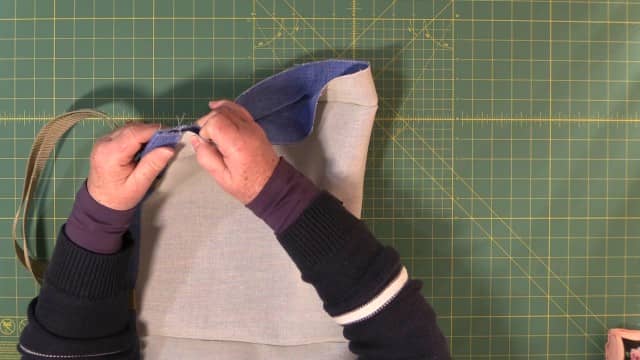
- Turn the bag through to the right side and you have a nice placket on each side.
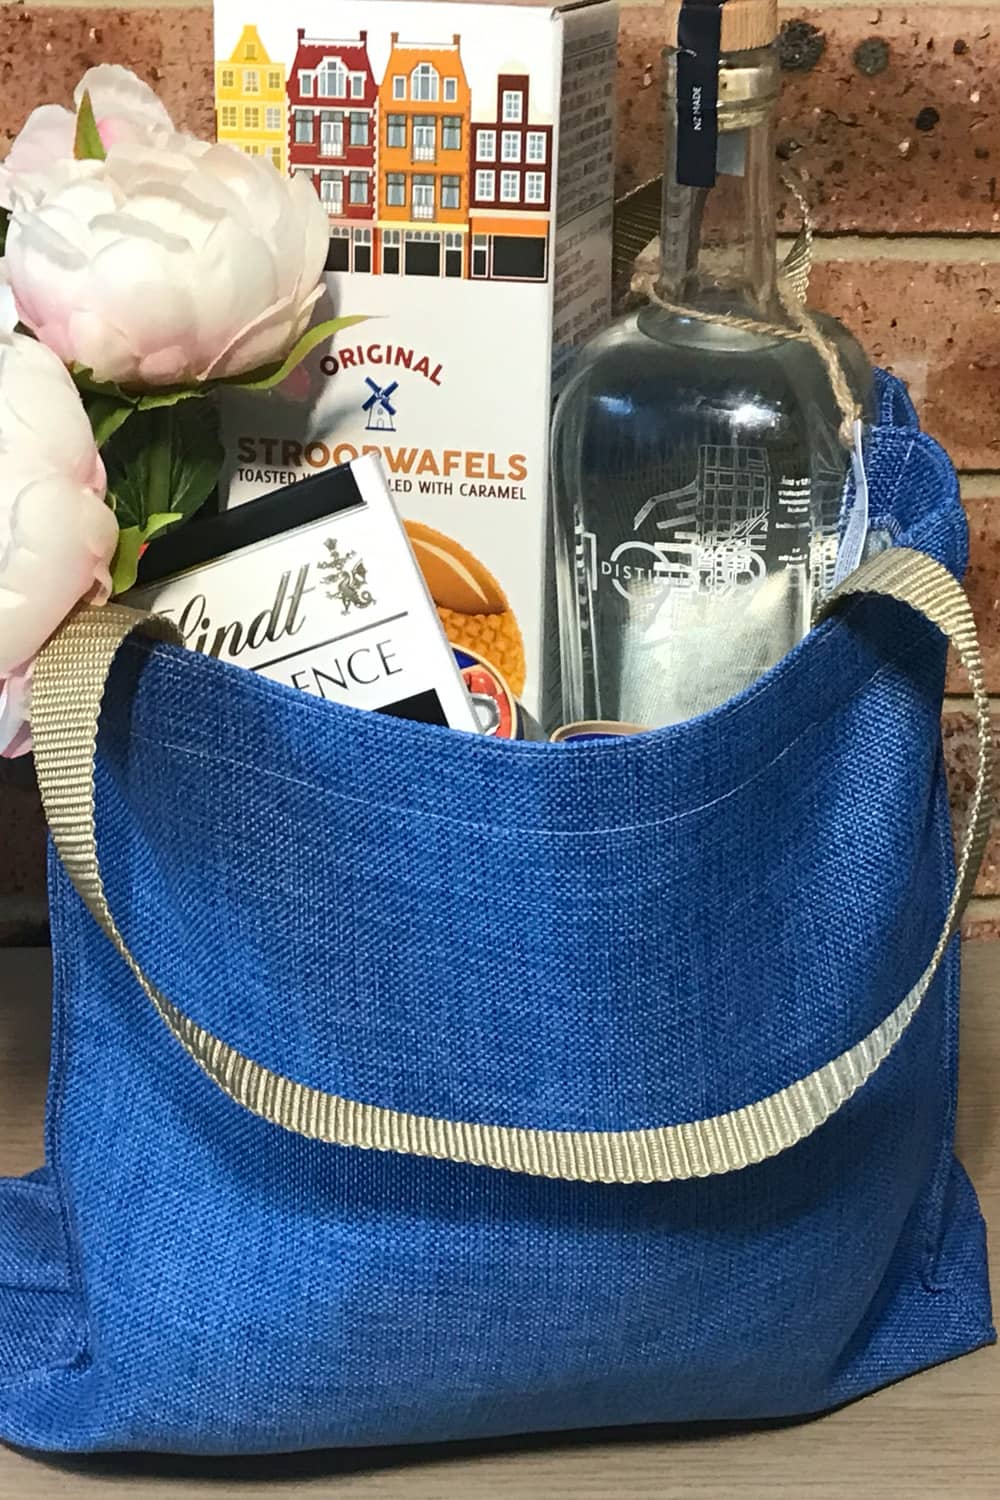
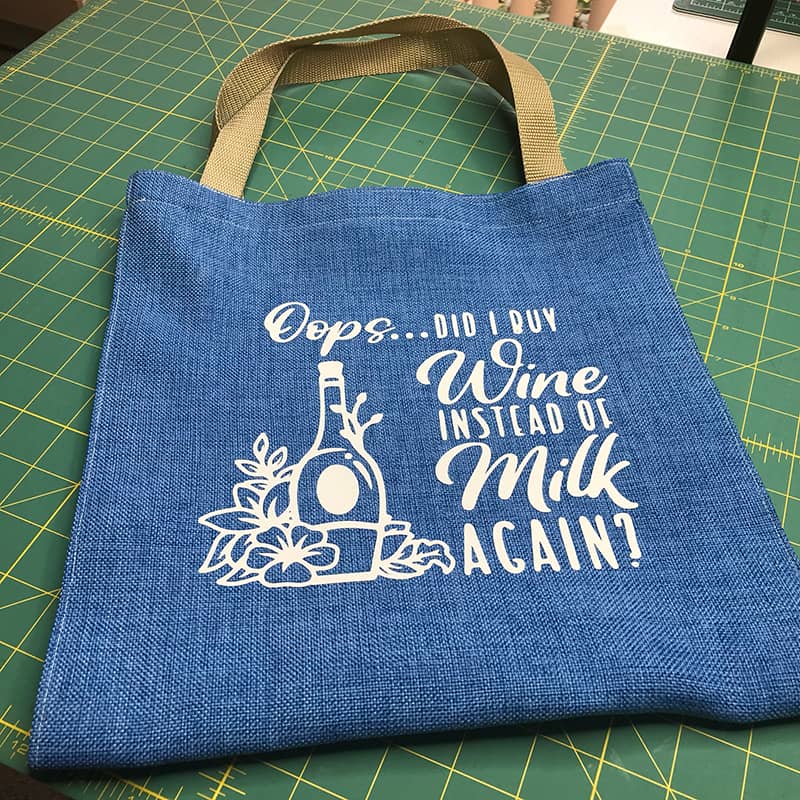
And there you have it a quick and easy ‘No Frills tote bag

You can see in the photo bellow how I decorated the bag using Heat Transfer Vinyl using my HTV Ront heat press and an image from Creative Fabrica. This made a perfect gift for my daughter at Christmas time.


Leave a Reply